[ad3]
SRAM recently announced that all models of Guide brakes will be updated with their new S4 caliper so we thought it would be a good idea to show how to bleed a Guide system, particularly the Guide Ultimates which already have the S4 caliper. One of many things that separates the S4 caliper from previous iterations is the tool free “Bleeding Edge” technology.
In our case we had to shorten a brake hose, so according to the recommendations from SRAM we did a bleed on the system to make sure it was free of any air that might have made it’s way in.
Required: Dot 5.1 fluid, SRAM’s bleed kit, Torx t10 screw driver, brake cleaning spray(isopropyl alcohol) & clean, lint free shop rags.
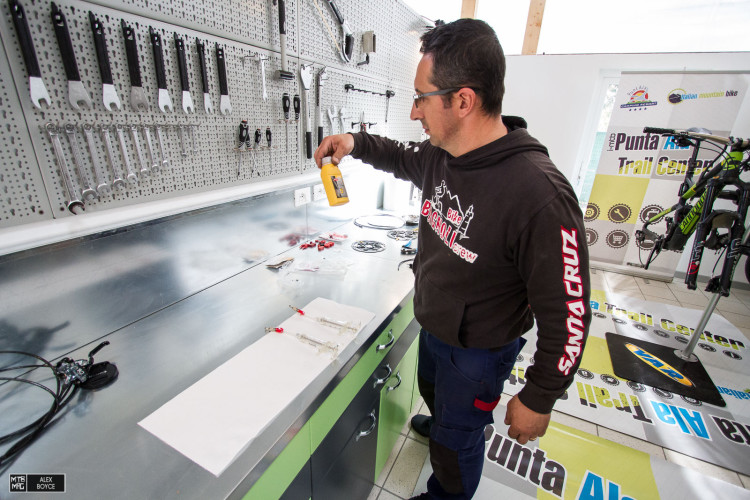
Davide our mechanic checks the brake fluid is in date and starts to prepare the syringes from the bleed kit. Successful bleeds depend a lot on the preparation.
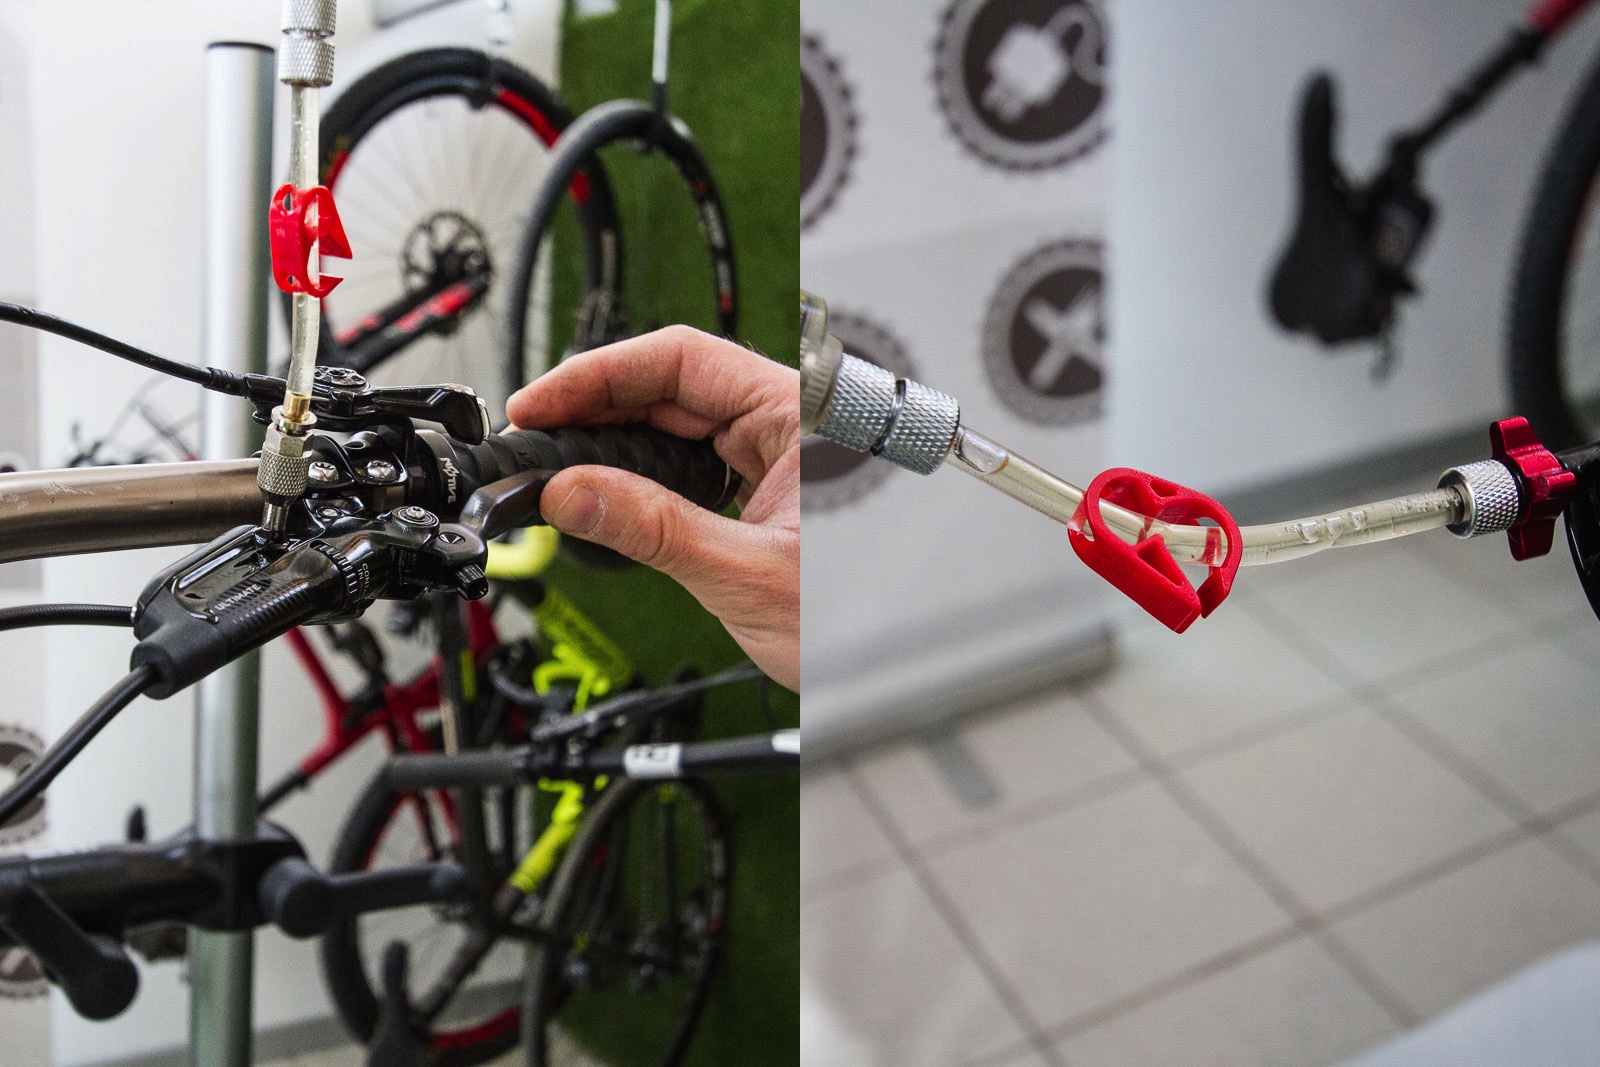
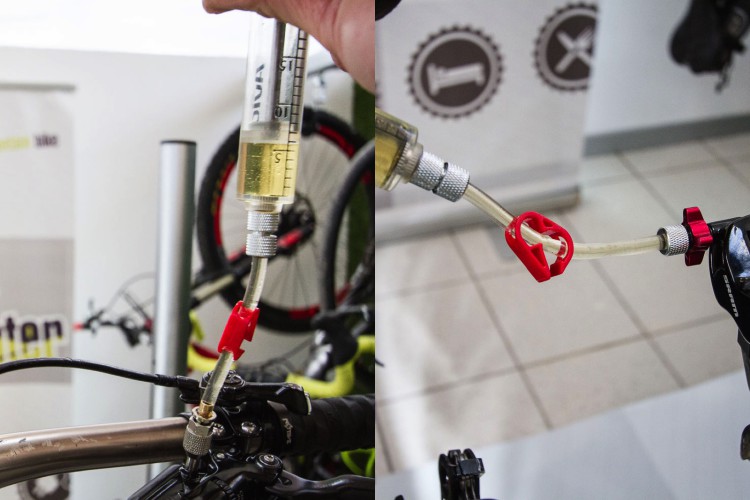
With an S4 caliper like on our Guide Ultimate brake set, the new “bleeding edge” attachment is required and included with the brakes to retrofit to Avid/SRAM bleed kits. It has a mess free valve closure. This new system makes the bleed process a lot cleaner and simpler.
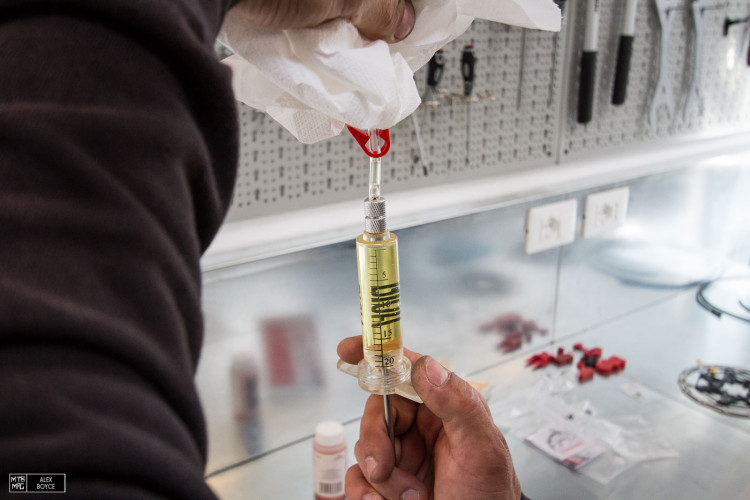
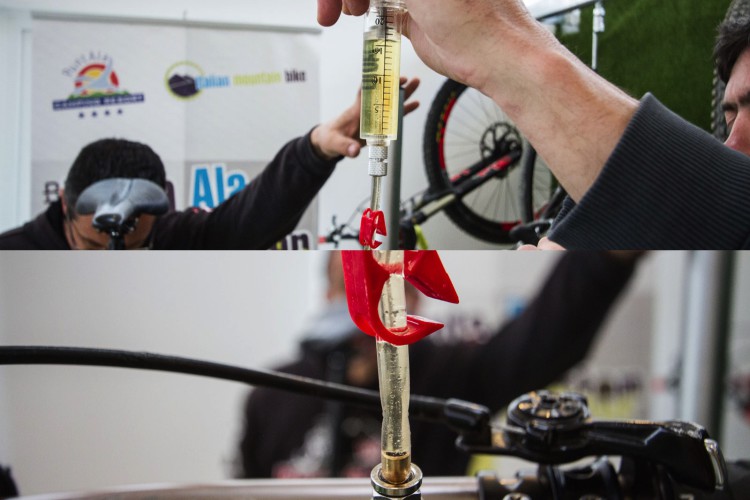
We fill each syringe with brake fluid.
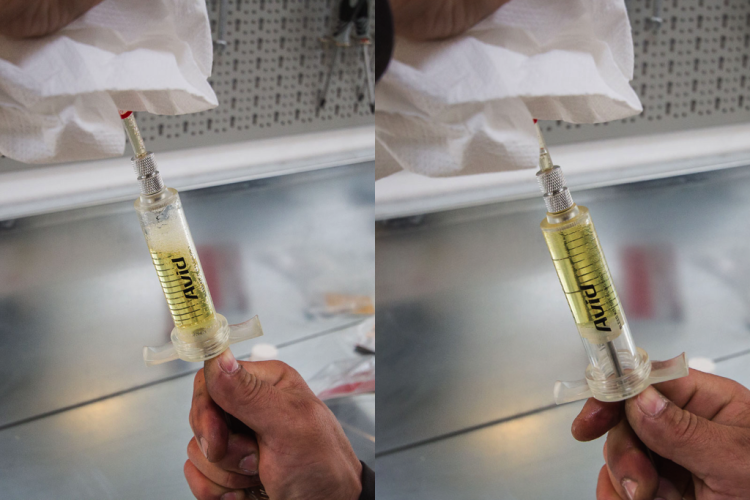
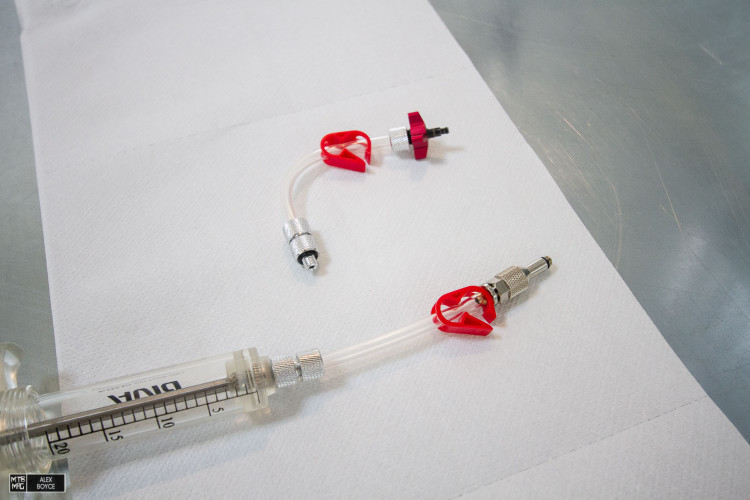
We then start the preparation procedure. With the red pinch valve closed we pull the plunger down on each syringe, this causes a vacuum above the liquid and any air in the fluid to rise to the top and form bubbles. When releasing the plunger the air then gathers at the top.

A tap of the syringe allows the air to rise to the tip of the syringes attachment tube which we then expel with gentle pressure on the plunger into a tissue. We do this to both syringes, which are now both ready.
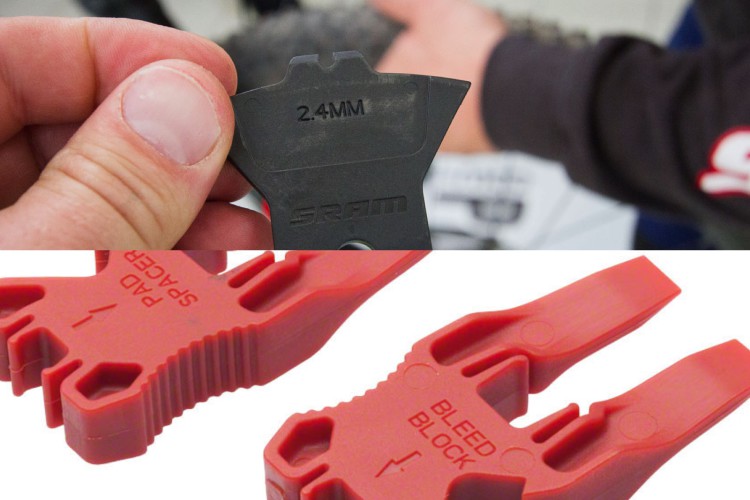
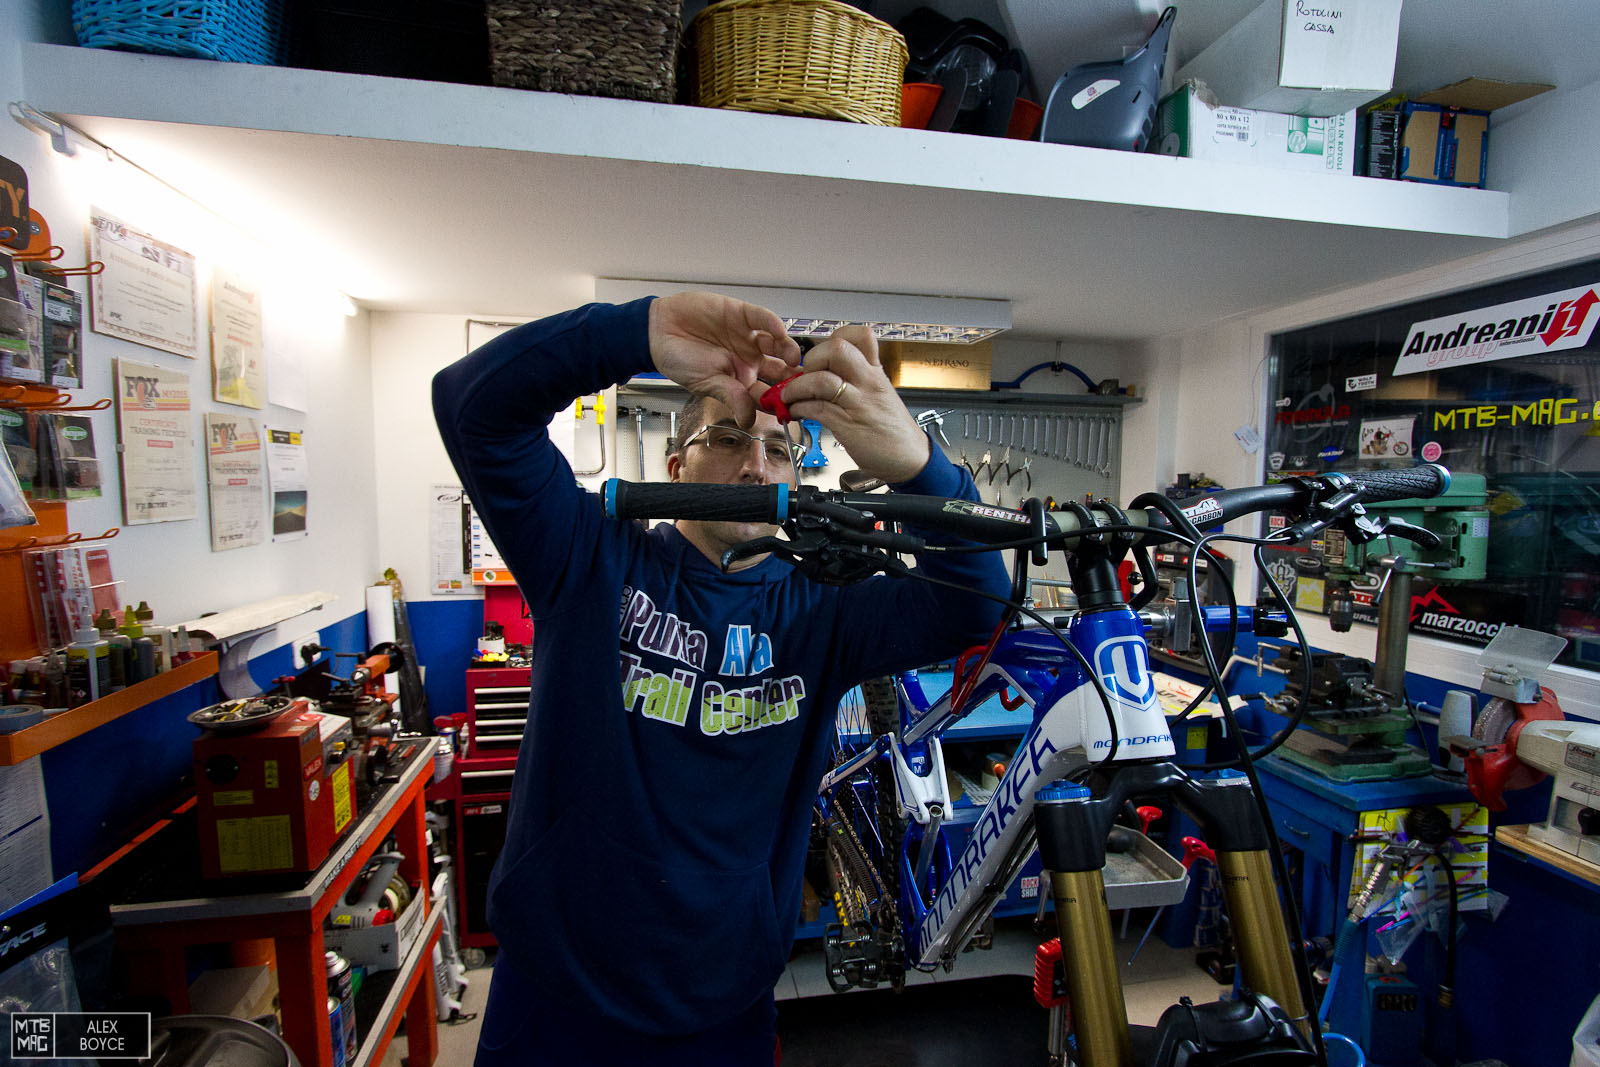
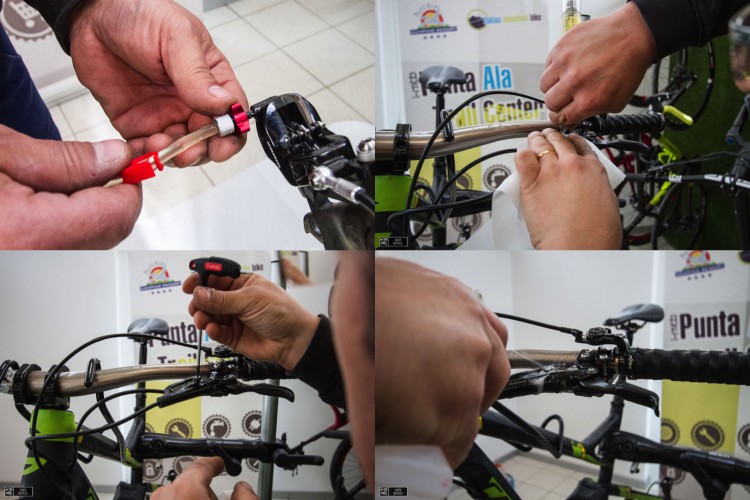
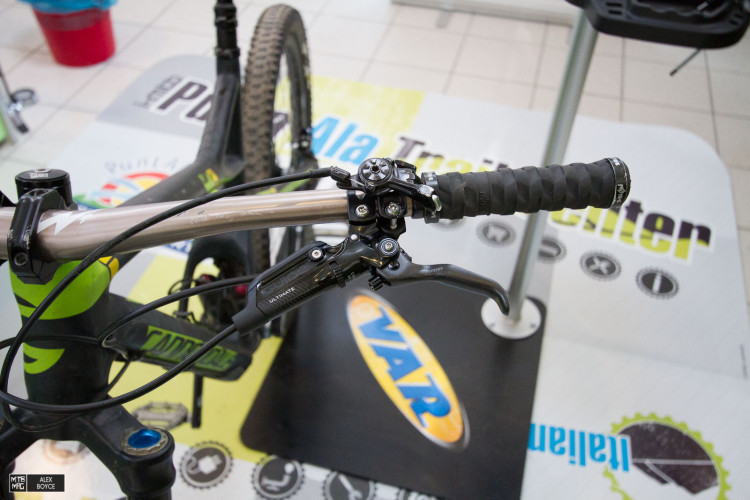
SRAM recommends removing the pads and putting in a pad bleed block, this is the pad spreader tool in red, not the black plastic tool. This keeps the pistons pads at the correct distance for the the bleed. It also keeps your pads and rotors safe from contamination.

Undo the bleed screw on the brake lever with the brake lever being at the highest point. It is important to note that any brake lever adjusters should be backed off to zero so that the brake is fully open for a bleed.
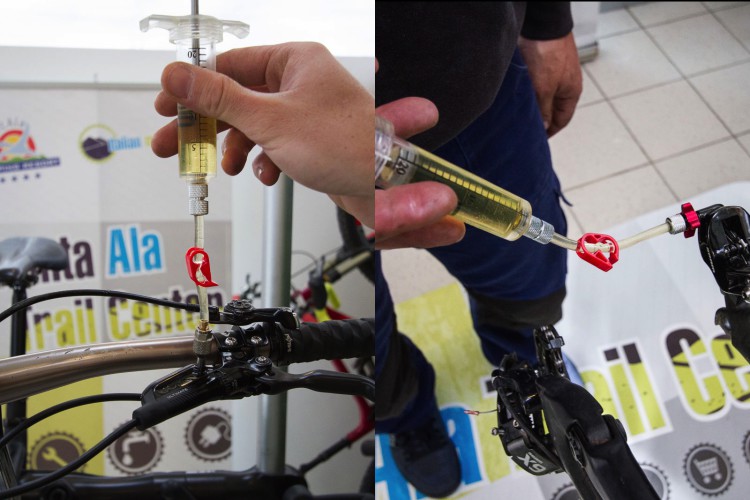
Attach the syringes. The caliper syringe should click into place in the bleed port. Note the rear wheel has been removed. With this new bleed attachment there should be zero mess but it’s best to play it safe and keep your rotor away from fluid. The new bleed port is also inboard, so removal of the wheel makes for easier access.
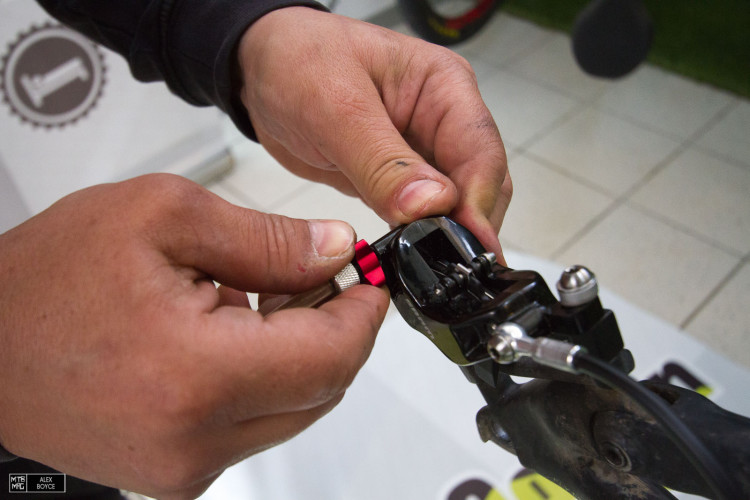
Open the “bleeding edge” valve on the syringe connected to the S4 caliper.
With the pinch valve open we start the bleed process and watch for movement through the tube of air.
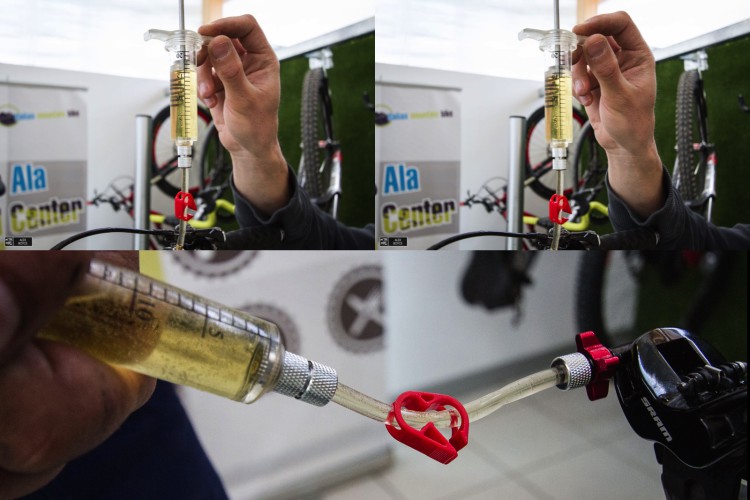
The process requires the brake lever plunger to be pushed down and then the caliper lever to be pushed back alternately. Check for movement of air bubbles from both ends out of the system. We repeat about four times.
Once you have moved fluid through the system a few times depress and hold the brake lever and repeat the process. In our case this released a few extra air bubbles from the system.
Let go of the lever and check the fluid when the plungers are activated to ensure no more air is moving out of the system. At this point we can say the system is now bled.
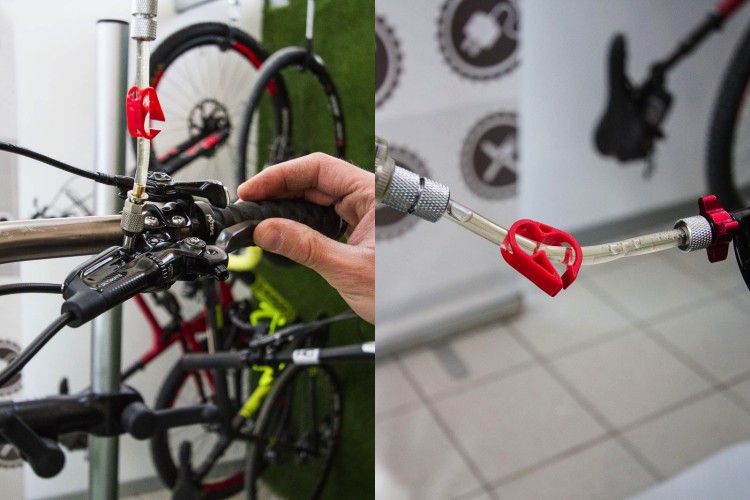
We remove first the rear caliper syringe, then the brake lever syringe, then we reinsert the bleed screw and clean up any stray fluid with cleaner fluid on the lever. With the new S4 caliper there should be zero fluid to clean up on the caliper but to play it safe, it’s best to clean it anyway. Note do not touch the brake lever until the bleed screw is in place. Your system is now ready.
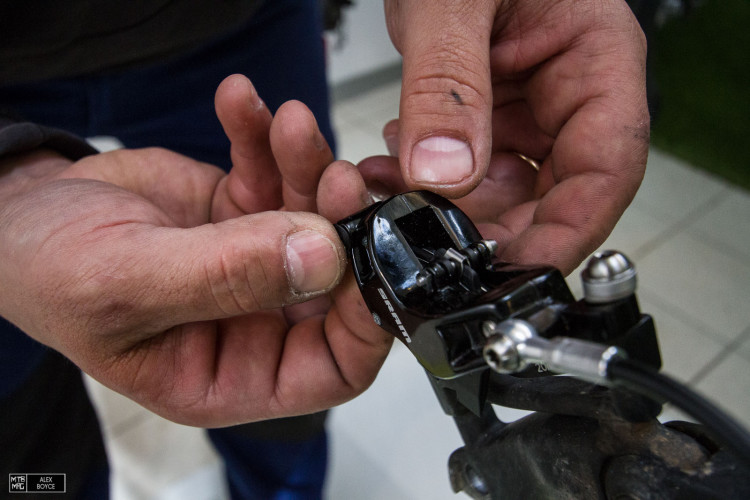
We close the dust cap on the caliper and check there is no leakage. We put the pads back into the caliper.
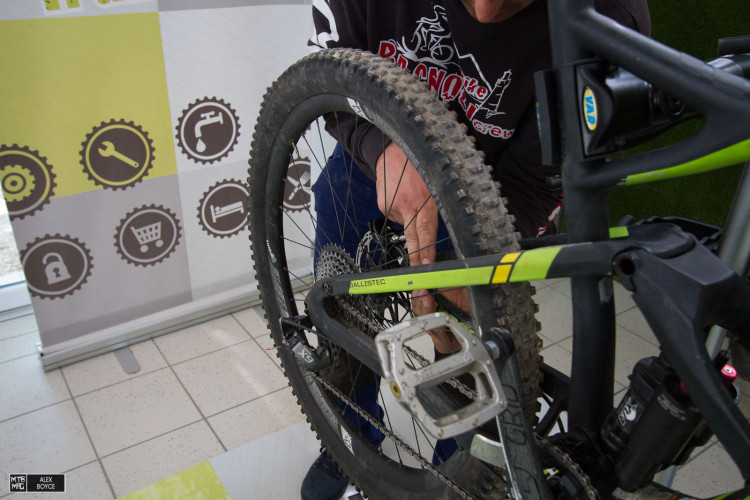
We refit the rear wheel and check the brakes.
Our brakes are dialed and ready to go. We then make our setting adjustments as normal.
Mechanic: Davide Bagnoli @ Punta Ala Trail Center
Brakes and kit supplied by SRAM