[ad3]
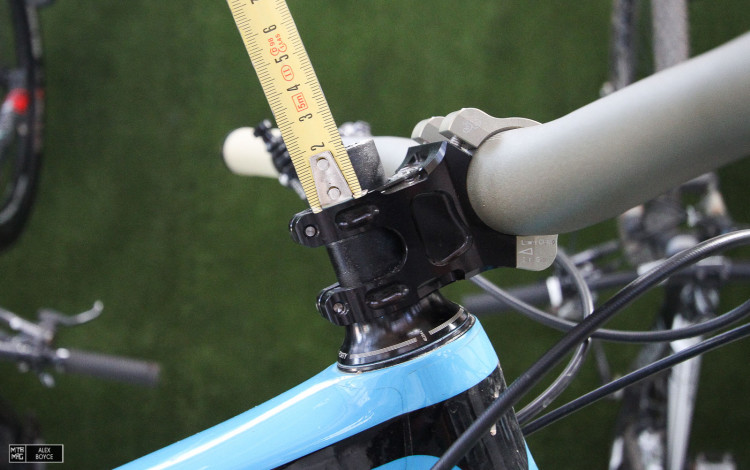
You will see stack height mentioned time and again in bike reviews and geometry charts but few know what it actually is in reality, so we thought we would create this quick guide.
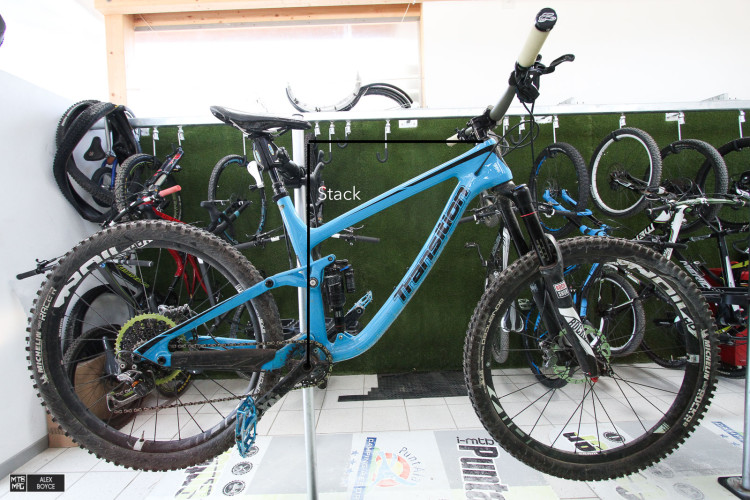
The Transition bike company and Turner Bikes plus a few others back in 2008 set a standard for measuring and setting “reach and stack” on bikes when comparing frame sizes. The idea seemed to have worked, as it’s a pretty standard way of measuring bikes and how they fit a rider now.
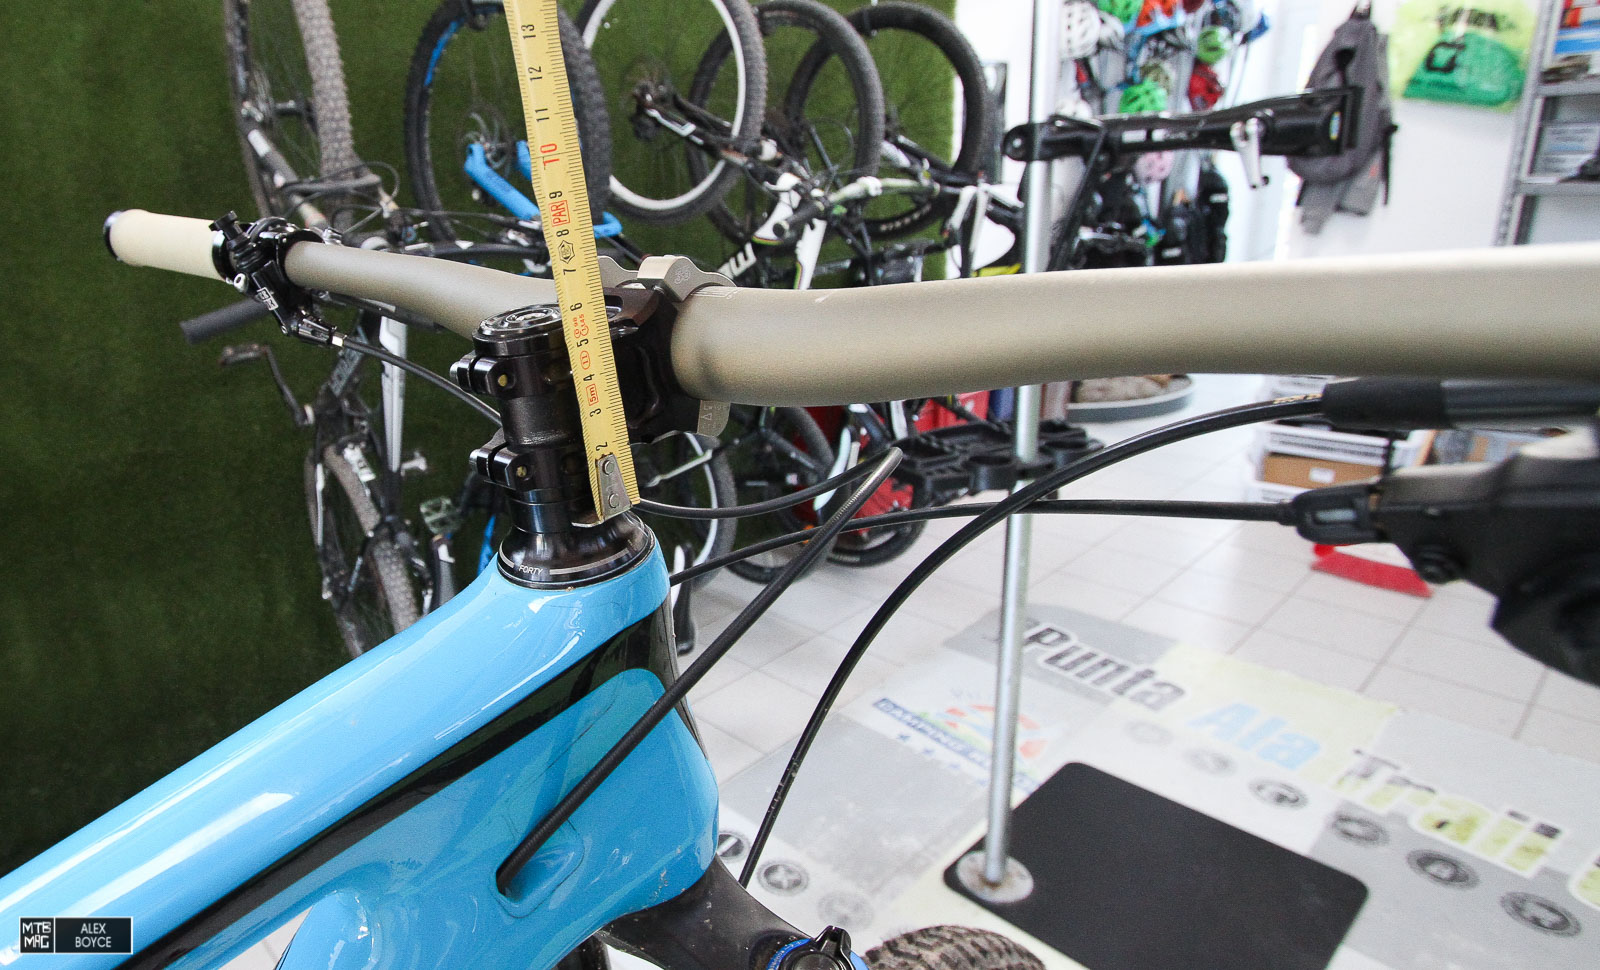
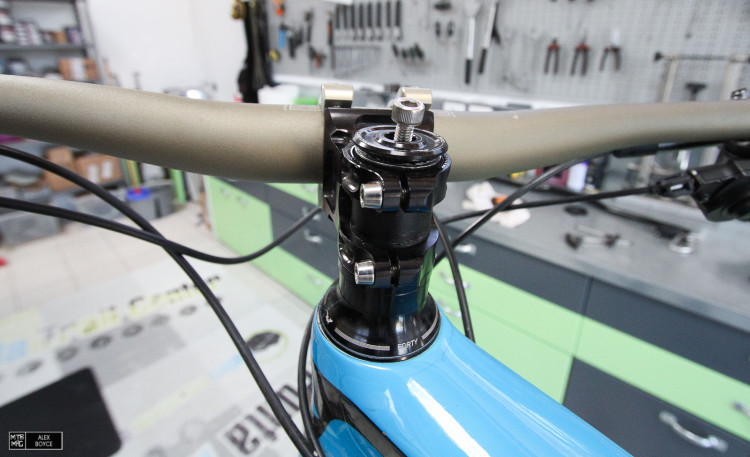
One fact that many riders don’t consider is their final handlebar height. Yes the rise of your stem and bars can make a difference to your final cockpit settings but they cant be changed as easily as the stack of the stem. Providing the fork’s steerer tube has not been cut too short you should be able to change this height.
The height of your handlebars affects the way a bike rides. If the stack is low it keeps your weight over the front, if its higher it means you sit up more and your weight shifts backwards. Most riders accept the bar and stem that came with the bike, however bikes generally have a long enough steerer tube that it is possible to change the height.

To change the height it’s easy, undo the star nut pre-load bolt and top cap.

Remove the top cap and loosen the pinch bolts on the stem.
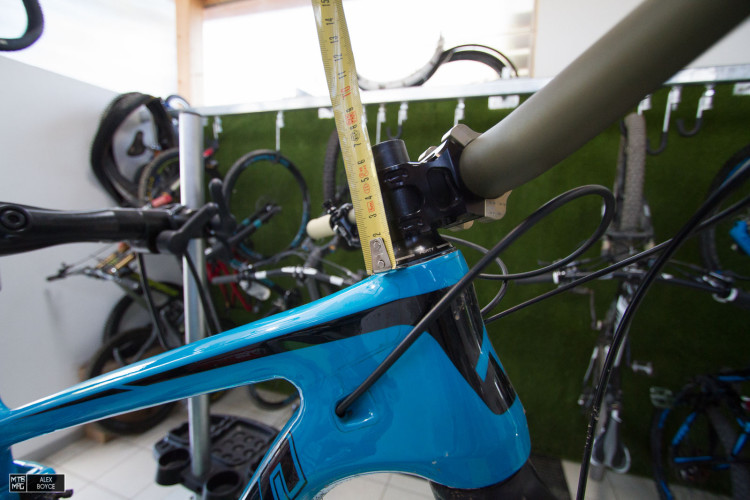
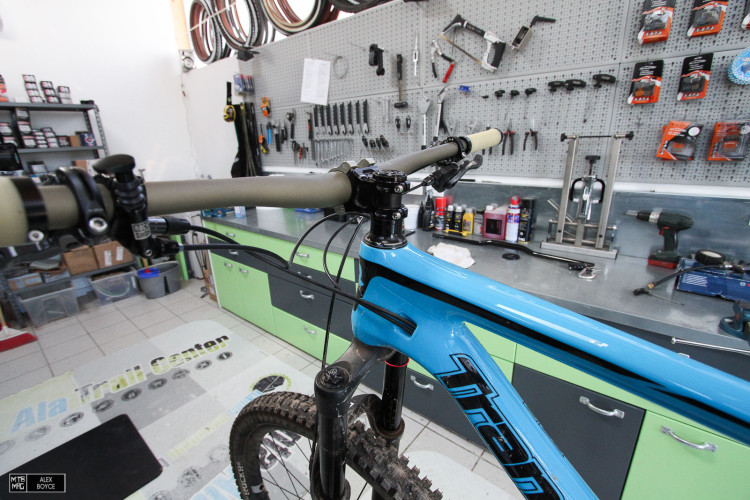
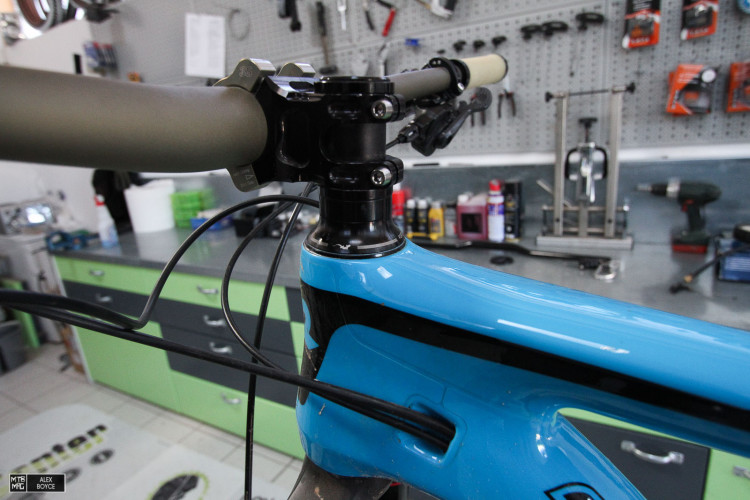
Remove the spacers as you want and replace the stem. Here we have lowered the stem by about 20mm.
Riding Positions Characteristics
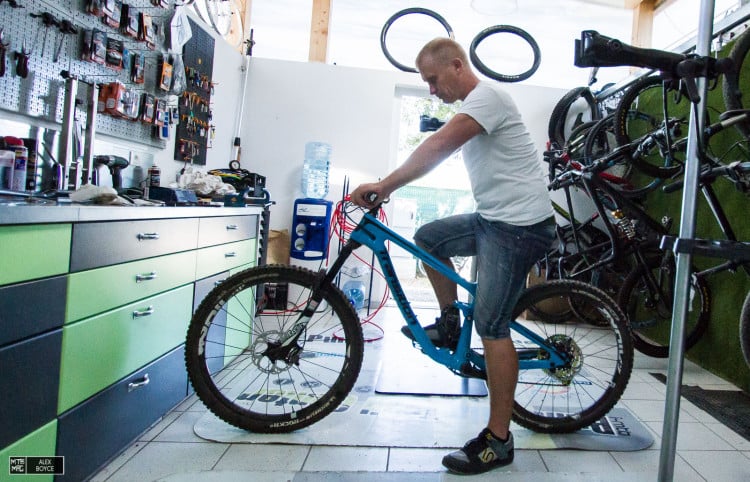
Now let’s get to the important part, what happens if you change this.
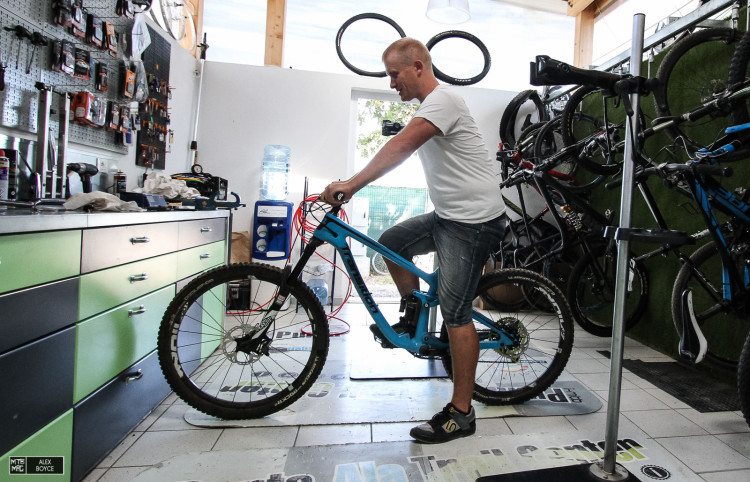
In this high setting our experience has lead us to understand that the rider will experience better control and body position in steep technical descents, as your body weight is slightly further back, the tendency to feel like going over the bars is reduced. However this position is a more relaxed way of riding and uphill you will find the bike might wander more in corners or be harder to pedal up-hill over technical steep sections.
The result of this slight lowering- which is hard to see in the photo, is that the rider will have a more stretched out position, often this means a more aggressive and faster position. With the right headset you can “slam” the stem against the top of the head-tube and have a really low stack. But like this requires more skill in technical steep riding to not go over the front, as the riders weight is further forward. Conversely though the rider is able to ride up steeper trail sections more easily and it will be more precise in corners, as the body weight is over the front wheel the bike. This is often the stance taken by professional riders.
Conclusion
There are no hard and fast rules for stack setting it is a personal setting that many riders don’t actually ever change from when they picked up the bike for the first time. Our advice is clear change the height and experiment to find the preferred height for you. 5-10mm differences in height do make a difference. Try changing it and see.
Mechanic @ Punta Ala Trail Center