[ad3]
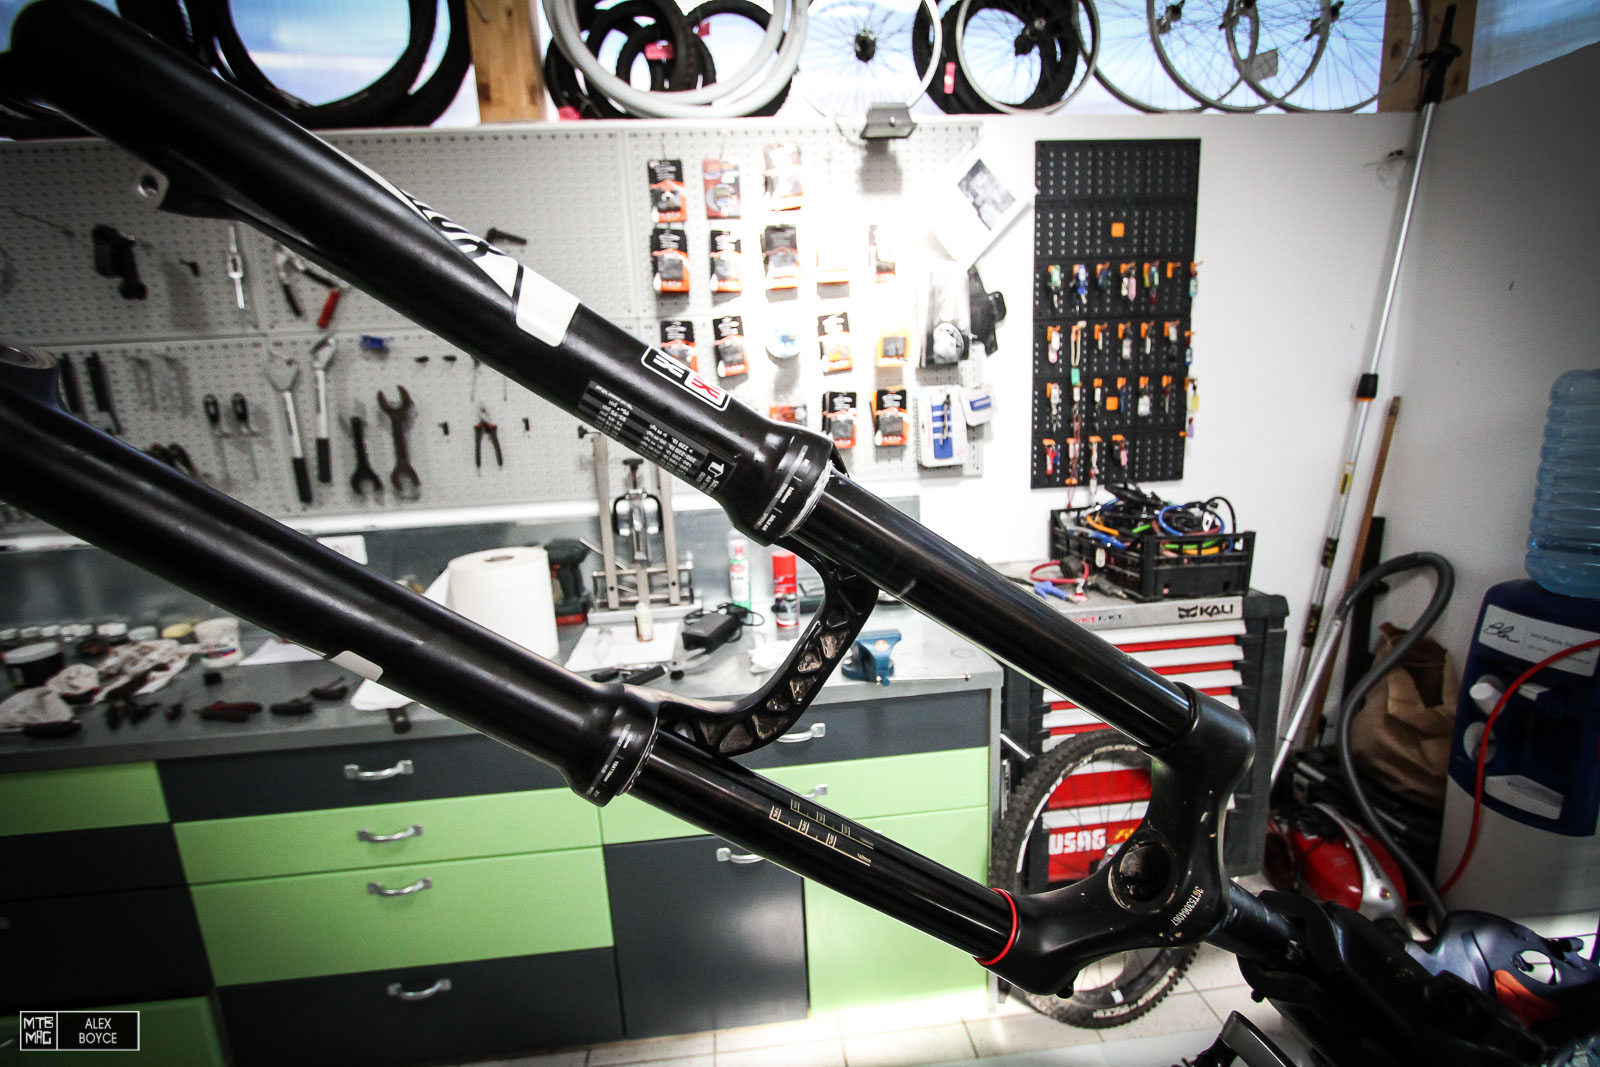
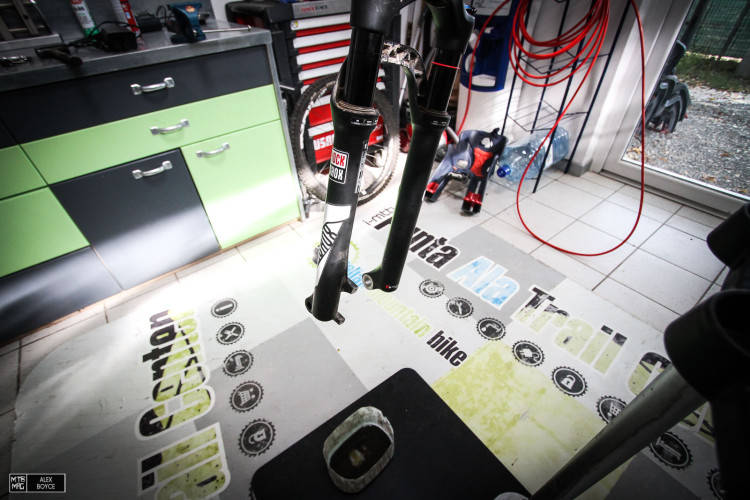
Mid travel forks like the Rockshox Pike have become quite well known for their reliability and durability. However, they do need their occasional, routine maintenance. After a dusty summer of riding in Punta Ala, we felt it was time to give our 160mm Solo air unit a quick clean and check its internals.
One element of the Pike’s well thought out design is just how easy it is for the user to perform basic service on. With that said, we would avoid opening the Charger damper cartridge unless you have the right tools and lots of experience. It is best handled by a top mechanic. In our opinion though, the rest of the fork is fair game for those who want to keep things moving smoothly, check oil levels and give it a clean.
Tools: Rockshox fork oil 0-30w, standard metric allen keys, soft hammer, torque wrench, fork pump, fork grease, bike stand (or a suitable place to hold the fork) and oil drain pan.
There are quite a lot of steps to do when breaking down a fork, if you do them carefully then the process should go fairly smoothly.
Remove the front wheel and brake caliper.
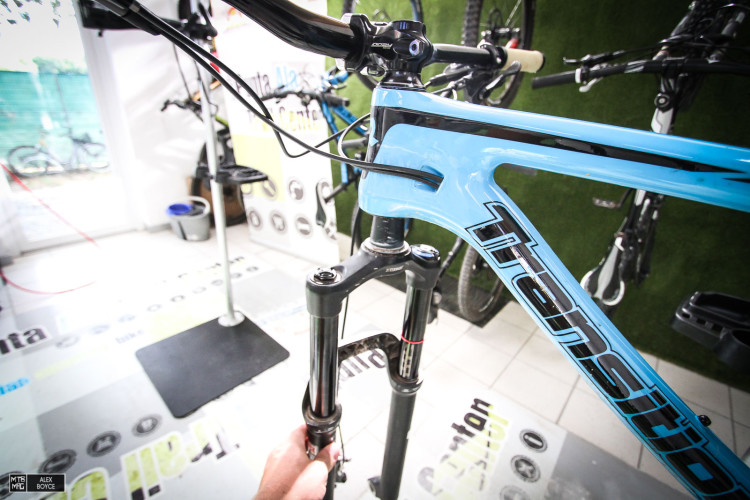
Then unclamp the stem and top cap so you can remove the fork.
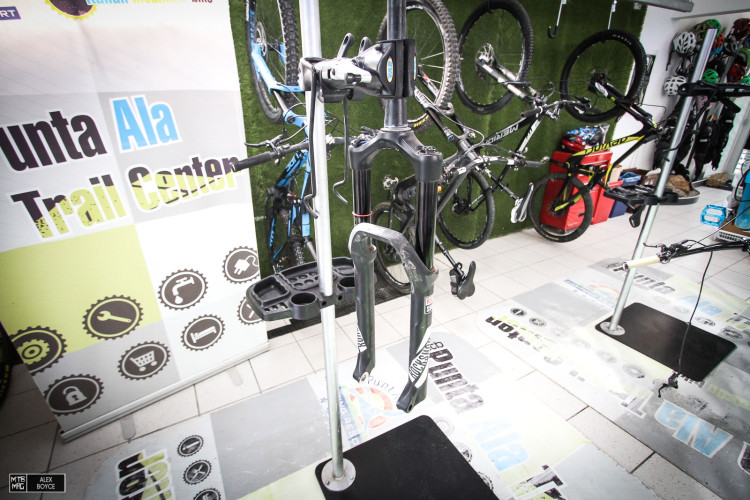
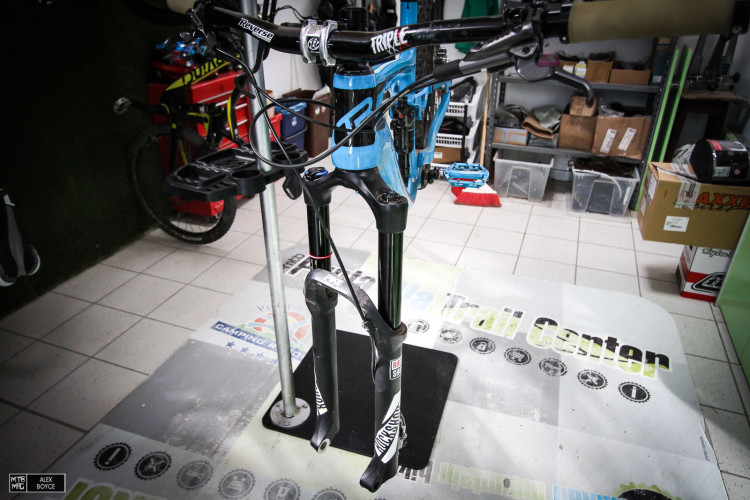
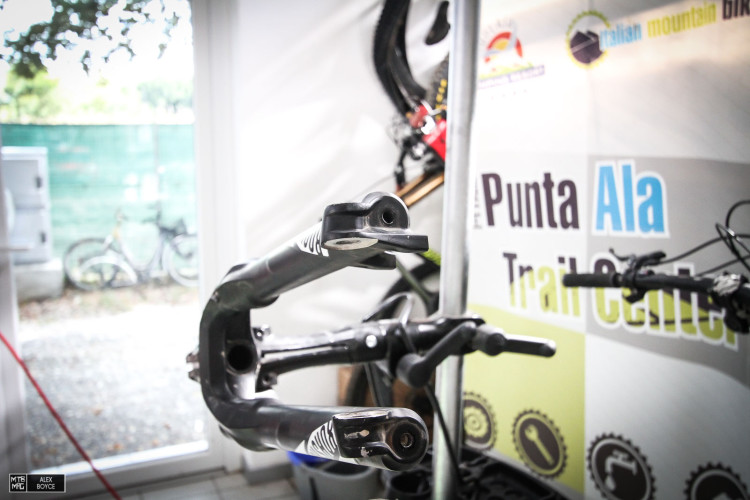
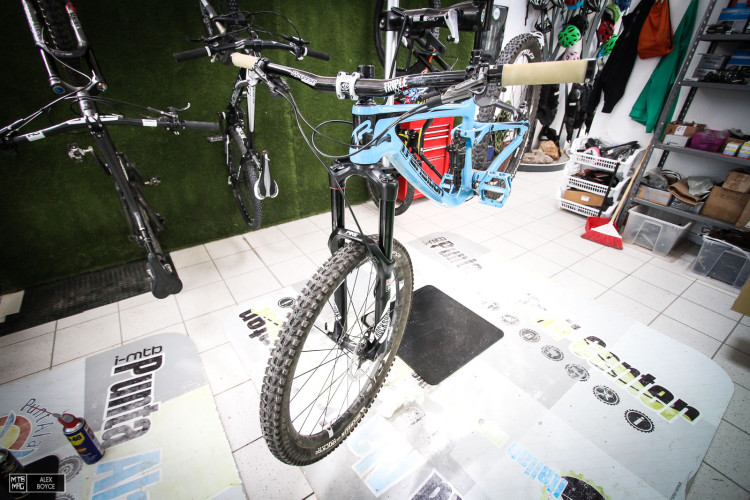
Set the bike aside and clamp the fork in a stand so it is easy to work on.
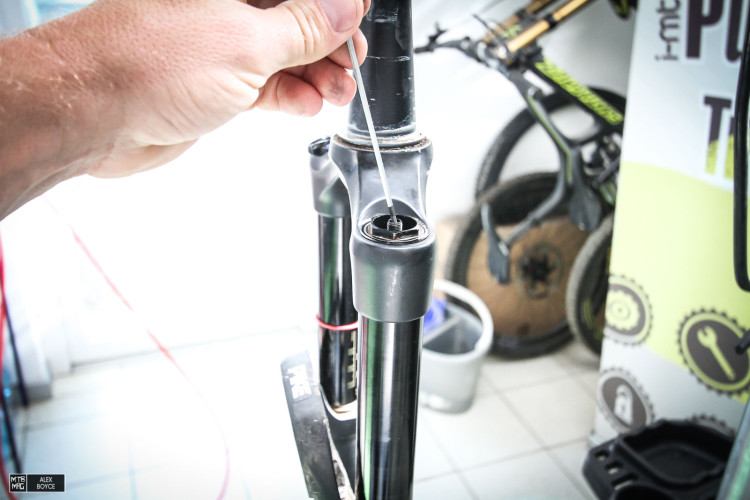
Let the air out of the air chamber by pressing the valve with a small allen key.
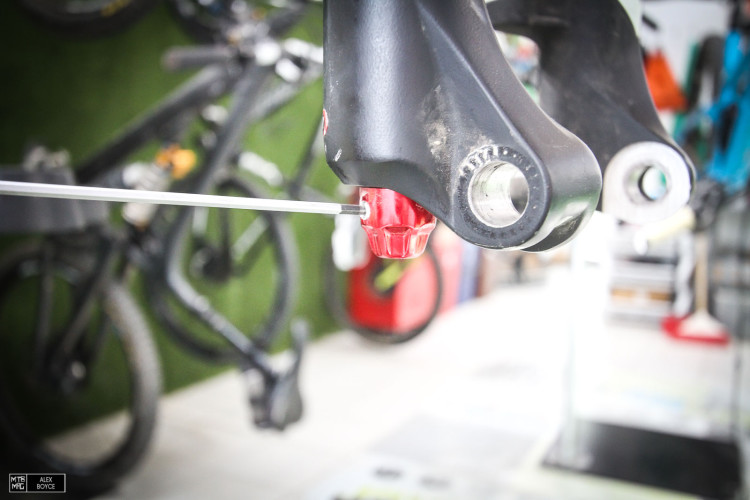
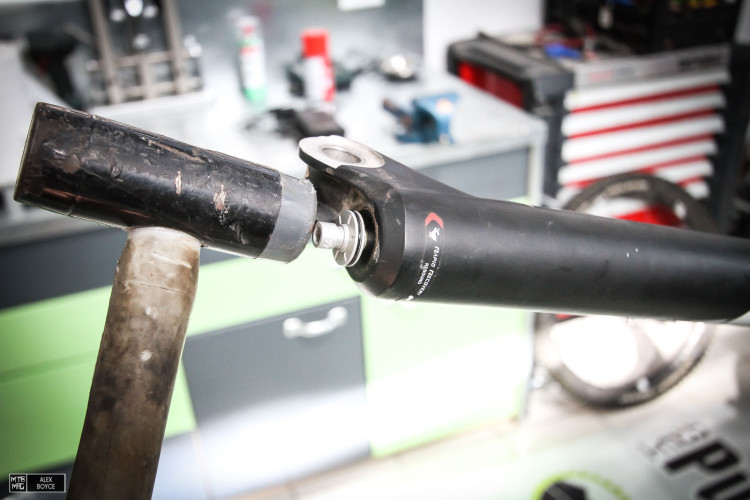
Remove the rebound adjuster knob with a 2.5mm allen key.
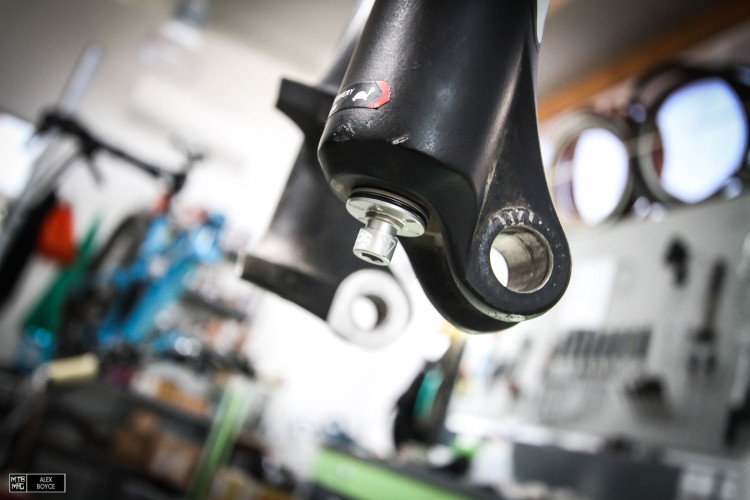
Underneath the rebound adjuster is a bolt head.
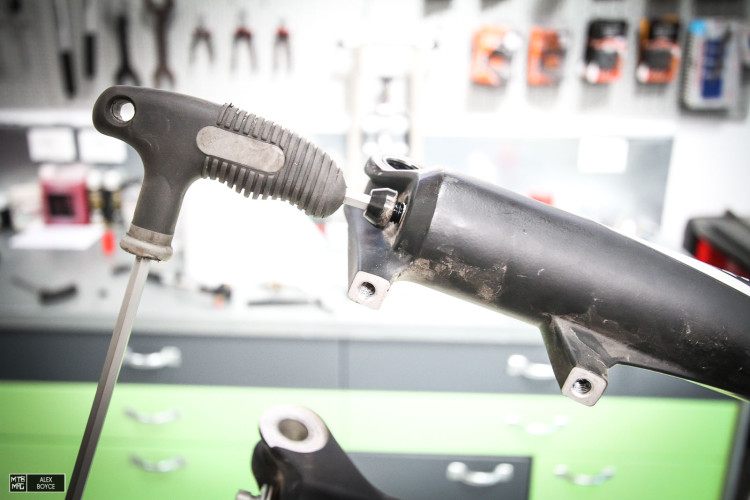
Rotate the fork horizontally and loosen the bolt heads of the lowers three full turns on both legs.
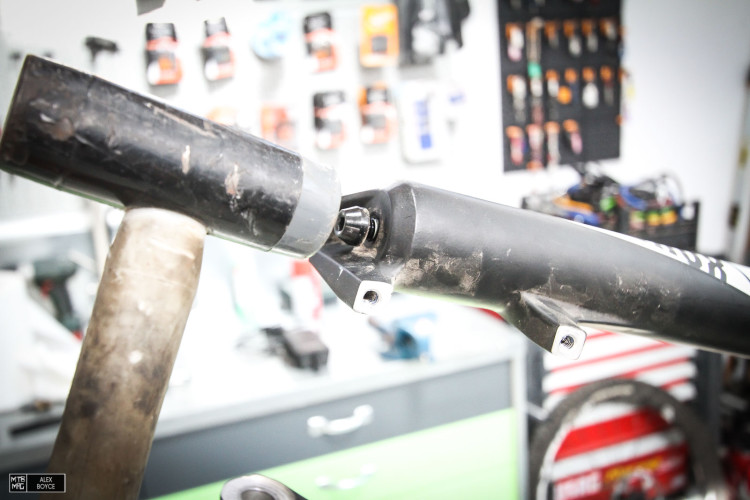
Then GENTLY use a soft mallet to tap the bolt into the lower. Make sure to tap it straight on, and not at an angle.
This action dislodges the internal damping shaft on the right side and the air spring shaft on the left side.
Now remove the bolts.
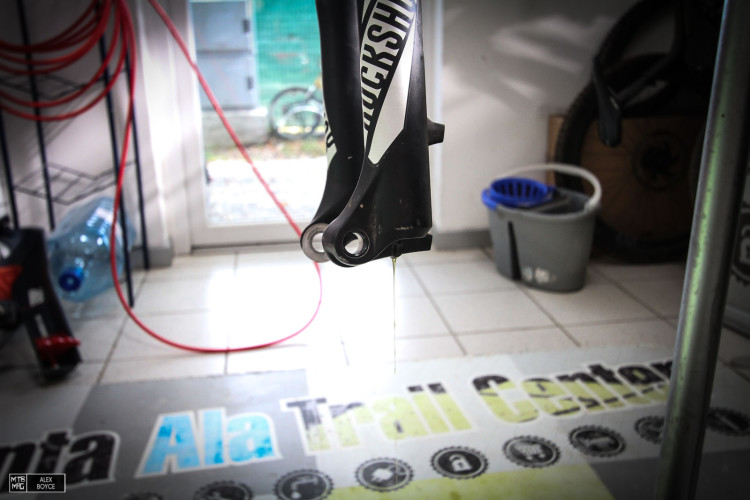
Turn the fork down wards and the old oil should drain from the fork legs. (Catch it in a drain pan).
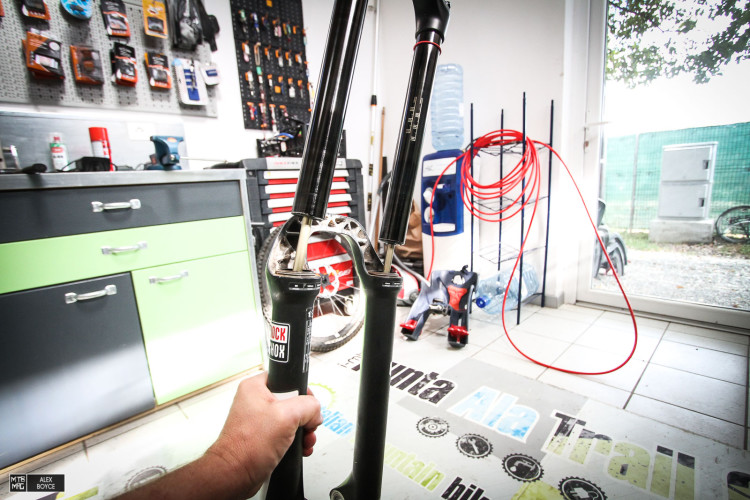
Once drained gently ease the lowers off the upper legs.

Have a look at the seals and see their condition. These are dirty but in good condition. Clean them! If old or broken, then consider replacing them. (We will show you in another article how to do that).
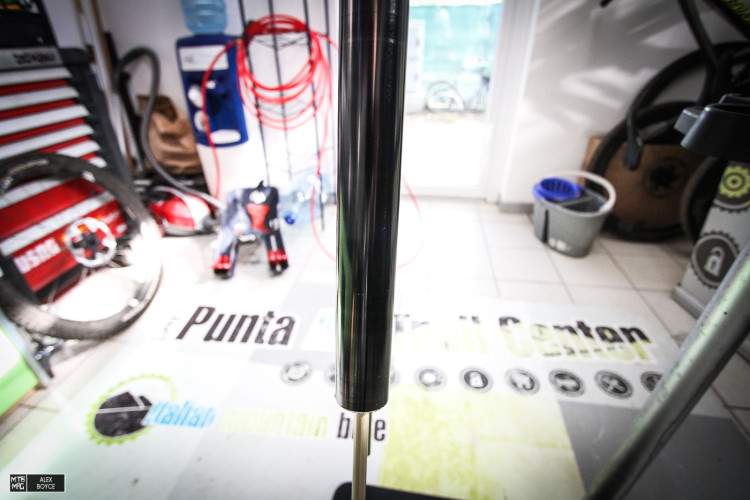
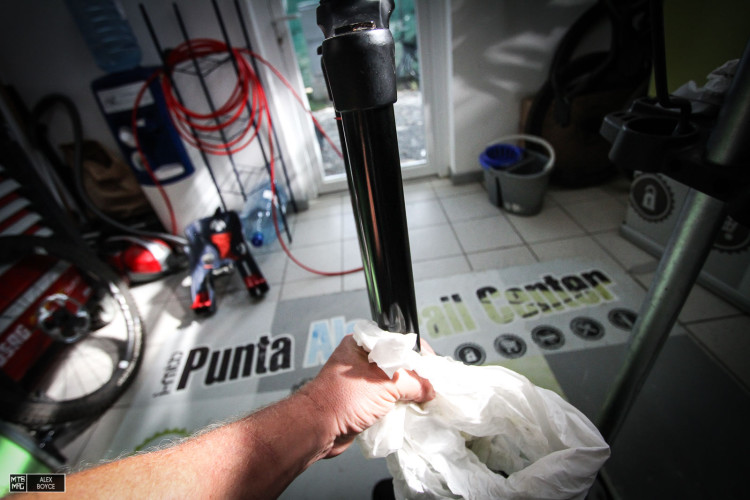
Clean the stanchions and inspect them for scratches.
At this point it is possible to stop and start re-assembly, however we have been using our fork a lot and feel that it is a good opportunity to check how well greased/clean the air piston chamber is.
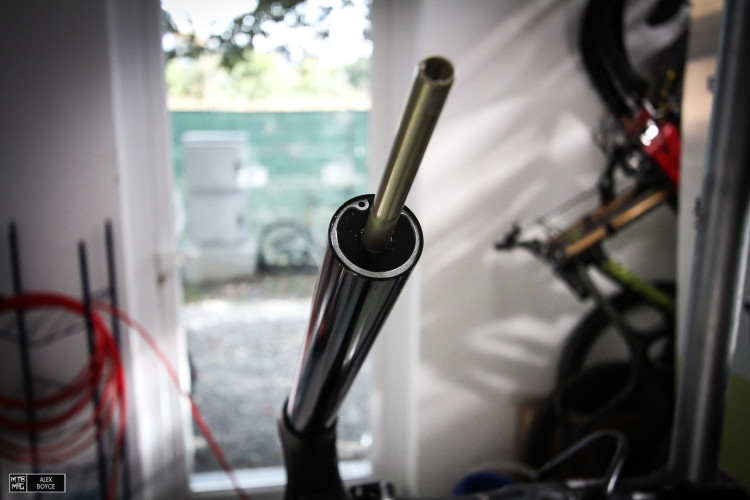
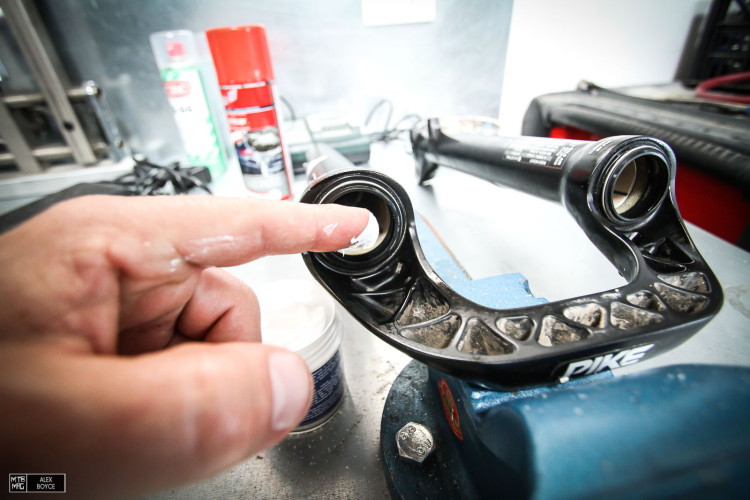
We remove the retaining clip carefully without any force.
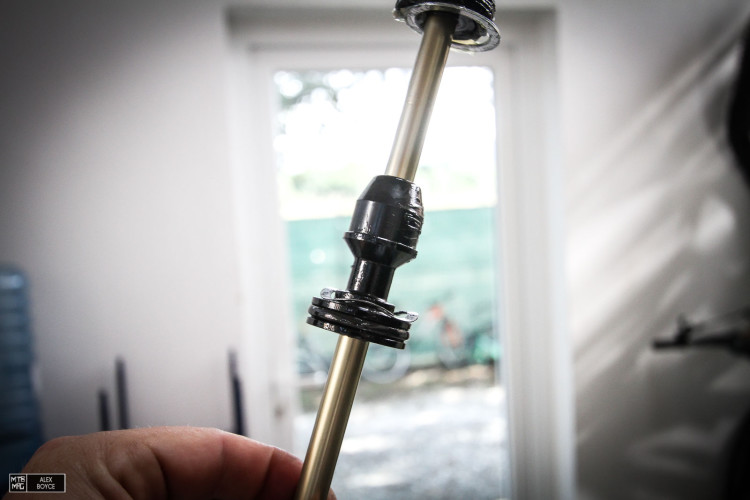
The piston pops out easily, it is clean but needs a bit more grease, don’t force this removal, we don’t want to damage any surfaces.
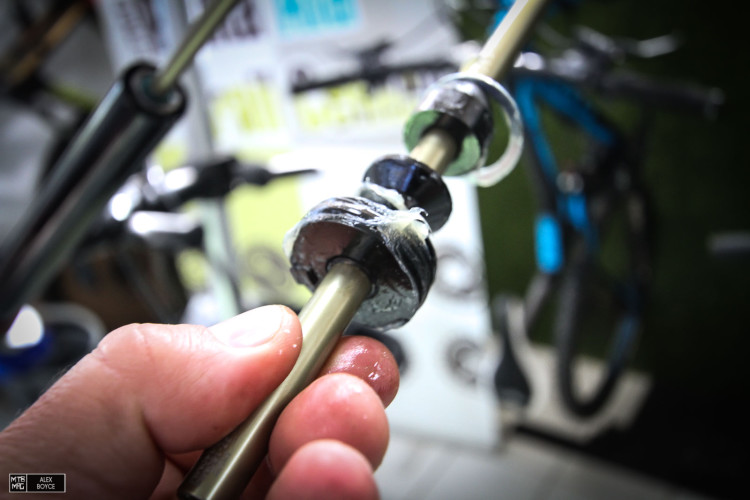
We spray isopropyl alcohol onto a rag and clean the the inside surfaces of the lower fork legs, put fresh grease on the air spring piston.
The piston is then reinserted carefully and the retaining clip is replaced. Make sure you hear an audible click.
We now add some fork butter to the cleaned wiper seals.
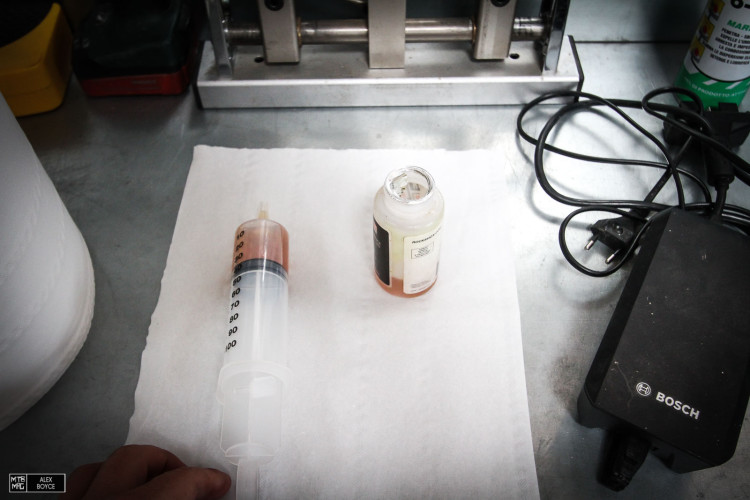
Take some Rockshox 0-30 fork oil and prepare a syringe with 20 ml.
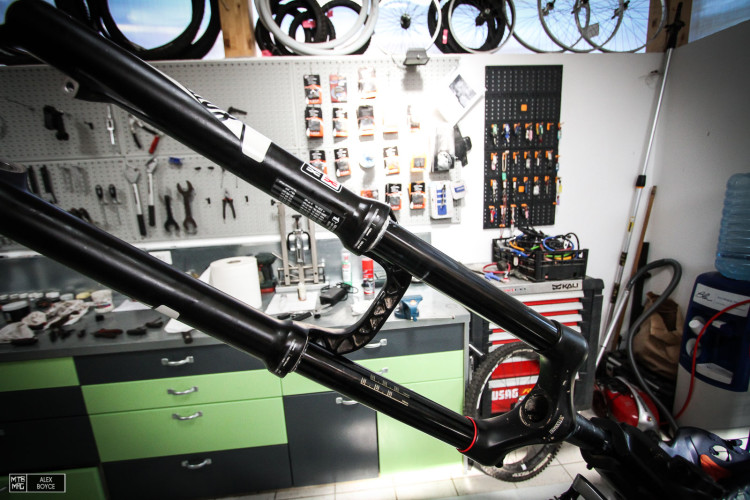
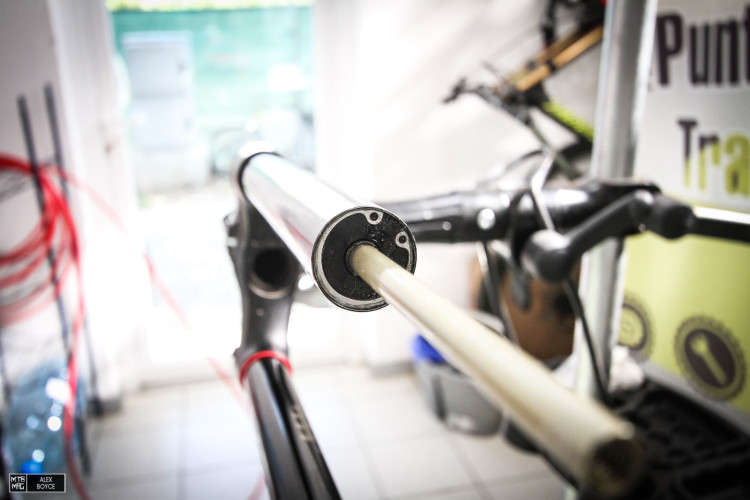
Rotate the fork upright and replace the lowers onto the sliders.
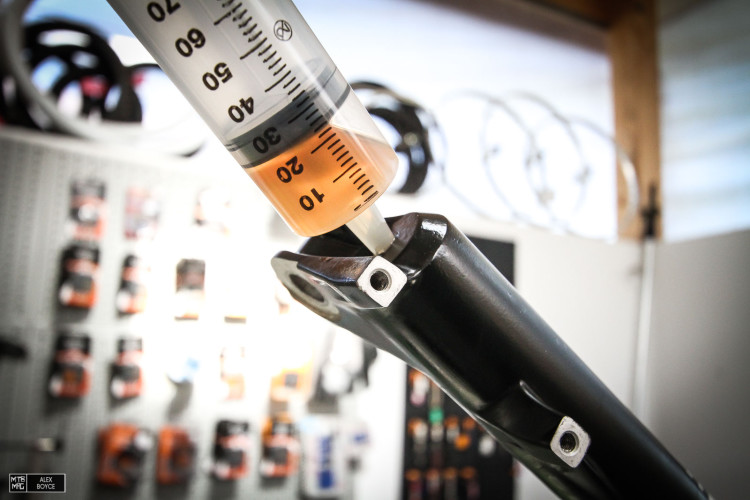
We then put 10ml (according to RockShox’ technical specifications) into each leg.

We then remount the bolts and tighten gently. This should be checked with a torque wrench to 7.3 N·m (65 in-lb).

Then replace the rebound knob and tighten its set screw.
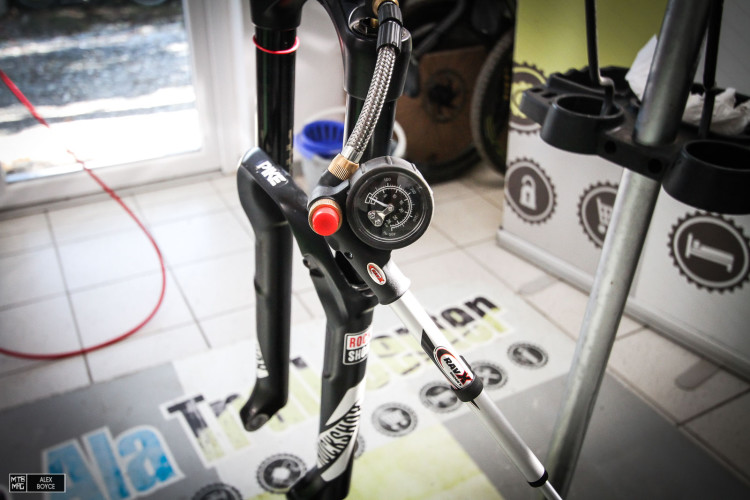
Pump up the fork to a few PSI, to check all is in order.
Remount the fork, set your sag and off you go!
Tech Service @ Punta Ala Trail Center