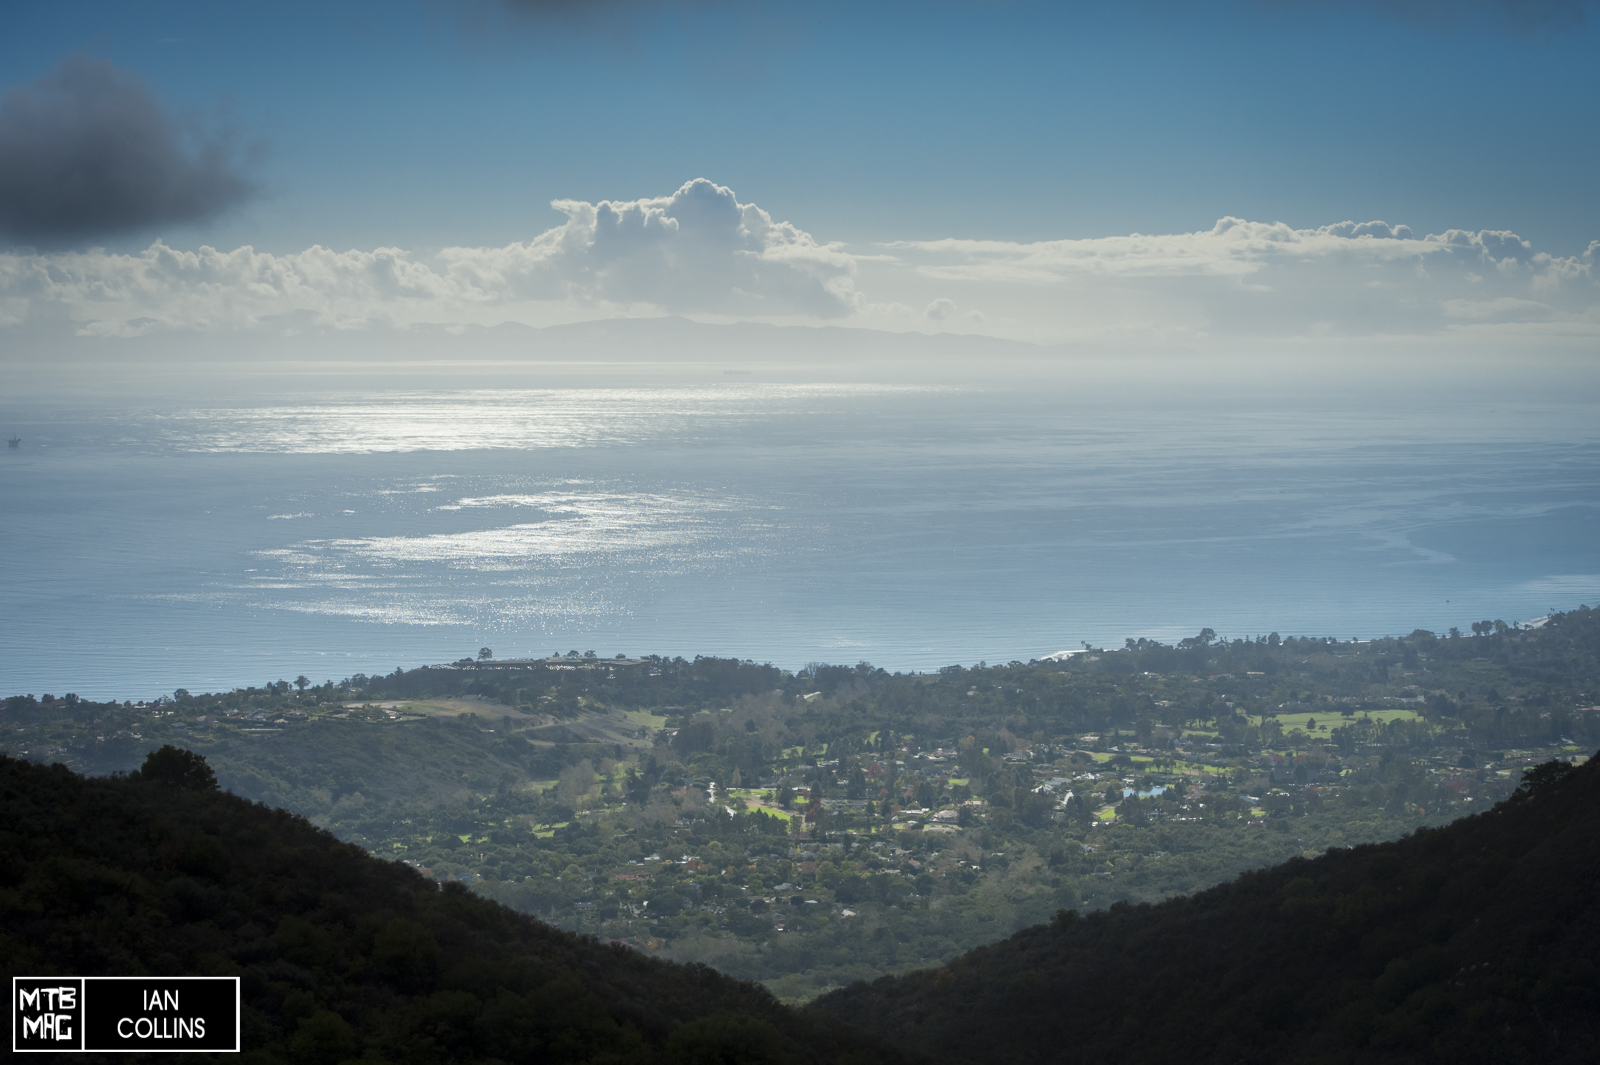
Welcome to Santa Barbara, California. This central coast gem is home to a large network of world class mountain bike trails. What’s unique about the area is that just a couple of miles inland from the Pacific Ocean, mountain peaks just up to 6,800 feet in the air. While those aren’t large by global standards, they’re pretty big and steep considering the are practically shooting up right out of the water. Speaking of water – unlike the majority of the riding in Southern California, the temperatures are very fair here due to the large body of water conveniently located due west.
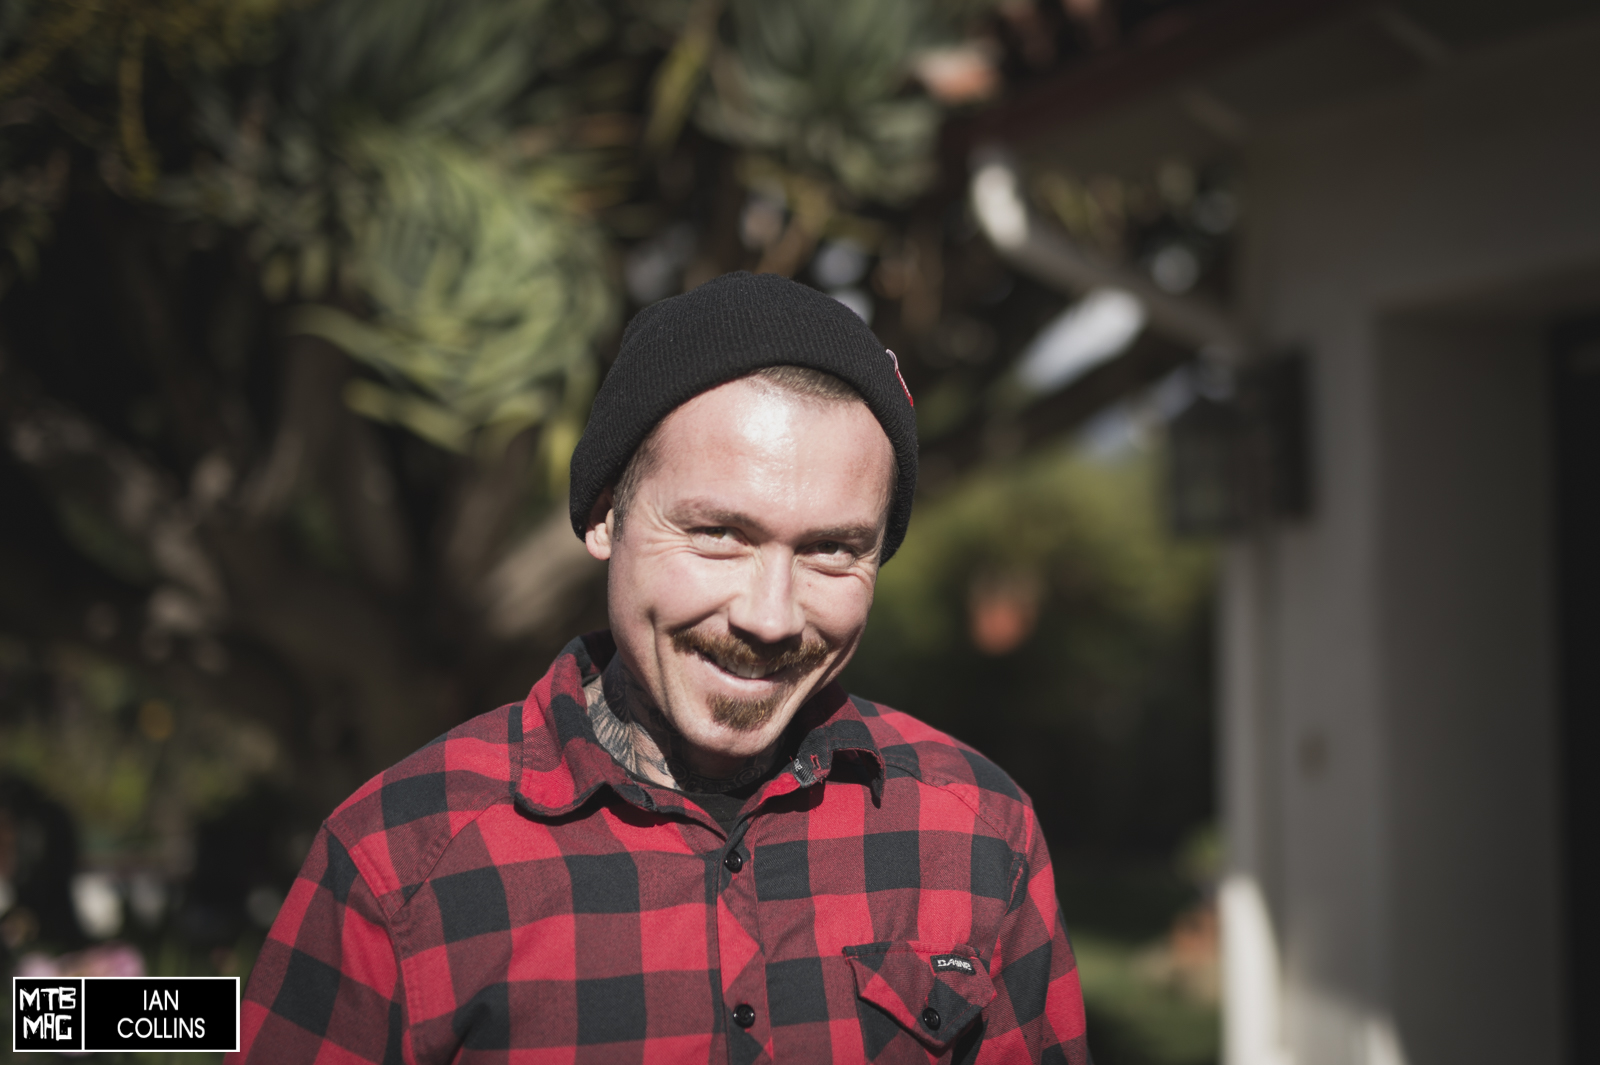
We recently had a chance to get a guided tour of these trails with ex-world cup DH racer, Duncan Riffle. A Santa Barbara native himself, it wasn’t an easy task to keep up with Duncan in his back yard. As the PR guy for MTB at SRAM, one of the reasons Dunc Dog extended the offer was to give us a run down on Debonair for Monarch and Monarch Plus, and show us how easy it is to not only install the air can as an upgrade kit, but to fine tune it trailside as well. Before we get into the meat of the installation/tuning part, we may as well document our hero dirt filled ride and kill two birds with one stone.
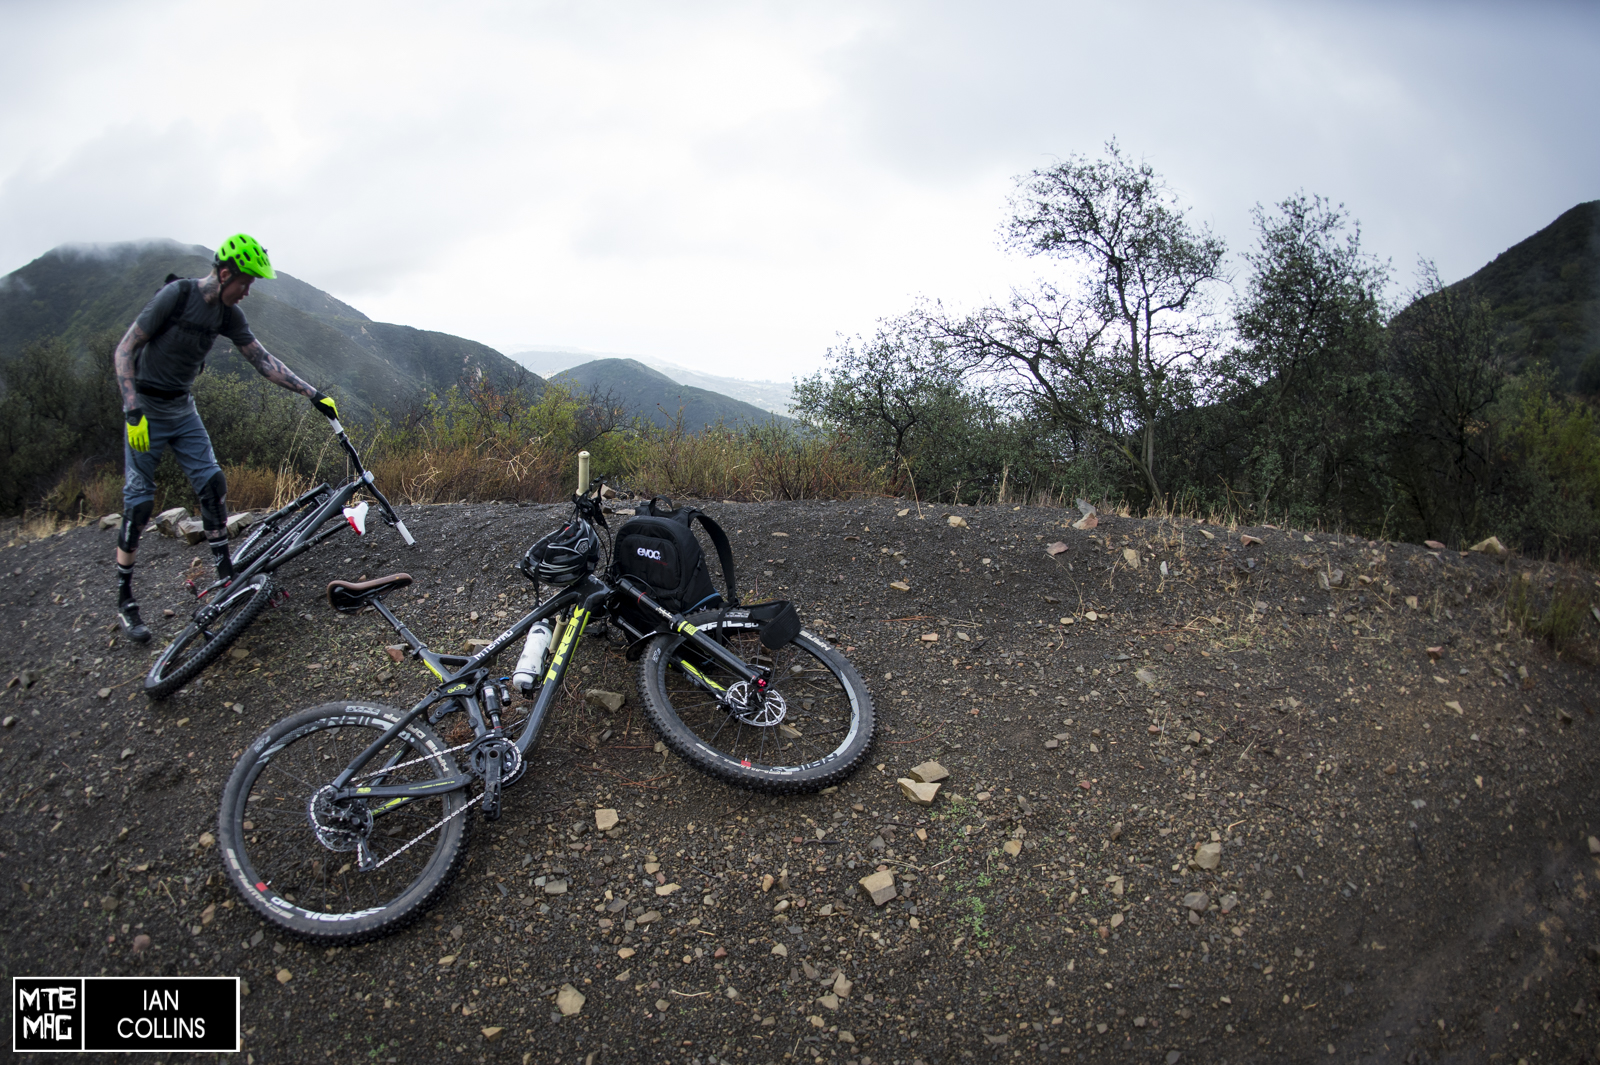
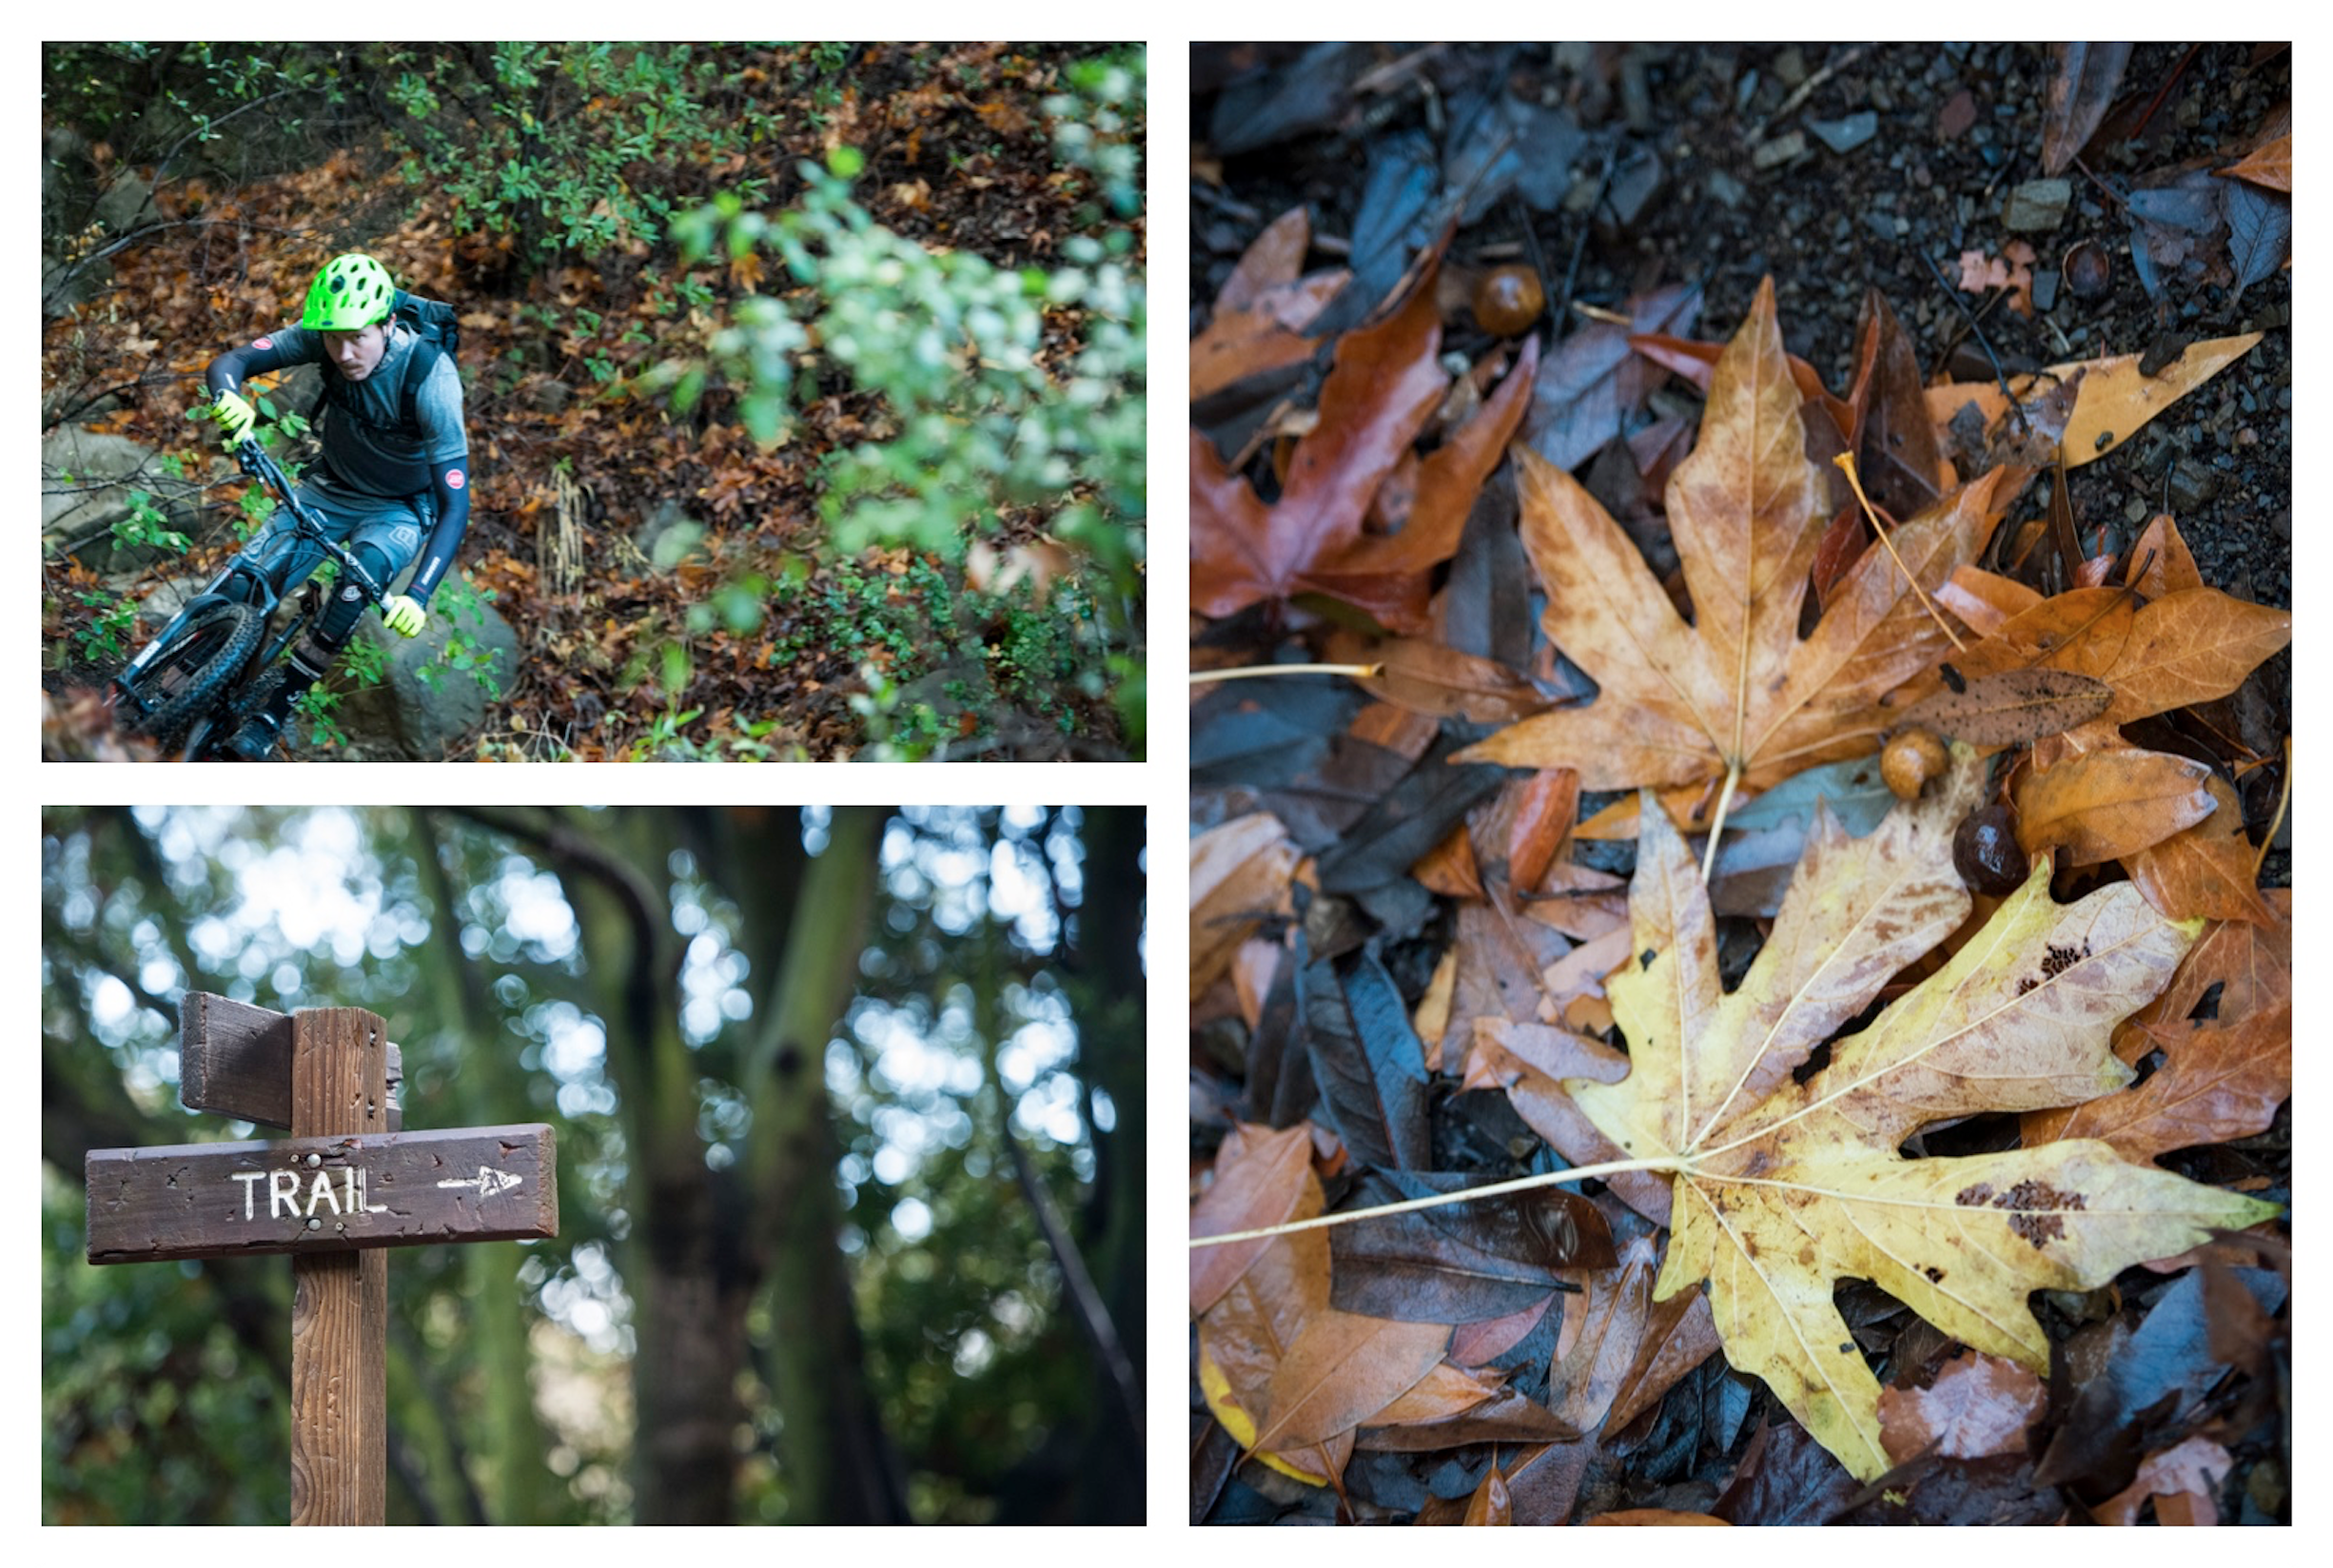
Like most good rides, it starts out with a big climb. You could take the easy route and shuttle a great deal of these trails, but we took the scenic route and earned it. 25 pound camera bag and all.
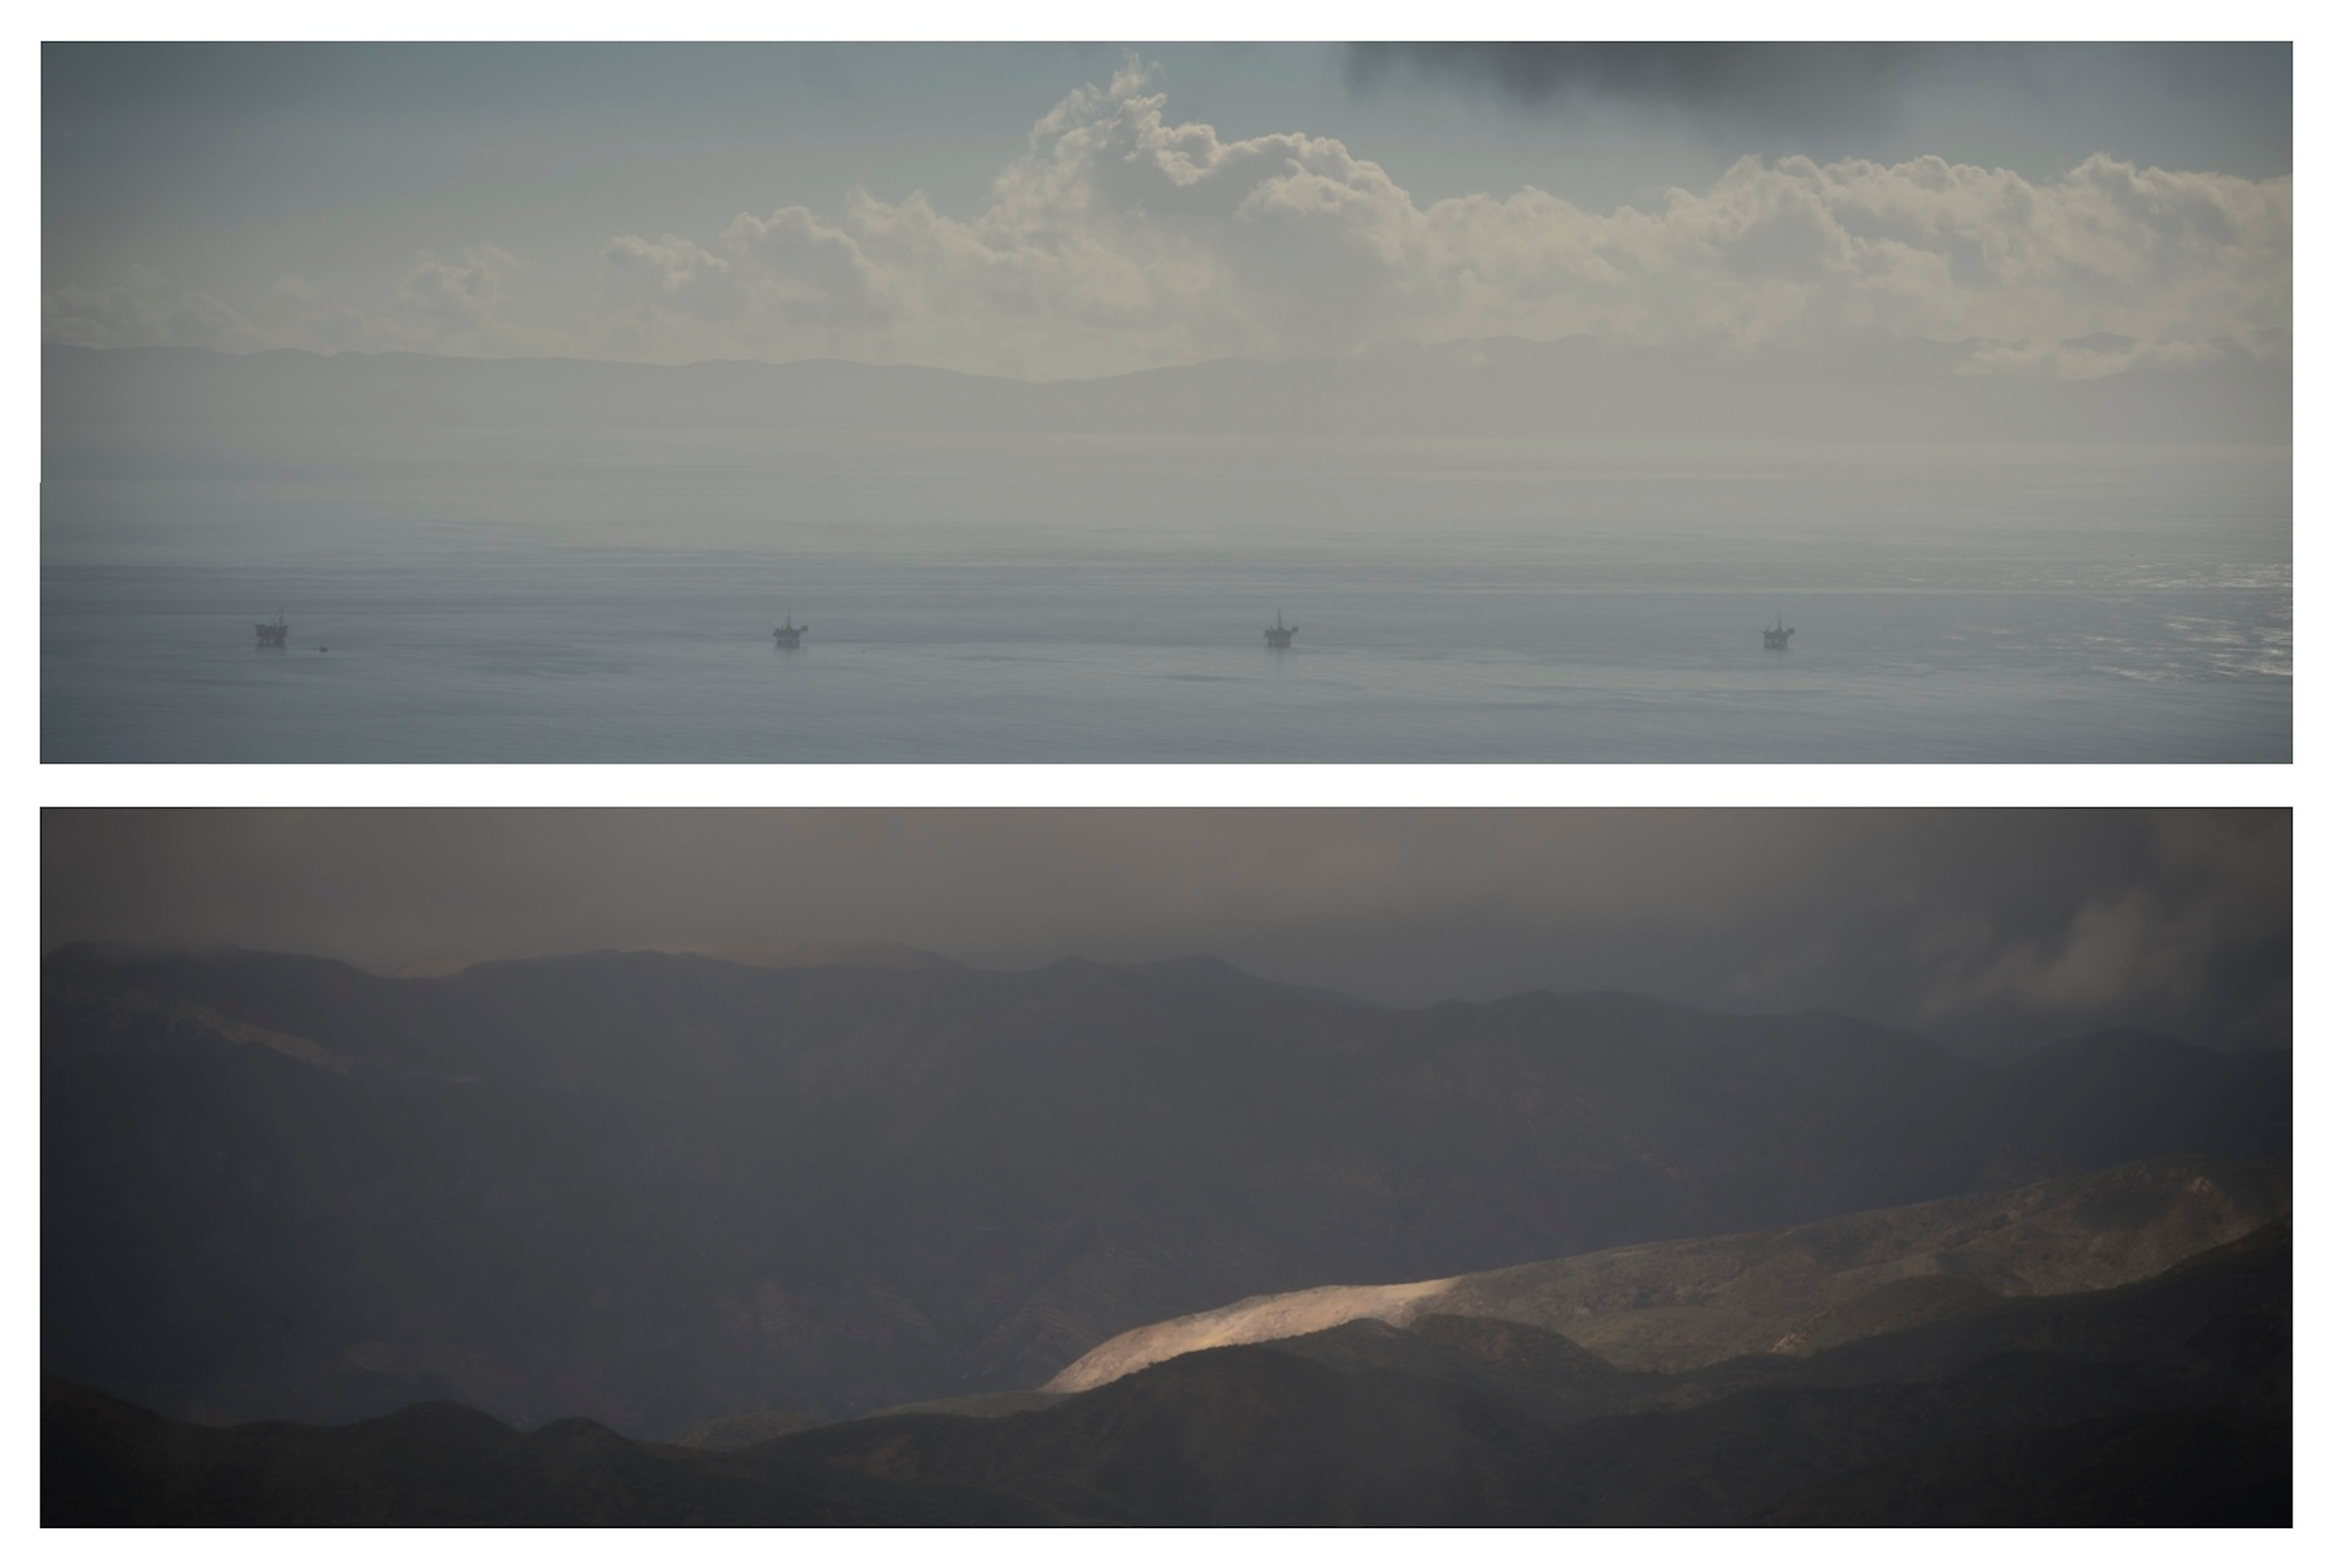
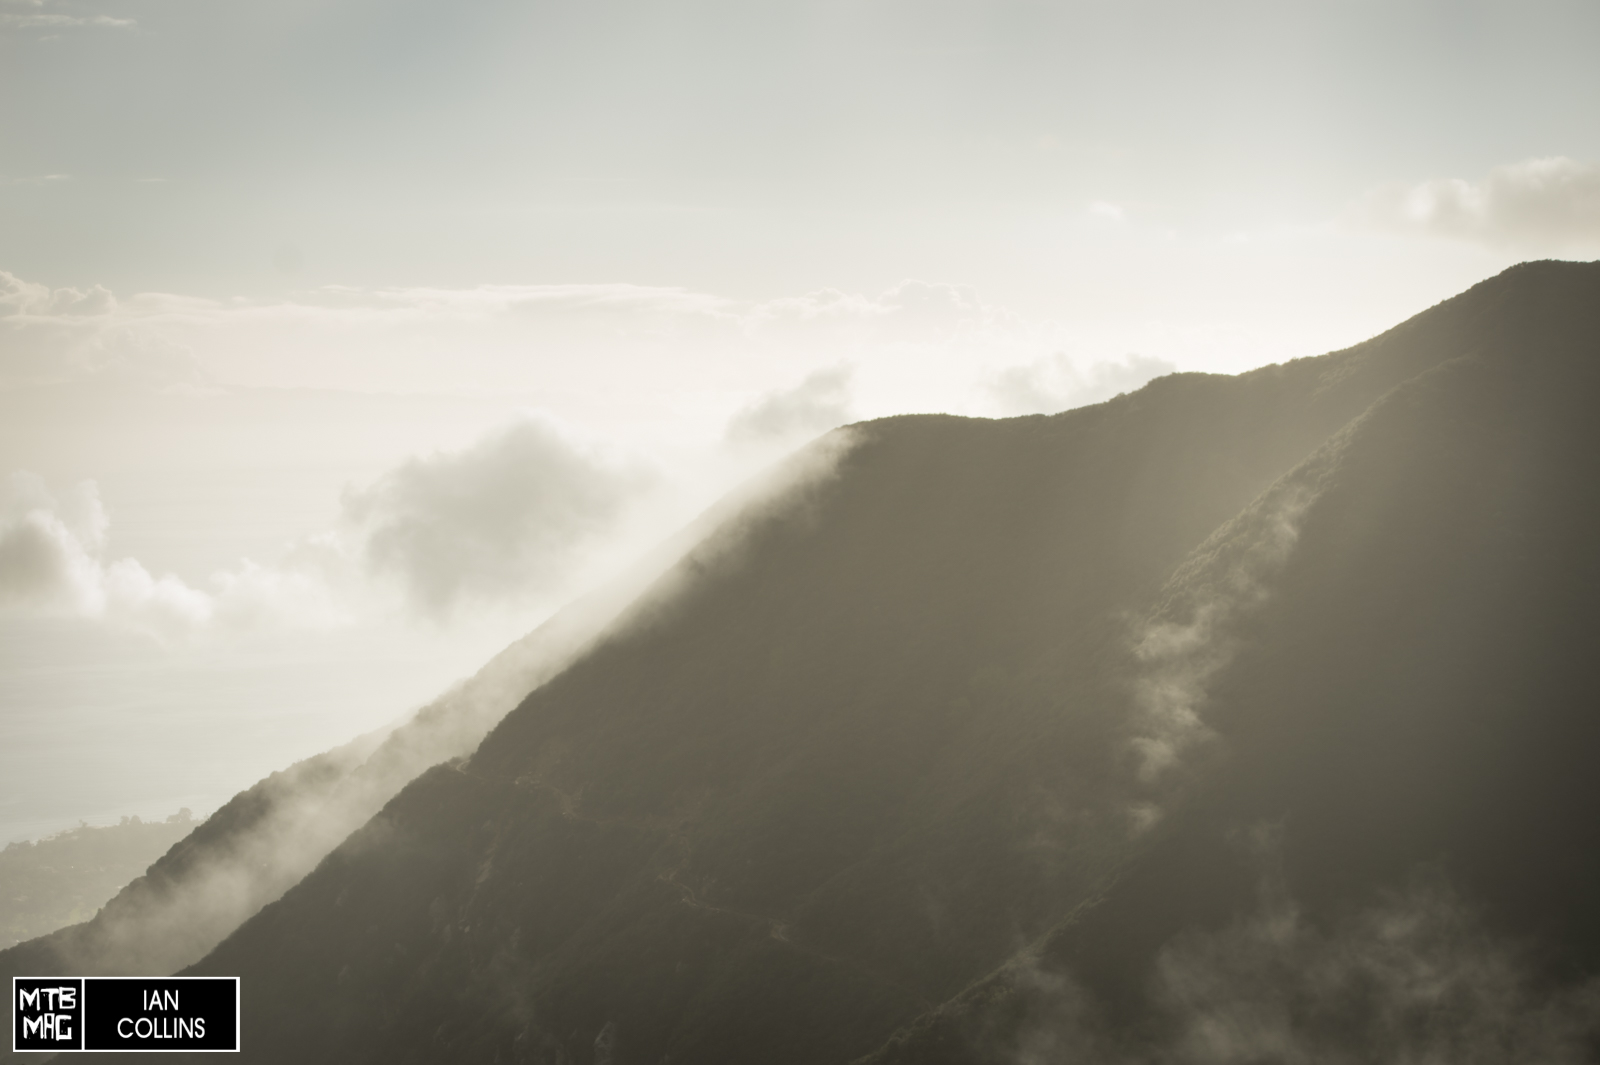
Four Large oil rigs are almost always visible off the Santa Barbara coastline, about halfway to the Channel Islands. A series of very lightly inhabited islands about 25 miles west. North a bit, an even larger set of mountains loom in the distance.
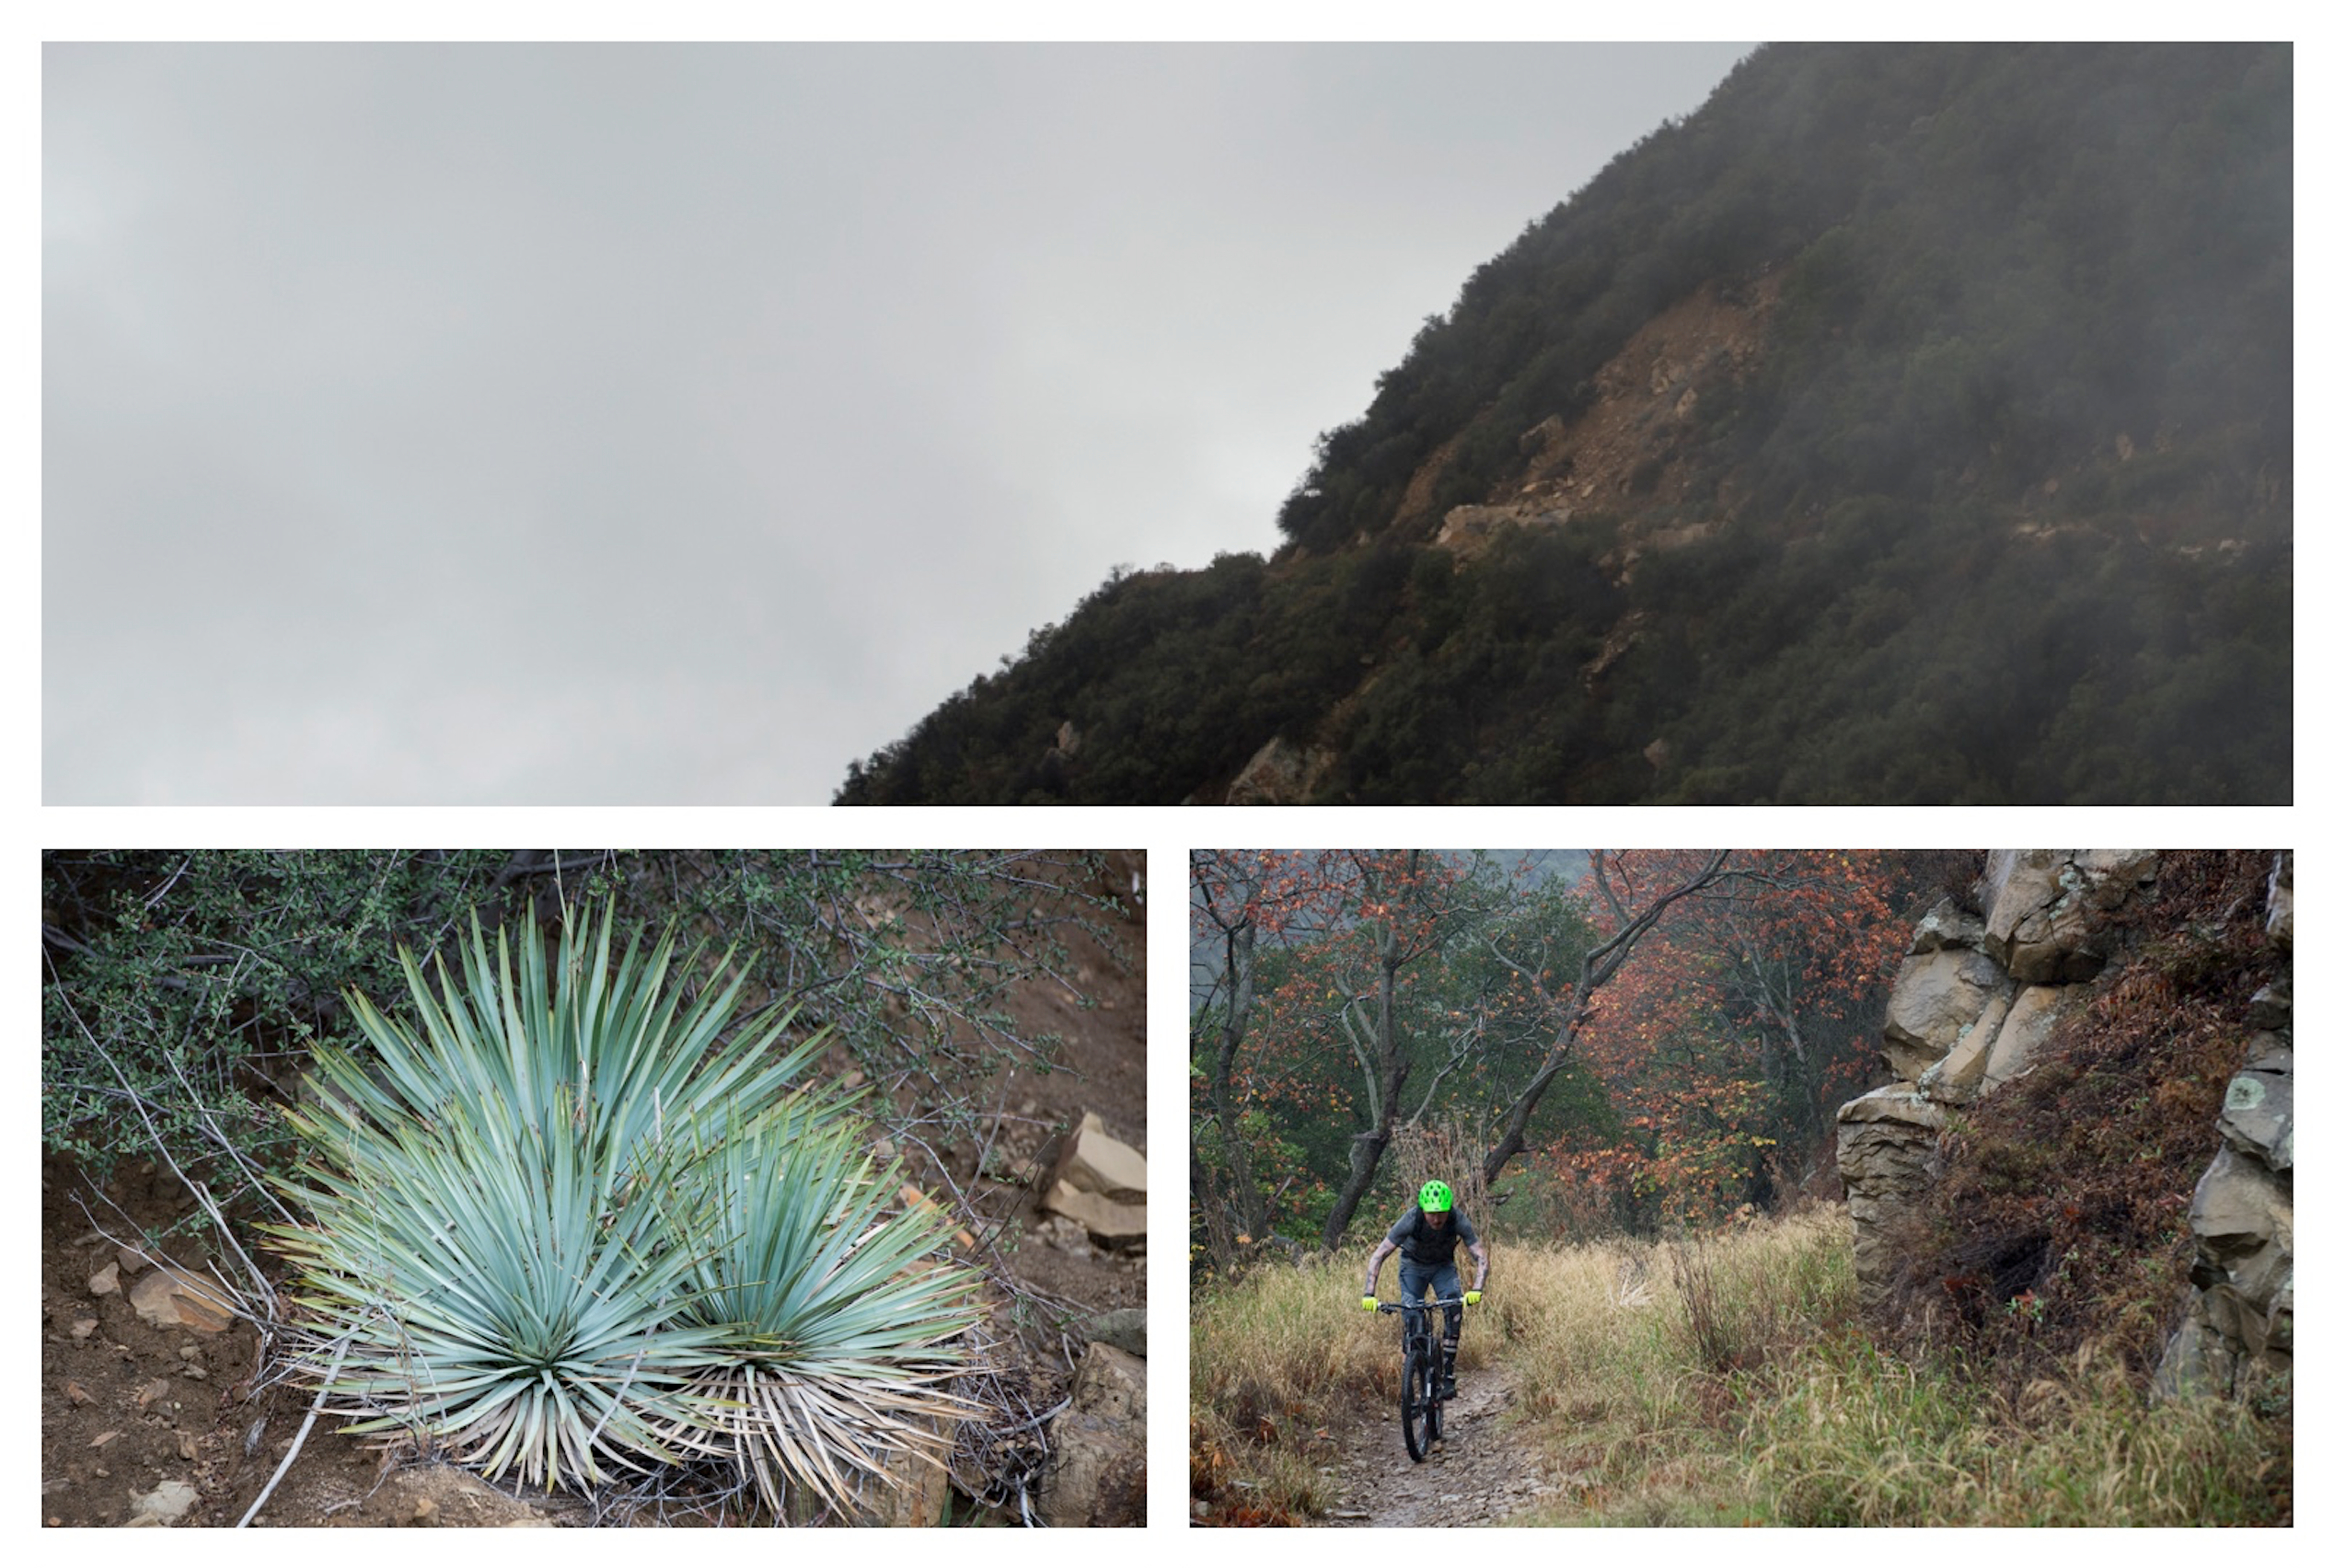
Duncan decided to take us on a trail we’d never done before called Romero Canyon – he has ridden it countless times. It was nice to just sit and spin the climb on a meandering fire road most of the way up. With both of us on 160mm bikes, we weren’t trying to be heroes on a bunch of technical climbs. Slow and steady on the way up, we were more concerned with the descent.
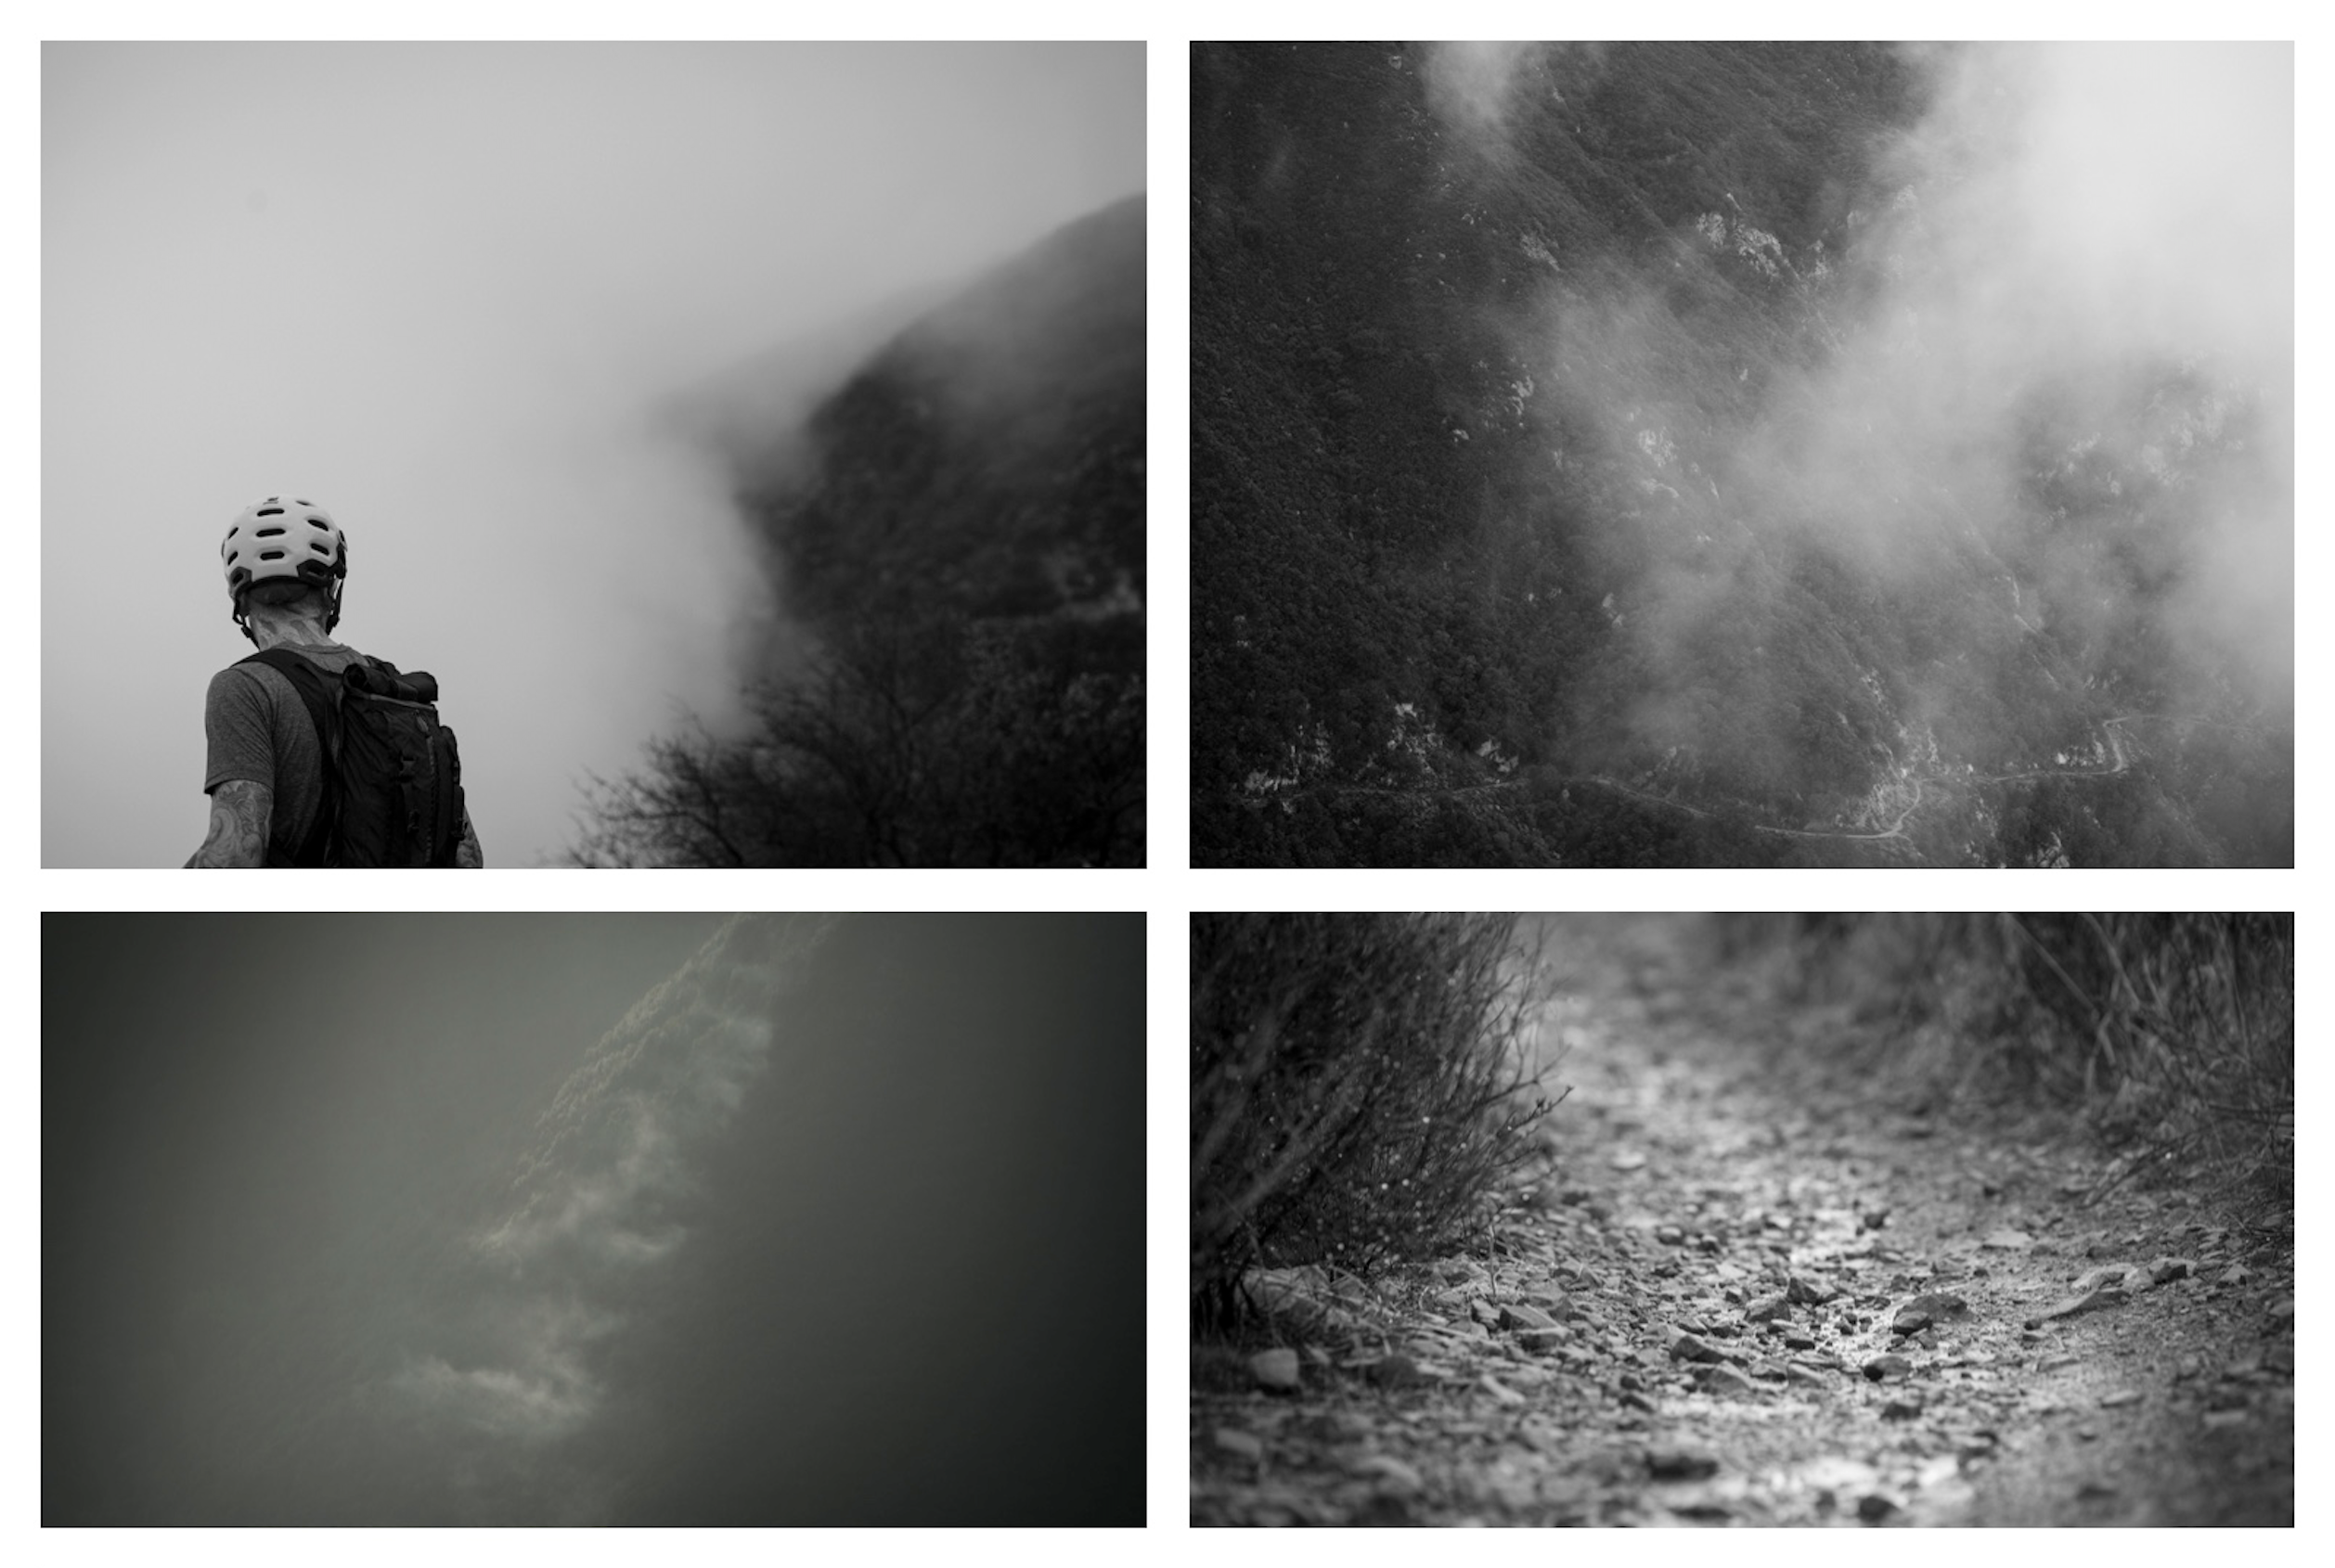
We were extremely fortunate to have been graced with some rain on the way up to cool us off. As it rained the day before, the trails were already in prime condition. The additional misting and sprinkling just kept us cool. Thanks Mother Nature.
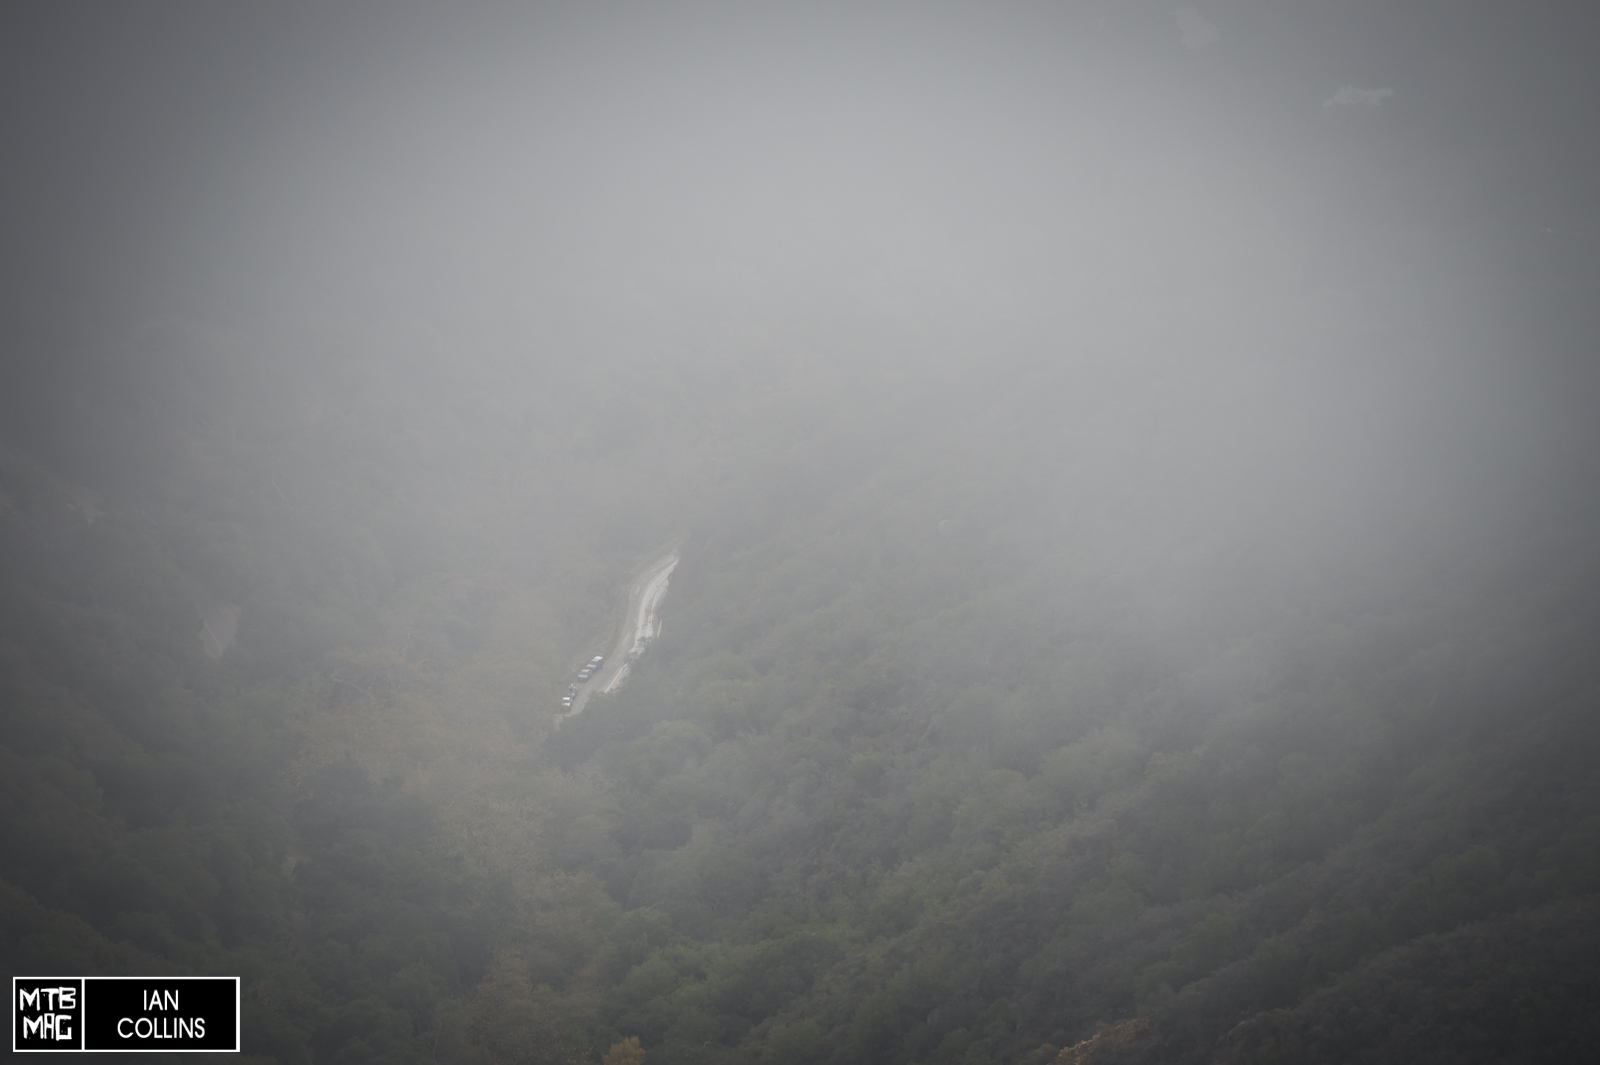
About 1/4th of the way up, there are our trucks down below zoomed to 200mm.
#nofilter

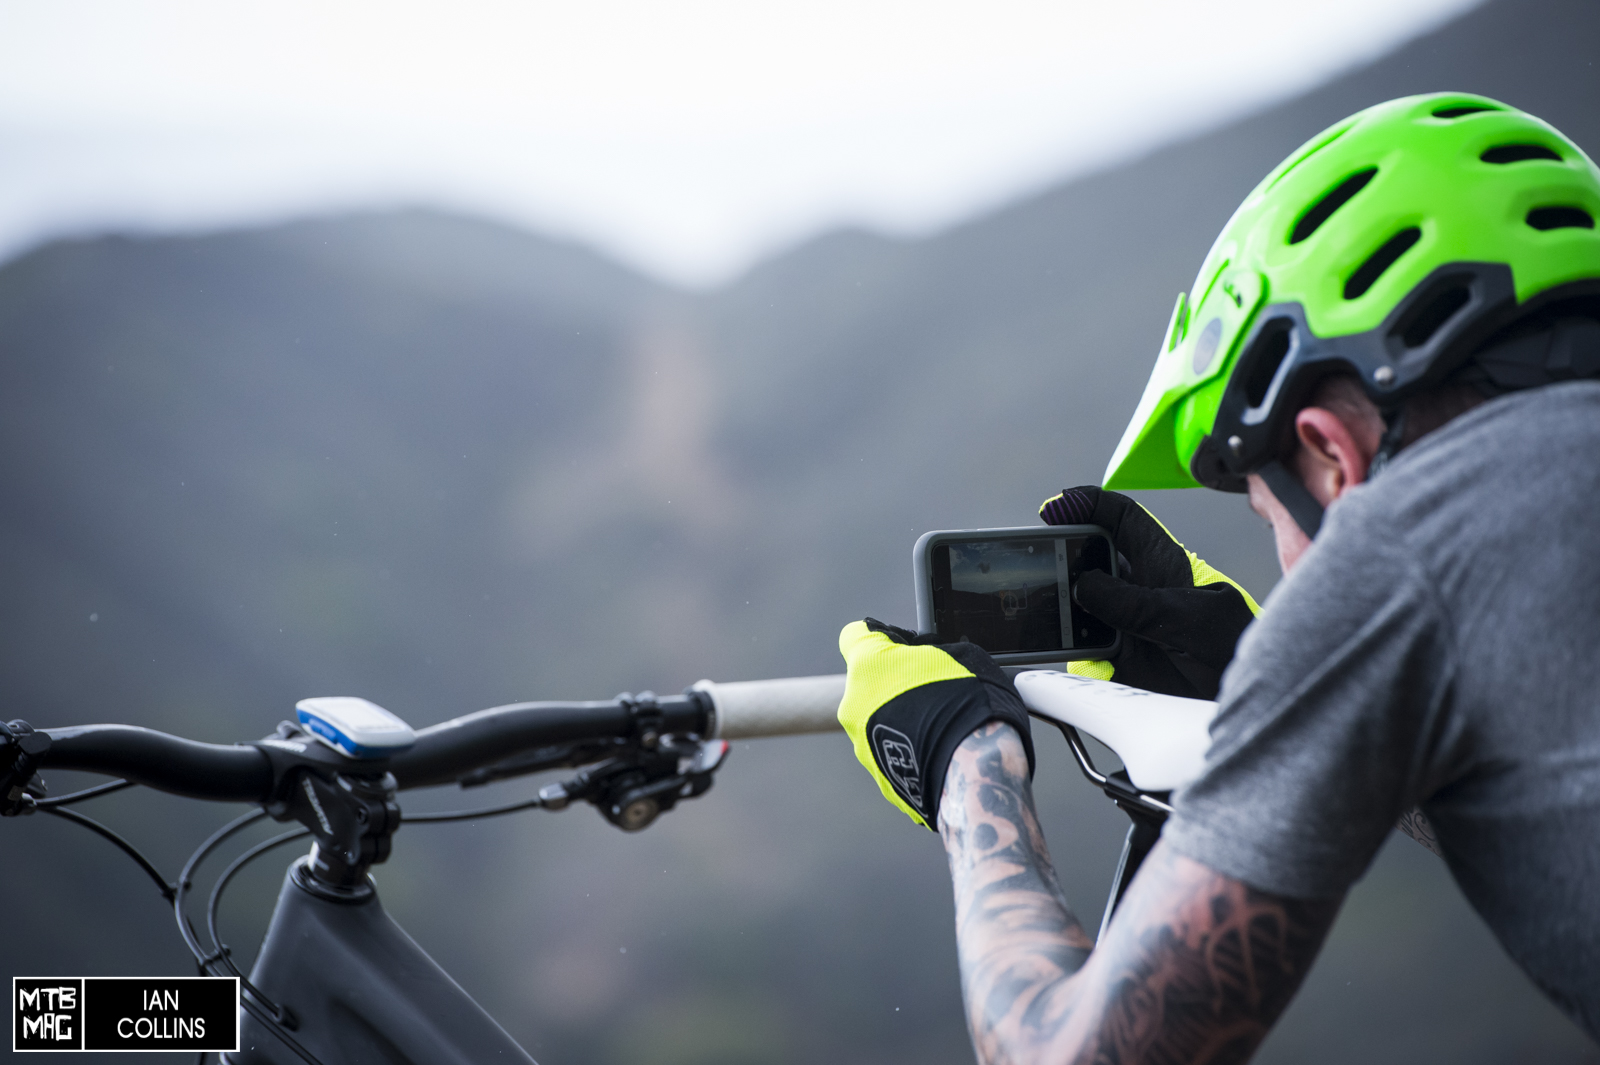
After a quick stop for some Instagram opportunities, and maybe to give our legs a rest, it was time to keep trekking.
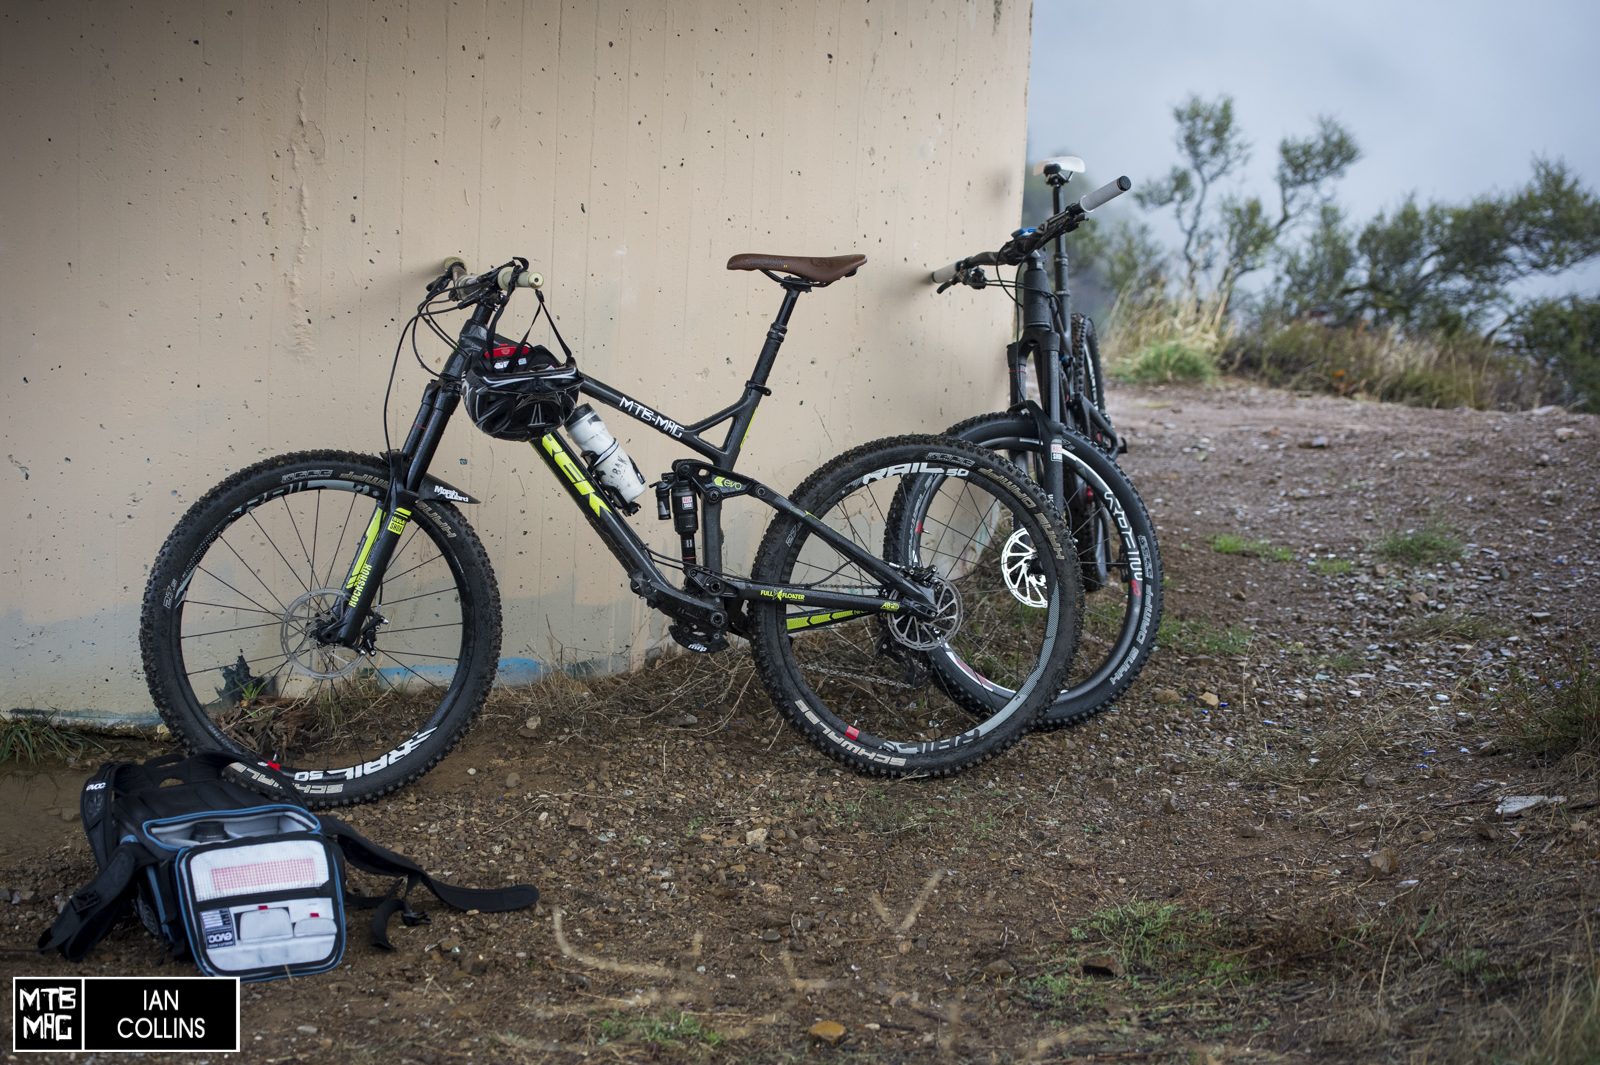
We took cover and hid from some showers as we finally start to poke through the clouds, D-Riff’s new Nomad is hiding in the background. It has a special new bit on it from SRAM that we can’t show you yet, but when we can you’ll have the first peek and a nice bike check on his whip.
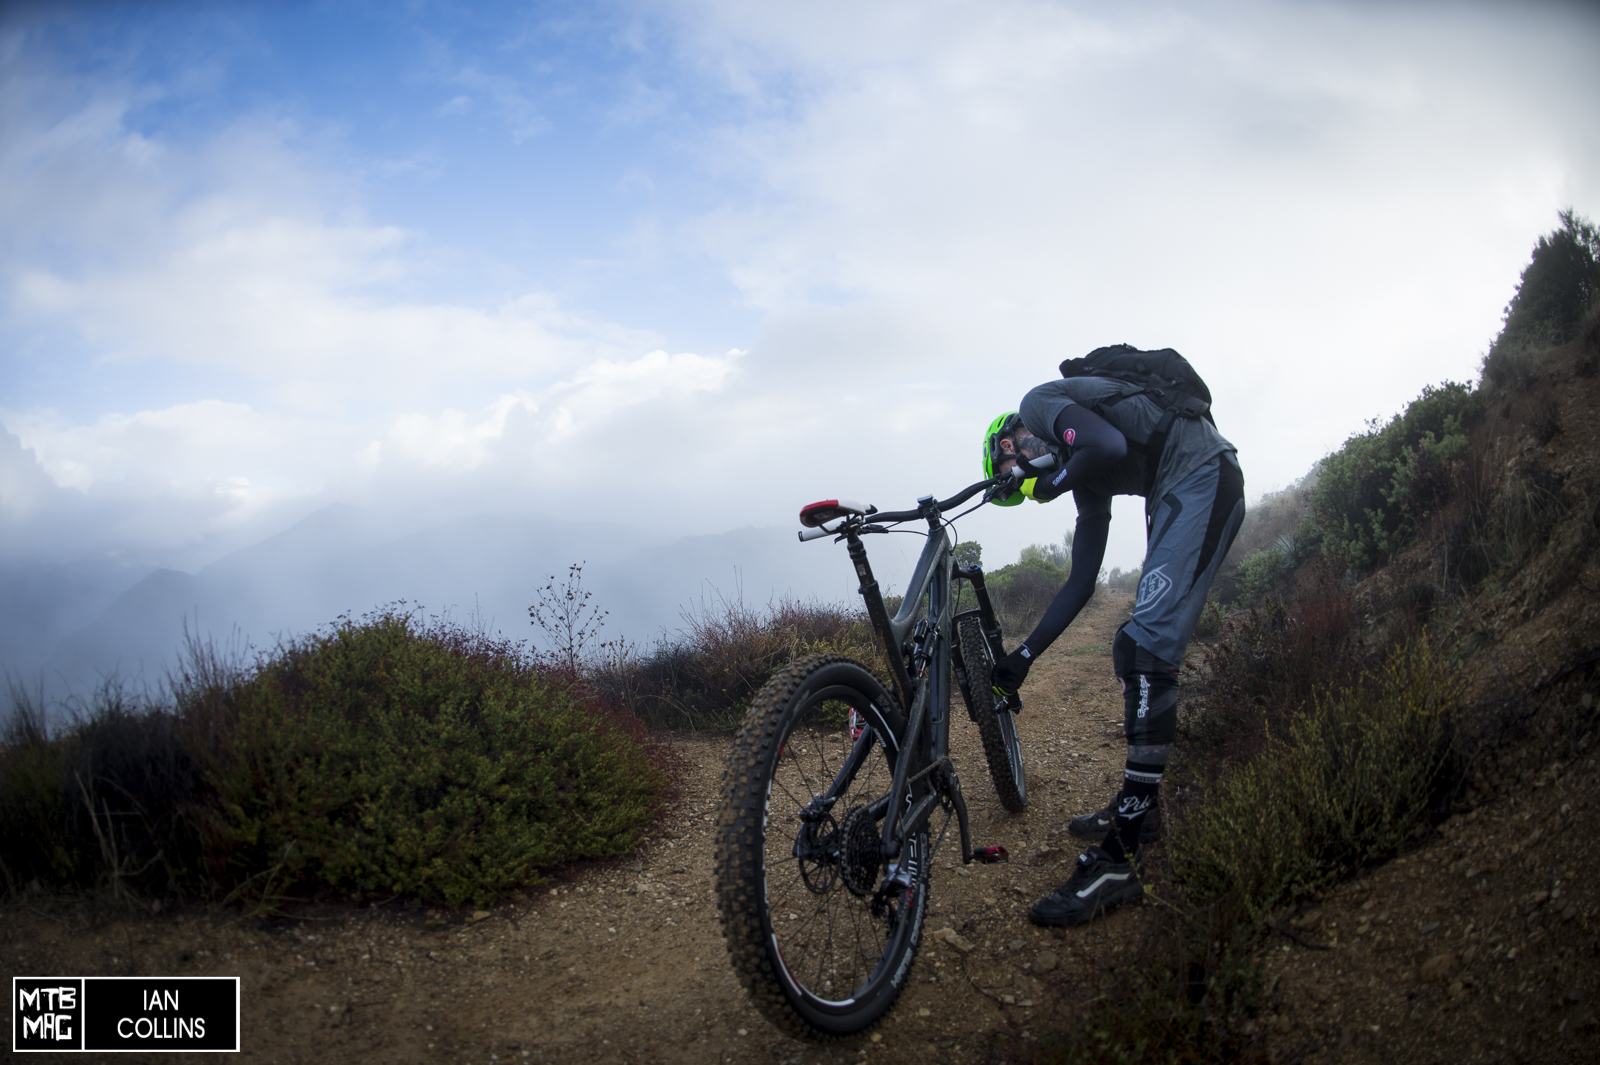
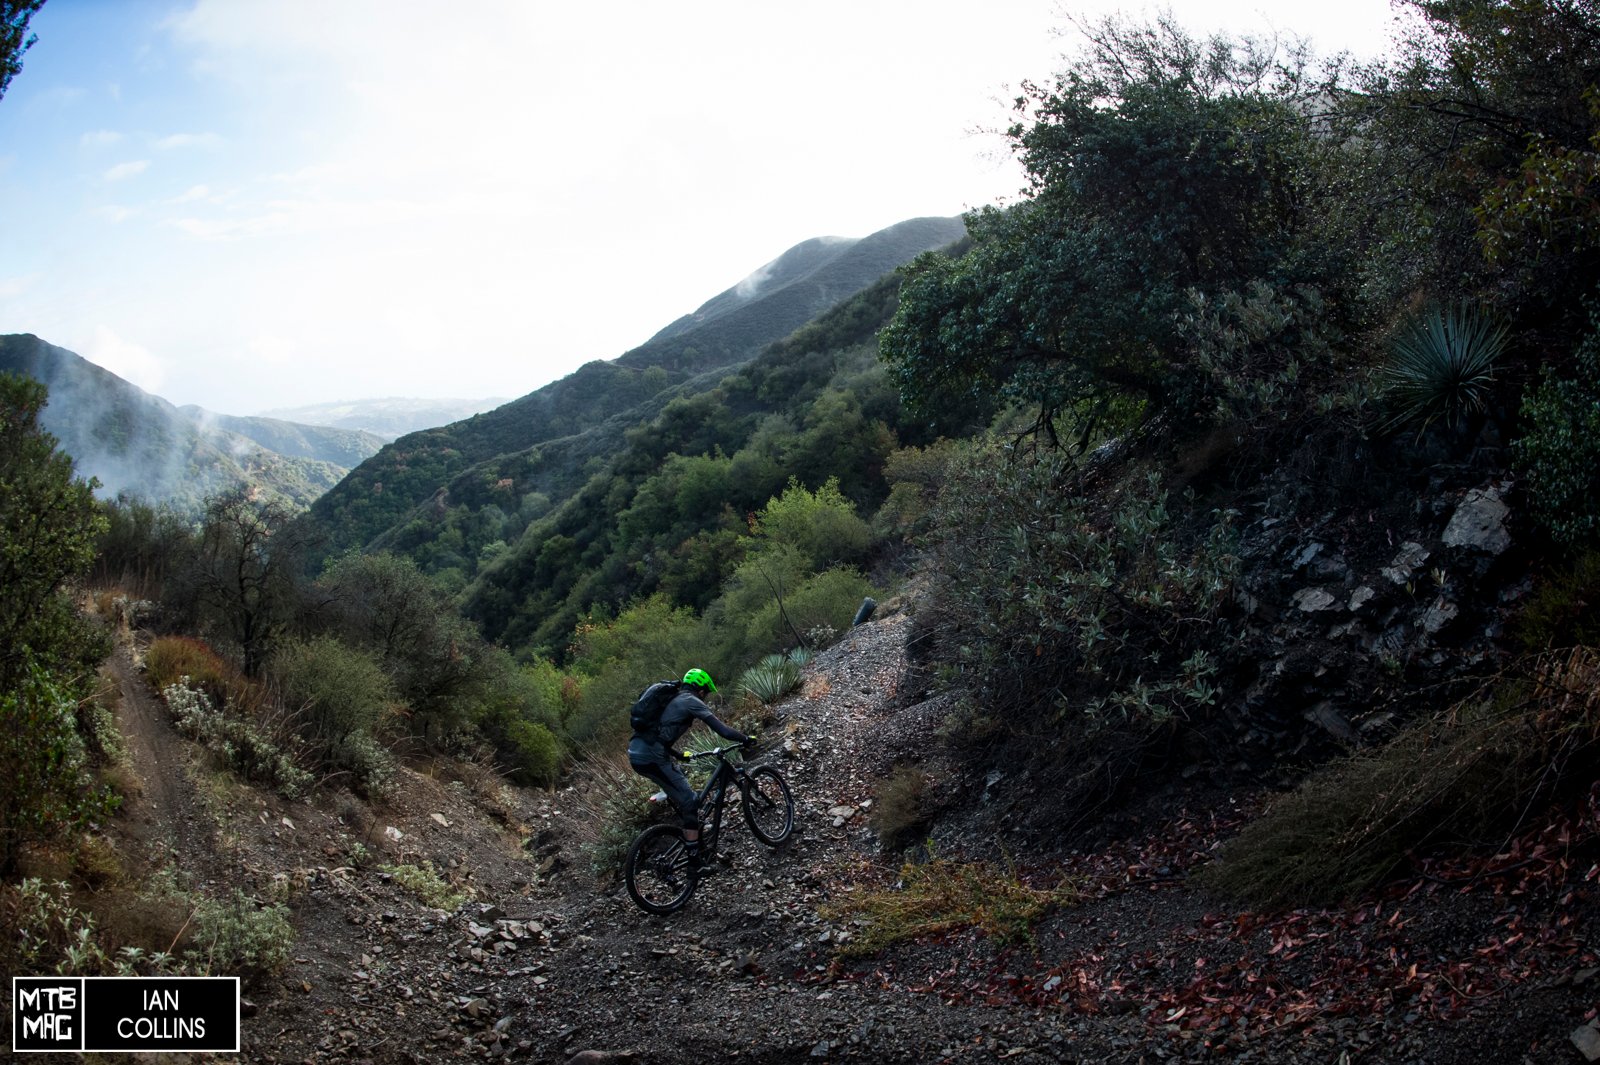
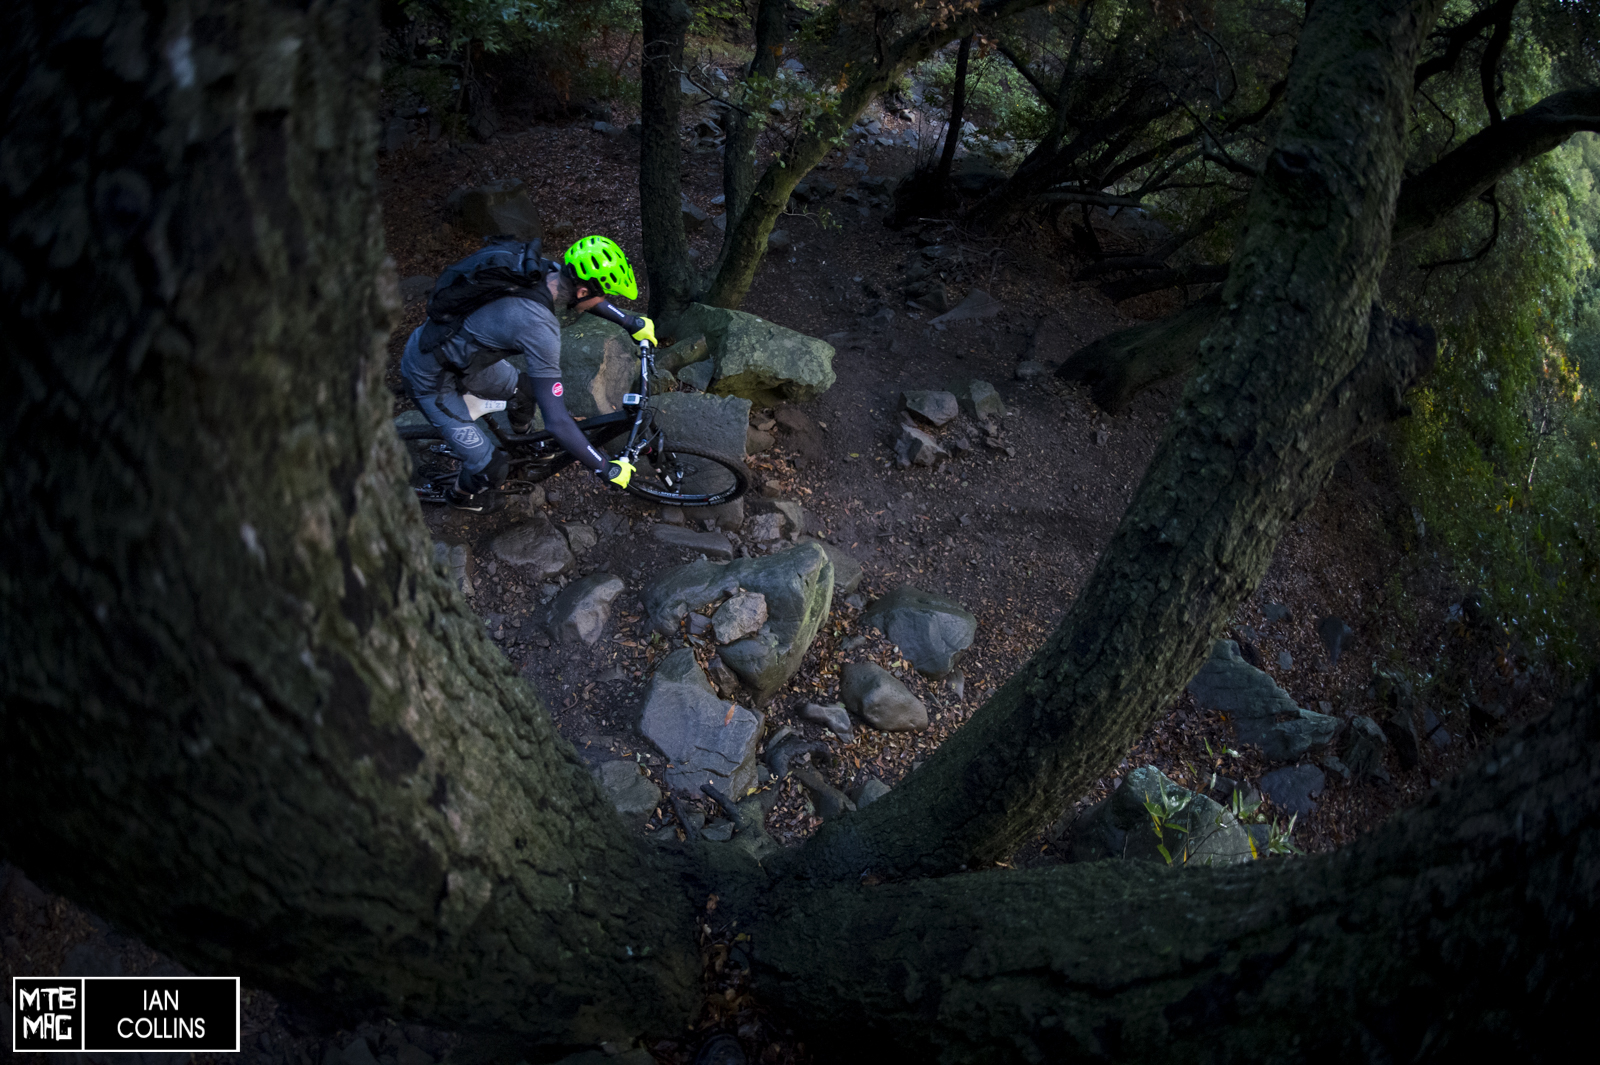
After climbing a few thousand feet, we’d finally reached the top. Now it’s time to let some air out of the tires and get loose.
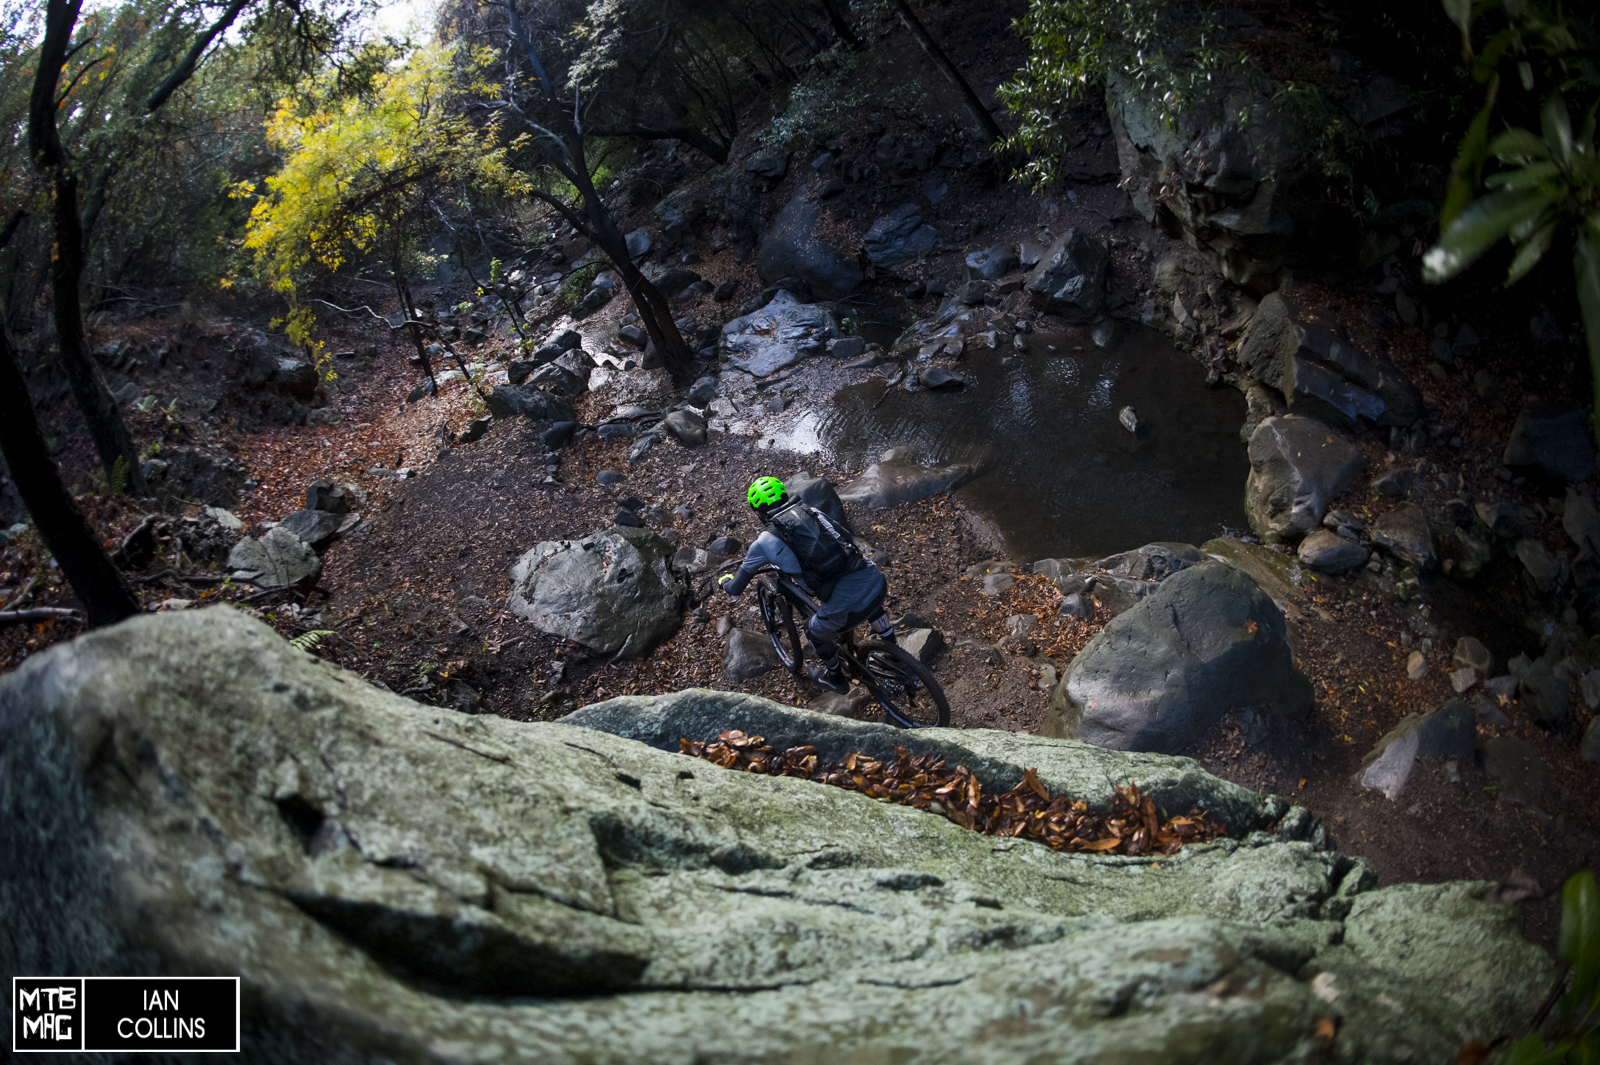
No shortage of perfect trails, scenery and hero dirt.
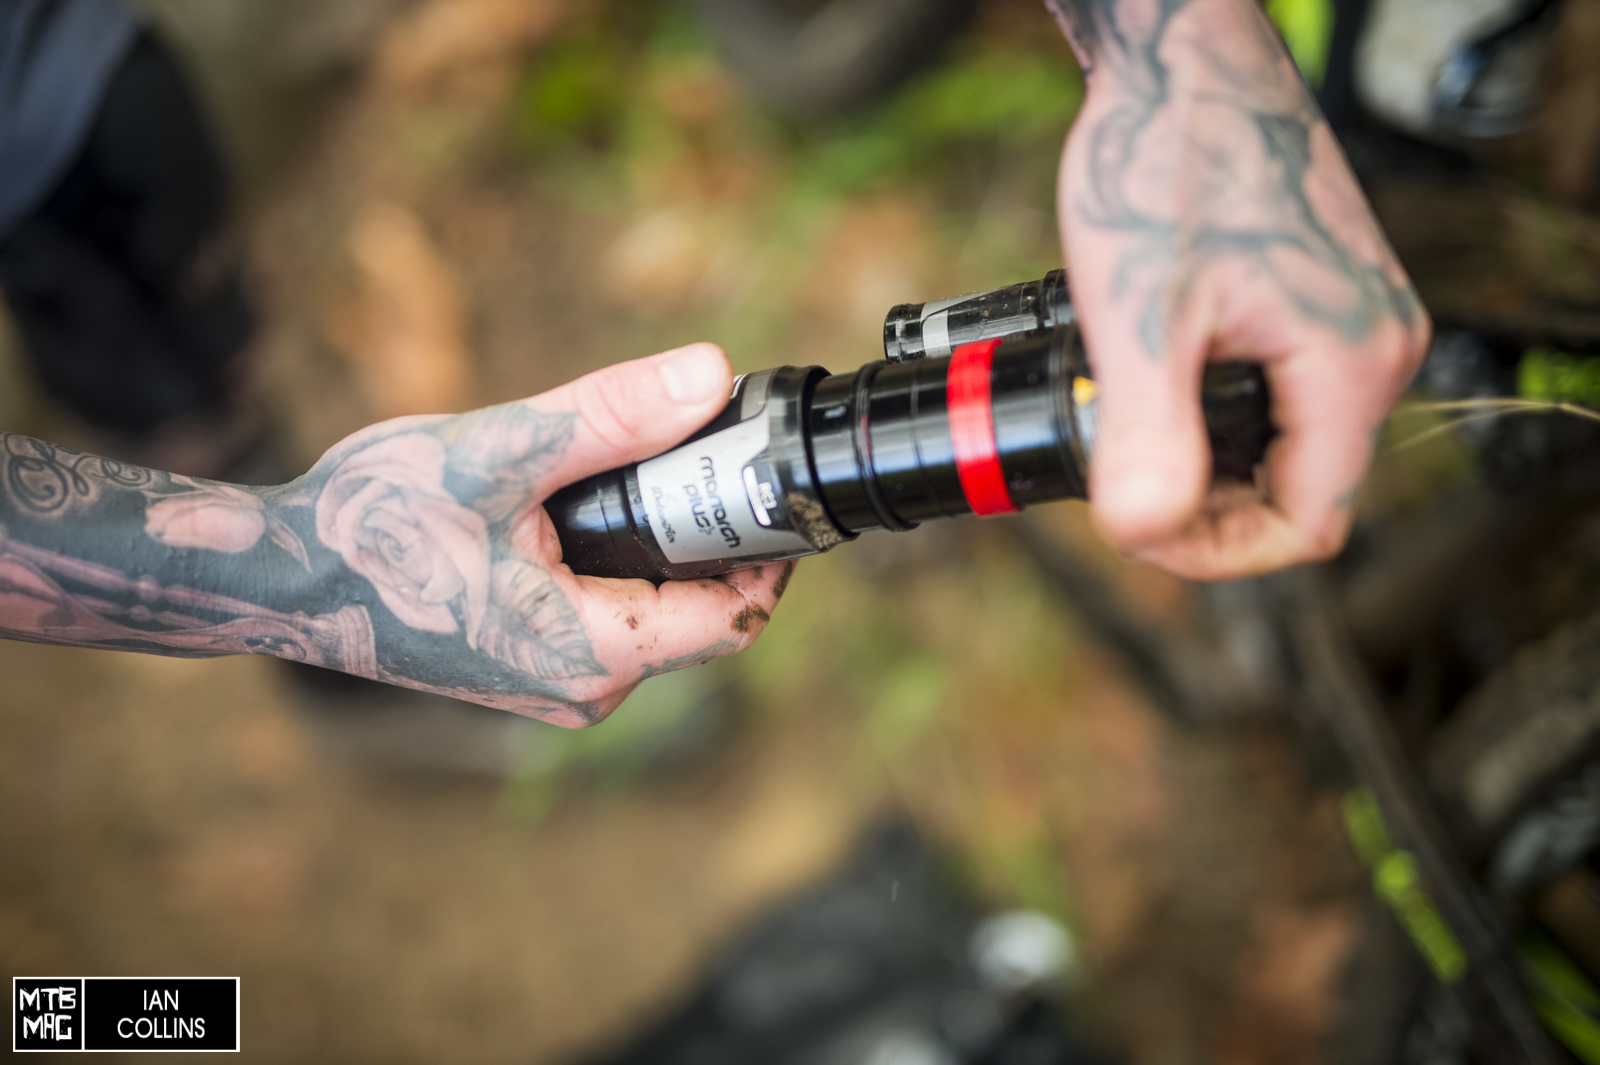
Now it was time to peel off to the side of the trail and experiment. This was Duncan’s opportunity to jump in and to give me the full rundown on Debonair. He brought a plethora of air sleeves and volume reducers to show me how easy it is to install the upgrade kit and/or fine tune the Monarch Plus Debonair system in general.
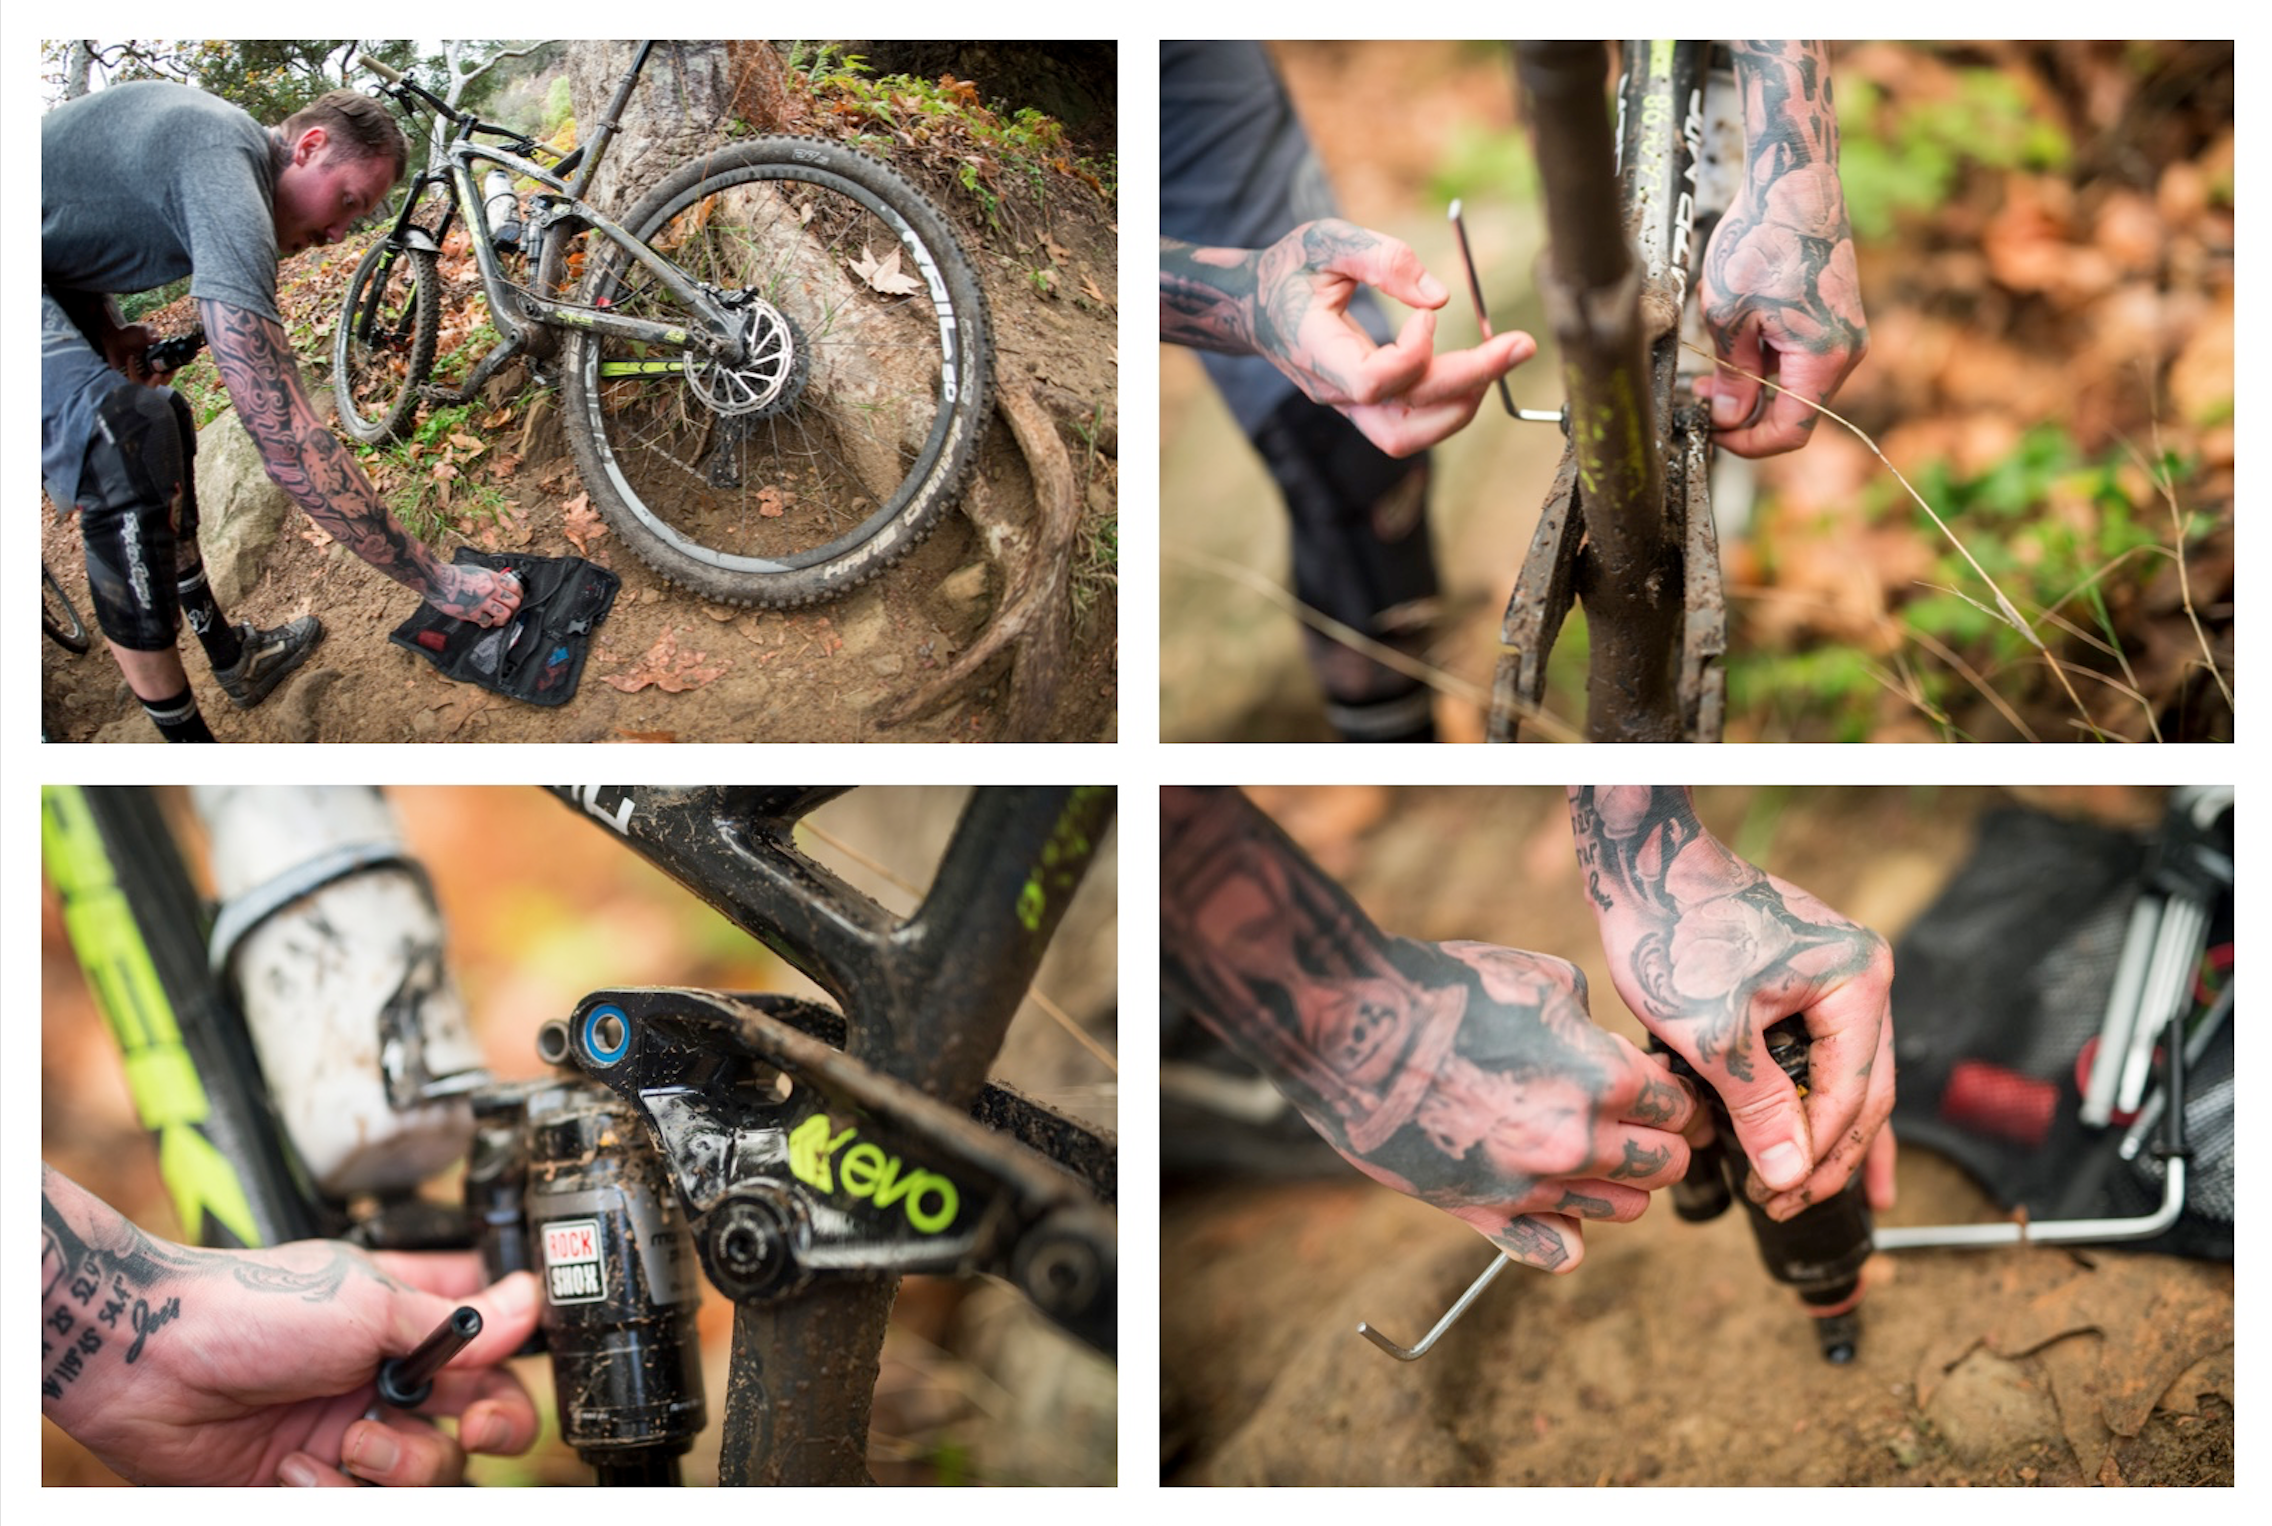
Part one – reading from top left clockwise.
Step 1 : Bust out your multi tool.
Step 2 : Undo your shock eyelet hardware.
Step 3 : Pull your rear shock out.
Step 4 : Deflate your rear shock – push down on the lower eyelet to get some extra air out.

Part two – reading from top left clockwise.
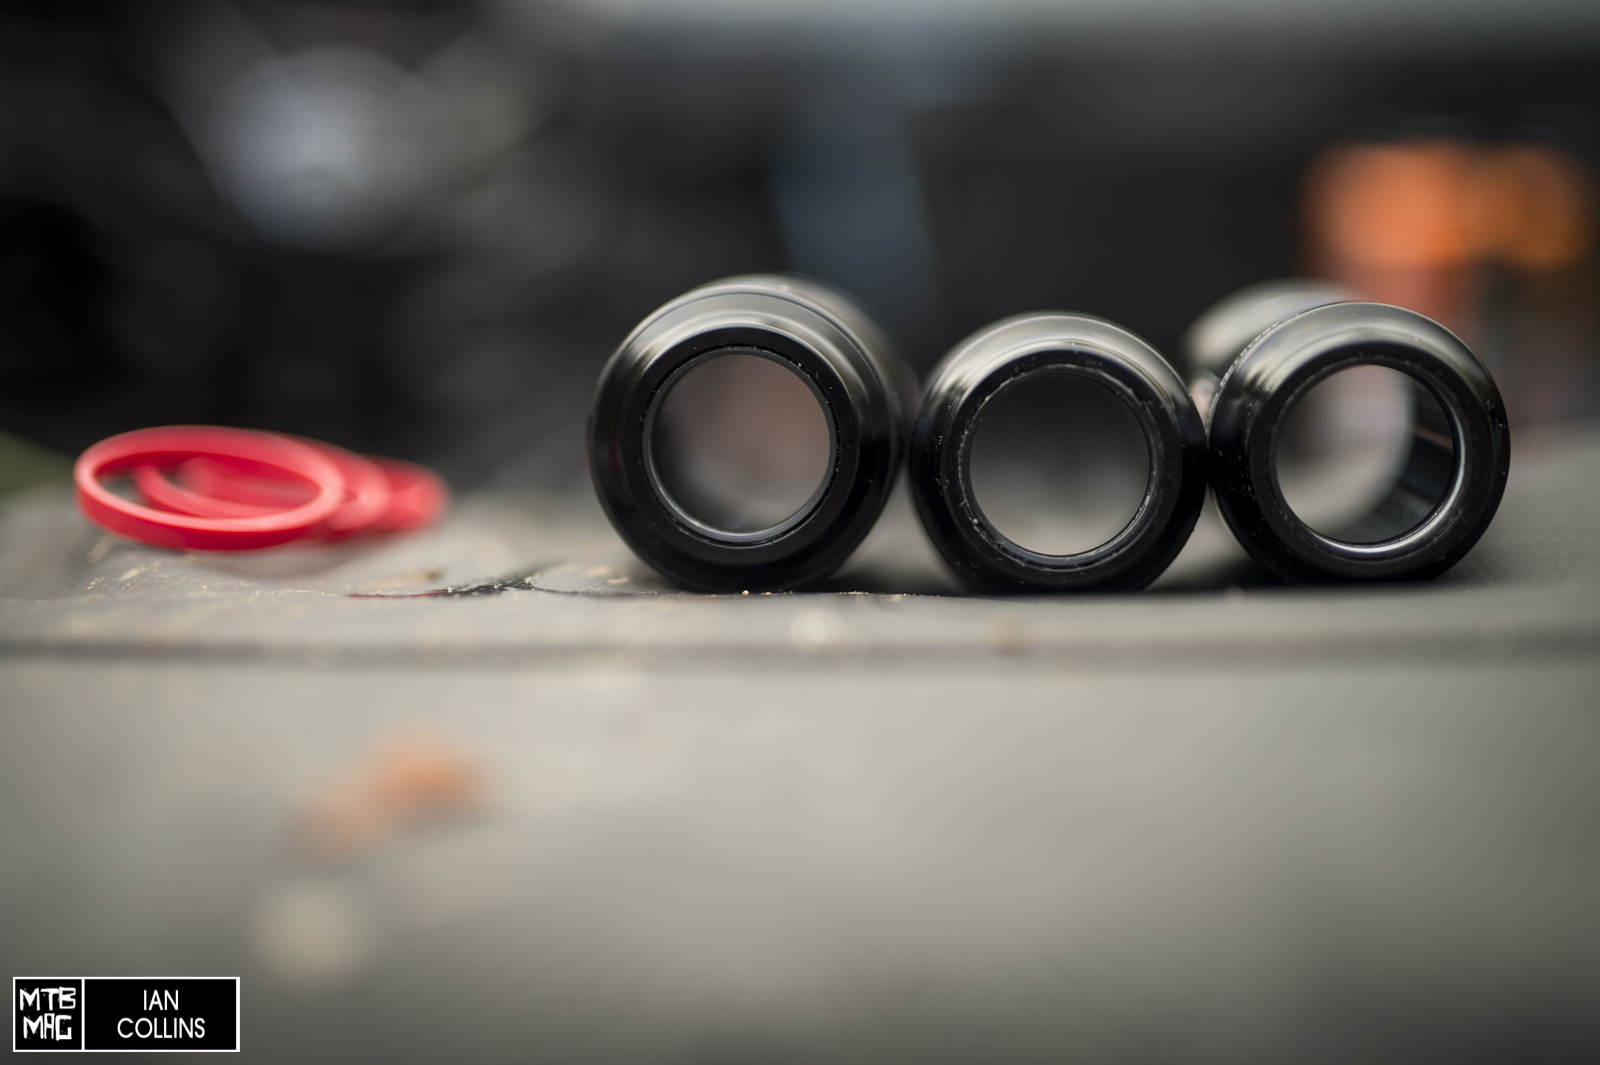
Step 1 : Find the thick black O-Ring at the bottom of the Debonair can and pop if off.
Step 2 : Holding the shock by the reservoir, pull down on the can til it separates.
Step 3 : Add or remove the red volume reducers to fine tune your ride. This works much like the bottomless tokens in a Pike or a Boxxer. Less spacers = more linear/less progressive. More spacers = more ramp. If you bought the $115 Debonair upgrade kit, installing it is as simple as what we’re doing here, only you swap your old air can for the one that showed up.
Step 4 : Reinstall the Debonair air can on your Monarch/Monarch Plus. Slide it back on all the way til it clicks and locks into place, carefully reinstall O-Ring to ensure a secure fit. Re-inflate to desired pressure, bolt it back up and get back to ripping. One quick note : be sure to compress the shock a few times to balance/equalize the pressure in the positive and negative chambers, then re-check for correct pressure before riding.
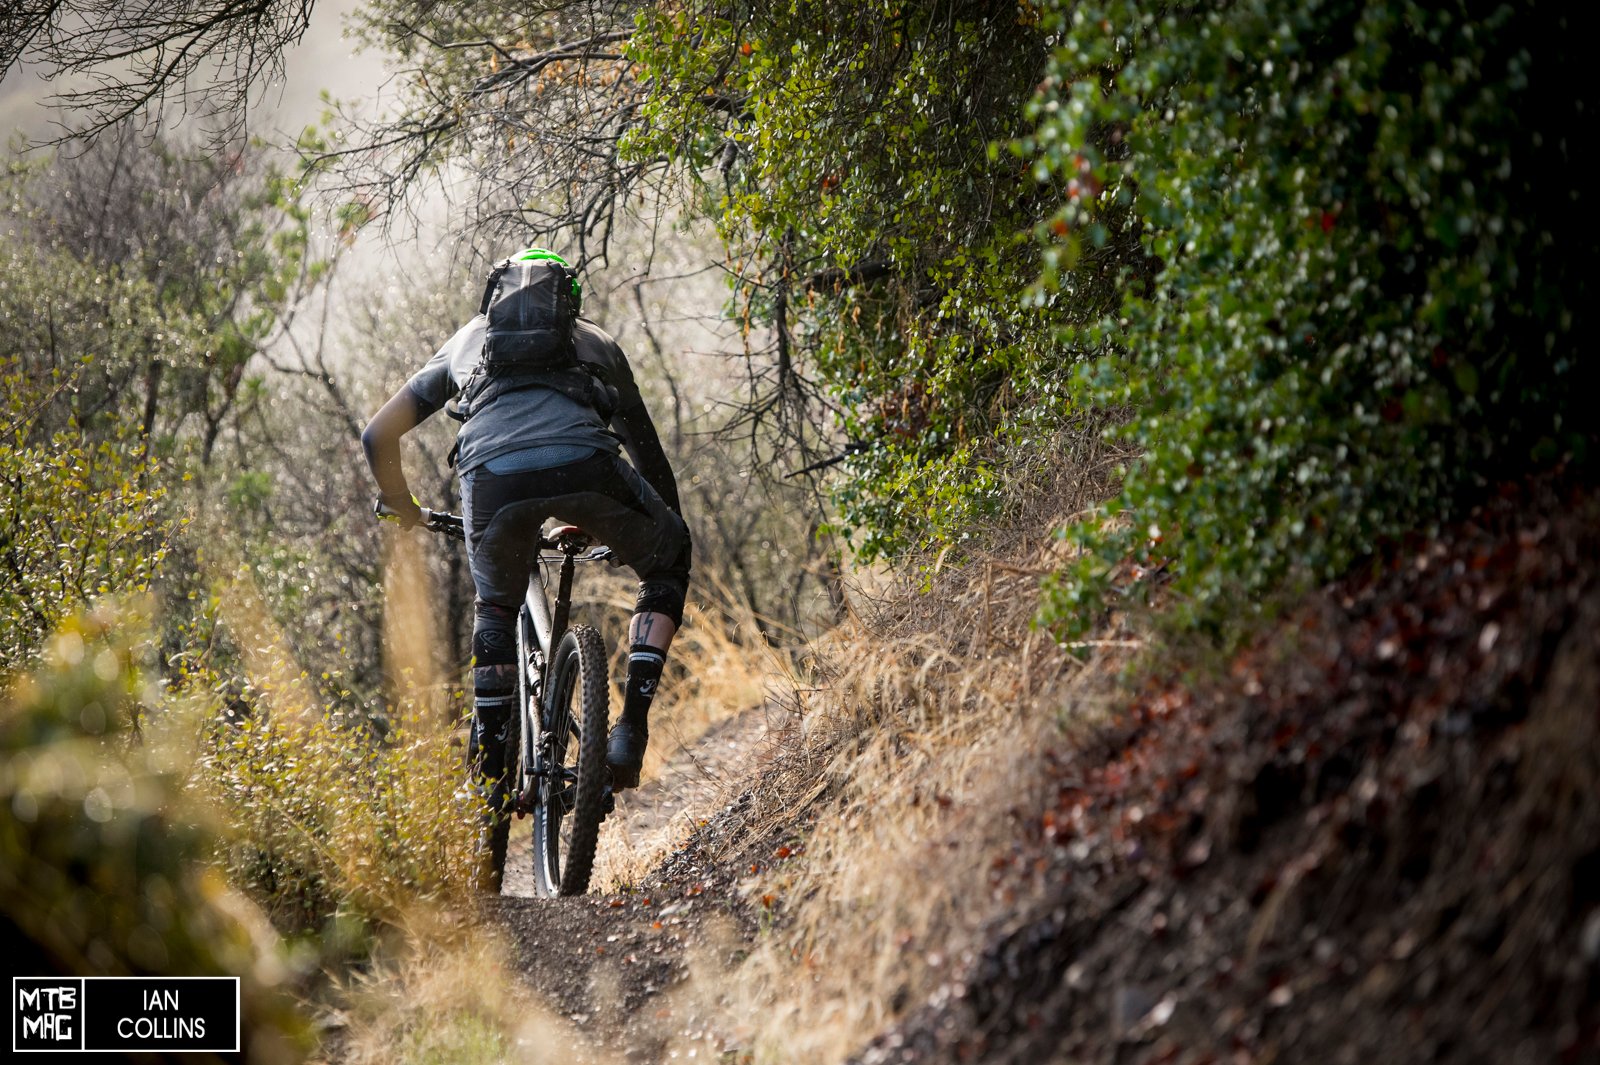
Back to shredding in perfect conditions – more time for tech talk at the bottom.
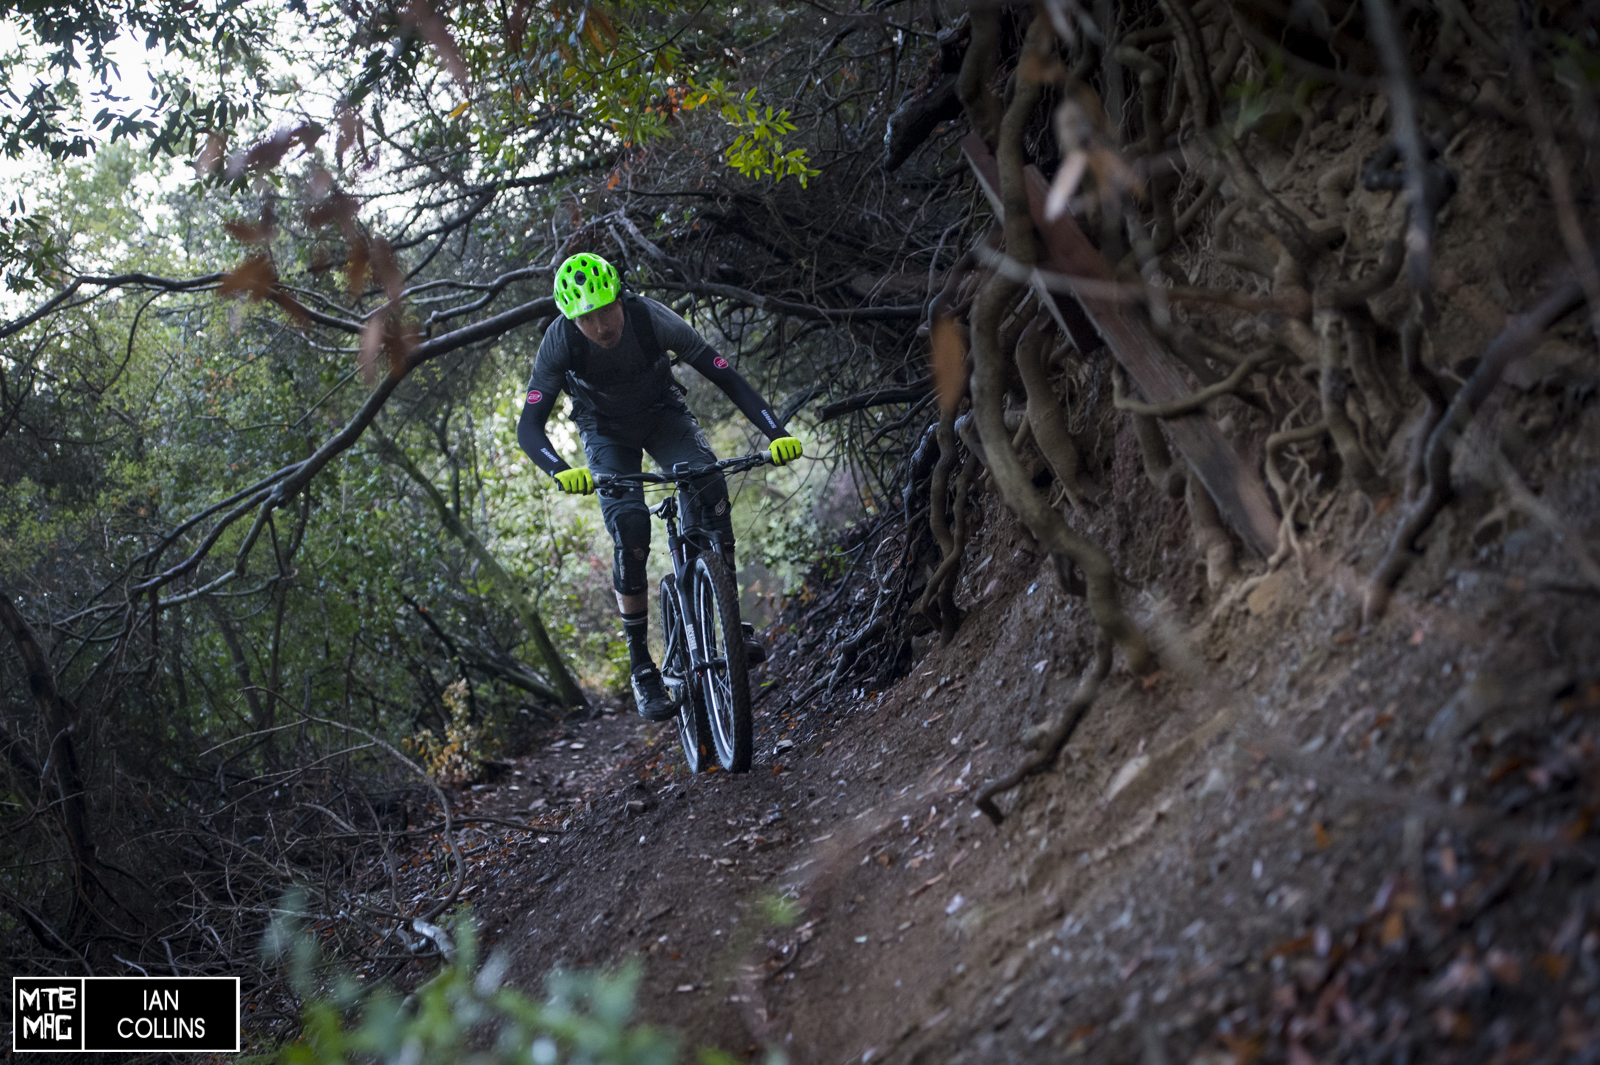
California is pretty dry most of the time, but when it rains here, it’s really tough to beat.
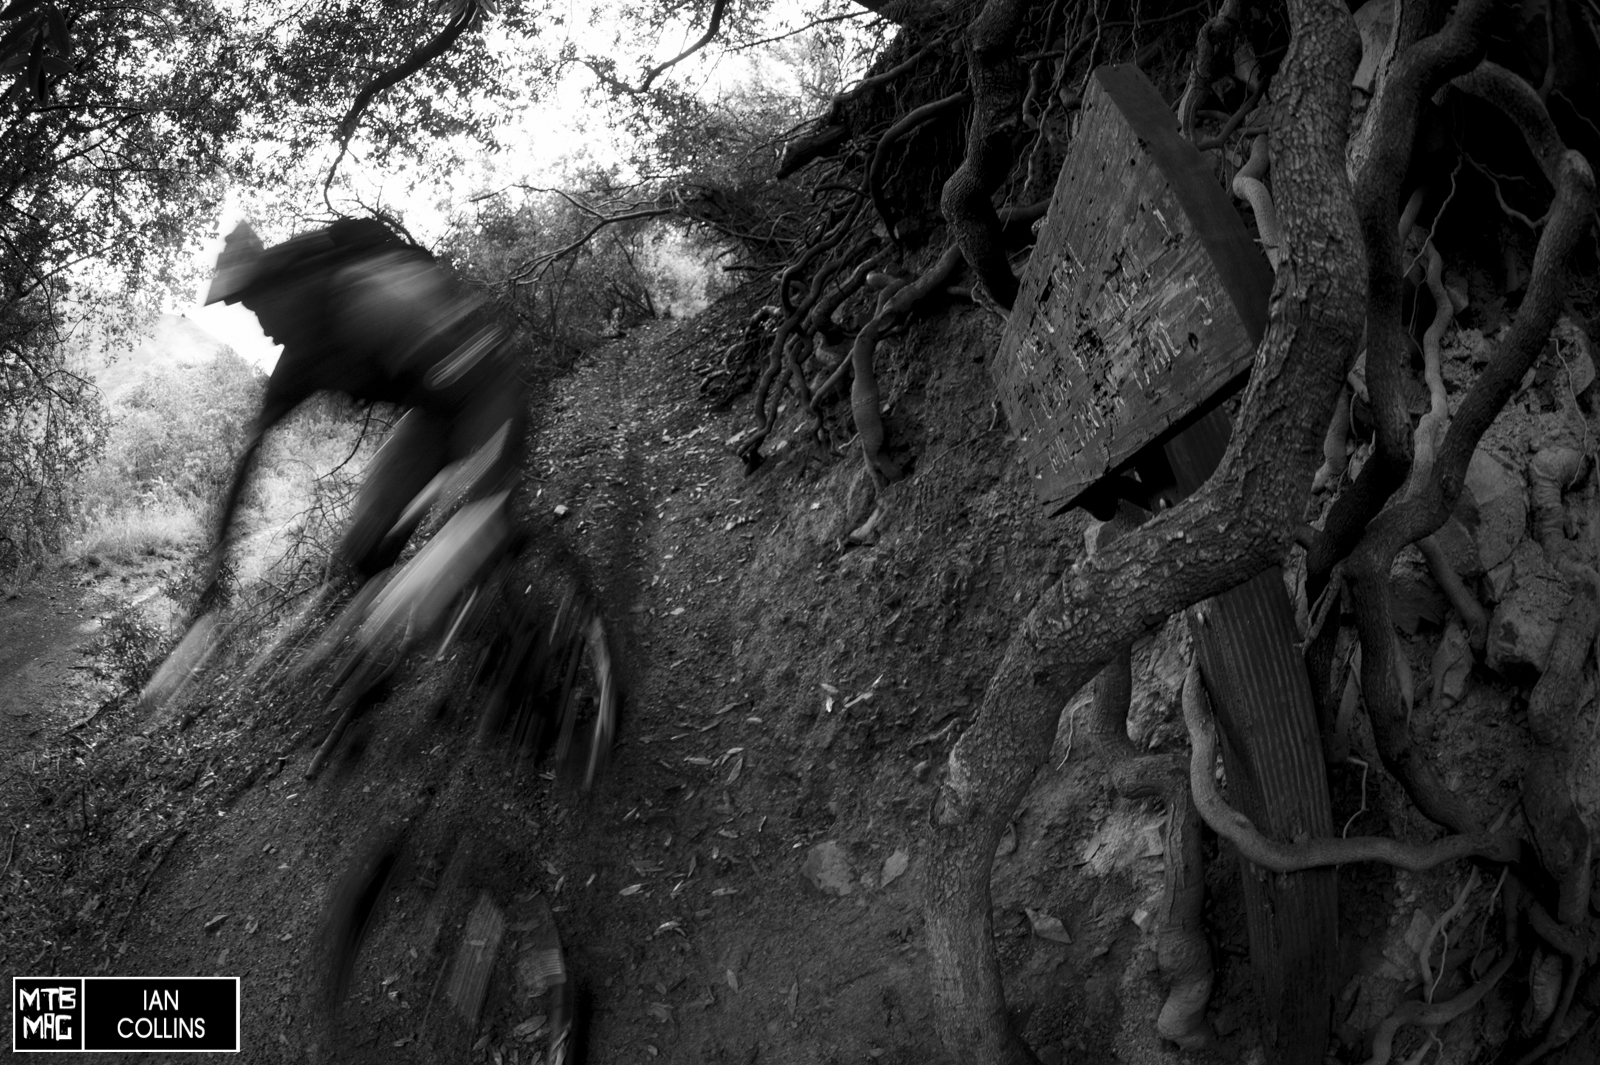
Last couple sections before it got too dark in the woods to freeze any action. Slow shutter for the win.
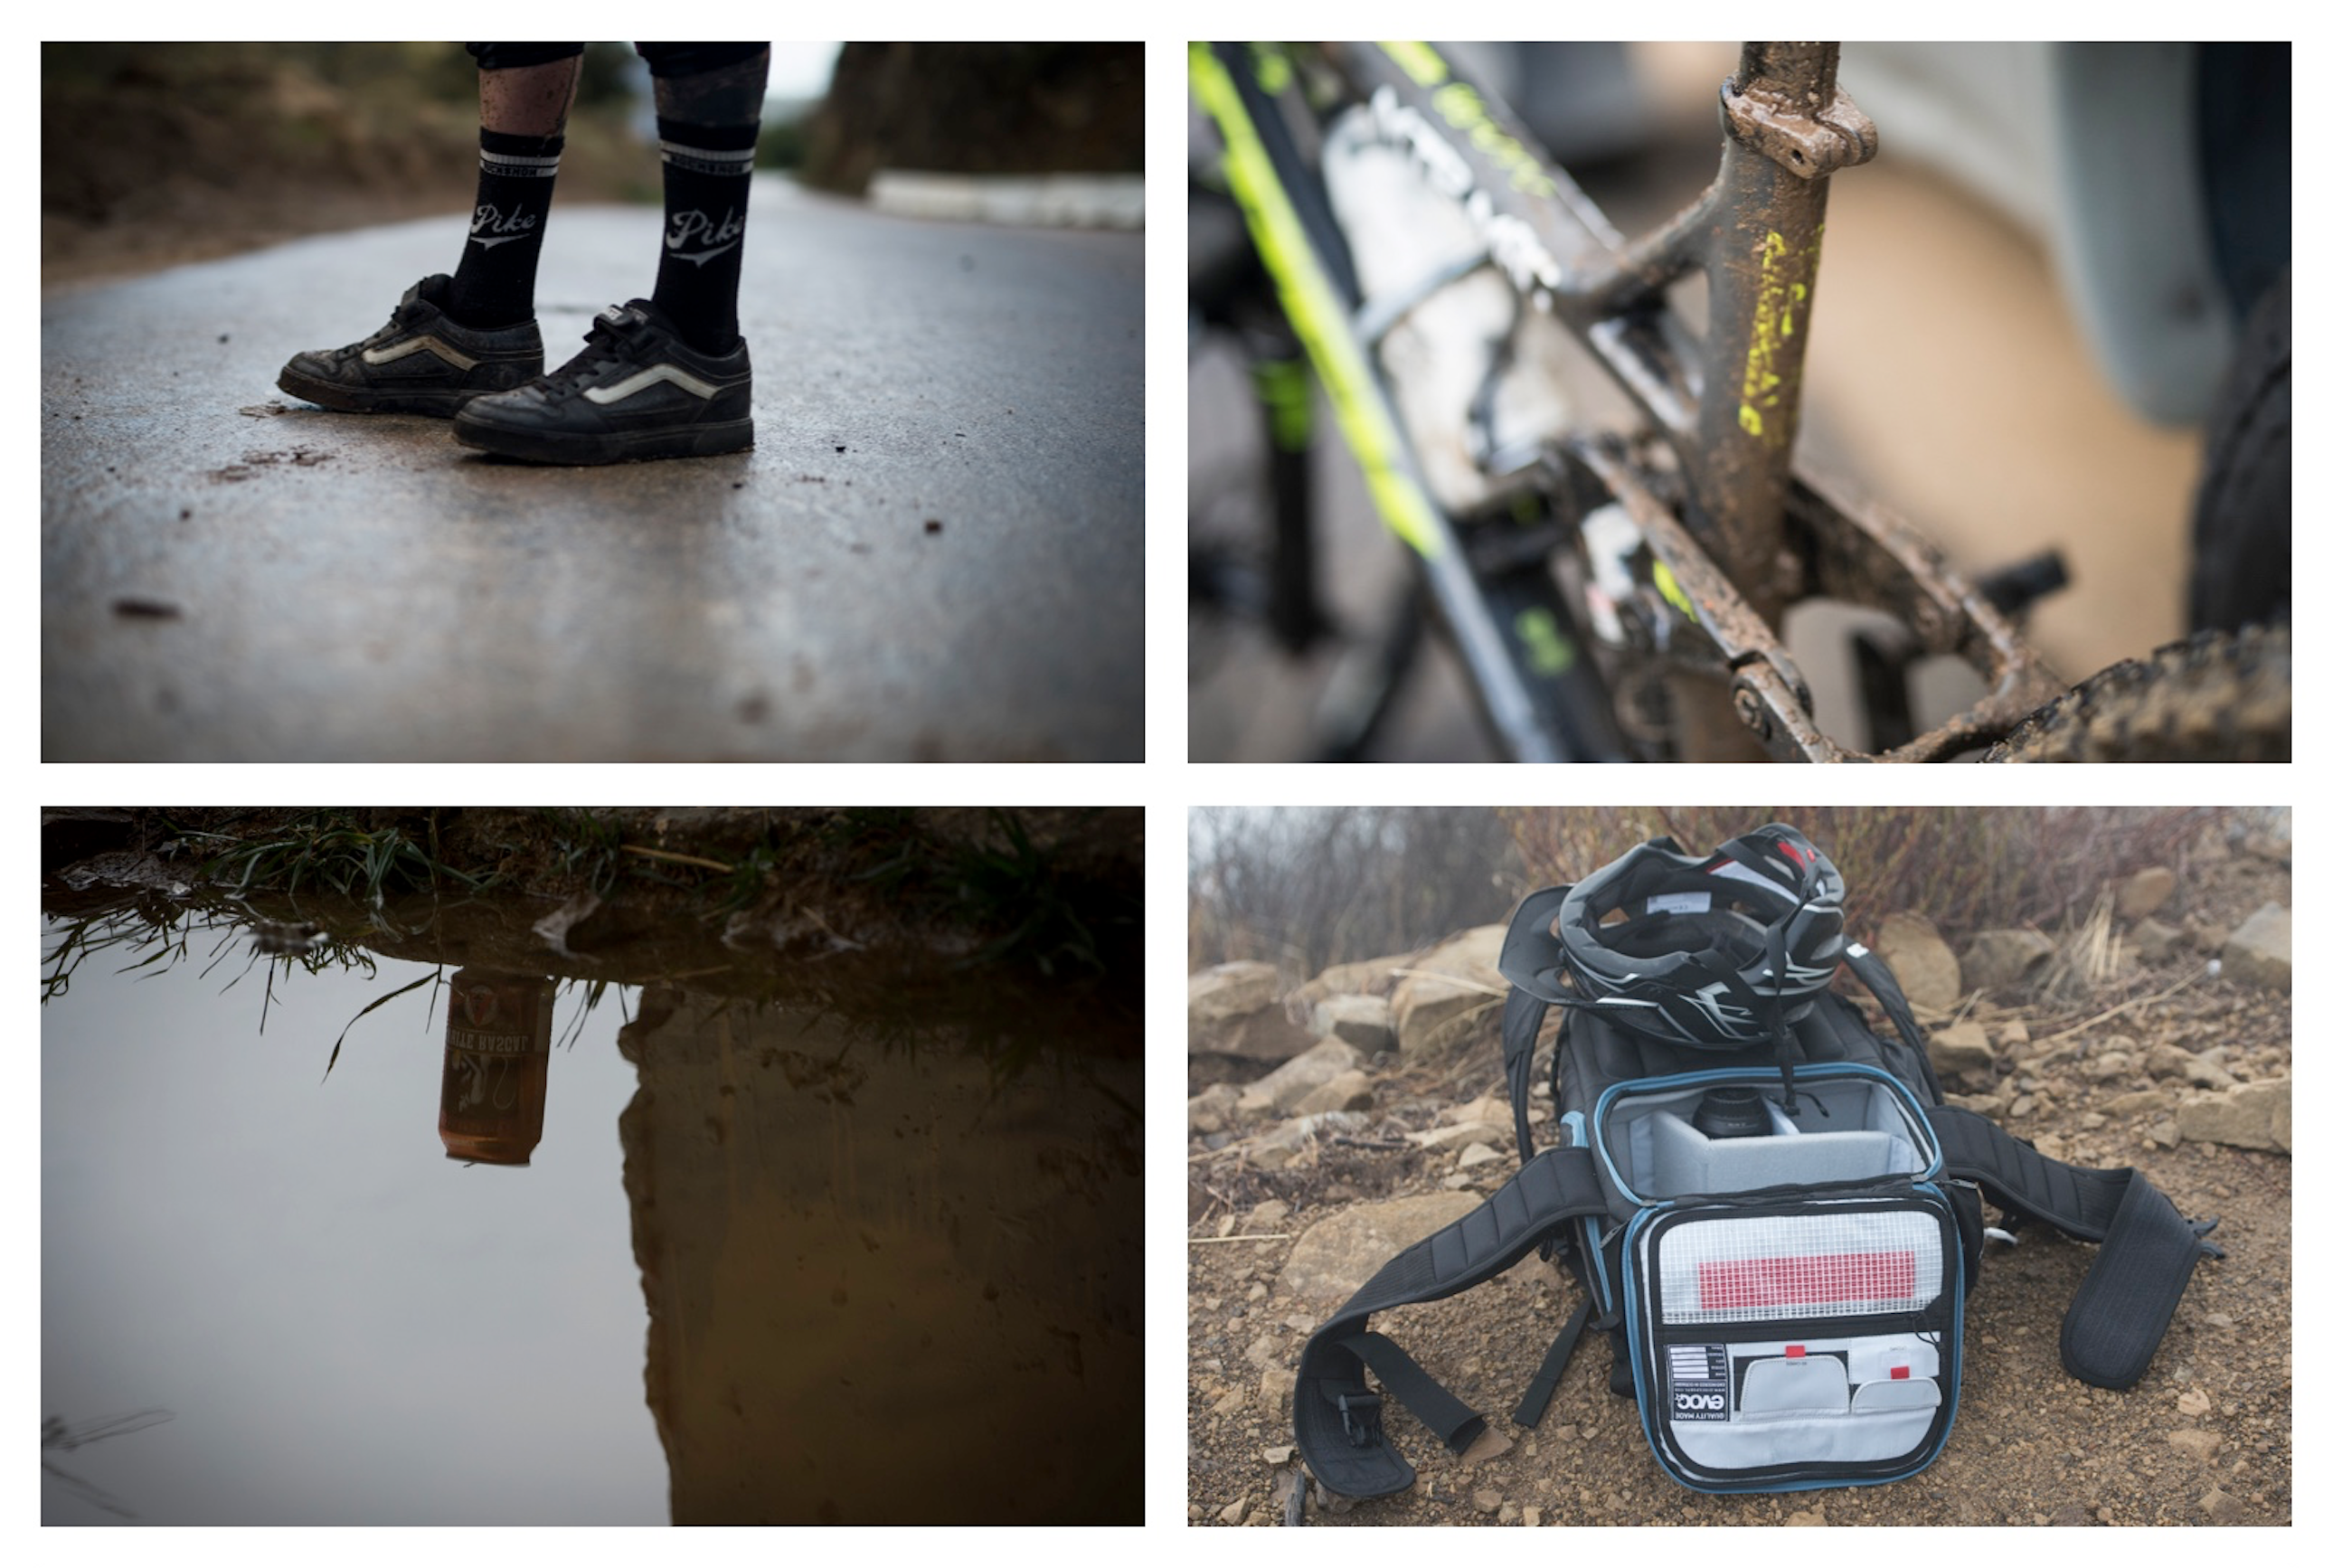
Alas, we’ve made it to the bottom. Now for a bit more tech chatter over a couple frosty beers.
We started the ride with 2 volume reducers(you can use between 0 and 4) on our Trek Slash 9.8 …While we really liked how the rear shock rode out of the box, we were quite curious to see how it would perform with 3 or 4 reducers to give it a bit more ramp and bottoming resistance. After working our way up to 4, we ended up settling back down to 3 and feeling quite happy with a bit more progression. With all of the various suspension designs on the market, it’s pretty cool to know that you can fine tune your bikes rear spring curve so easily.
For riders who already own a Monarch or Monarch Plus, they should should seriously consider the Debonair upgrade kit($115) as it really does transform the average trail bike and works wonders for your traction and off the top suppleness.
Thanks for showing us around Duncan!