[ad3]
Ever since mountain biking was in its infancy, riders and engineers alike have been trying to develop a reliable, lightweight way to prevent pinch flats. About 15 years ago, Michelin developed “Le Systeme”. Shrouded in secrecy, it won a fair share of World Cup races under the likes of Nicolas Vouilloz, Greg Minnaar and Missy Giove. It was quite crude – utilizing a road tire inside of a DH tire and two separate valves and rim drillings. The road tire locked the DH tire’s bead into place and along with a thick layer of foam, it was very difficult to flat. In the event that one did flat, the bike felt like you were riding it with about 12-15 PSI in the tires so you could at least finish your run in one piece.
That was a long time ago and it was heavy as hell. It was also complete monster to install & remove(we’ve done it); particularly if you were in a hurry. Over the last couple of years, Schwalbe have taken inspiration from that concept, refined it and packaged it into a very usable, consumer friendly and lighter weight version called ProCore. We’ve been riding it in our DH bike for the last few months so we’re going over its plusses and minuses here…
Details
•$218.16/pair
• Approximately 200 g/wheel
• Allows pressures as low as 14psi
• Thinner tire casings become an option
• Painless installation
• Virtually eliminates flats
• Minimum internal rim width : 23 mm
• Maximum distance from rim well to rim bottom : 20 mm.
Installation
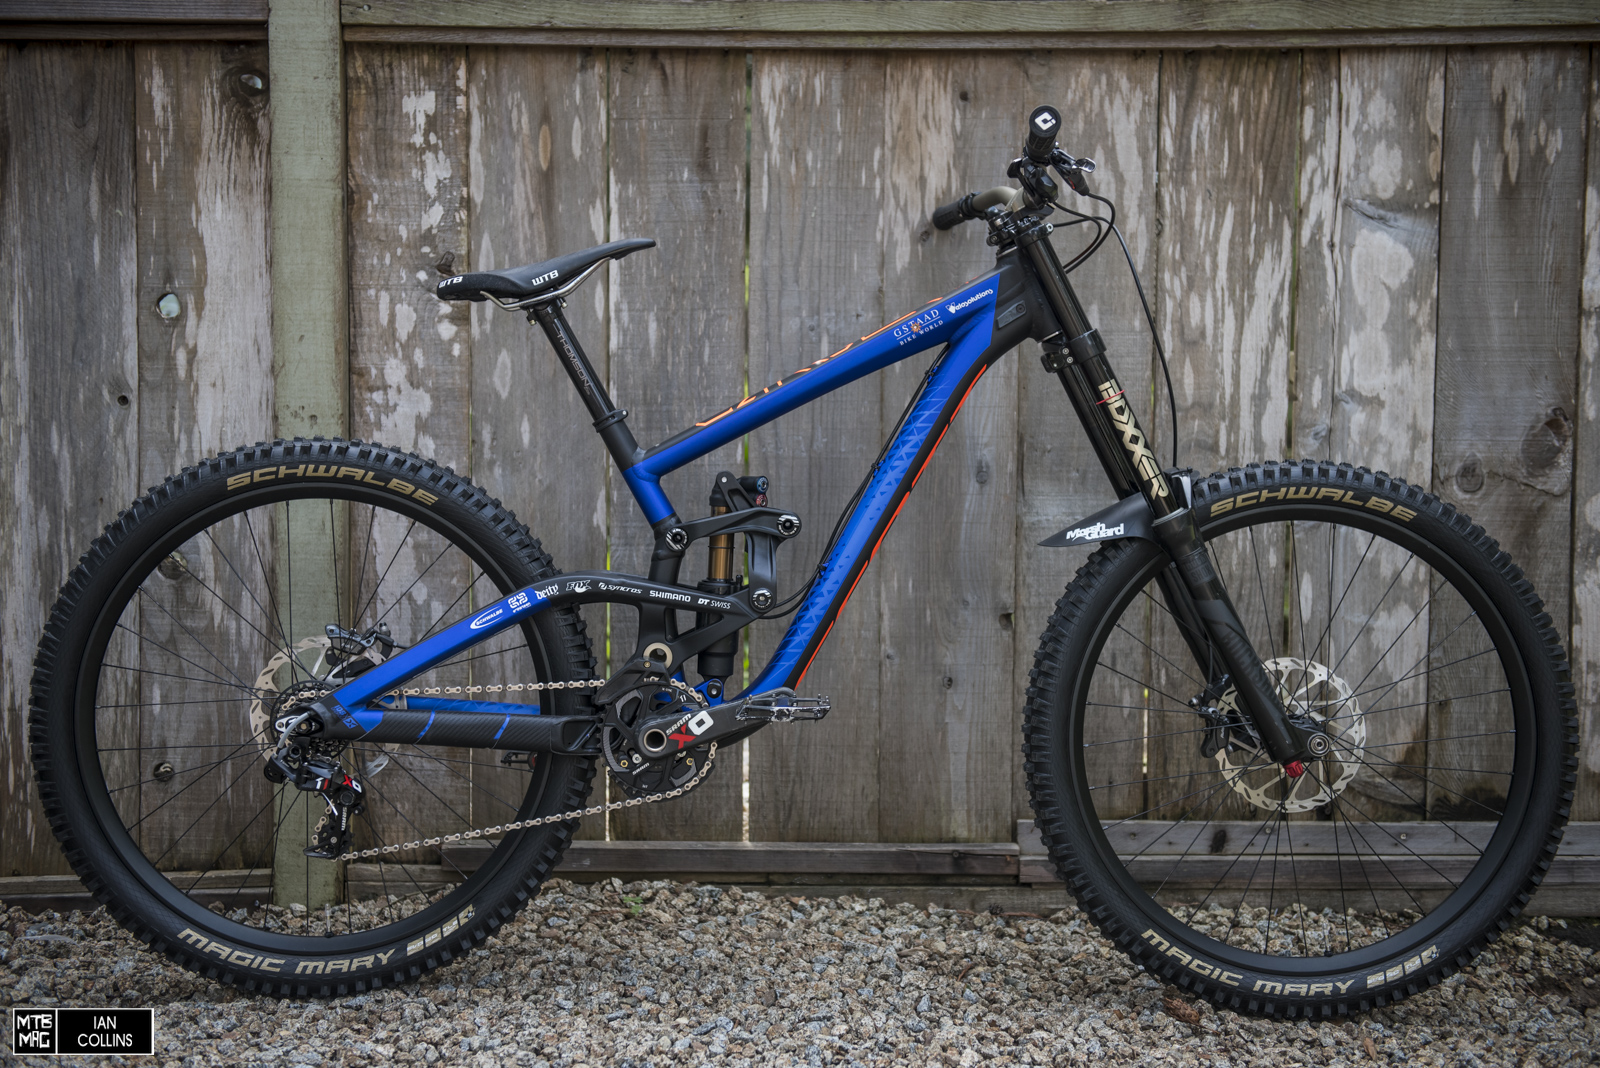
On first glance, this system can look a bit intimidating and even overwhelming, but our installation was a breeze. We were actually quite surprised it wasn’t more difficult. That said, certain tire and rim combinations can run on a nightmarish side of the tolerances. For example’s sake – let’s say you know that you’re probably going to bend steel tire levers while trying to change a flat with Tire X and Rim X, it’s best to avoid that combination if you want to install ProCore. Something that surely made installation easier was the fact that we started with fresh wheels and a brand new pair of our favorite DH tires – the Schwalbe Magic Mary. By the way, you can use just about any MTB tire you want, provided it’s tubeless sealant friendly.
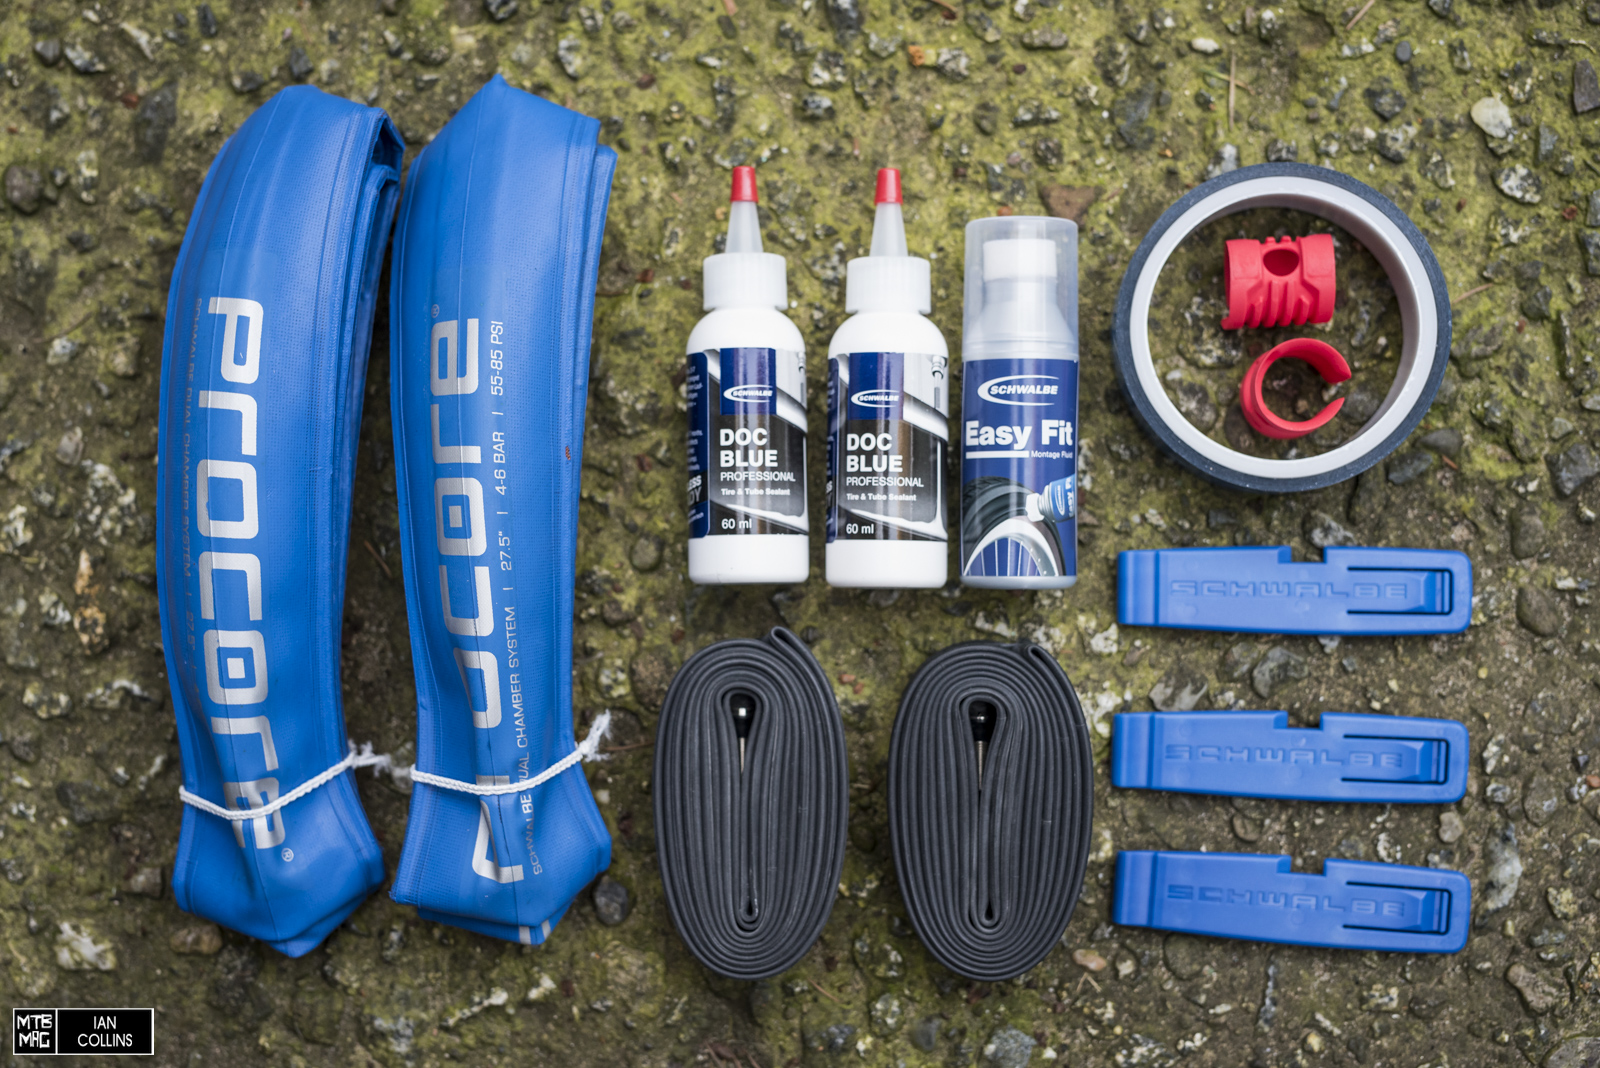
The instructions are very succinct and well articulated in the manual. Install the rim tape and slap the clear patch over the valve hole. Next put one bead of the blue blank tire onto the rim. Pop the red AirGuide in. Install the tube with the two way valve and seal it by installing the other bead of the blank blue tire. Then put one bead of your MTB tire on the rim. Pour a bottle of fluid in between the blue tire and the MTB tire. Close everything up carefully by sealing the other MTB tire bead. We managed to do this without even using the Easy Fit fluid. If you can manage to get as much material and beads into the shallower “drop center” of the rim, it becomes much easier. Inflate the inner tire to 55-85 PSI through primary valve. Lastly, close the valve and switch to the secondary valve and inflate util the beads seat. Our entire install took about 20-30 minutes for both wheels, but keep in mind, we started with everything brand new so there was nothing to disassemble and/or clean thus making it a bit easier.
On the Trail
After our first outing on ProCore, we found ourselves going lower and lower in pressure each run until the tires began to feel a bit squirmy – mainly for the sake of experimenting. Suffice to say, our first ride was on loamy, rooty trails in Santa Cruz without too many rocks. We definitely felt the benefits of being able to run lower pressures on roots without running the risk of burping in the corners as easily. The reason for this is that the inner tire is pinching the outer tire’s beads and locking them into place at a very high pressure. 
Once we got onto rockier, rougher, and faster terrain, we didn’t want the wallowy attributes of a tire at 18 PSI so we upped our pressures to the mid/high 20’s. At that point, the tires were a bit rough and bouncy; more so than the exact same tire/rim combination without ProCore at the same pressure. We realized that this is because a notable amount of tire volume is basically displaced by a blank, hard road tire. The range for the inner tire is 55-85 PSI. As we lowered that pressure from 80 to 60, our traction and feel began to improve slightly, although certainly you shouldn’t wander to super low pressures in your MTB tire while running pressures on the lower end in the inner tire.

After a great deal of experimenting with balancing various inner and outer pressure ratios, we eventually ended up settling on a go to of 50-60PSI in the inner tires and around 21-24PSI in the outer tires. This seemed to give us the perfect balance of support and compliance/traction on our trails, given our 185 pound tester’s riding style. That doesn’t mean those numbers will work for everyone. If we were racing somewhere back east at say Plattekill or Mount Snow, we’d likely up the pressure on the inner tire a bit for more reassurance against flatting. During our time in California, we made a point to aim at rocks and smash them but never managed to flat with this system, even when running pressures below what Schwalbe recommends in the inner tire. We never went super super low in outer tire pressure simply because it makes the tire roll over in fast turns under hard cornering and we prefer more support.
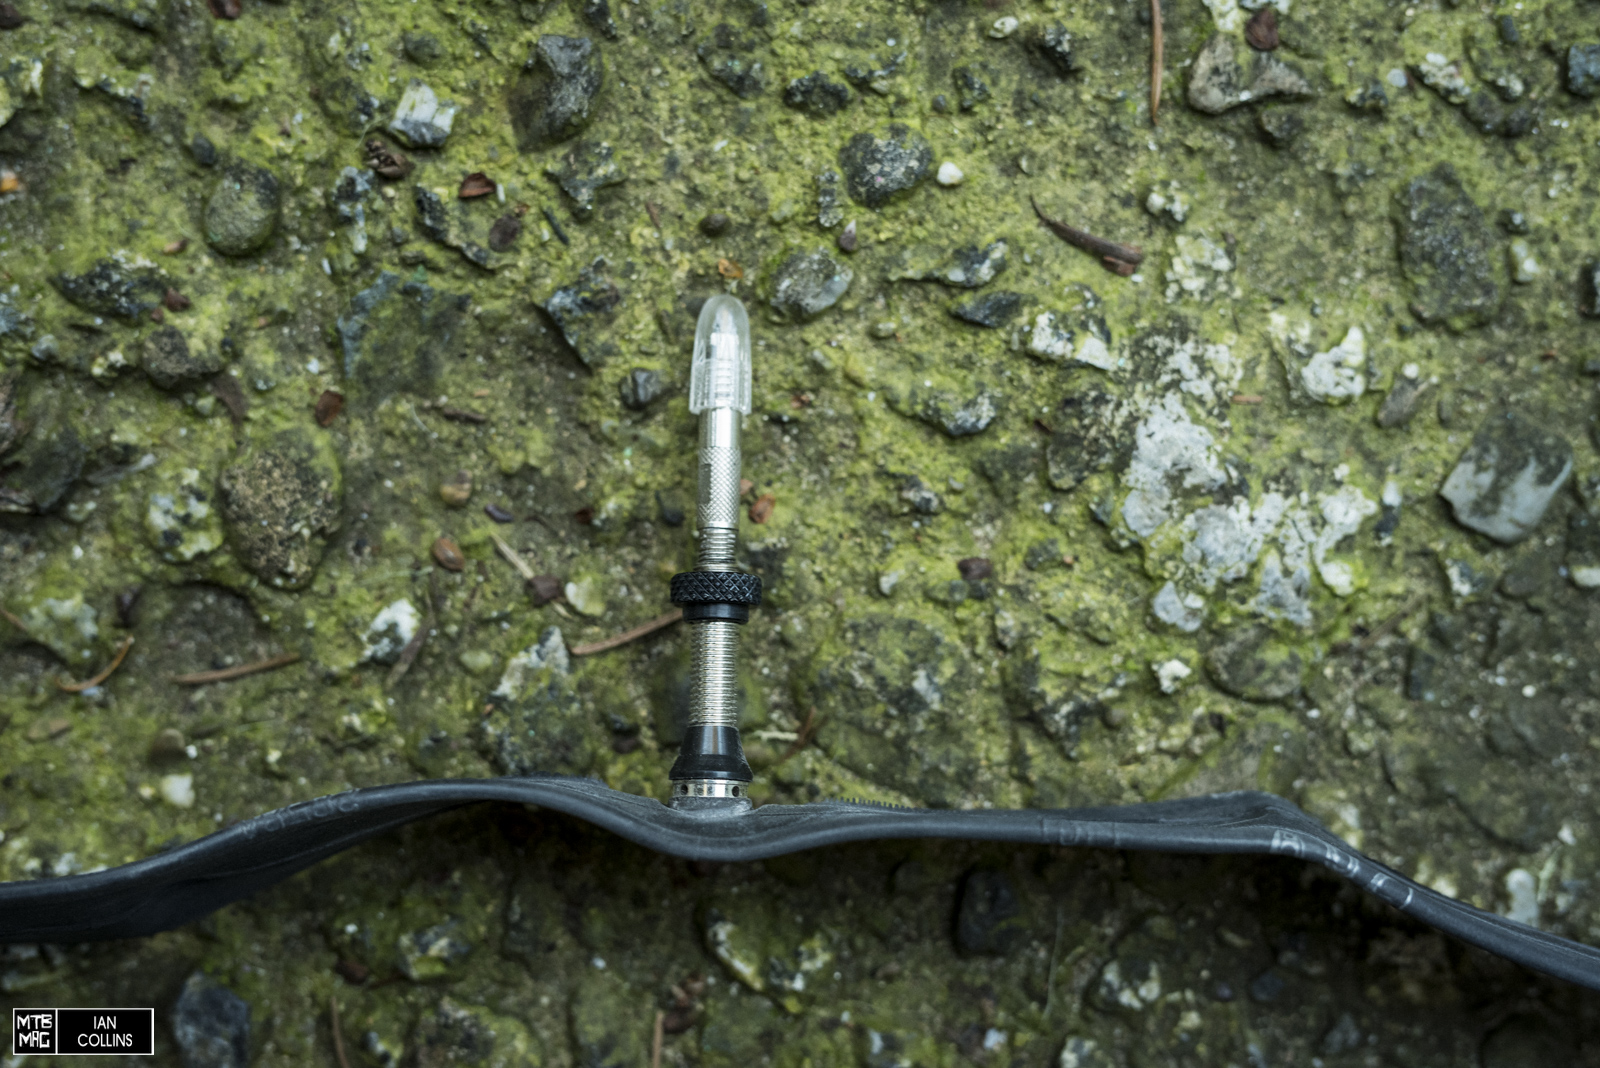
An important note is that this is a very fluid and flexible system; we did a great deal of dabbling with pressures and neither of the valves got plugged up with fluid(something that we’re accustomed to). The two way valve itself truly is genius.
Overall
This system is clearly advantageous for those riding aggressively and/or racing DH/Enduro in rocky terrain, but for the every day trail rider, is it really necessary? That depends on a great deal of factors. It’s heavier and more complex, but it virtually eliminates flats. For those who are pedaling to the top of their rides, an extra 200 grams is a lot of rotational weight, but consider the fact that you could run tires with thinner casings to make up the difference. For instance if you typically run a “Super Gravity” casing Magic Mary, you could switch to the thinner, lighter “Snake Skin” casing version of the tire and save 265 grams per wheel. Or maybe you could just switch casings on the front tire…You could also just run ProCore in your back wheel. After all, that’s where the majority of flats occur. If you ride really rocky terrain, those are compromises that are worth considering. A lot DH racers regularly carry two sets of wheels. If we were racing, we would absolutely have ProCore in one of the sets for the burlier tracks. We can’t decide for you whether or not this is worthwhile because the benefits and setbacks vary from person to person; situation to situation. However, we can verify that the system worked flawlessly for us, it’s reasonably priced and did exactly what Schwalbe claimed it would. For some riders it surely will be a game changer.