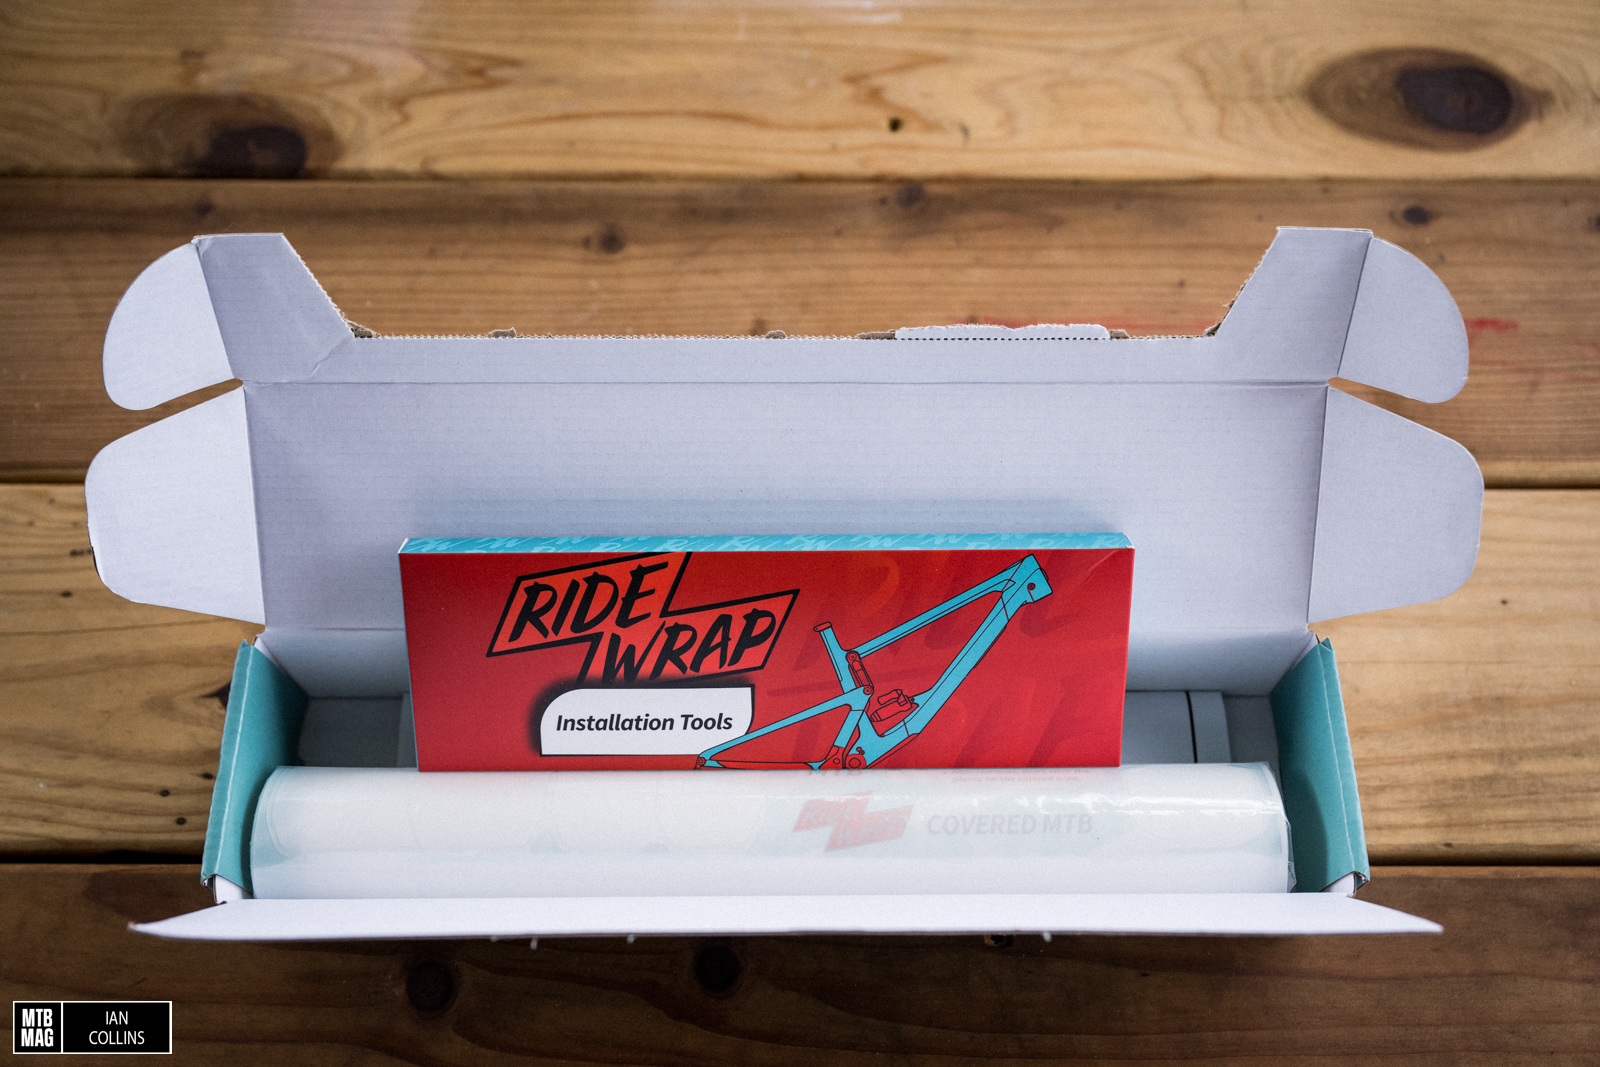
This Winter, RideWrap reached out to us to see if we were interested in testing a sample of their frame protection kits. At the time I was just about to begin the process of a new build, so taking them up on the offer was a no brainer – especially since I was already starting with a fresh new frame. Anyhow, they offer three levels of protection for their frame kits available for hundreds of bikes and loads of forks as well. I opted to check out the mid duty option of the three, which is dubbed “Covered” and offers 65% coverage. RideWrap also offers “Essential” and “Tailored” kits which have 30% and 95% of your frame wrapped accordingly. After an unusually wet spring and a rather dry summer, my Enduro has seen just about everything but snow…Read on to see how this kit has been working out.
Details RideWrap
- Universal fit
- Protects: toptube, downtube, seat tube, seat stays, chain stays plus other cable/hose contact points
- 65% coverage
- $65.00 USD
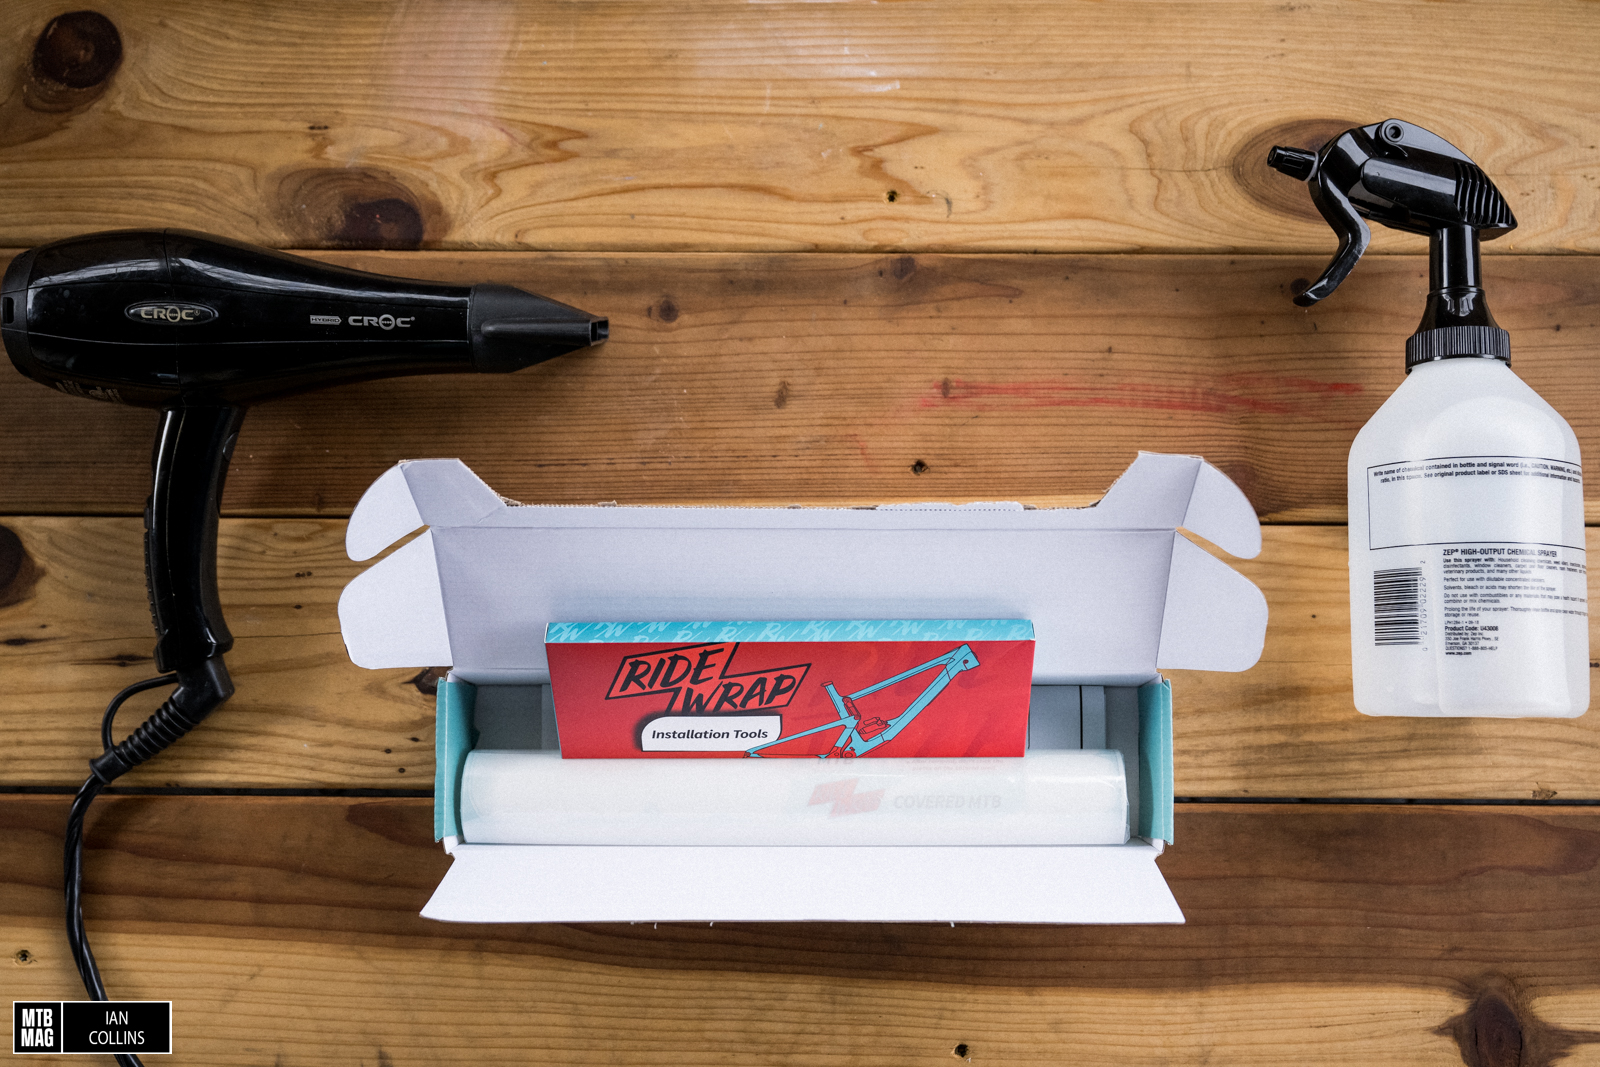 Aside from the contents of the kit, you will also need a hairdryer and a generic spray bottle.
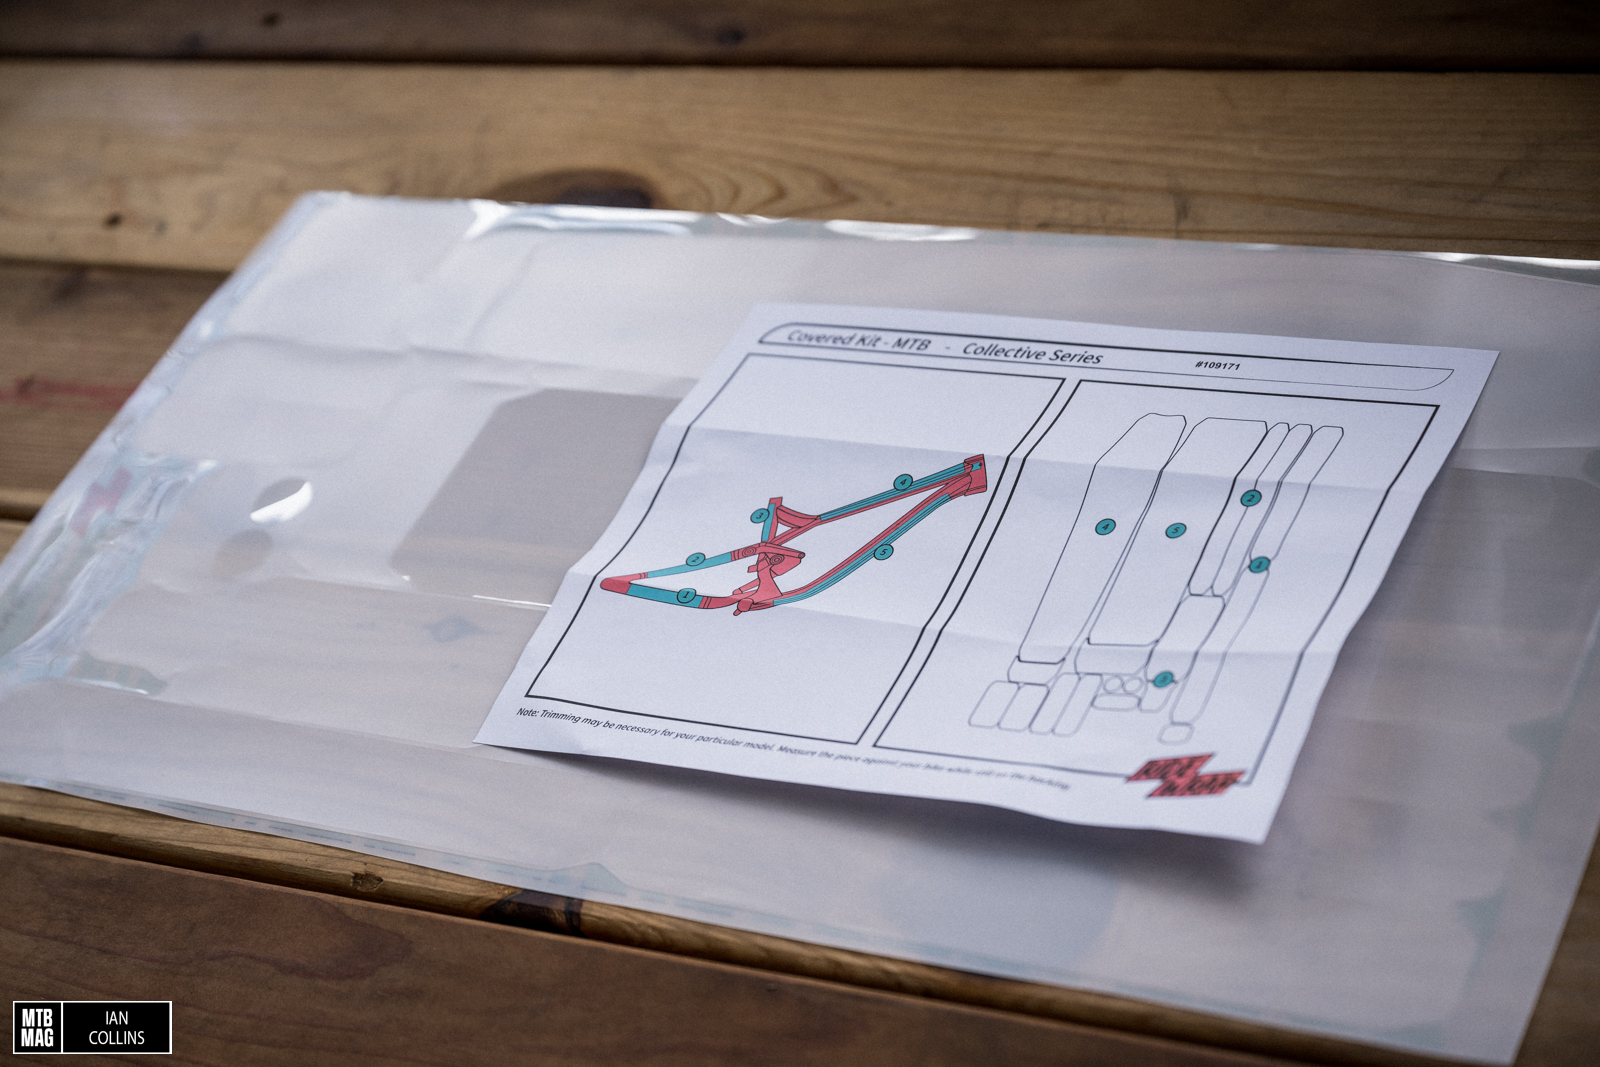 The package in includes basic guidance related to where each panel is intended to go. There are a handful of other small sections which you can get creative with for covering other bits of your frame.
 It’s obviously best to start with a super clean frame, and with the “covered” kit, it isn’t necessary to strip your bike down. However, with the “Tailored” kits, you’d likely need to be working on a bike that’s been stripped down, with the exception of maybe your bottom bracket and brake/shifter/dropper cables and hoses – assuming they’re internal. Regardless, even after you clean your bike thoroughly, it’s important to give it some additional love to each section with the supplied wipes.
Installation
To be quite honest, I have a personal aversion to installing decals and jobs such as this. Anything with adhesive tends to stress me out as I get fingerprints all over and tend to be a little clumsy. With that in mind, the way that the RideWrap system works is close to fool proof and my anxiety was quickly allayed once I got to work. Above all, I’d recommend watching their excellent install video, but the main point is that because you’re constantly working with very wet, highly flexible sections of protection, you have a nearly unlimited amount of chances to get it right. You spray the frame and both sides of each panel down generously with the included concentrate and it doesn’t set up right away or bond to the frame on first touch. This means that if you misplace or misalign a panel, you can peel it off/back and start over without feeling super rushed. That said, you probably don’t want to walk away and go make a sandwich, but you get the point…
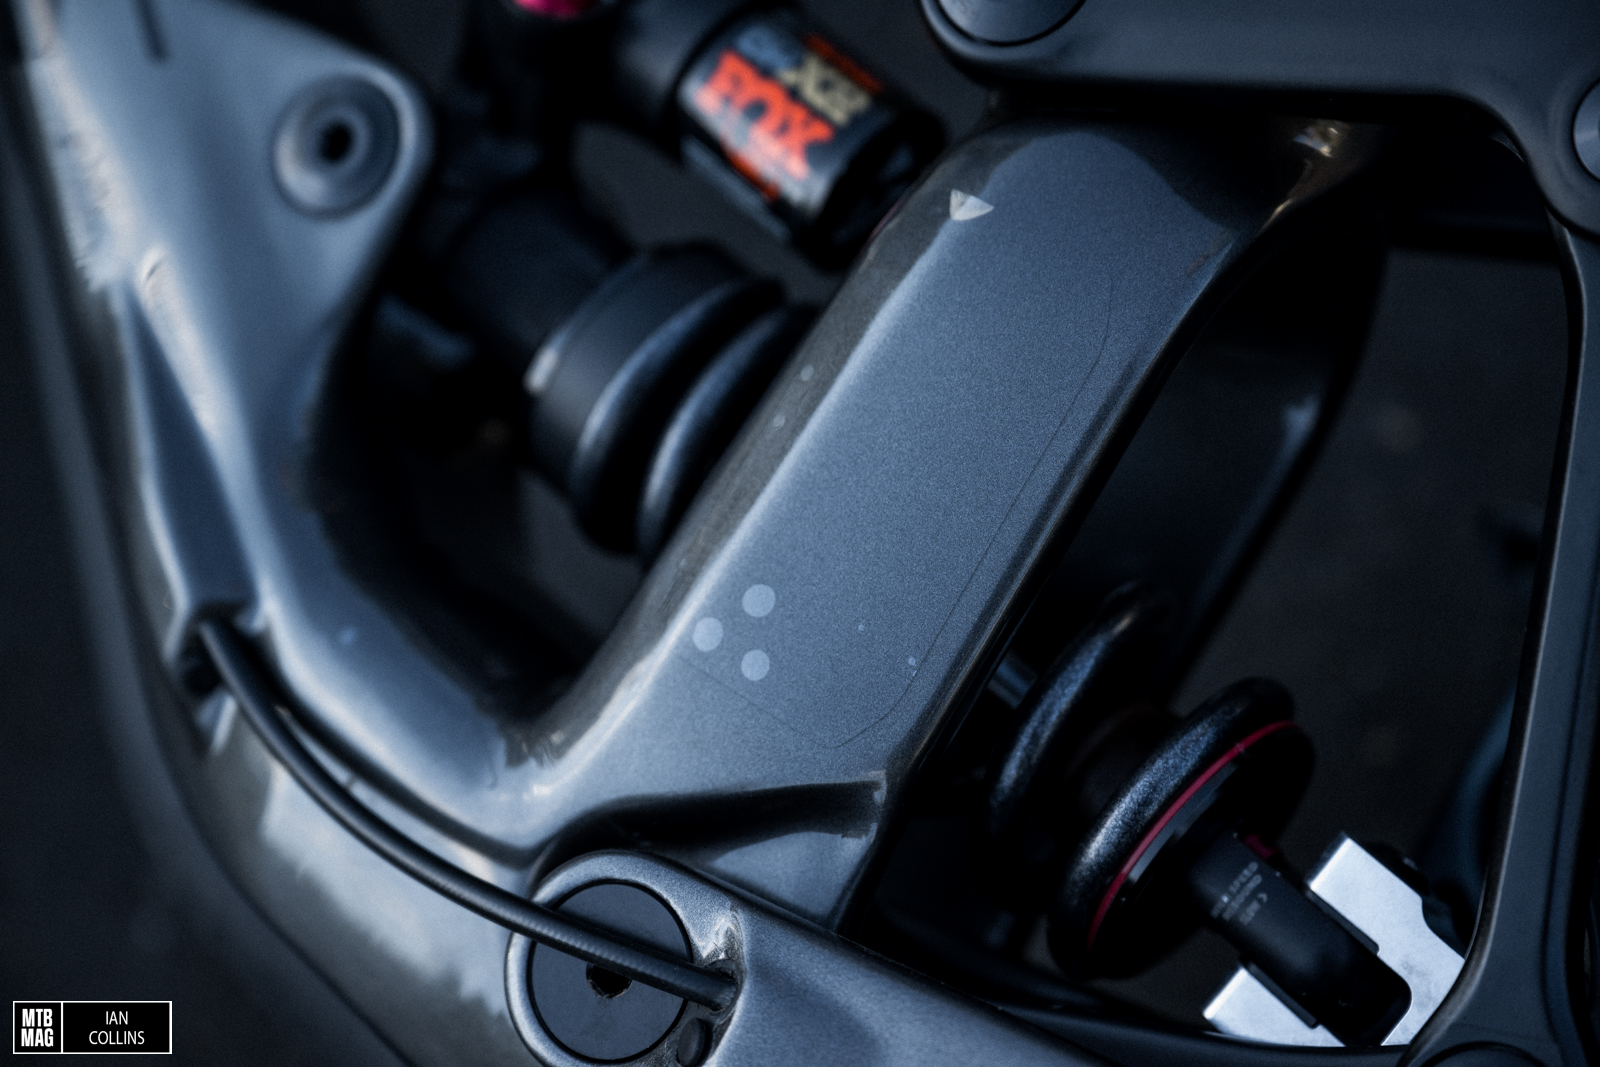 I found that the main hangup is getting every single bubble out, but there are some really really solid tips for doing so in this video. Throughout the entirety of my frame, the ones pictured above are the only three that I managed to miss. Interestingly enough, if you look at the photo below, you’ll realize it’s really only the kind of thing that you’ll see when you look at your bike in just the right light. With that in mind, I’d recommend having lots of directional light as you’re installing. This will give you a chance to look at each panel from different angles and potentially reveal a bubble you might have missed.
 Now, you might be wondering about that little open section at the top of the panel above…Because the “Covered” isn’t fully individualized to your frame there will inevitably be some bends and bulges that don’t get along with every single panel. RideWrap suggests doing a little bit of trimming to better fit each section to your specific frame and in hindsight I likely should have done so with that piece above. If you’re an ultra nit picky type, and you want more coverage, you’re likely better off with the “Tailored” kit that is completely individualized to your frame.
In use
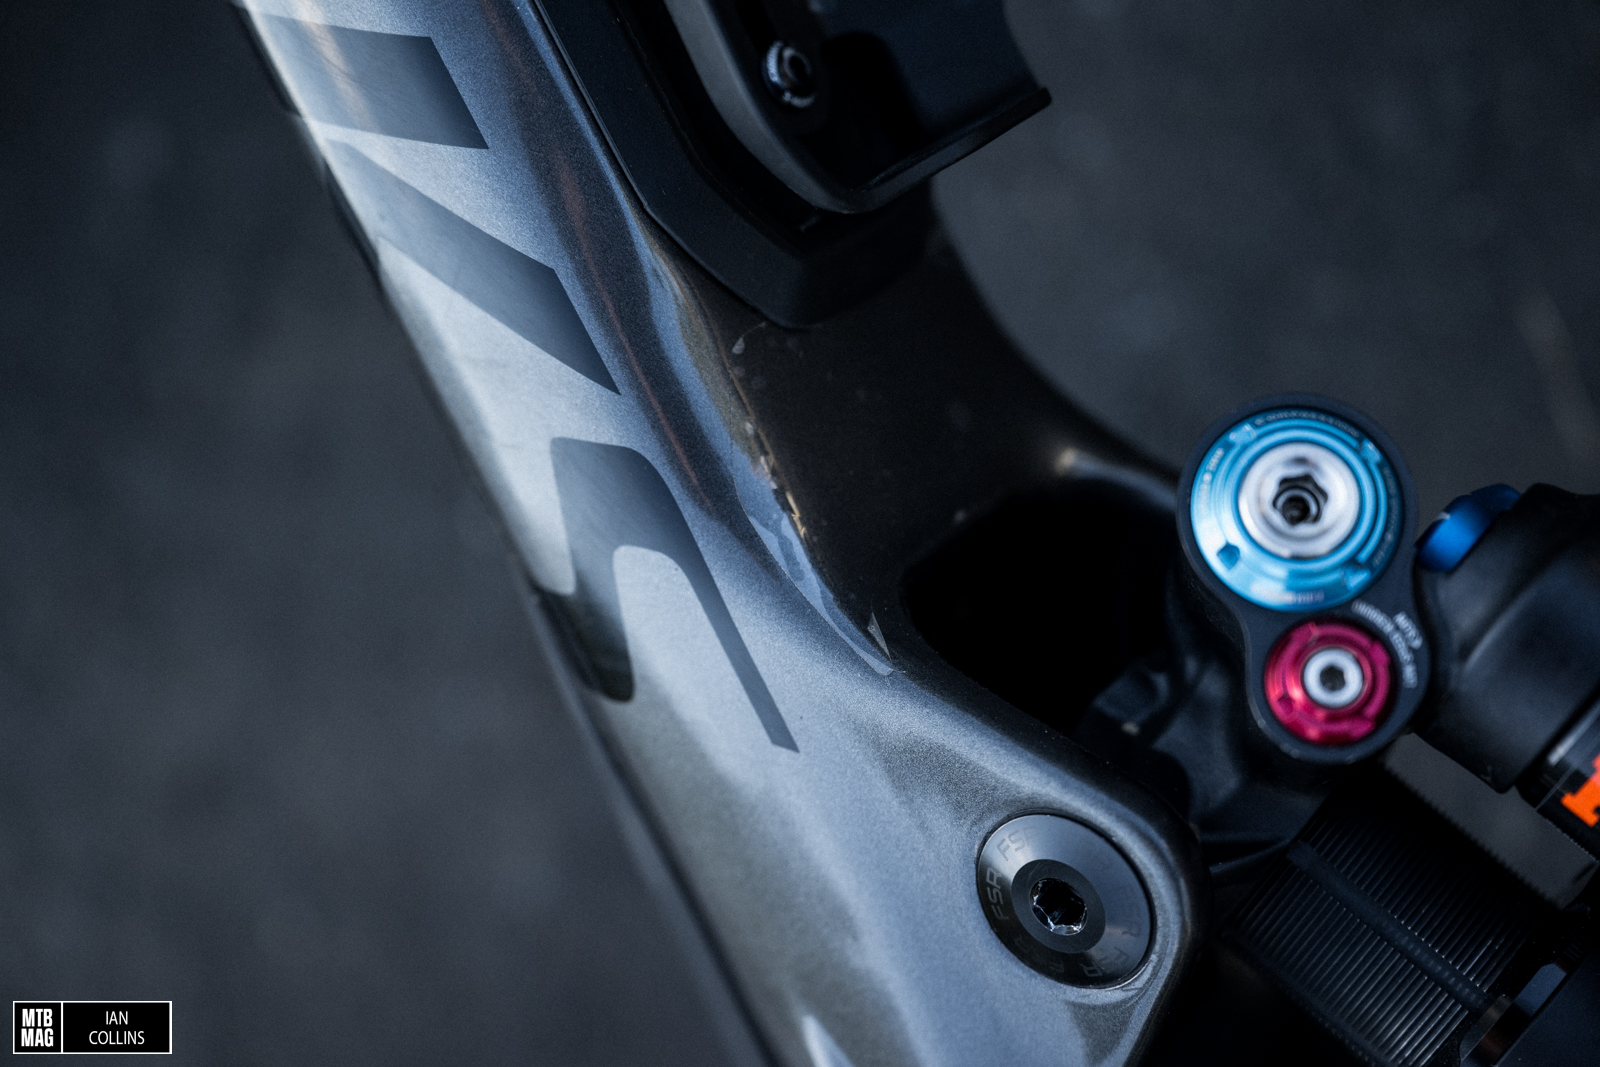
Once installed and dry, the bulk of the panels melted right into my frame and were nearly invisible, as you can see in the photo below. That picture was taken after about 6 months of use and abuse, which brings us to another interesting topic. RideWrap uses what they call a self healing and hydrophobic top coat. They claim that it “repels stains, sheds mud, speeds up cleaning, and maintains that “just installed” appearance”. While it sounds like too good to be true marketing jargon, I’d have to agree with them at this point as my seat and chainstays tend to take a ton of abuse – from errant rocks and heel/ankle rubbing in particular. Overall, my frame looks freakishly fresh and the point is, the specially designed material isn’t just some off the shelf clear mylar tape.
 Another interesting aspect is that RideWrap states that you can warm up the panels and get it to “self heal” and make minor scuffing go away. I have yet to test this out, but this is largely due to the fact that I don’t really have much scuffing in the first place, which can be interpreted as a testament to the quality of the film.
 There are two things that I would caution against based off of my experience thus far. First, as you can see in the photo above, one small section delaminated but I must admit, that was because I got way too close to it with a pressure washer. So don’t do that, and in the event that you accidentally do, you won’t need to feel like you have to go buy a whole new kit because RideWrap sells individual pieces. Additionally, if you go to remove a section, make sure that you follow the directions clearly laid out here.
Overall
So far I’ve been really impressed with this kit. At $65 it’s a great way to protect your investment. If you have any intention of selling your bike when it’s time for you to move on, you will likely earn that $65 back and then some as it will keep your rig looking fresh. If you often ride in ultra muddy conditions or if you lean toward the slightly more reckless side of things, you should probably consider the “Tailored” kit and almost completely cover your frame. As mentioned earlier, I’d also recommend that route if you’re a bit finicky and want a perfectly customized fit. As far as the material itself is concerned, it’s beyond clear that the crew at RideWrap did their homework and developed an excellent material as regards its specific duties. The film resists scratches and scuffs, heals well, and retains its luster impressively. It also sheds moisture, dirt and grime nicely – certainly better than standard protective tape does anyway. 10/10 would recommend…just follow the directions and you won’t be disappointed.