Suspension is the most complicated element of mountain biking, as is their correct setup and inevitable maintenance. False myths often revolve around them, and there are numerous bad habits and mistakes that can be pitfalls during setup and maintenance. For this reason we wrote this piece highlighting 7 truths that every rider should know about their suspension.
Sag should be measured with the suspension unlocked

It may seem trivial and should go without saying, but when you measure your suspension, you have to do it with the lockout disengaged .
If the suspension remains in the “closed” position, it won’t give you an accurate read, it will be too low. The lockout of the trail platform In this event, the sag will be too low, with the result being a fork or a shock absorber that’s too soft.
For the reason that the suspension should be measured. Even if you only have low speed compression, it’s best to leave it open during this procedure.
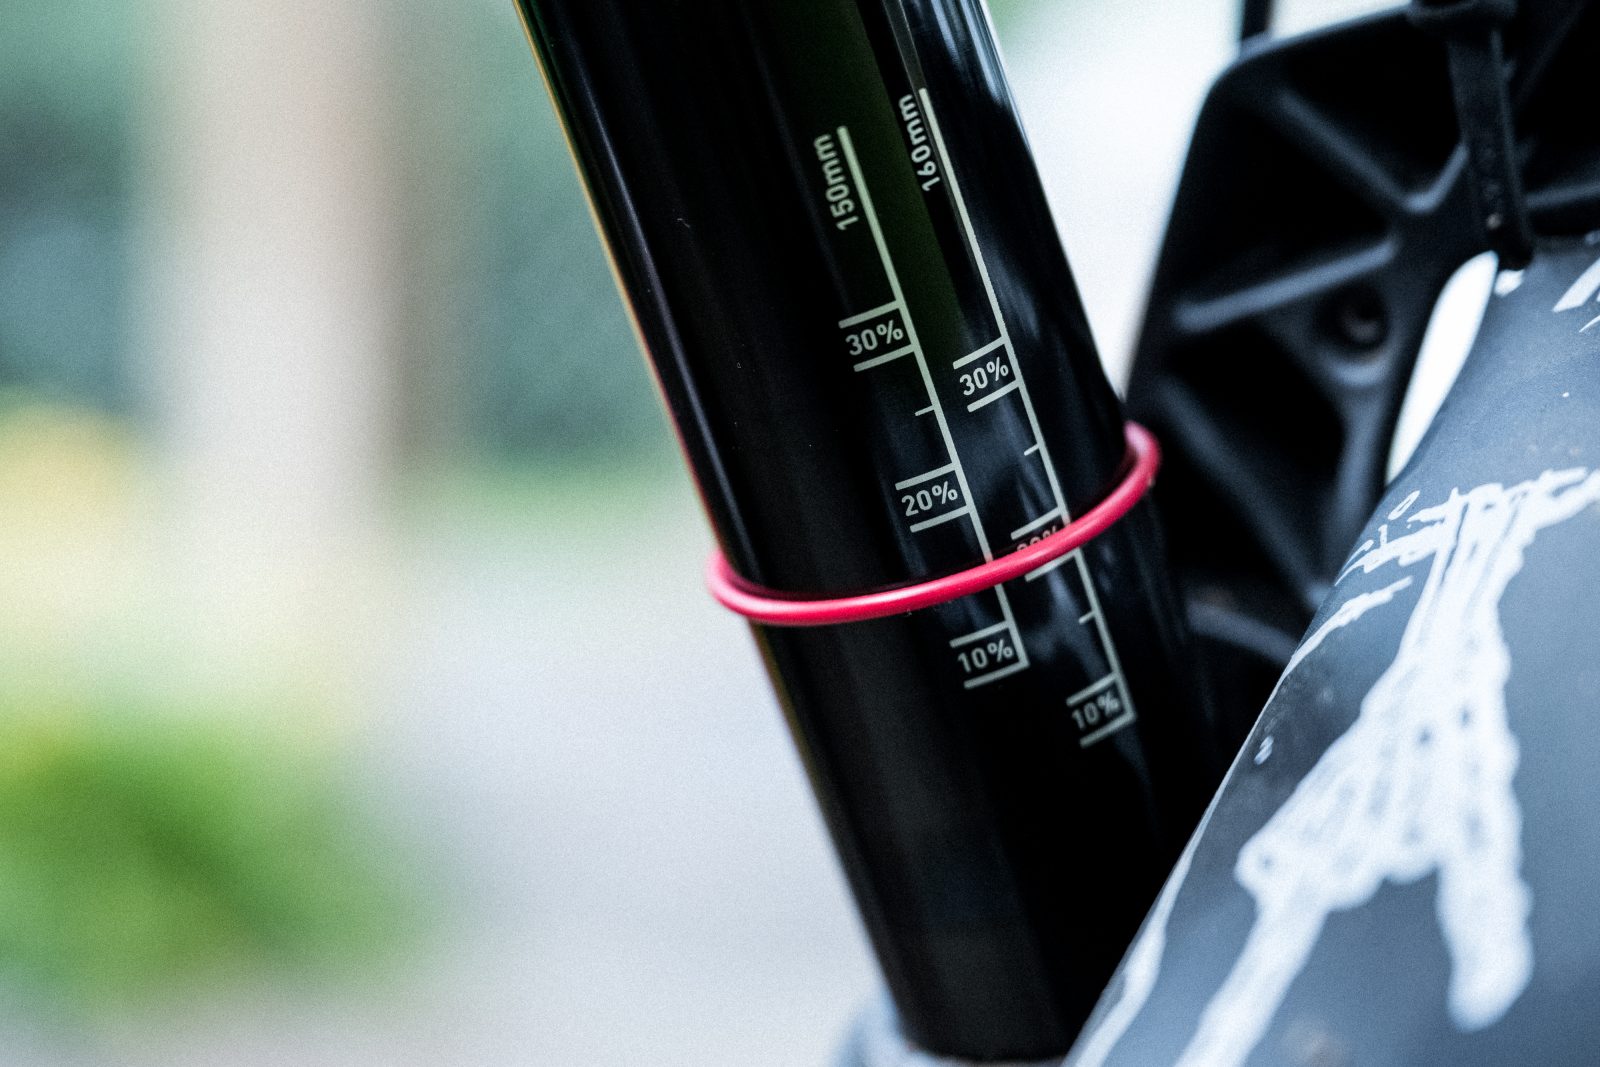
Sag is an extremely important, but not the only factor

The suspension to the correct sag is a mission. If it’s not set to 25% or 30% or less the bike calls for, you’ll be off to a really bad start in terms of setting a baseline.
In reality, the sag is only a starting point for adjusting firm or soft your shock feels. There are many other additional factors to consider. From a theoretical point, proper sag is fundamental: without sitting into the travel at the point the engineers intend it to, the bike will not perform as they aimed for. From a practical point of view, however, the measurement of the sag is not so simple and unambiguous.
It is important to distribute the weight correctly on the bicycle when doing your measurement, but remember that different riders have different techniques and postures. For example, by moving forward or backwards on the bike, crouching or standing straight, sitting or standing up will provide very different sag readings.
You can find a host of videos on youtube showing the proper procedure for measuring sag, but keep in mind, sag should not be considered as an absolute rule for setting the suspension, but rather, a starting point.
The negative air chamber should never overpower the positive
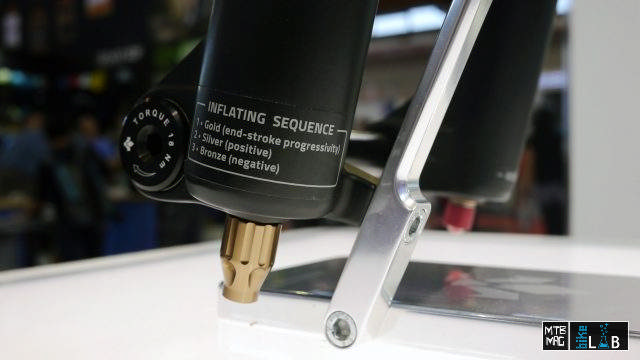
Some forks have air chambers (positive and negative) which are adjustable independently. A common mistake on this kind of suspension is to inflate the negative chamber too much. Most forks, such as RockShox and Fox use a transfer port to automatically maintain an ideal positive : negative chamber balance.
The negative chamber is a chamber whose task is to counter the pressure of the positive chamber. Without it, your fork would top out harshly. Thus, adding air to the negative spring tends to compress the fork, as it balances the air pressure in the positive chamber.
The task of the negative chamber is to make the fork softer and buttery at the beginning, more plush. The more the negative is pressurized, the more the suspension is soft on small bumps, but its pressure shouldn’t overpower that of the positive.
If the pressure in the negative chamber is too high, the fork loses its travel. The negative chamber, in a scenario of this type, would tend to compress the suspension until the two chambers reach the same pressure, but this means that the fork remains shorter, loses travel and lowers the front end, which is obviously not ideal.
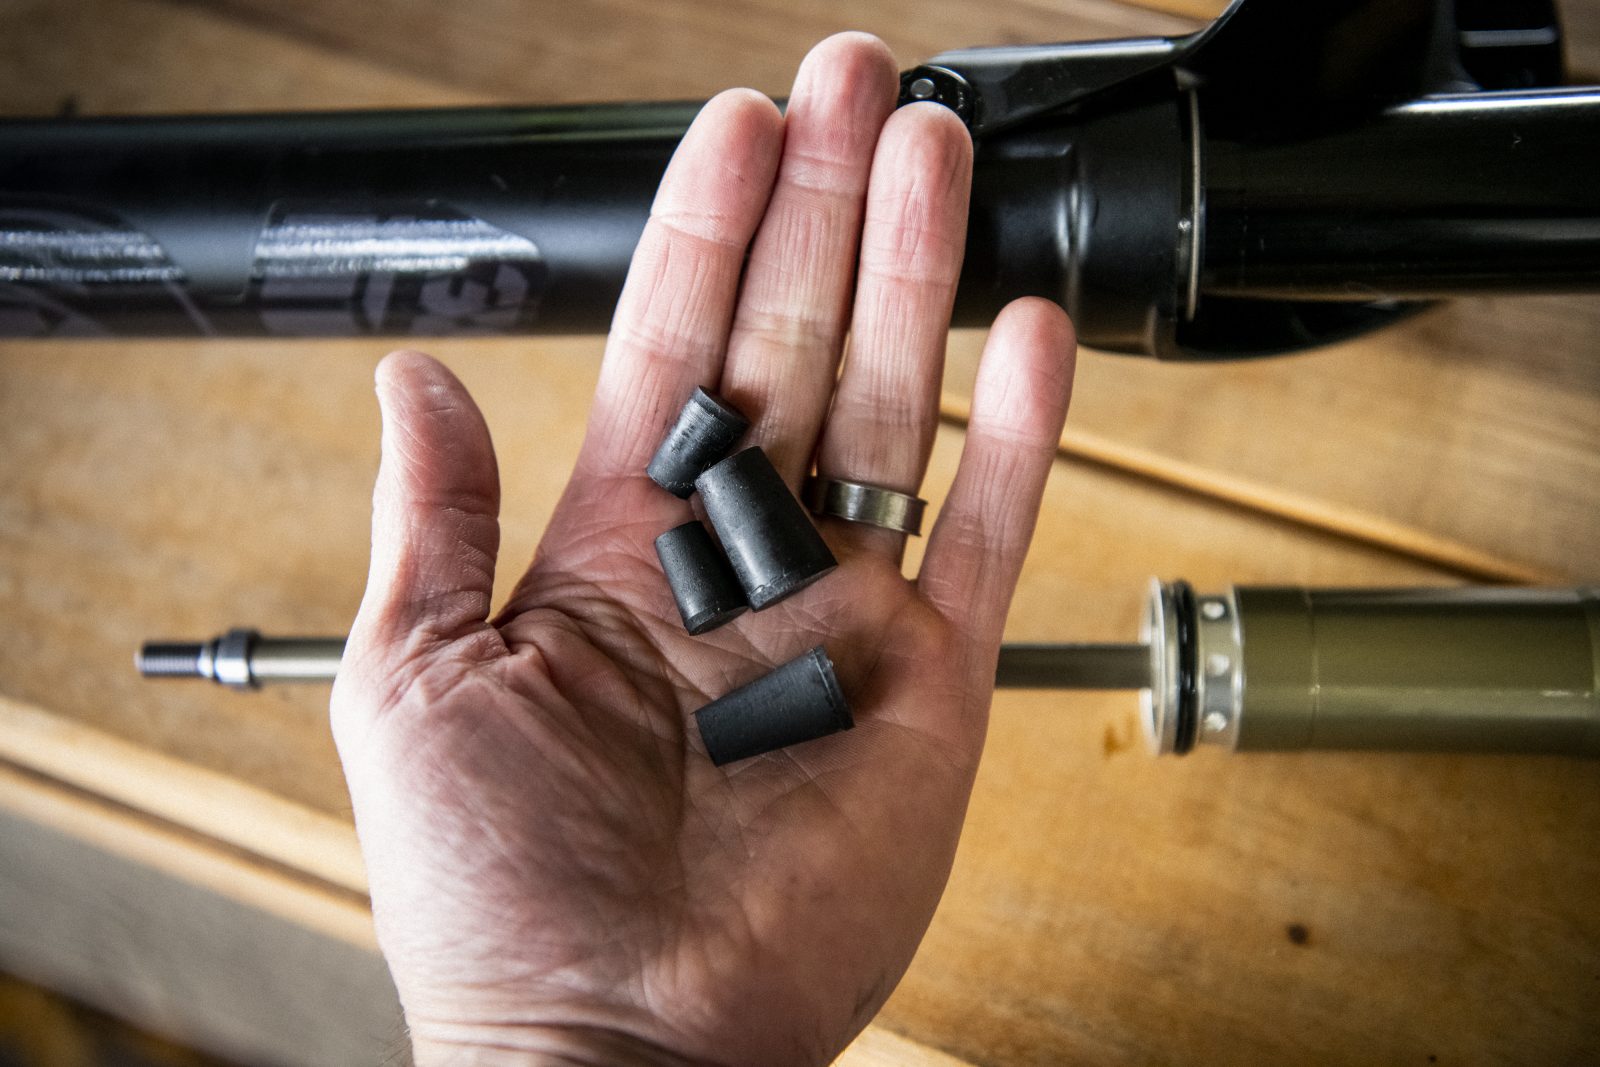
Do not insert objects between the stanchion & the dust wiper

In the past, some have advised, to make suspension run better, to lift the dust seal and pour a little oil into it with a zip tie. Some people also use this trick to relieve pressure trapped in the fork when they travel to high altitudes. While this procedure may have worked on older generation of dust-scraper, is no longer suitable for new suspension.
The modern, softer dust wipers have micro-grooves on the upper lip that can easily be damaged even with a plastic band, without considering the risk of scratching the stanchion if using metal objects.
For this reason the best method is simply to lightly apply oil to the dust wiper without lifting it.
Lubricate the stanchions & the dust wipers frequently

The external lubrication of the suspension surface is extremely important. After every washing of your bike, thoroughly clean your stanchions and apply a few drops of stanchion lube to the dust wiper. *Don’t overdo it and wipe off excess oil so it doesn’t drip down and contaminate your brake pads*
The point of external lubrication is threefold:
- protect the dust scrapers, creating a protective film that keeps them soft and efficient
- the oil is used to remove any residual dust that creeps on the dust seal, creating a ring of oil mixed dirt on the stanchion that can be easily removed with a cloth
- create a lubricious layer on the stanchion that reduces stiction and penetrates into the dust seal lubricating it
For this reason, not necessarily on every ride, but at least after washing your bike, it is important to clean it well with a cloth and externally lubricate your suspension, then remove the excess of lubricant with a cloth. *The same process can be done for dropper seatposts and air shocks out back on their dust seals as well.
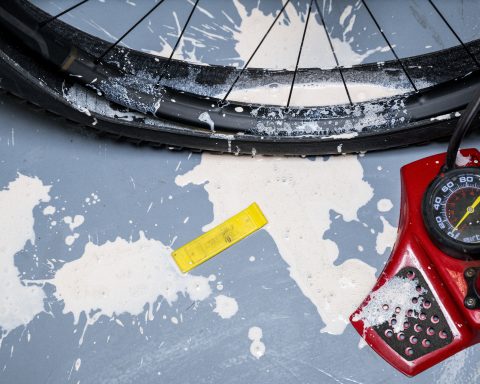
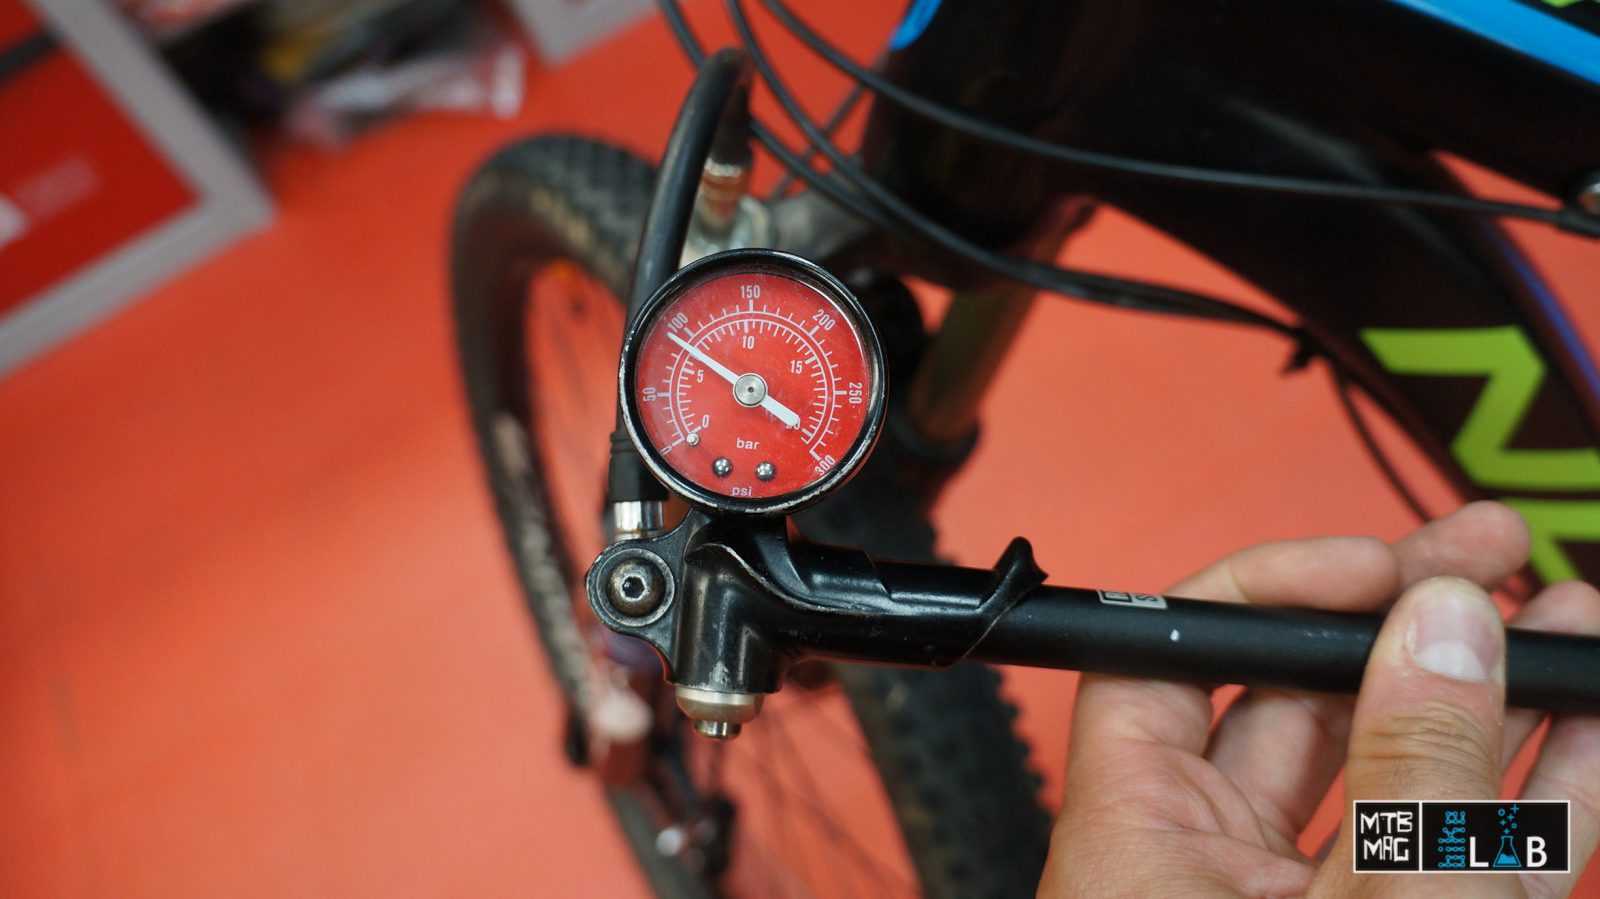
When the pump is disconnected, no air comes out

Many are convinced that when the high pressure shock pump is unscrewed, some of the air is dispersed by the valve. To compensate for this, some over inflate their suspension.
In reality this is a myth. If the pump and the valve work properly, when we unscrew the pump ring nut, the valve is closed before the air is released. The pump o-ring continues to hold until the valve is closed, only then it allows the air to exit. What we hear escaping is therefore only the air contained in the hose and in the pump pressure gauge, so…it is not air coming from the suspension.
Instead, when you attach the pump to the suspension, a part of the air contained in the shock’s air chamber escapes to go to fill tube and the pump gauge. Air loss depends on the size of the air chamber. Higher volume/Low pressure air springs like a DH fork will lose less air, where a Lower volume/Higher pressure air spring such as a rear shock on an XC bike will lose more air
So the pressure loss that we measure is relevant only when when the pump is being attached to the shock. When we unscrew the pump, the pressure is exactly that measured by the pressure gauge.

To be even safer, on the market there are specific valves that allow unscrewing the central pin that compresses the core of the suspension schrader valve, before unscrewing the ring nut. In this way it is completely impossible for air to escape from the suspension. They can be attached to any pump and are universal.
Suspension must be maintained

The last “secret”, is nothing more than to simply follow the requirements of manufacturers, insofar that for a suspension product to work well, it should be maintained regularly.
The manufacturer suggested overhauls is not a tool to cheat money from consumers or to enrich the mechanics, but rather to suggest the end of the fork or shock absorber.
Suspension systems are complex and delicate components, if they always work with clean oil, they will always be performing optimally.

The points made in this article may seem to be taken, but I assure you that they are not. There are many riders who would like to make one of these mistakes, and not just the inexperienced!