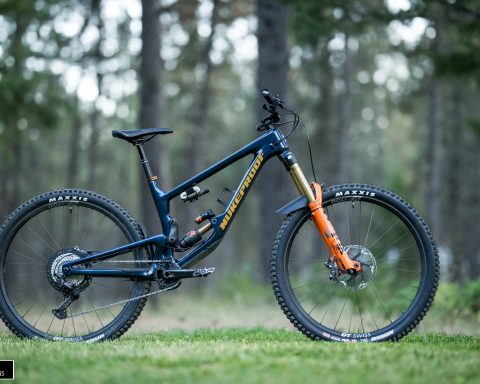
While there are already a plethora of videos and articles available online regarding the basics of suspension tuning, we wanted to take a slightly different approach. Rather than publish a Suspension 101 style video, we wanted to approach the topic from the angle of making suspension easier to understand and highlight ways to avoid common mistakes by providing easy to digest guidance on some of the more confusing aspects. You can watch the video below and if you need a reference point have a look at the written guidelines afterwards…
Suspension is best understood as relating to both the spring side (air or coil) and the damping (hydraulic) side. It is greatly beneficial to mentally separate these variables as you are going through the tuning process. Doing so will help you gain a better understanding of what your bike is doing on trail and how your adjustments are affecting its behavior.
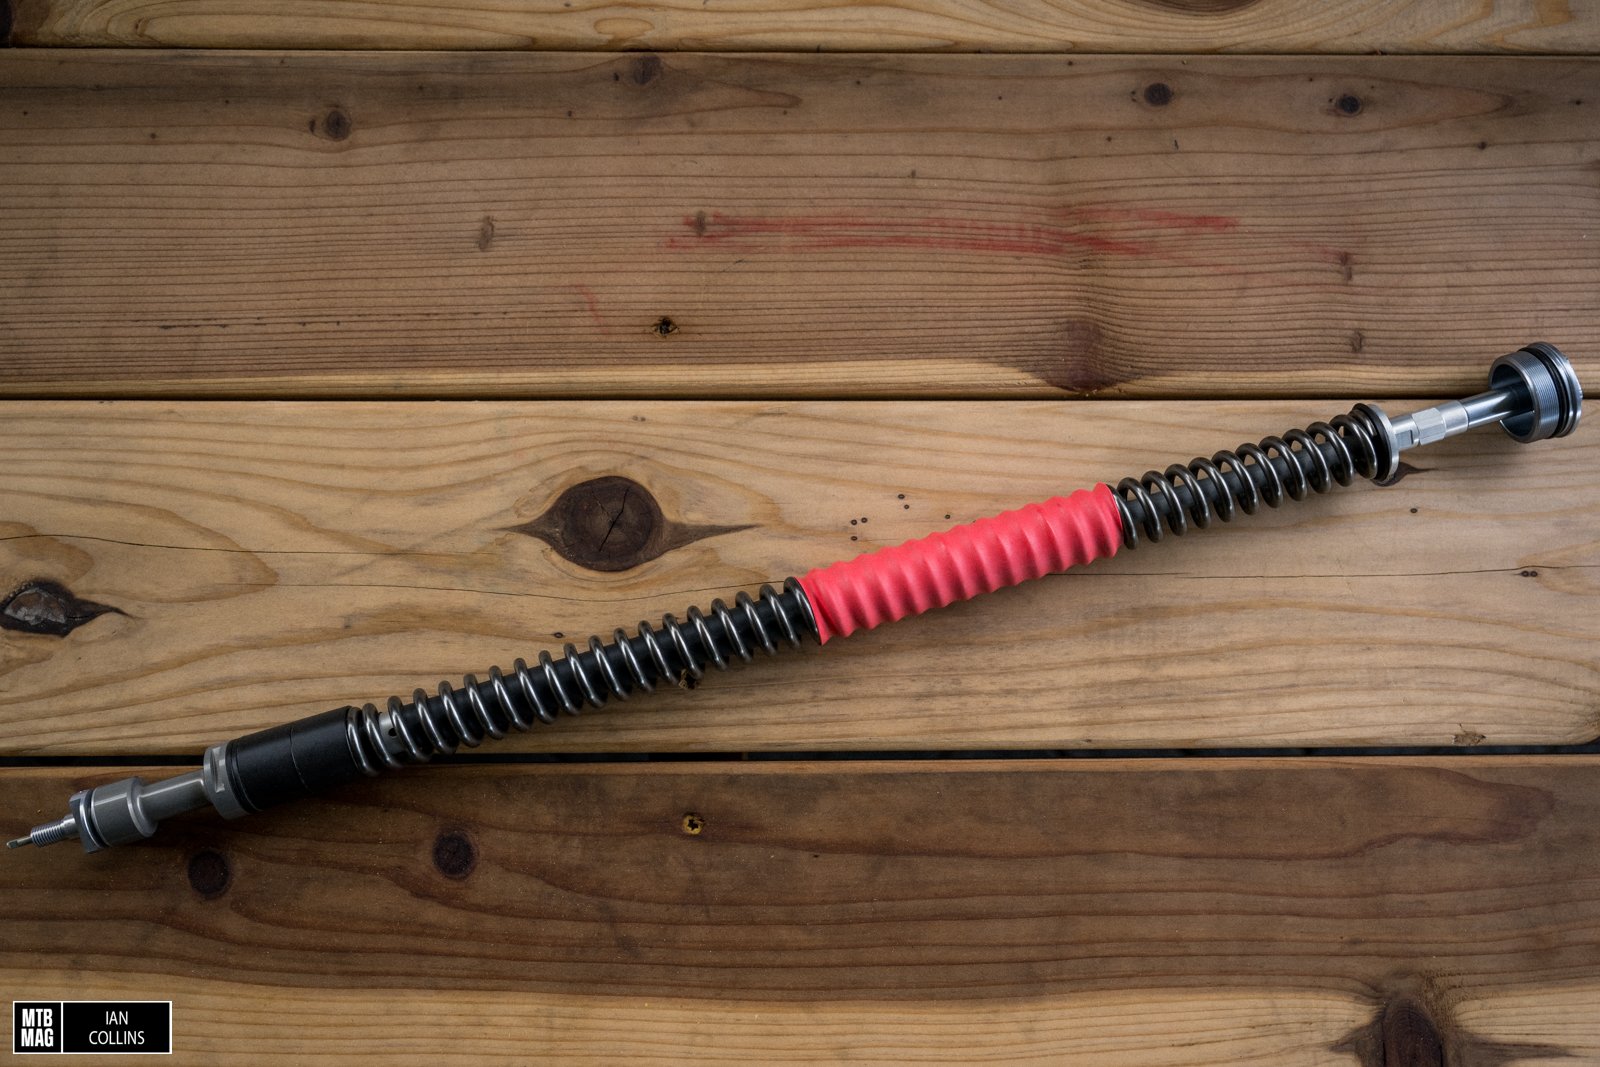
Part one – The Spring Side
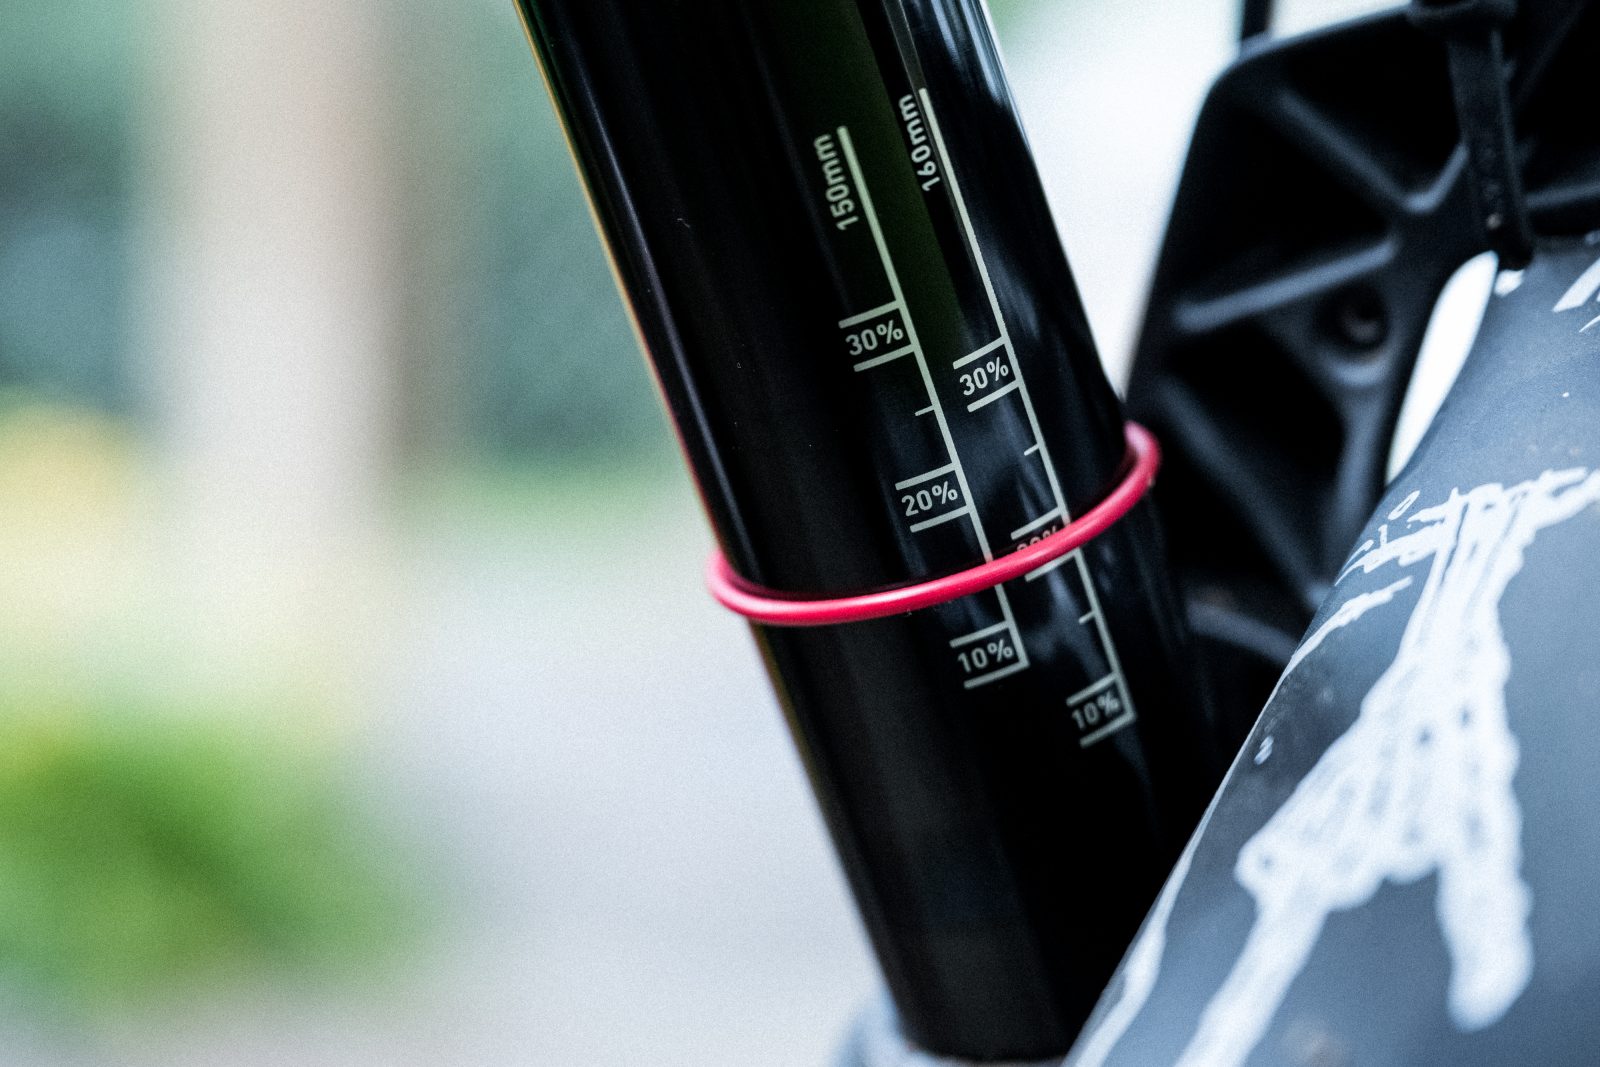
The golden rule is to start with sag as your #1 most important variable. The reason sag is the most critical factor is that it supersedes other variables like rider weight, shock model and number of volume reducers you are using. If you get your sag wrong, you will get everything else wrong. As a rule of thumb, most riders will want roughly 20% sag up front and 30% sag out back. This will vary slightly from bike to bike and rider to rider, based on skill level, but if you are in that 20/30 vicinity it’s hard to go wrong.
Once you have your sag set, you need to tune your air spring curve. This controls how linear or progressive your suspension is internally. A bike that is too linear will wallow in its travel, bottom out too easily and still feel rough off the top. Conversely a bike that is too progressive might be softer off the top, but it will get a bit rough in the mid travel and be nearly impossible to bottom out. To correct suspension that is too linear, add volume reducer(s) one at a time. In order to correct suspension that is too progressive, remove volume reducer(s) one at a time. Finding the happy medium requires a little bit of work but it is absolutely worth it.
Aside from getting sag wrong, another very common error that riders will mistakenly over soften their suspension when they are getting beat up on trail and feel like things are too harsh. It might sound paradoxical, but often the answer is to experiment with firming up your suspension. When you run your suspension too soft, what actually happens is that your bike sits deeper into its travel where it is increasingly progressive and has less breathing room. A bike that might feel too firm in the parking lot can often have a lot more usable travel to provide on trail.
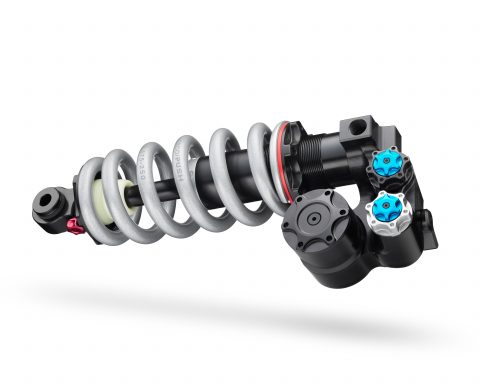
Part two – The Damping Side
To me, the most common problem with damping tuning seems to stem from a complete misunderstanding of how low and high speed damping works and what each circuit is responsible for. I’ve found that when riders think of the two variables in ways that are both distinct but relatable on trail, it can be tremendously helpful in attaining better tuning results. These days many suspension companies offer very solid tuning guides to give you a good baseline starting point. The tips below can help you further fine tune and hone in on the perfect ride as it relates to your skill level and local terrain.
Before diving in, there are two things to remember – make your adjustments one click at a time and take notes.
Low speed
The best way to wrap your head around low speed damping is to think of it as being related to body input and built features. Heavy braking, weighting the front end in a berm or popping off of the lip of a jump are all things that involve more body movement. The latter two also involve built features.
Let’s say your suspension is already fairly well set up in terms of sag and air spring curve but it sits a bit deep in the travel. You likely need to add low speed compression to combat diving under heavy braking or in berms. On the rebound end of things, let’s say you are getting bucked when you go off the lips of jumps. You likely need more low speed rebound. Conversely, if you aren’t getting enough pop and your suspension sticks down you should probably back off of your low speed rebound damping to get a livelier feel.
High speed
High speed damping is best understood as being related to things are inherent to the natural trail and are less affected by body position. The events that are metered by the high speed circuit are often ones that occur so fast that you you don’t even really have time to think about them – things such as roots, rock gardens and braking bumps. They typically aren’t man made and your body position is often neutral and hovering while navigating these obstacles.
This end of things can be a little trickier to tune for and is thus I tend to save it for last. If your sag and air spring are pretty well dialed in but your bike feels a bit skittish and rough, you likely need more high speed damping from compression and/or rebound. If your bike feels rough and almost a bit dead and unresponsive, well then you likely have a bit too much. Interestingly, having either too much or too little high speed damping can cause a loss of traction.
Taking your time, thoroughly analyzing what you’re feeling and how it relates to each section of trail will help tremendously in the tuning process. Hopefully this was informative!