[ad3]
If you have a hydraulic seat post from Rockshox, it may need air bleeding out of the remote now and then. This is the procedure to that for the stealth version, due to the fact the cable passes through the frame, a few extra steps are required compared to a non-stealth version.
Tools required:- Reverb bleed kit, Torx T10, rags, allen keys.
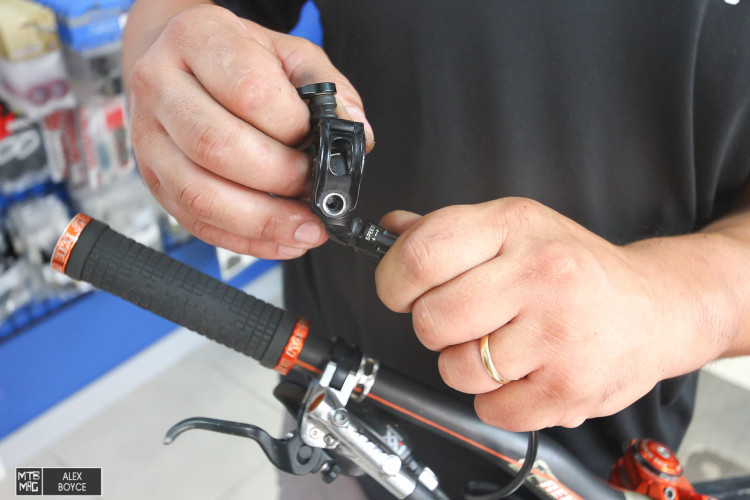
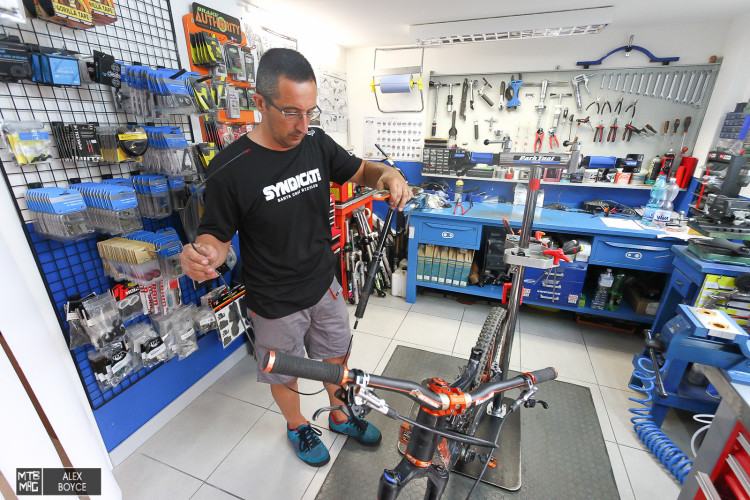
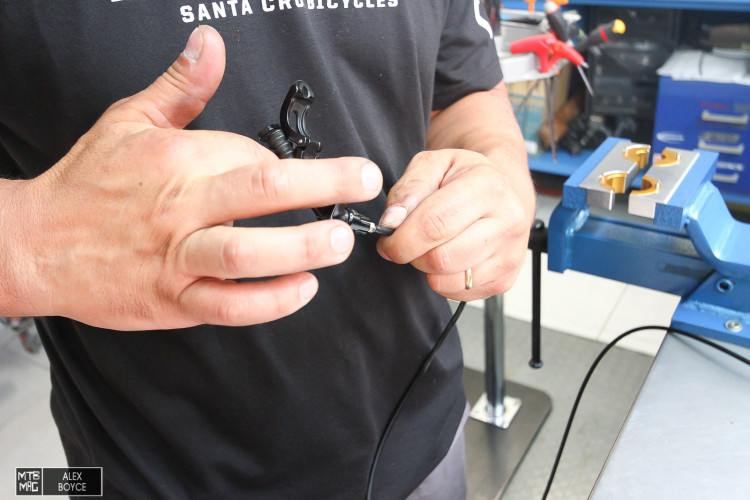
Un-screw the remote from the bar and the hydraulic tube.
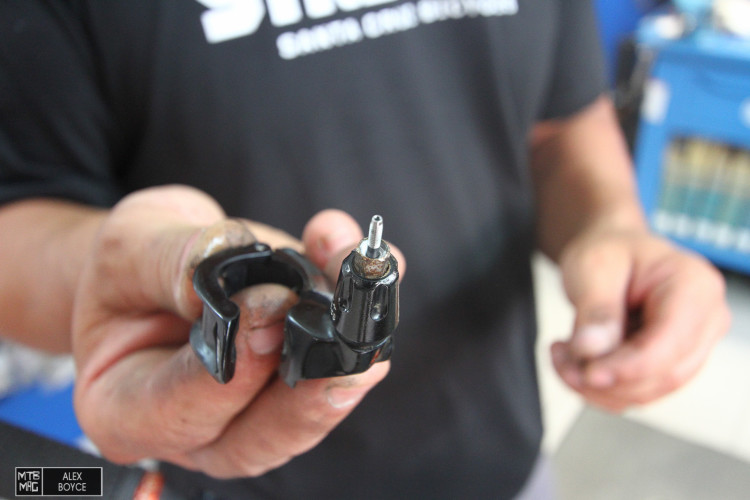
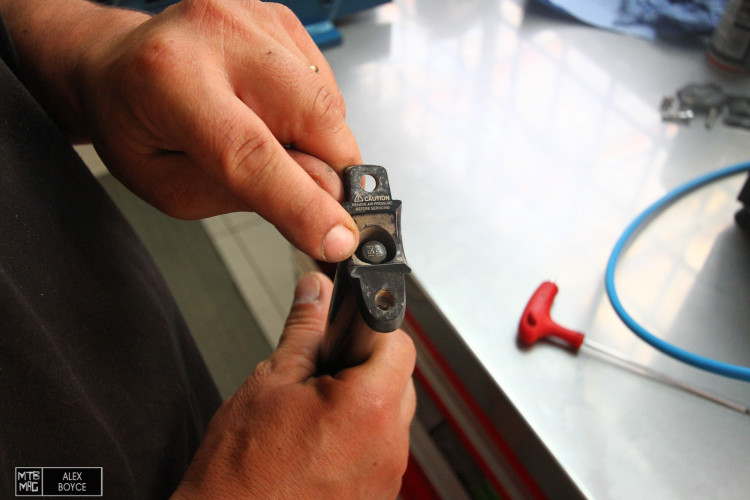
With the remote unscrewed, place the top cable cap that came with the bleed kit.
The cable is now capped and wont loose oil.
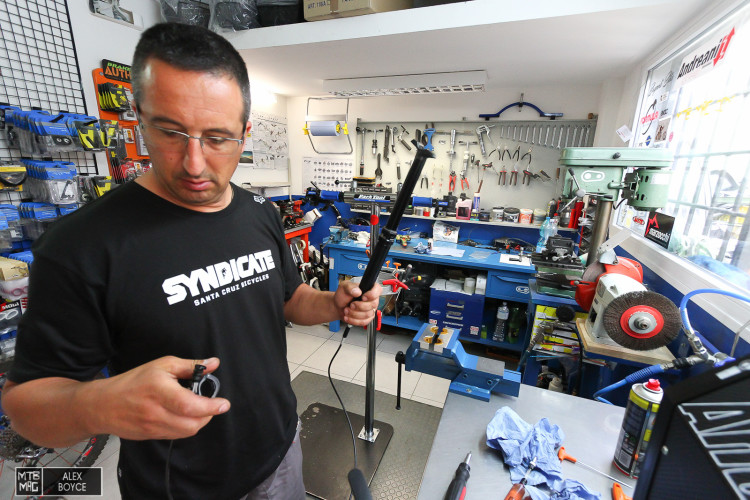
Un do the seat post.
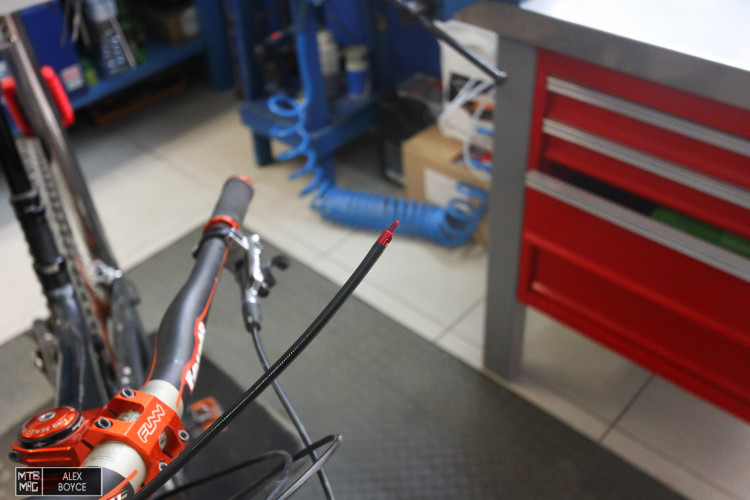
Remove the tube from the frame, in the case of this bike, there is no need to leave a feed cable to reinsert the tube. Other bikes might be different. If so connect and tape an old outer cable to the hydraulic tube you are removing and pull it through.
Locate the air pressure valve under the saddle, remove with an 8mm socket.
Inflate the seat post / check the return pressure.
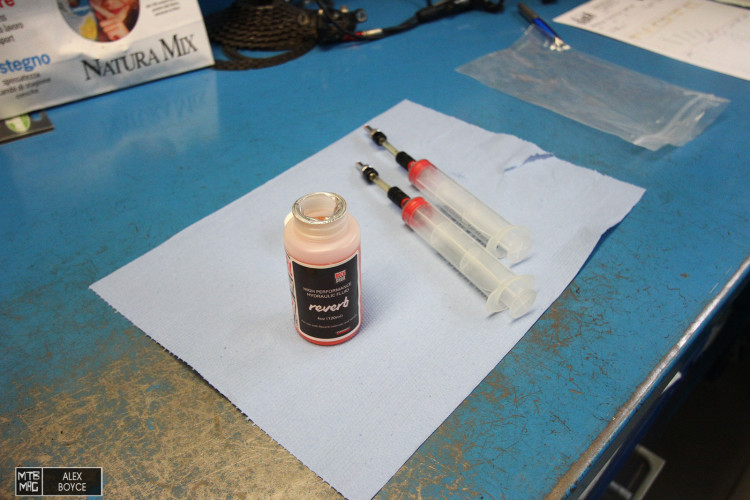
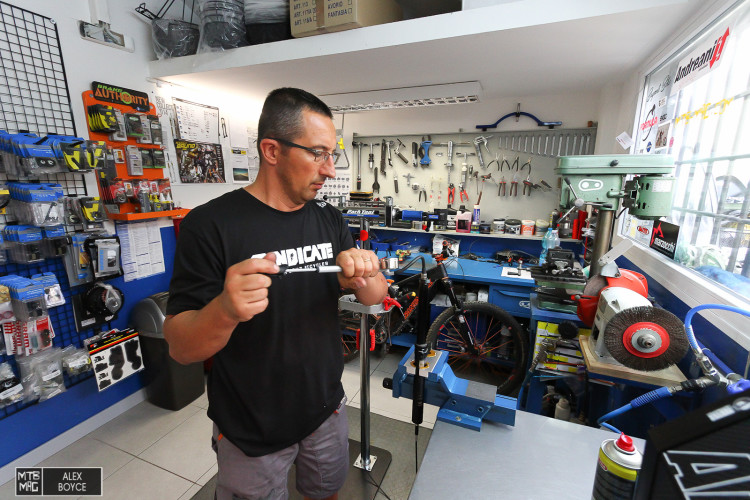
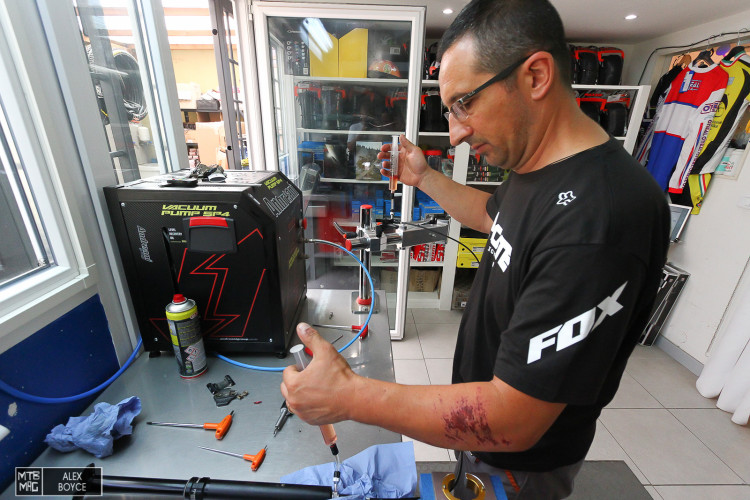
Take the specific Reverb oil and bleed syringes.
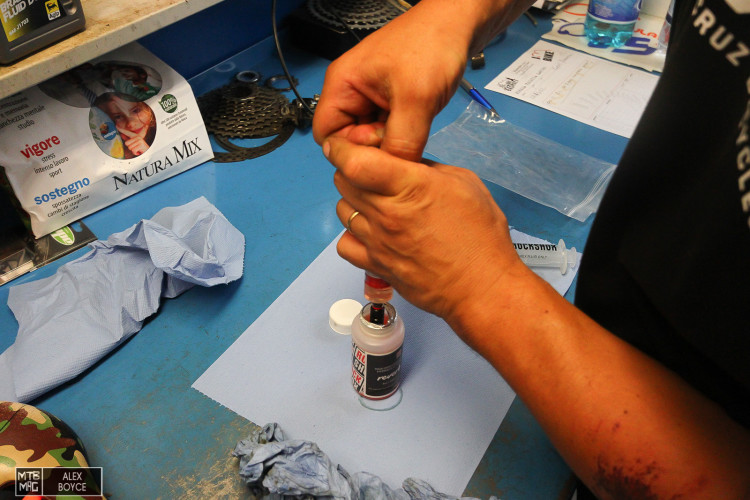
Load the syringes, one almost full the other with 15 cc of liquid, tap them and make sure there is no air in the liquid.
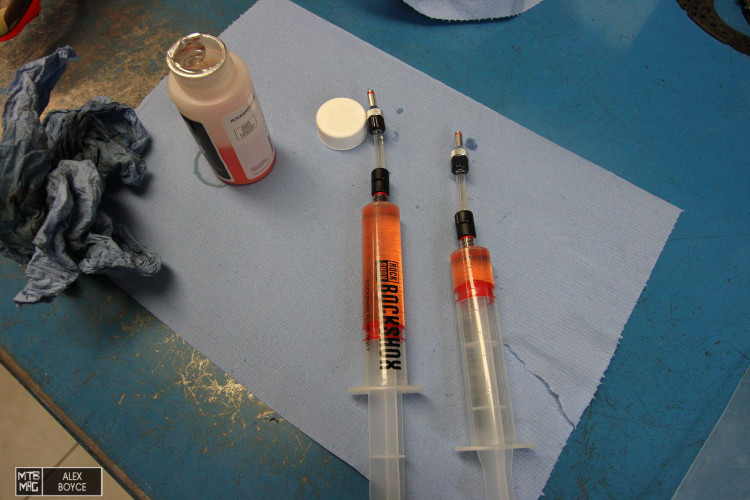
Syringes prepared.
Undo the cable top and re-screw on the remote control.
Ensure you don’t over tighten the remote.
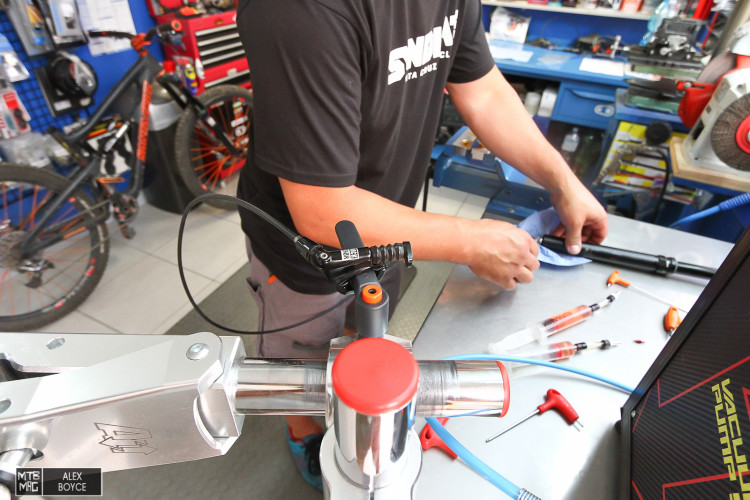
Place the remote higher than the seat post, so air flows to the remote.
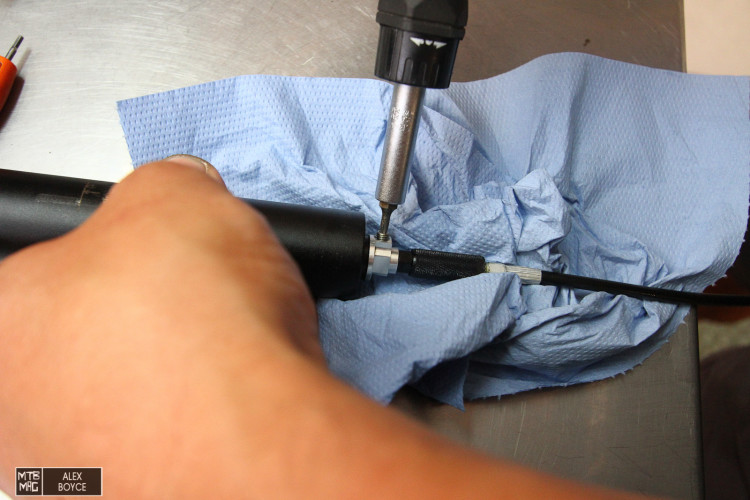
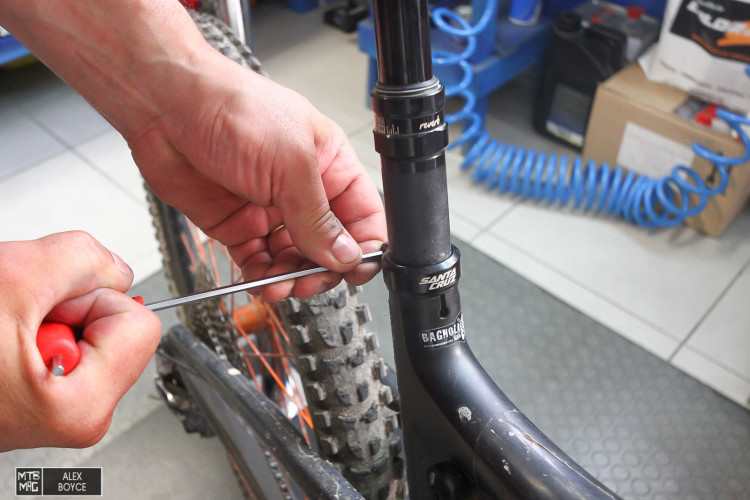
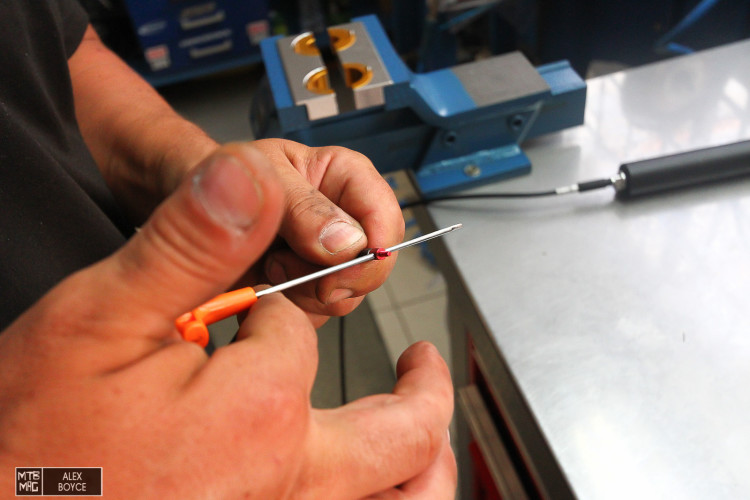
Unscrew the bleed screw with the T10 torx on the seat post.
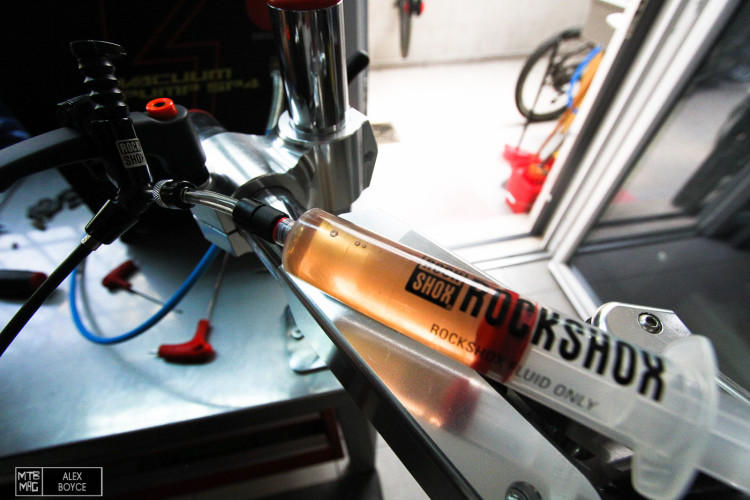
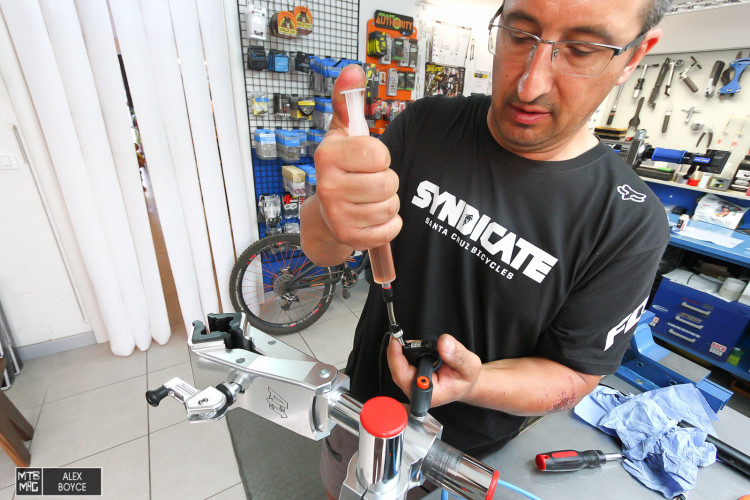
Screw in the full syringe.
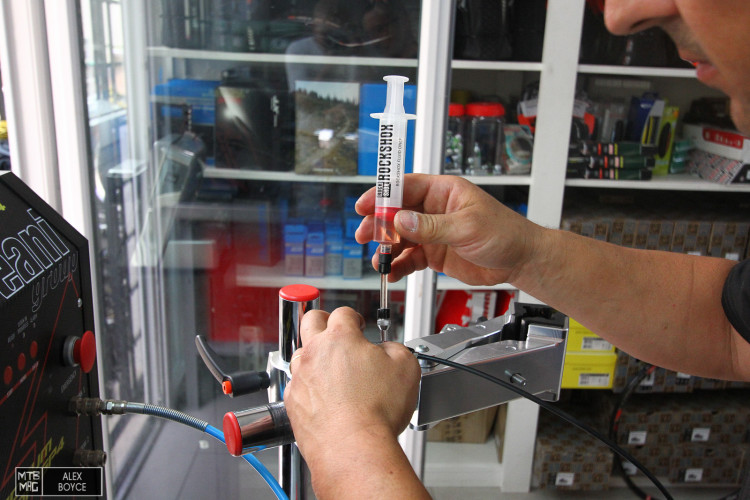
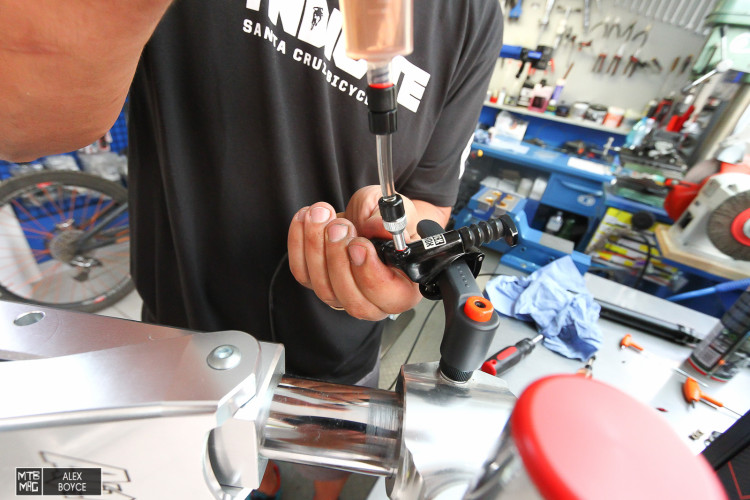
Now screw in the almost empty syringe into the remote bleed screw.
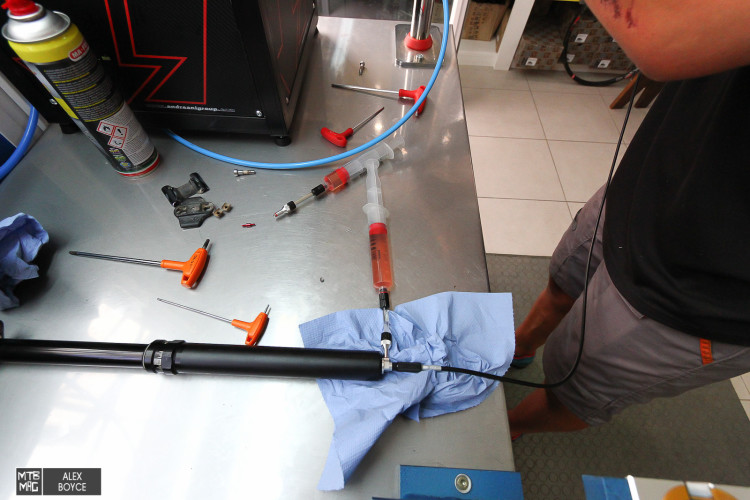
Apply pressure to the seat post syringe, and force liquid out into the other syringe.
Any trapped air will flow out, repeat 3 or 4 times by passing the oil in and out of the hydraulic line, to ensure all the air is out.
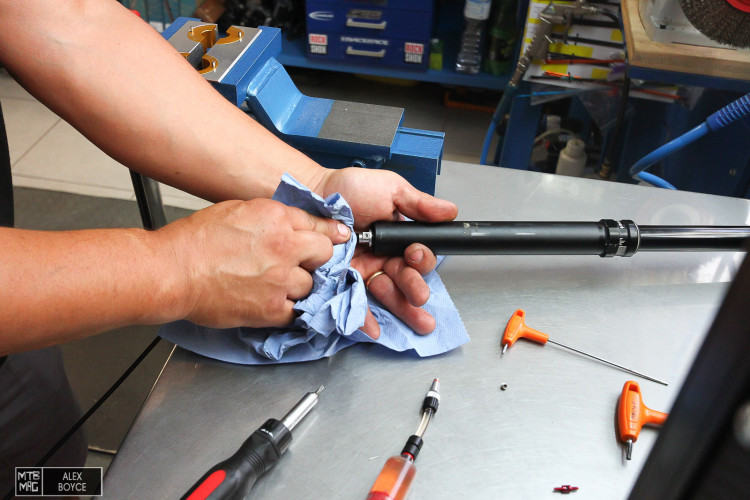
Now reinsert the bleed screw into the seat post end, and clean any excess liquid.
Return to the remote control and apply pressure to the syringe, at the same time pump the remote.
Repeat this procedure with the speed regulator on the remote fully open, mid position and fully closed.
Close the remote valve and check the post works.
Re-unscrew the remote with the speed setting on the remote at it’s slowest.
Re apply the top to the tube and re-insert the cable back into the bike frame.
Now re-screw the remote back onto the cable once inserted into the frame. You are done!
Thanks to www.bagnolibike.com for their help.
[ad45]