[ad3]
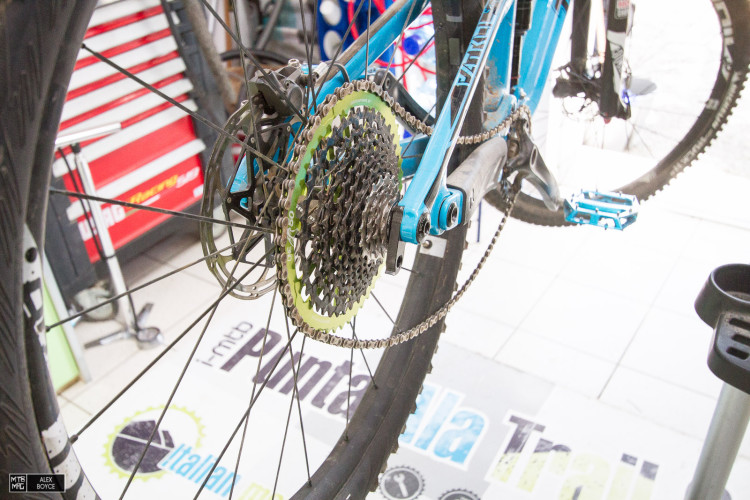
There can be more than a few reasons for needing to change a derailleur cage, most would be due to being bent or broken but in our case we are making a One UP 50T rear cassette after market upgrade and need to convert our derailleur to accept the 50T cassette cog.
Normally most people prefer not to touch the inner workings of their derailleurs, but it is easier than it appears! Before our first 50T test ride at Punta Ala, we show you how to change a Shimano XTR cage.
Tools: Two 4mm allen keys, 2.5 mm allen key, Phillips screw driver.
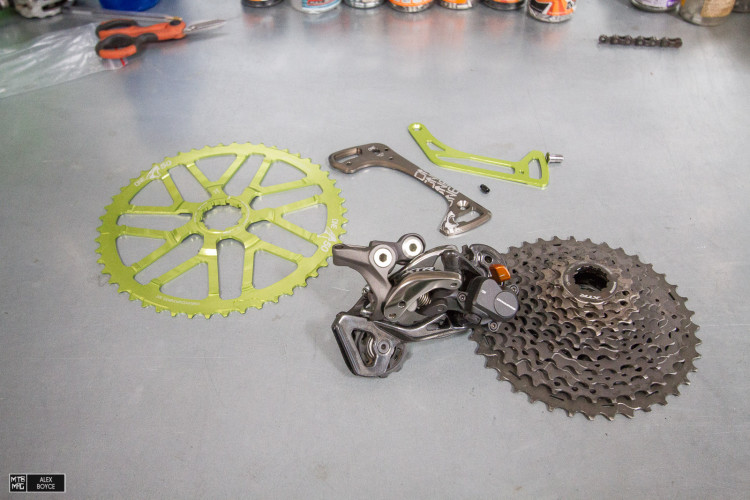
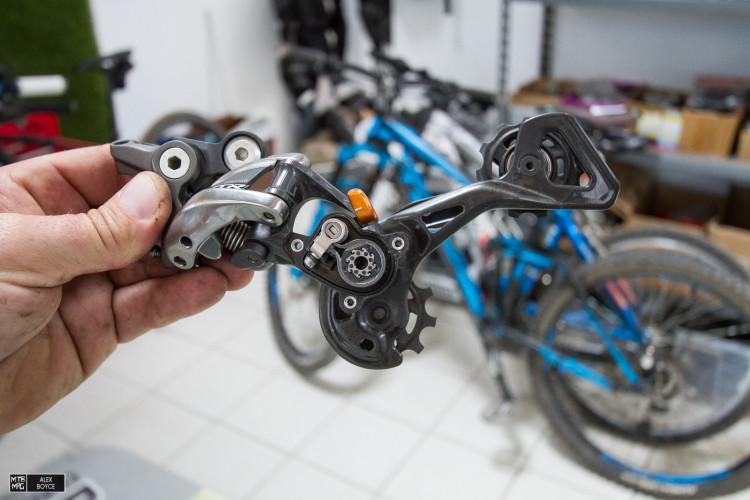
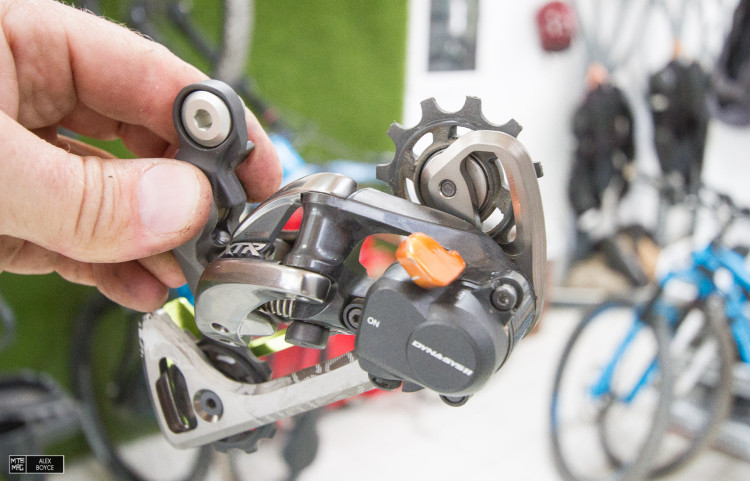
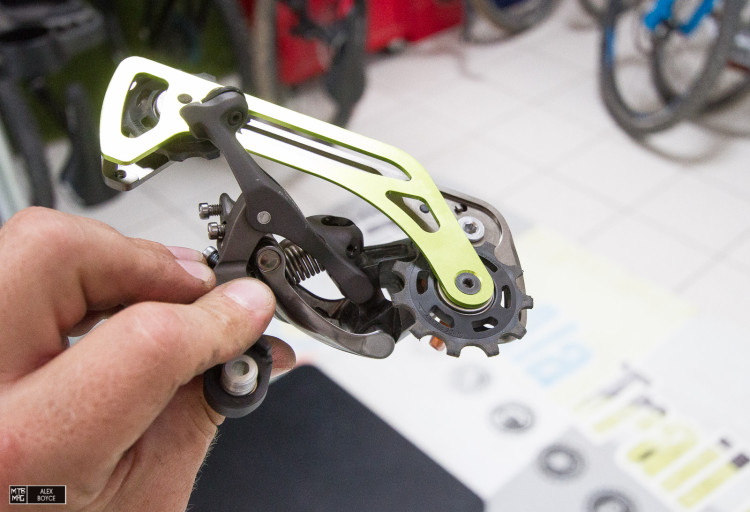
These are the parts that we need to make work together.
The 50 T rear cog needs a longer derailleur cage mech.
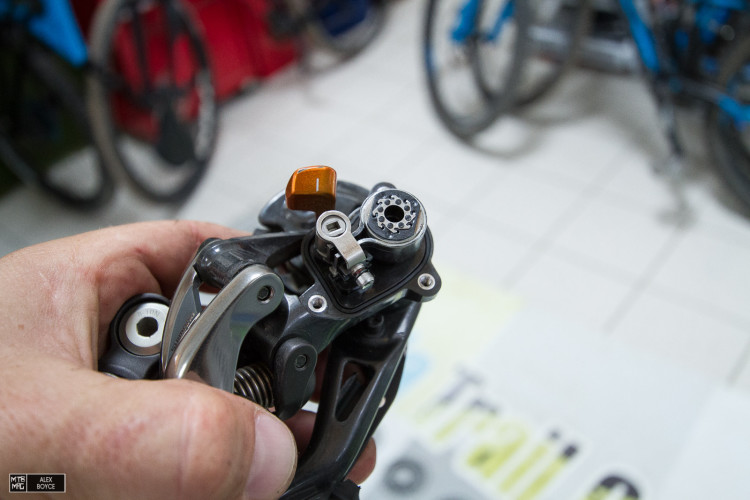
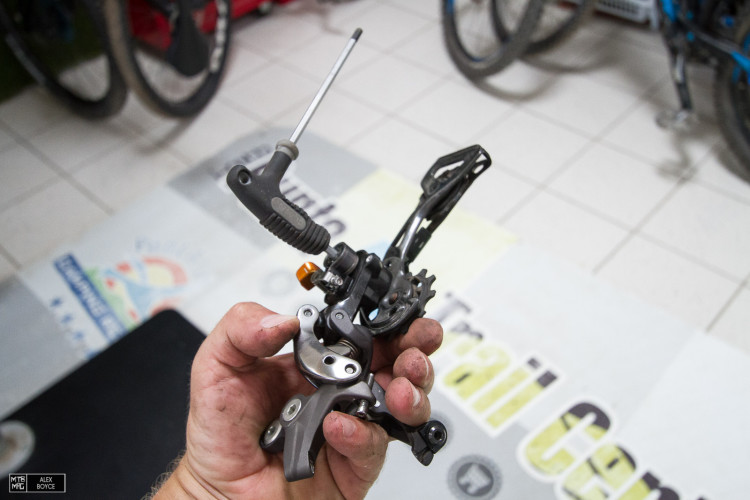
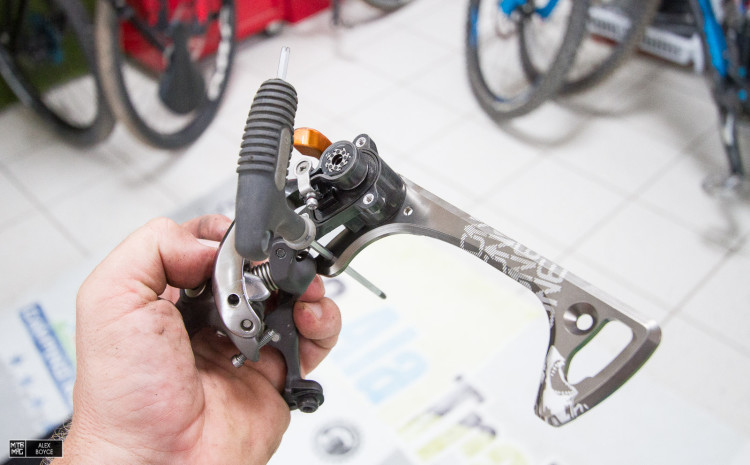
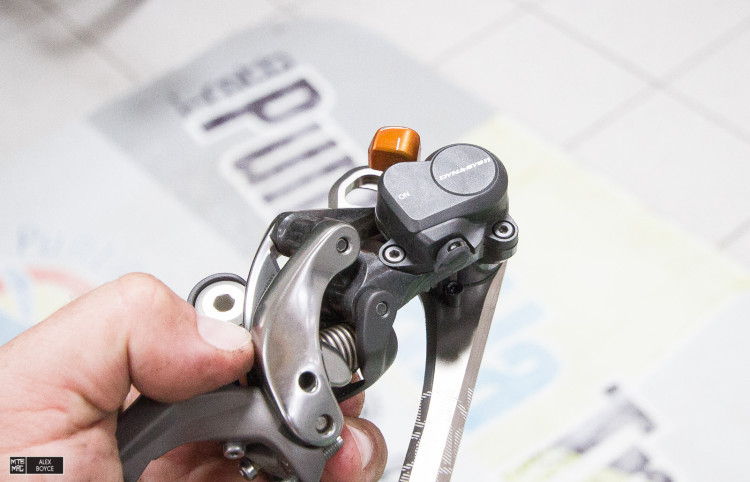
We start by making sure the clutch is switched to “OFF”, then removing the cage spring cover.
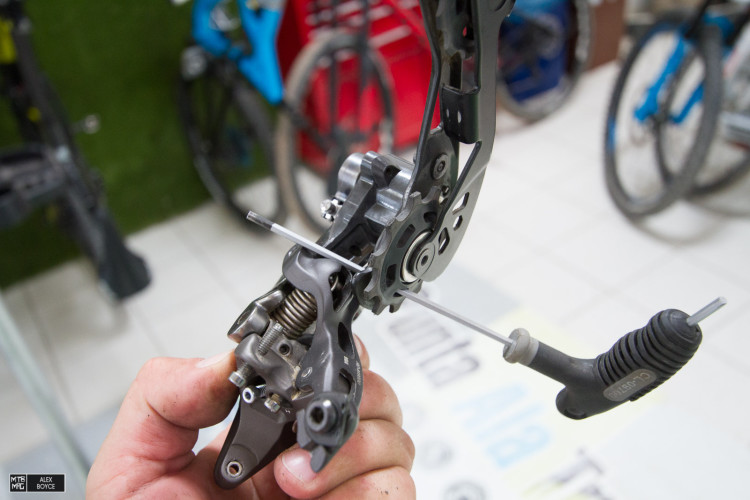
Once removed we open the medium cage up, we slide the 4mm allen wrench through the jockey wheel to hold the cage open against the spring and derailleur body.

We then undo the stopper screw on the cage’s outboard plate.
The derailleur cage will now open around all the way and release the tension on the spring.
We now undo the spring bolt from the front plate.
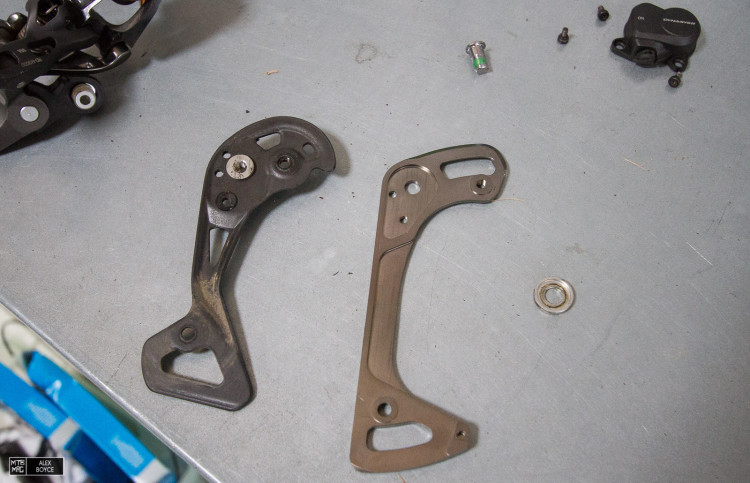
We take our cage parts and begin swapping them to the new cage.
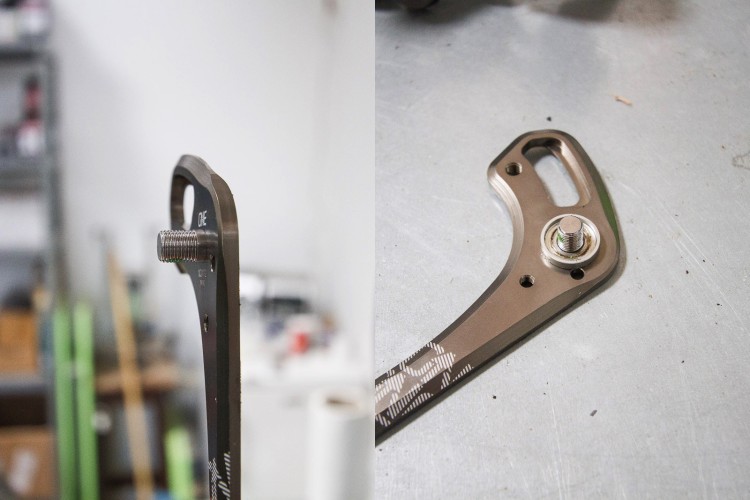
Insert the new cage plate retaining bolt and bushing, it only goes in one way so pay attention to how it was mounted on the original cage.

Once inserted, locate the cage tension spring in the hole and tighten the screw softly.

Take two 4mm allen keys and tighten them up in opposite ways firmly but not iron man tight.
Reopen the derailleur cage under tension and block the cage in place.

Re insert the cage stopper bolt.
Replace the spring cover.
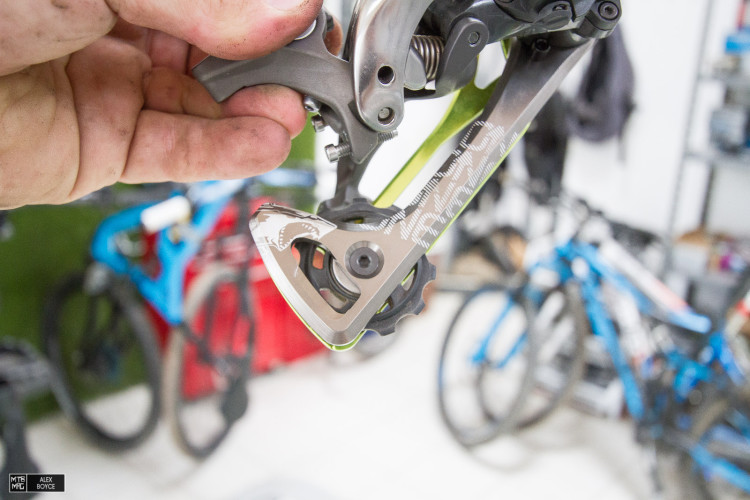
Place the jockey wheels in the cage, this is the lower wheel.
Attach the upper wheel as well.
Tighten the cage bolts and give everything a thorough once over.
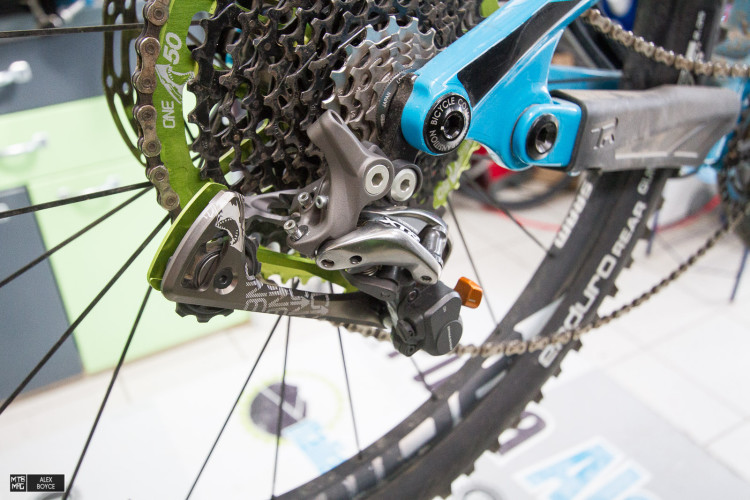
Mount the derailleur back on the bike but first, double check the derailleur hanger alignment while the derailleur is off. You are now ready to re-mount the chain and fine tune the shifting.
This is actually an easy operation, much easier than it appears, in some cases this can be done to just straighten the derailleur cage if it is bent, or replace it with a Shimano official spare part. In all cases the important part is to release spring tension properly for a safe and smooth installation.
Technician @ Punta Ala Trail Center
[ad45]