[ad3]
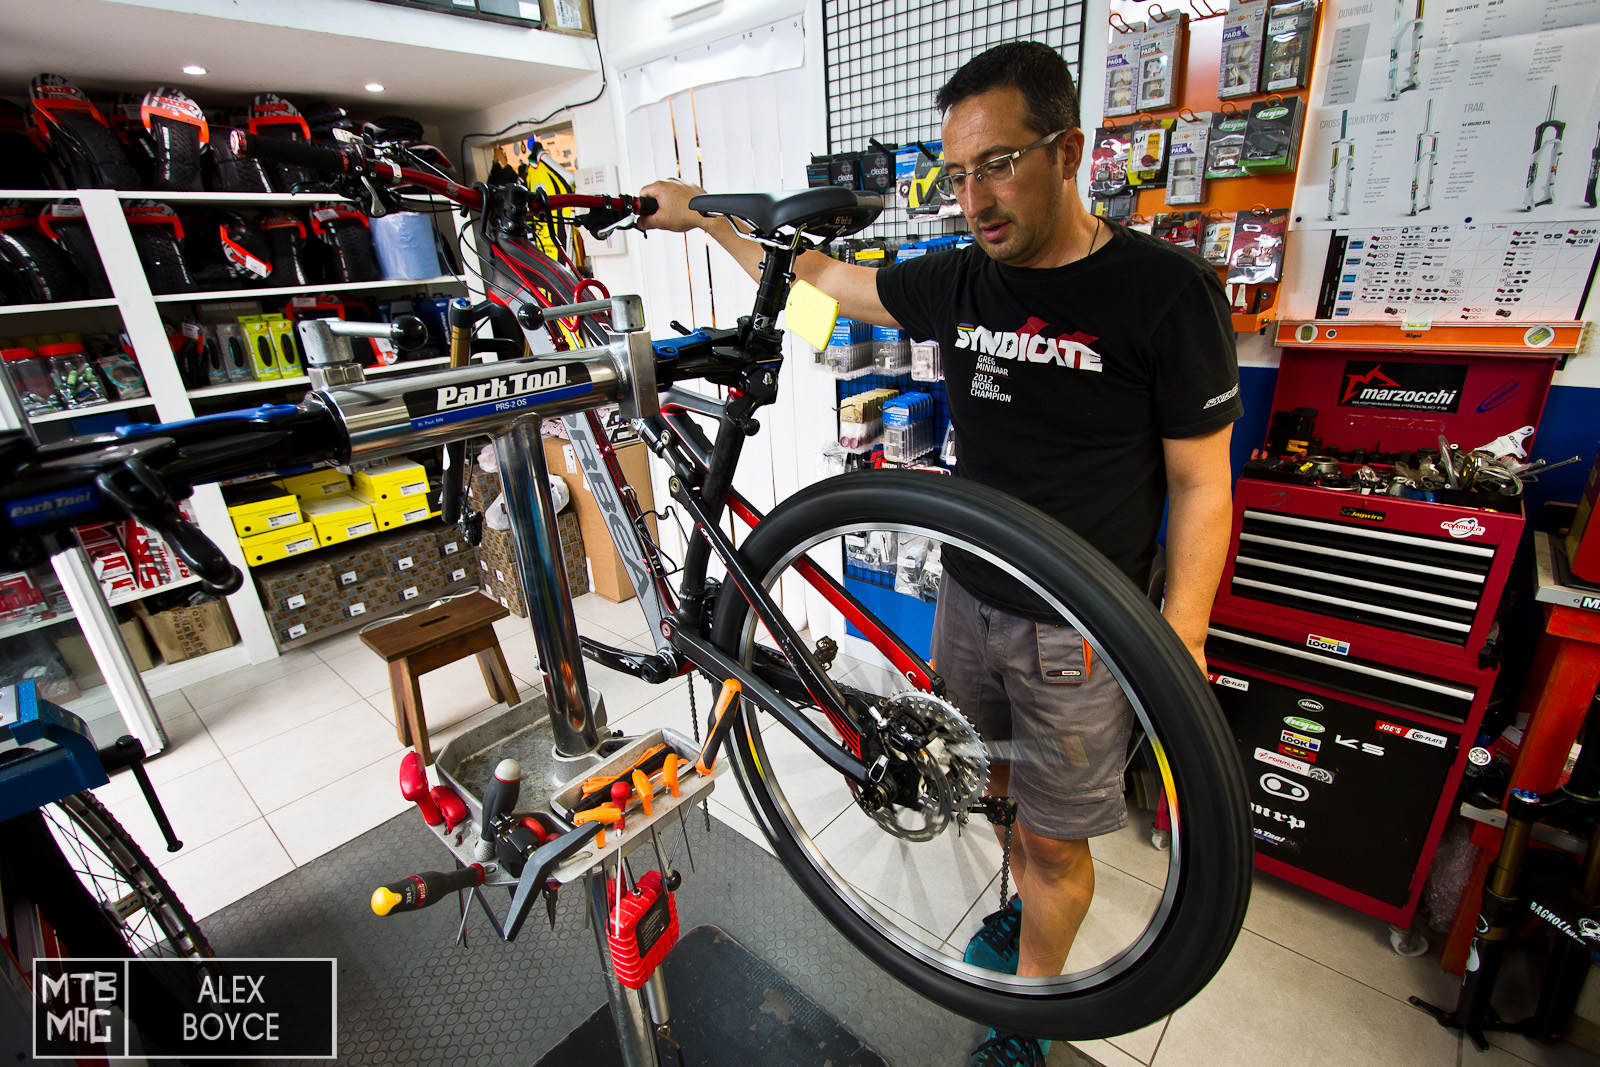
Brakes are one of the most important feature on our bikes. Unless you are a rider that doesn’t brake ( there are a few out there), we show you how to clean check your pads, check the calliper and service your brakes with Bagnoli Bike.
There are many brake brands out there, we have in this case serviced Shimano XT brakes. Many brands are similar are follow the same procedures.
Tools: Piston spreading tool, allen wrenches, grease, brake cleaner, vernier calliper measuring tool.
Materials: Pads, pad springs.
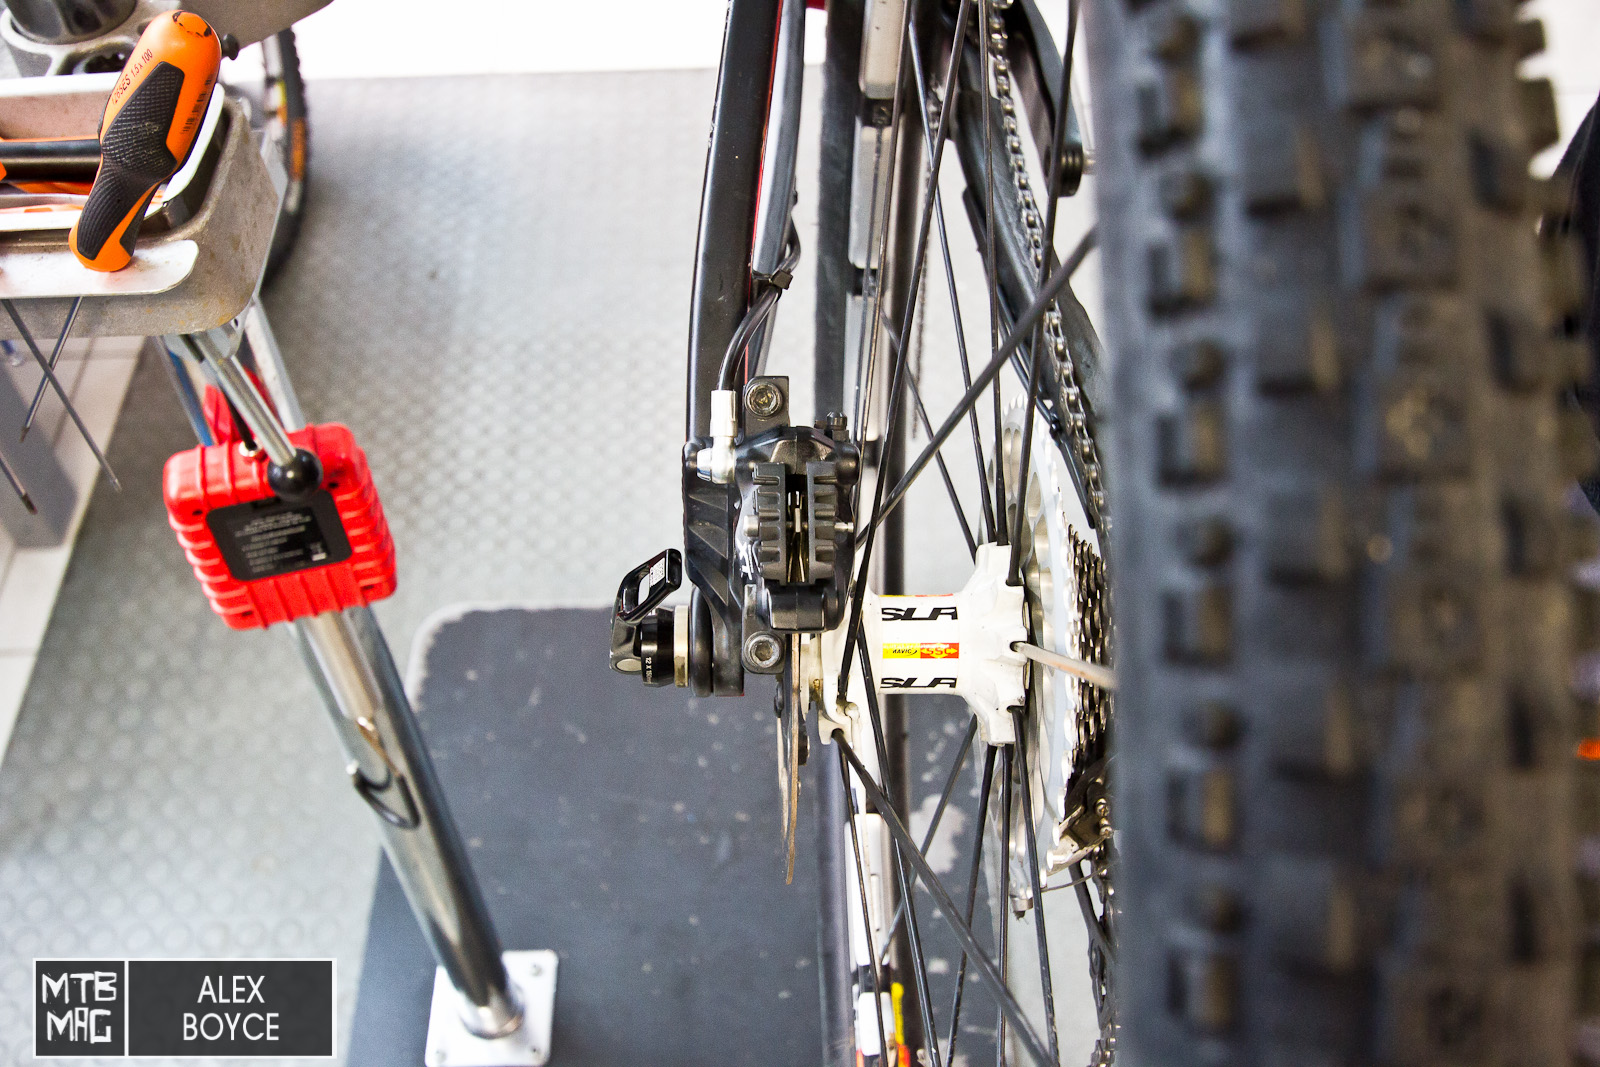
Remove the wheel.
Undo the retaining bolt/pin on the pads.
Spread the pads with the pad tool.
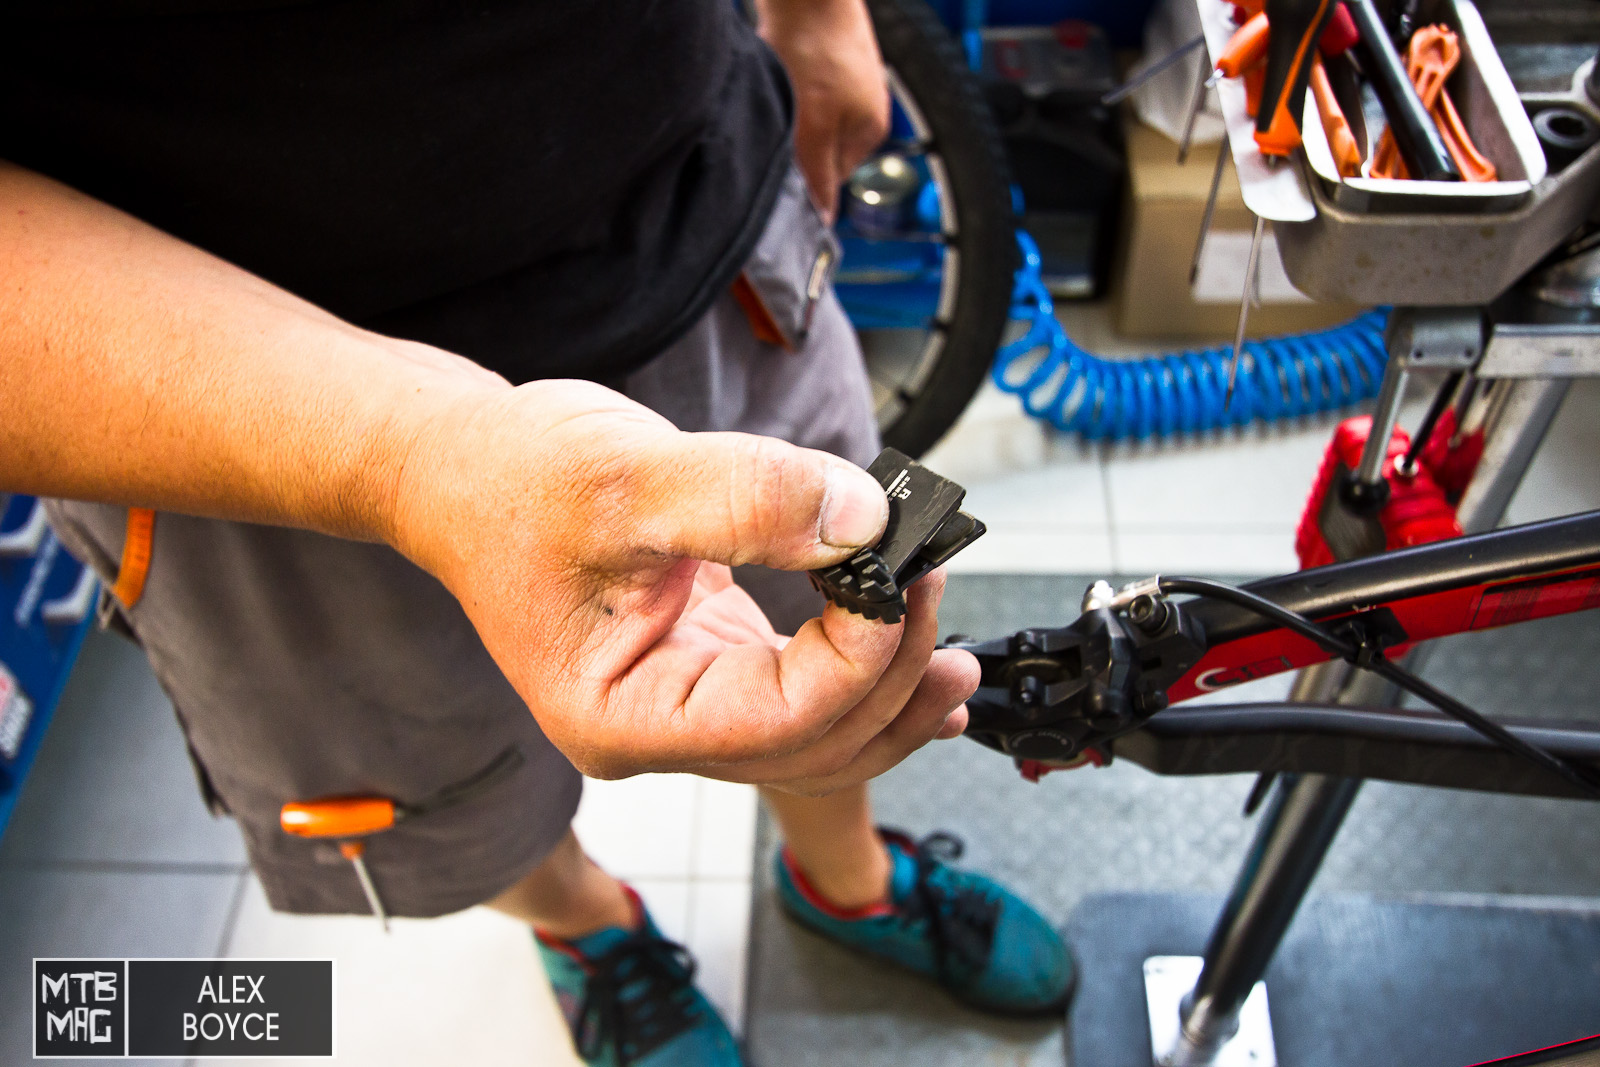
Remove the pads from the calliper.
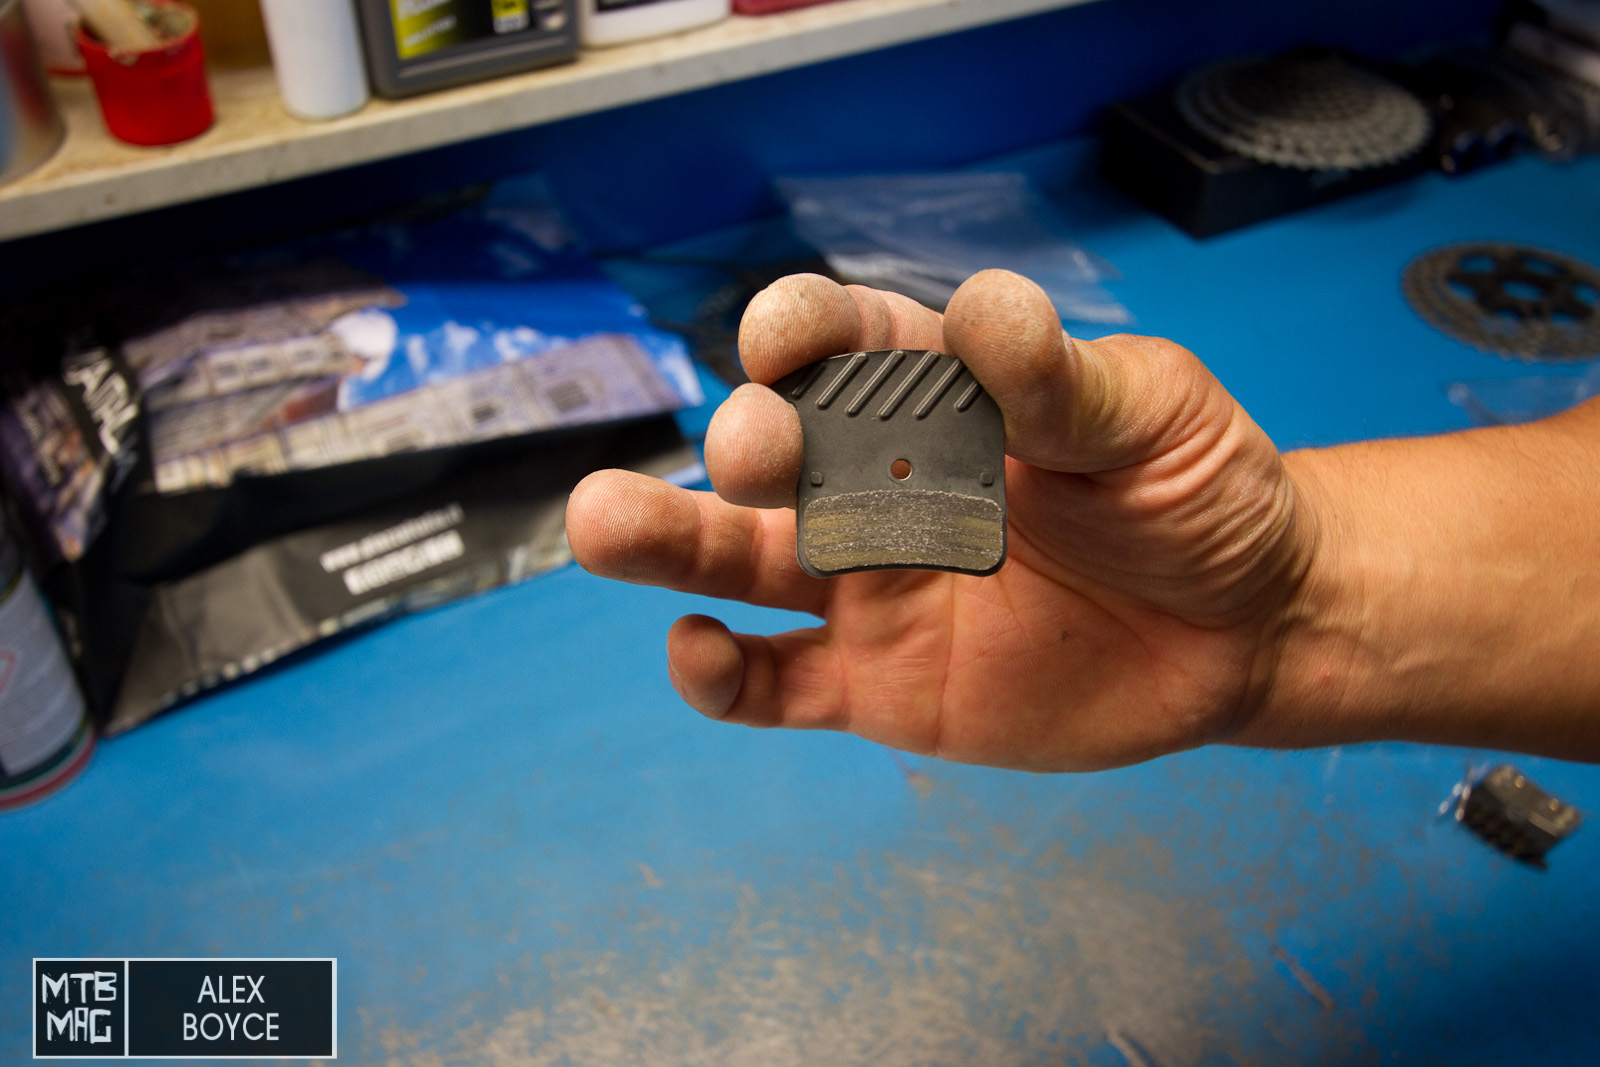
Check how worn the old pads are and how glazed they are, if there is very little pad material left then replace the pads.
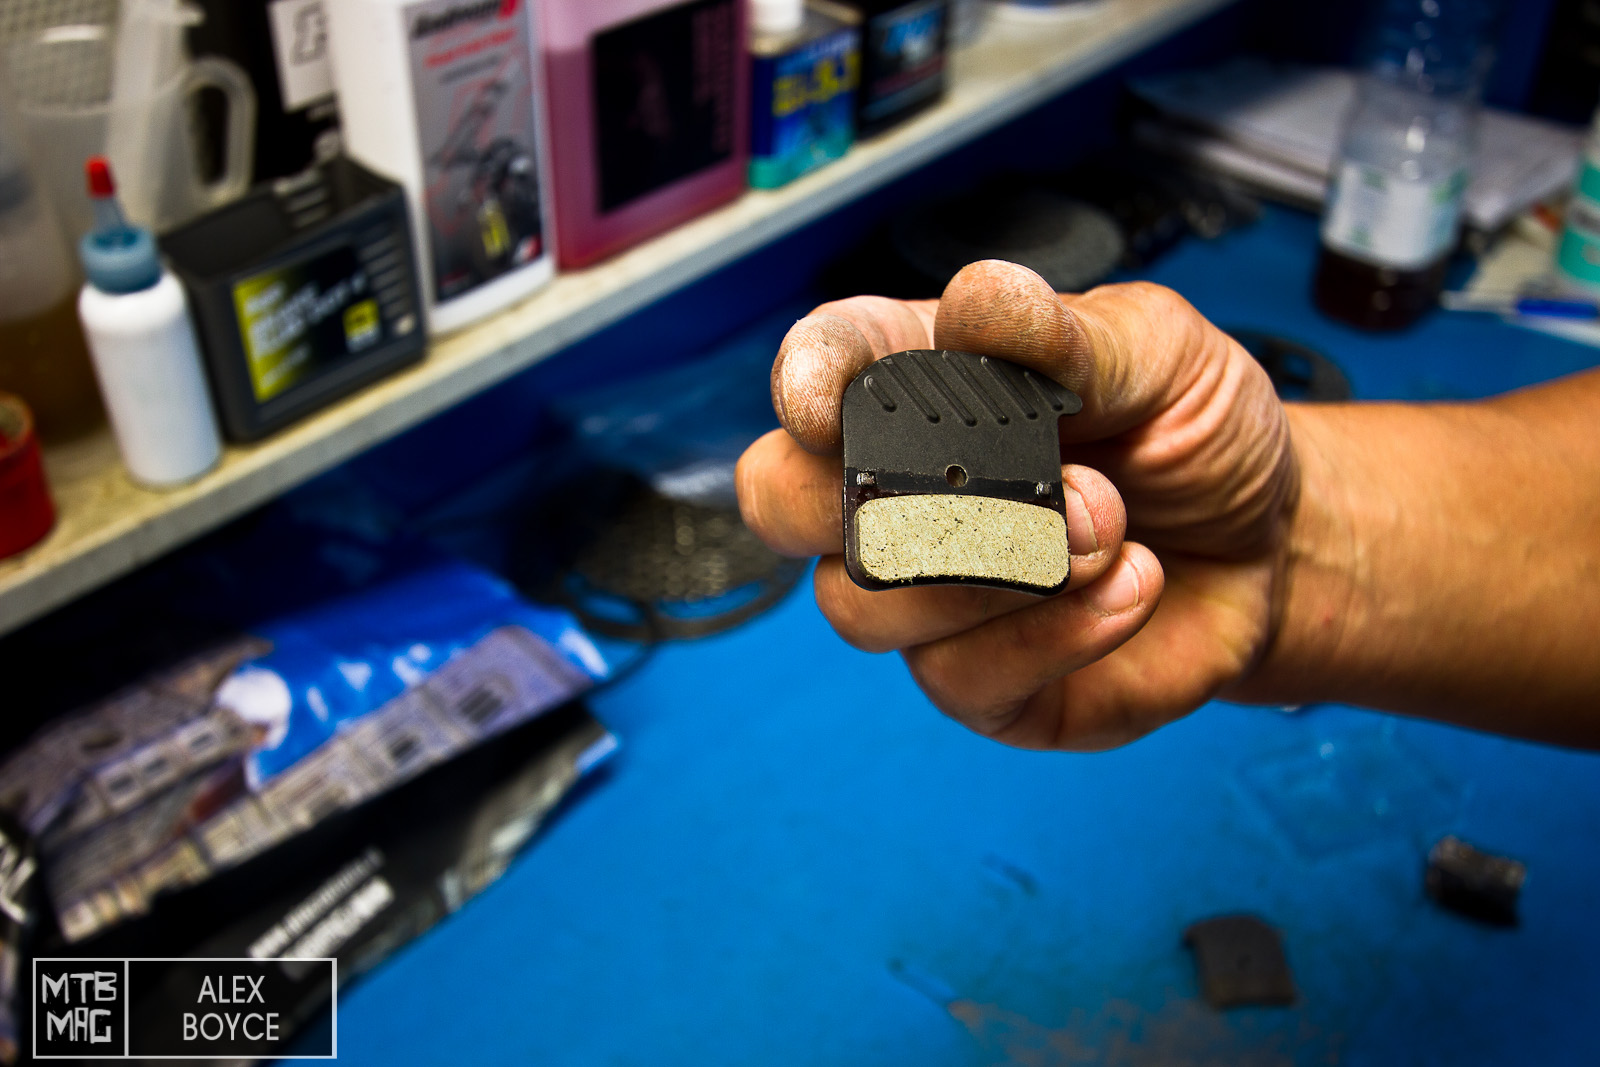
New pads look like this, so if you are about to ride a lot then replace the worn pads above after following the procedures below.

New pads have at least 3mm of pad. Don’t mount the pads yet.

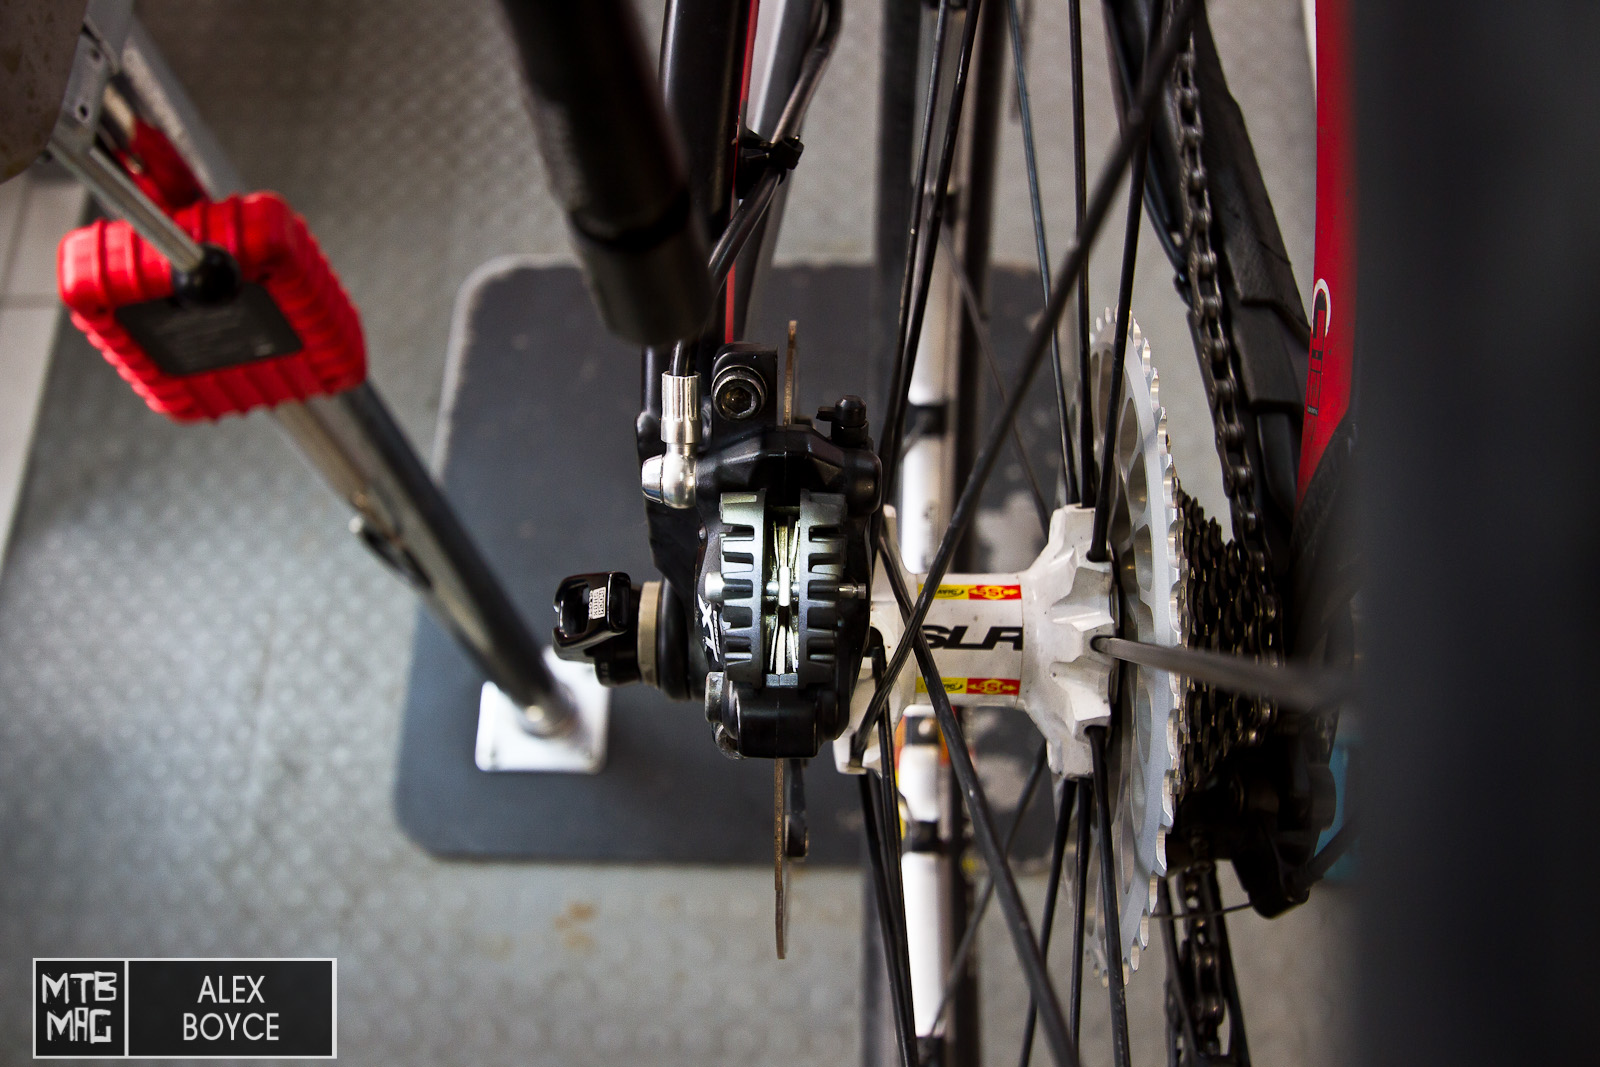
Next we check the discs, they have a wear limit, in the case of Shimano it is written on the disc. Also check to make sure they are not bent or cracked.
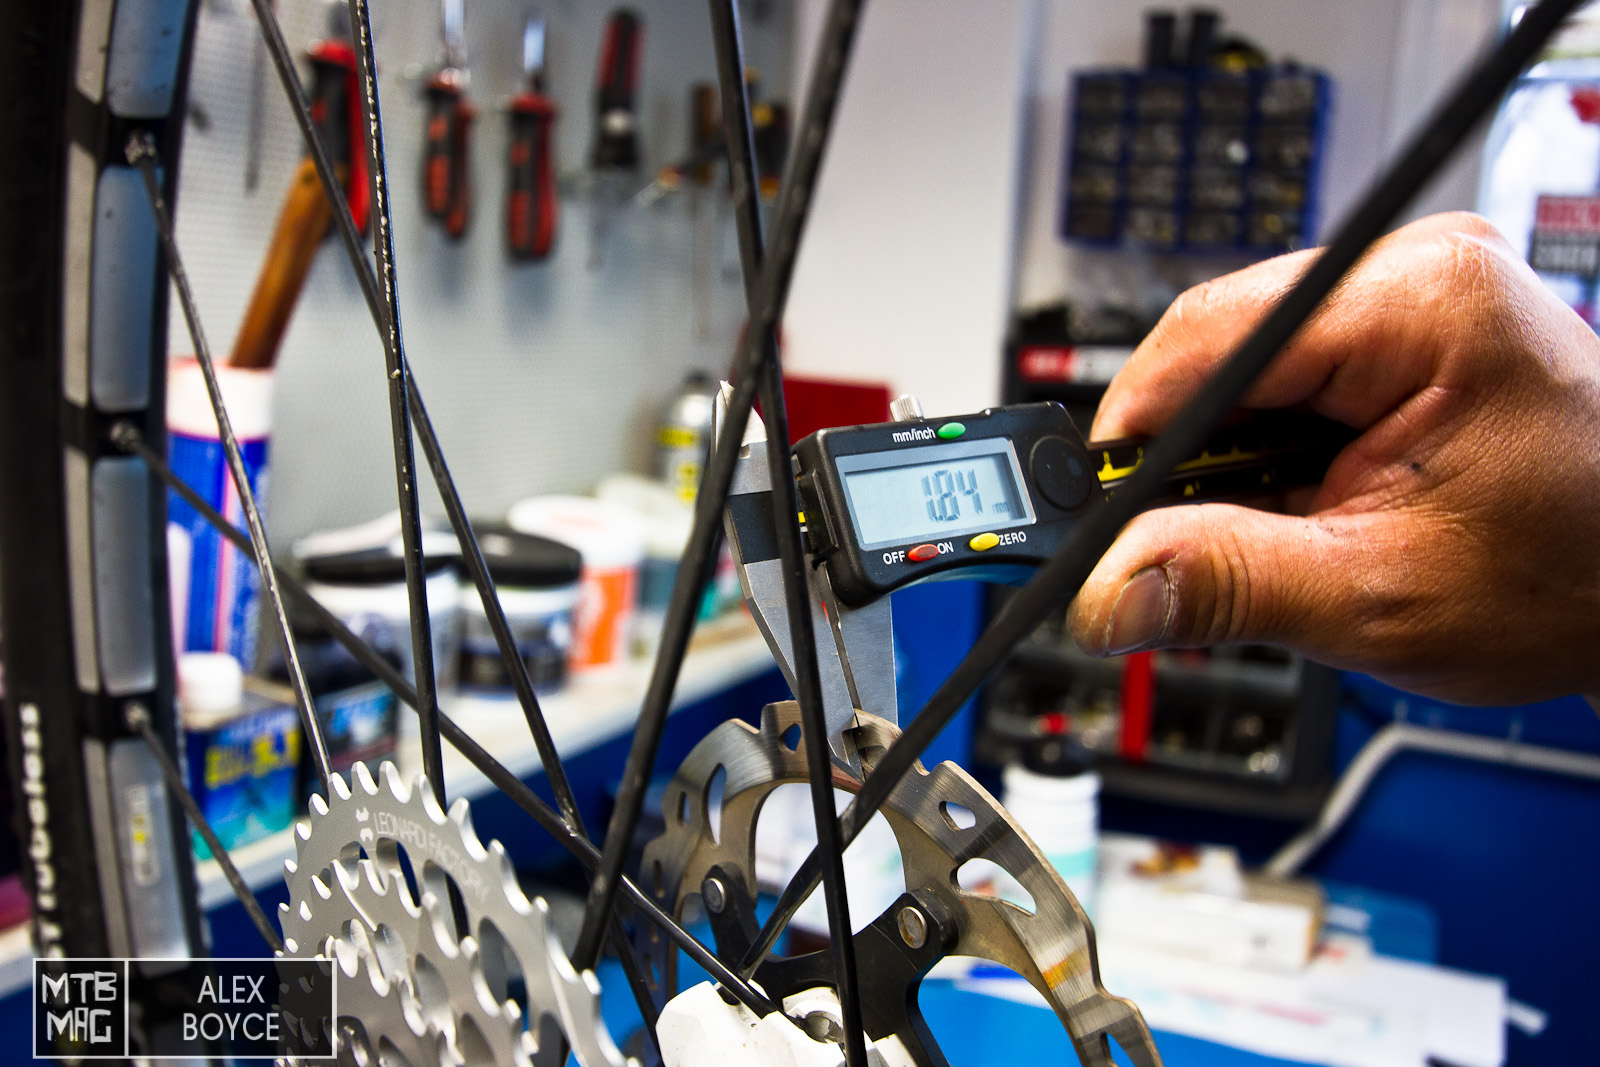
The disc has a width of 1.84mm.

The disc should be replaced if it reaches 1.5mm.

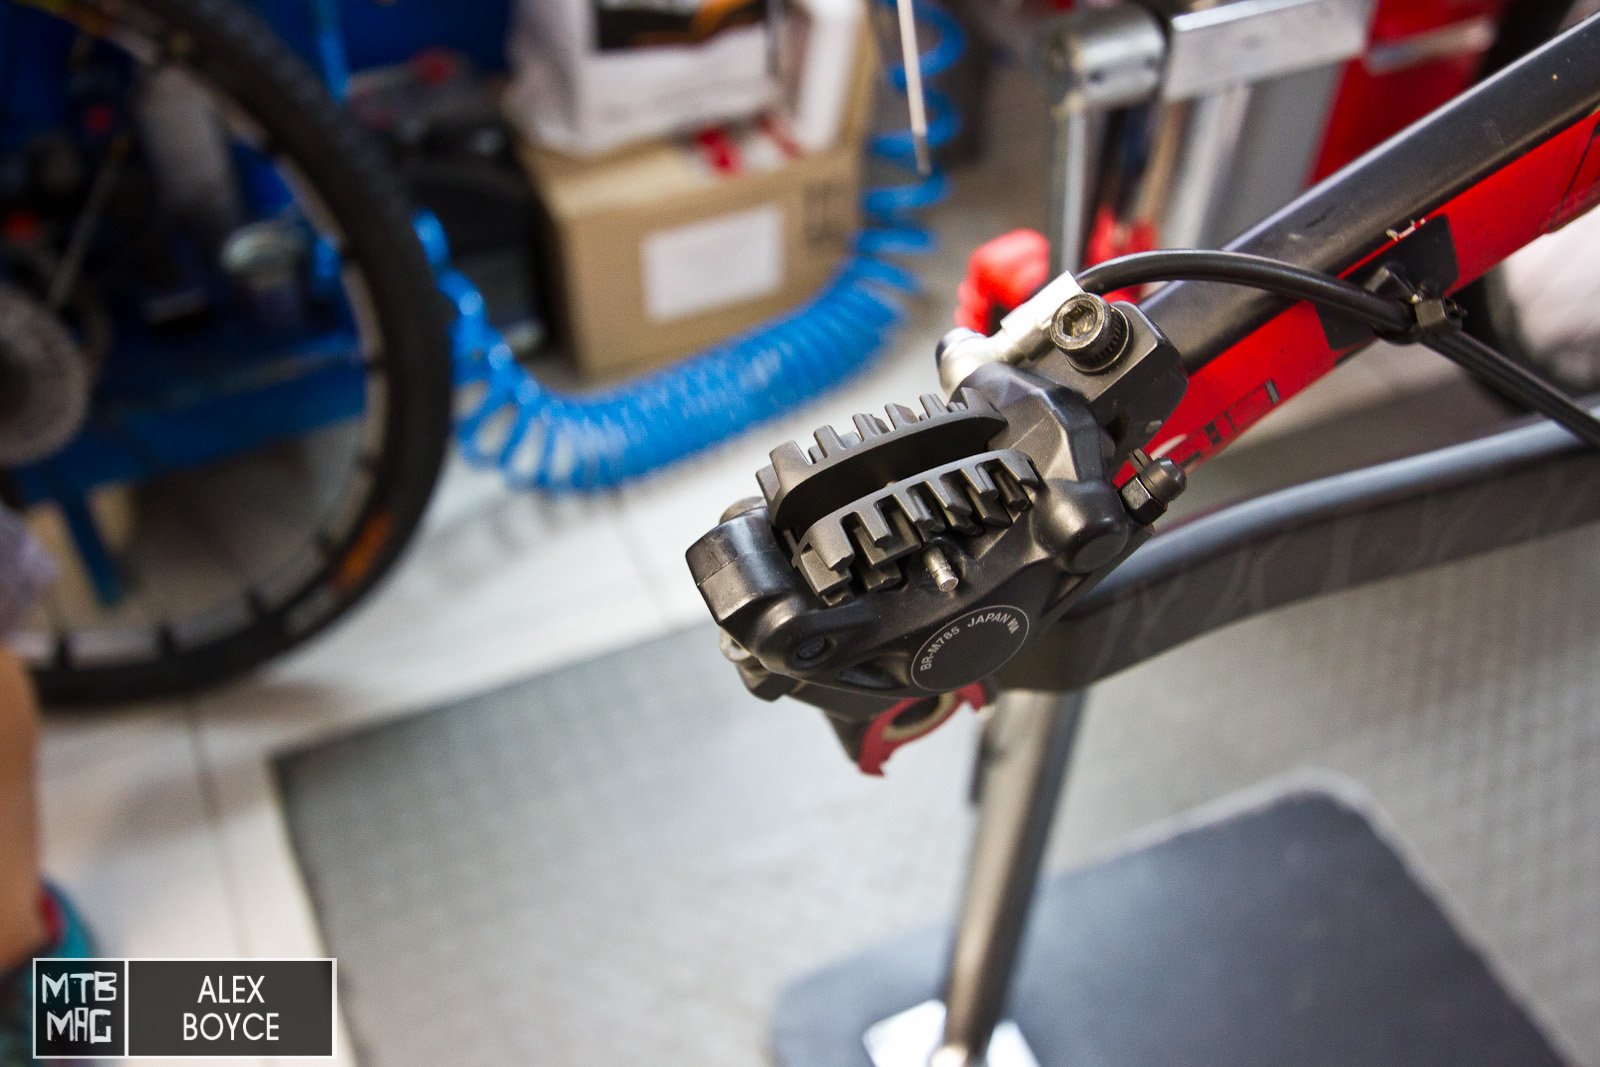
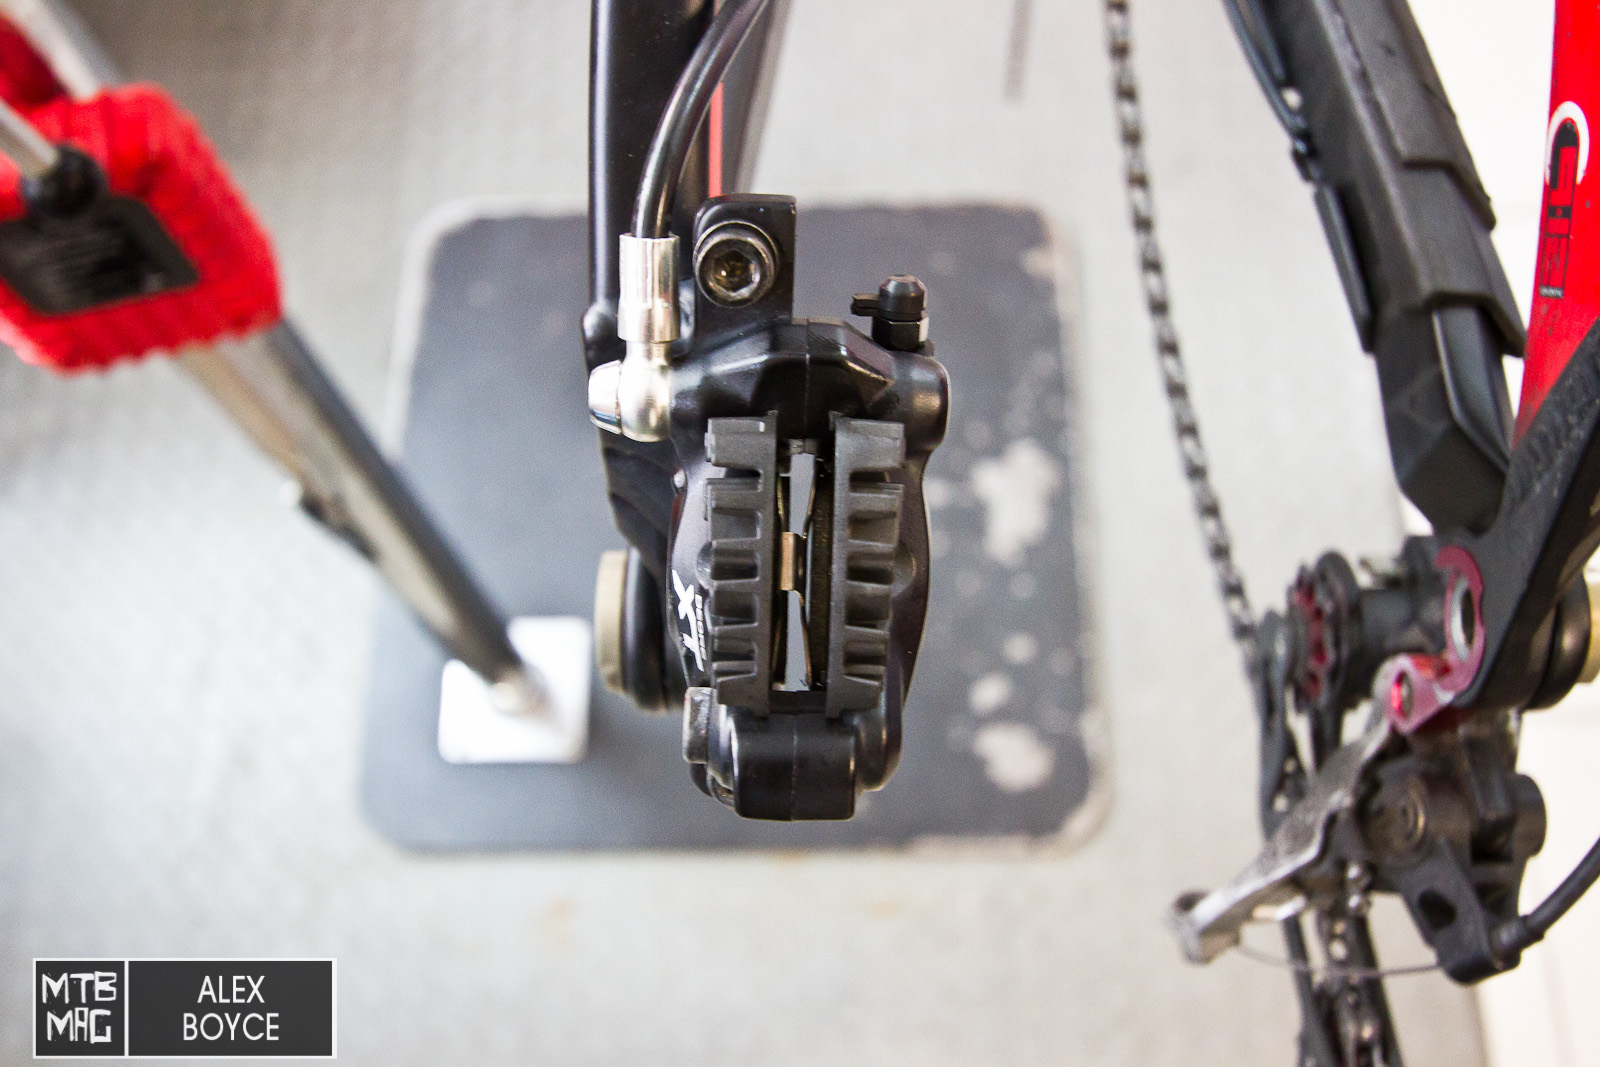
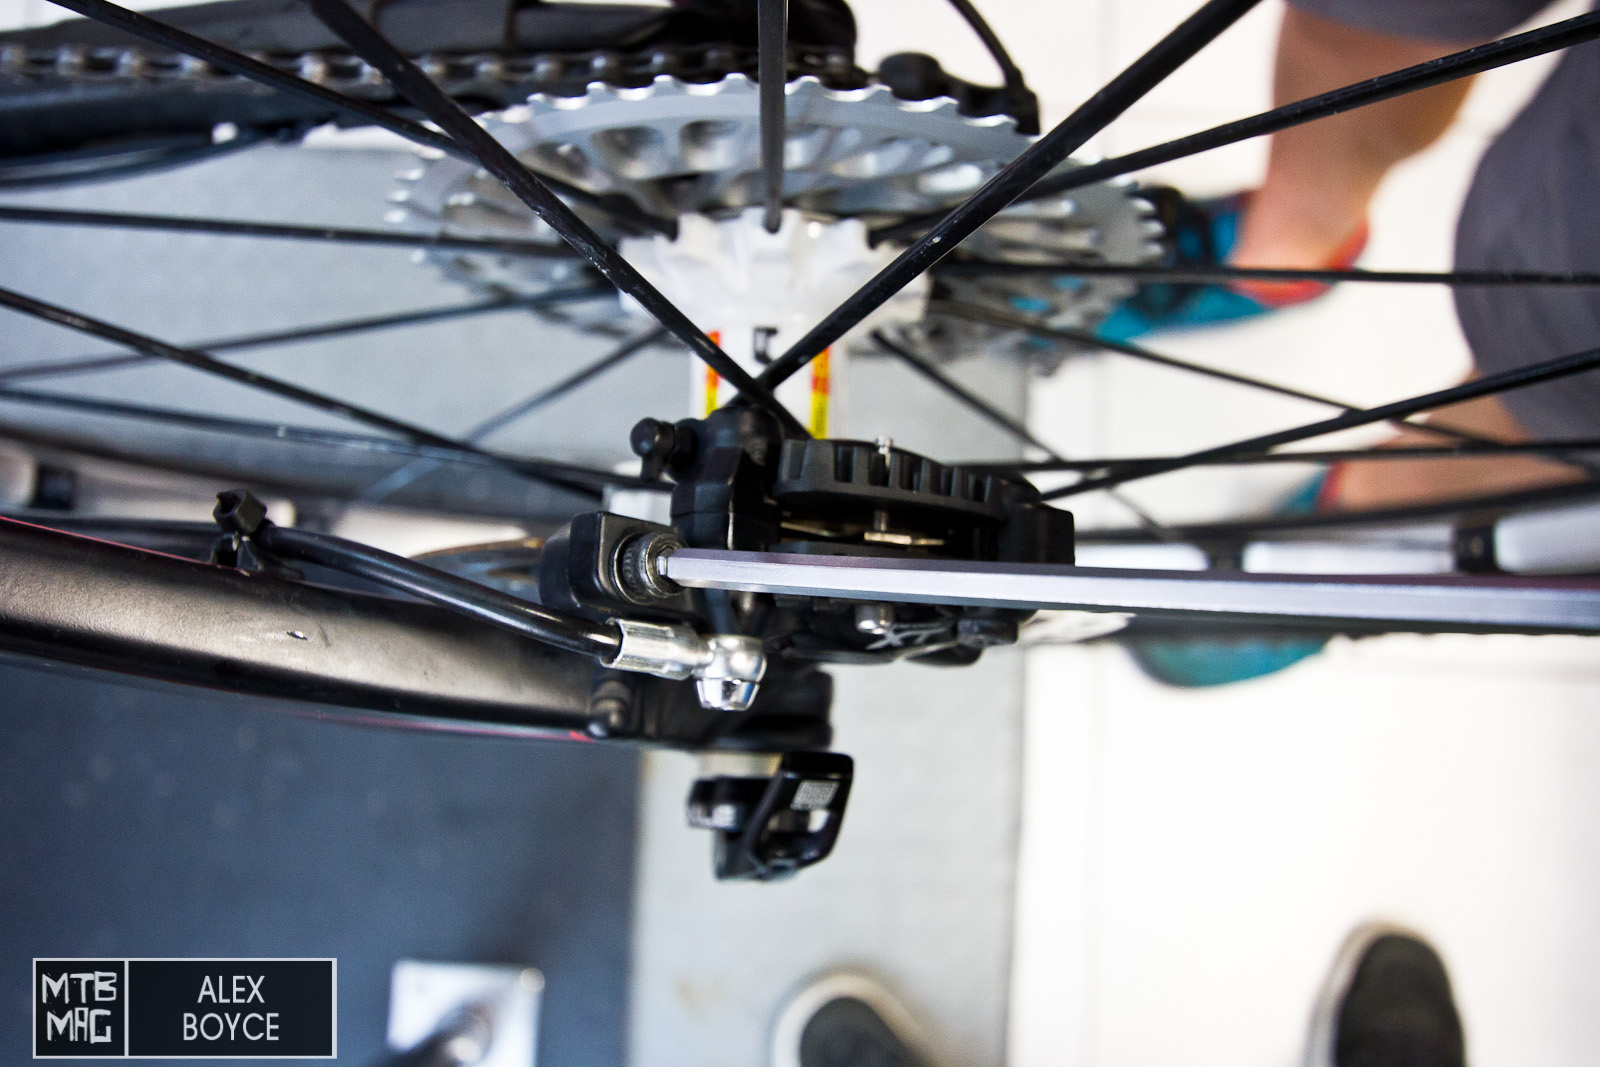
Returning to the calliper, spread the pistons and make sure they are fully home.
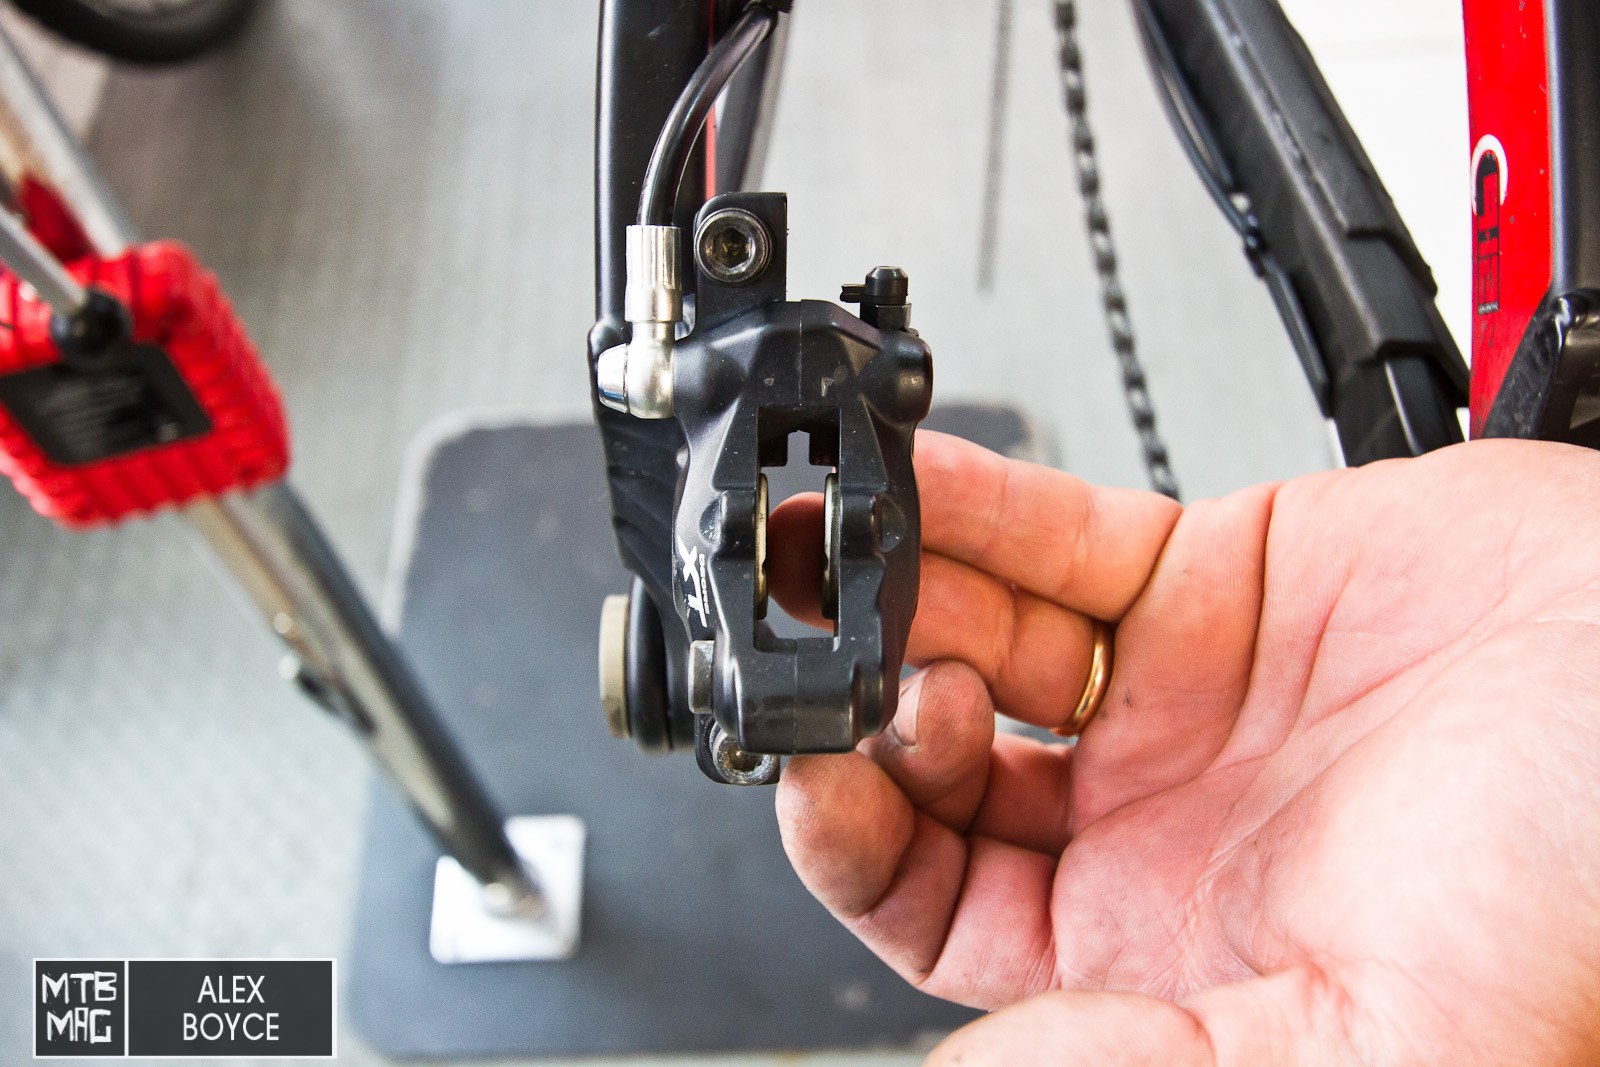
Then pump the brakes, and observe the amount the pistons move out. Here we can see the right piston moves more than the left piston.
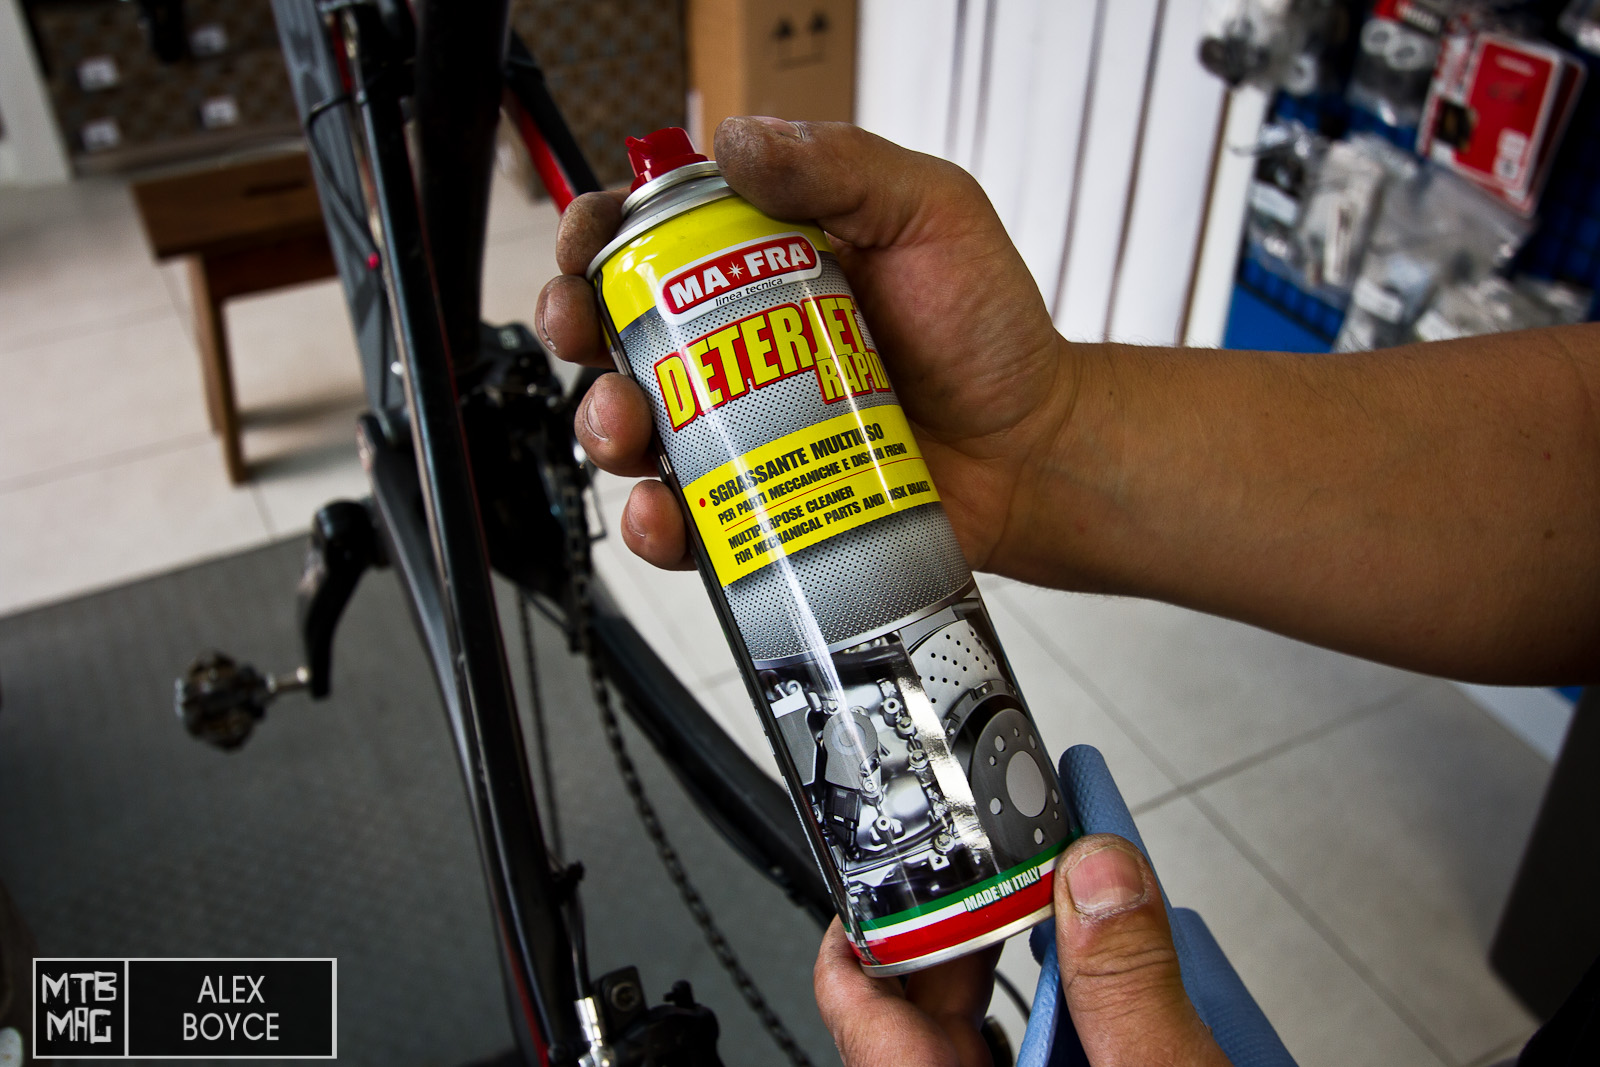
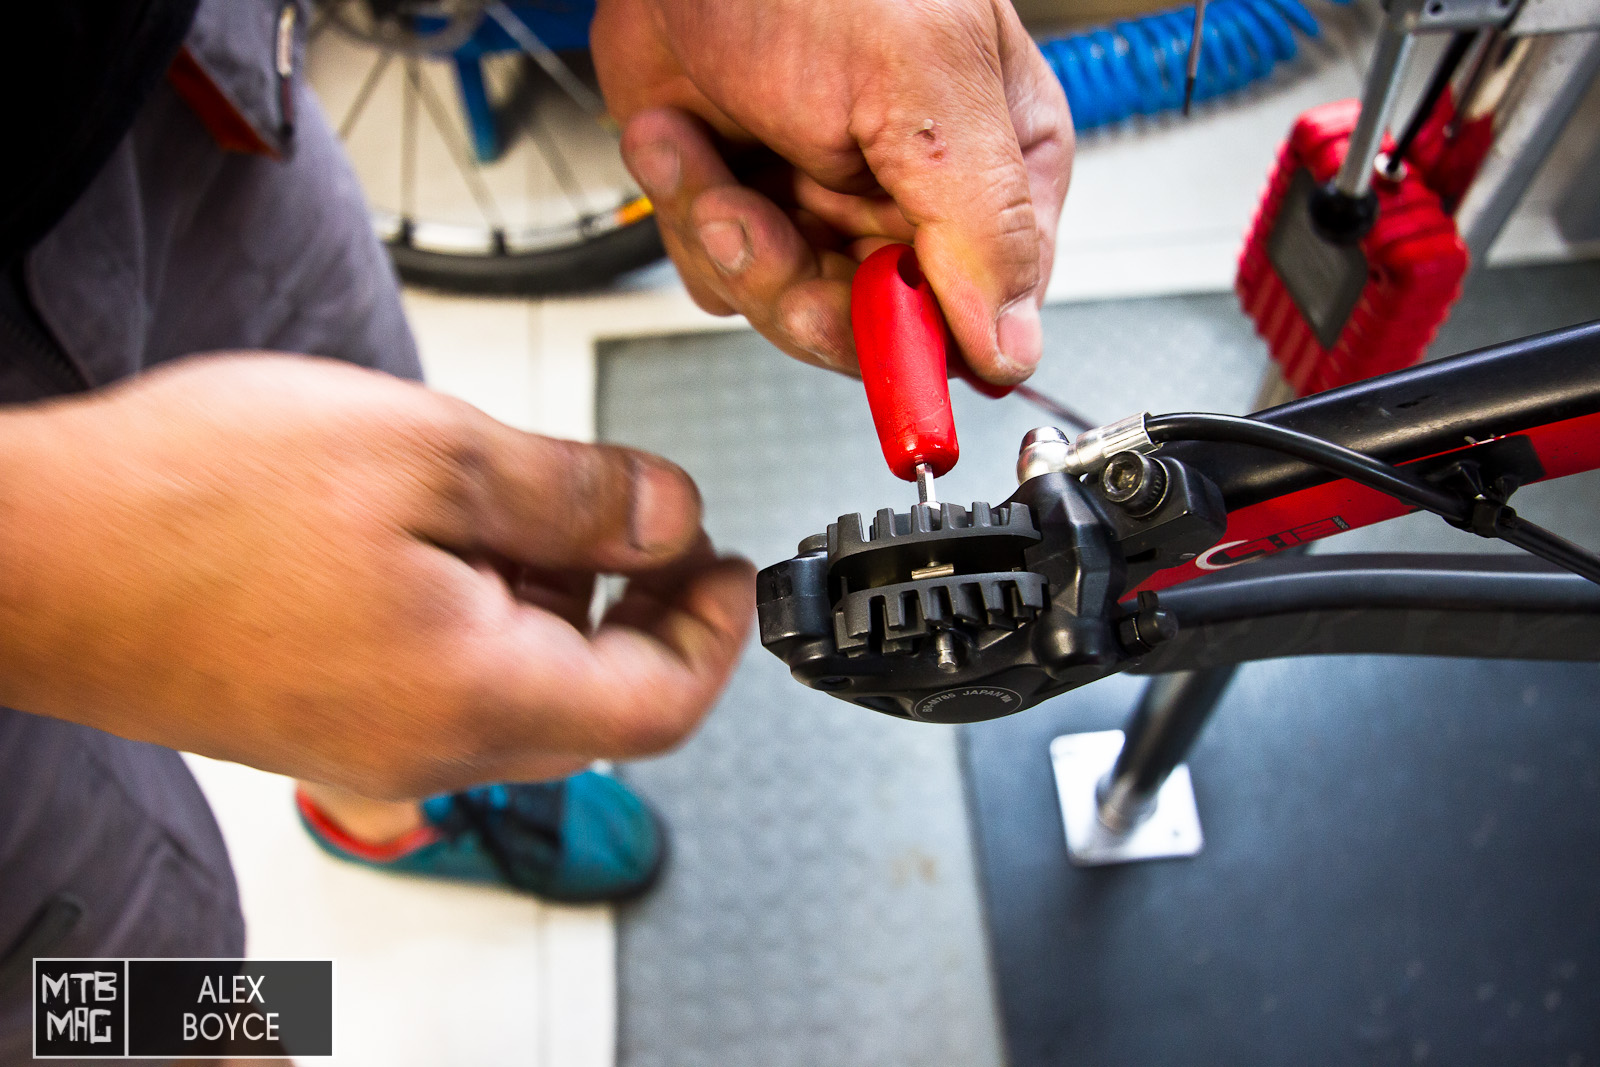
Take some brake cleaner.
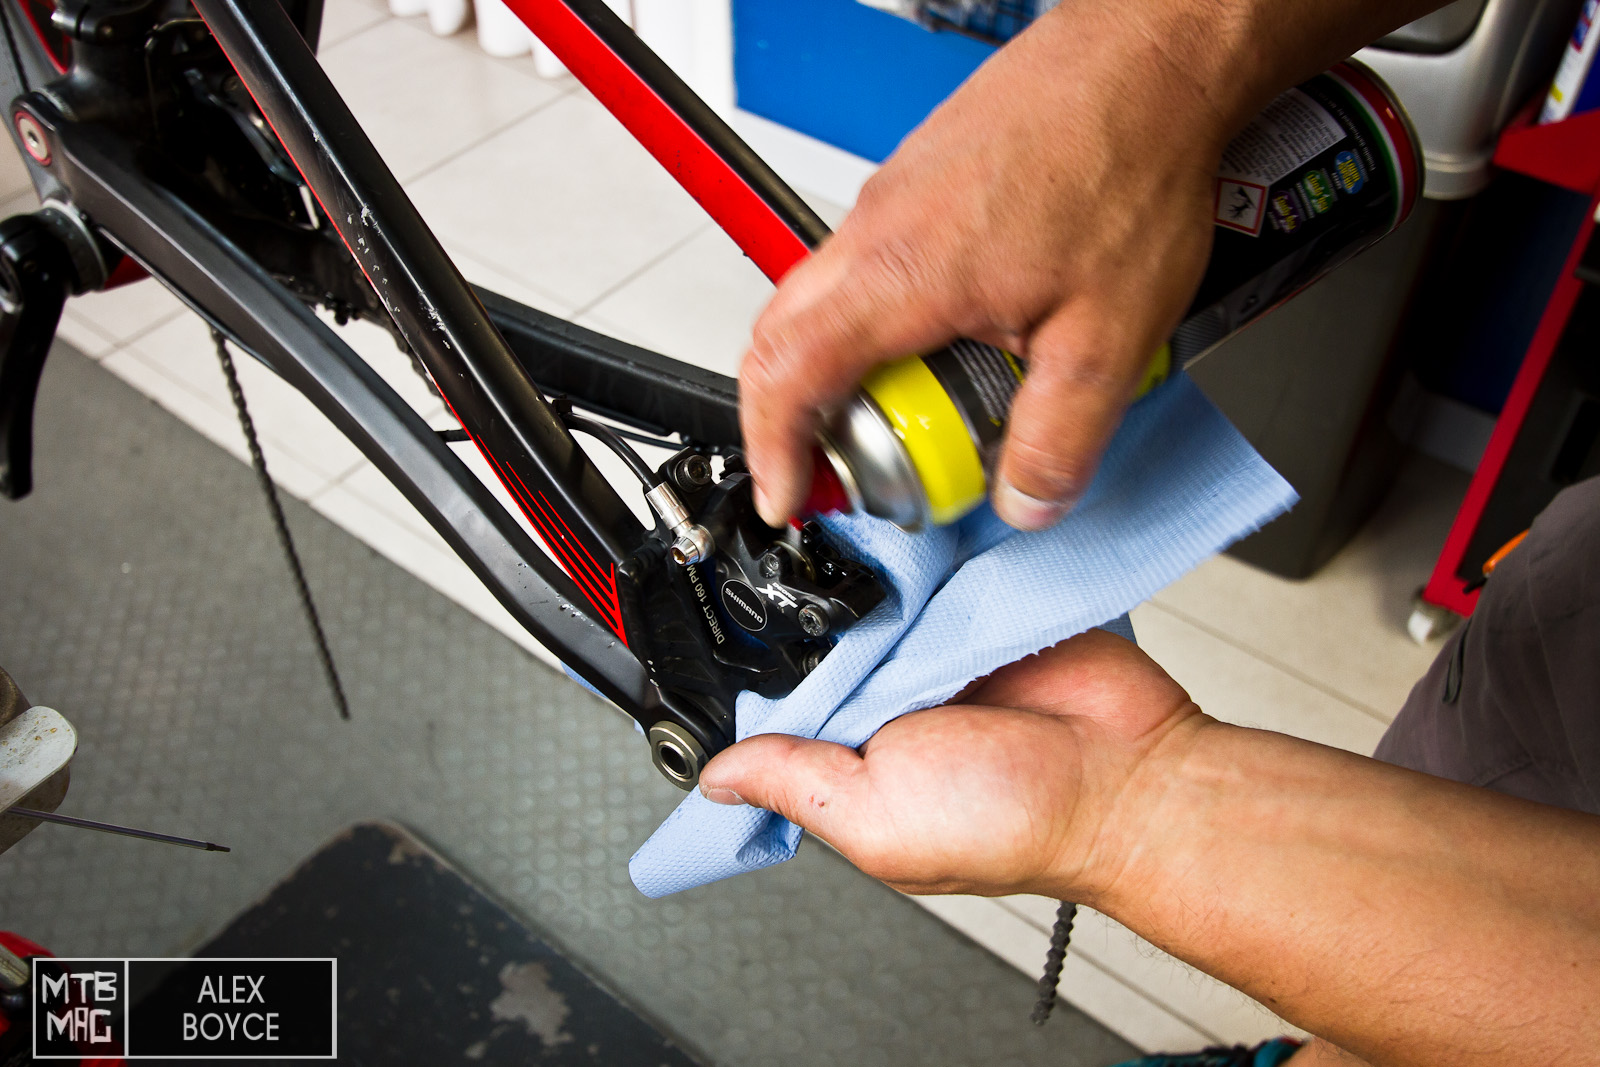
Spray and clean the calliper around the pistons.
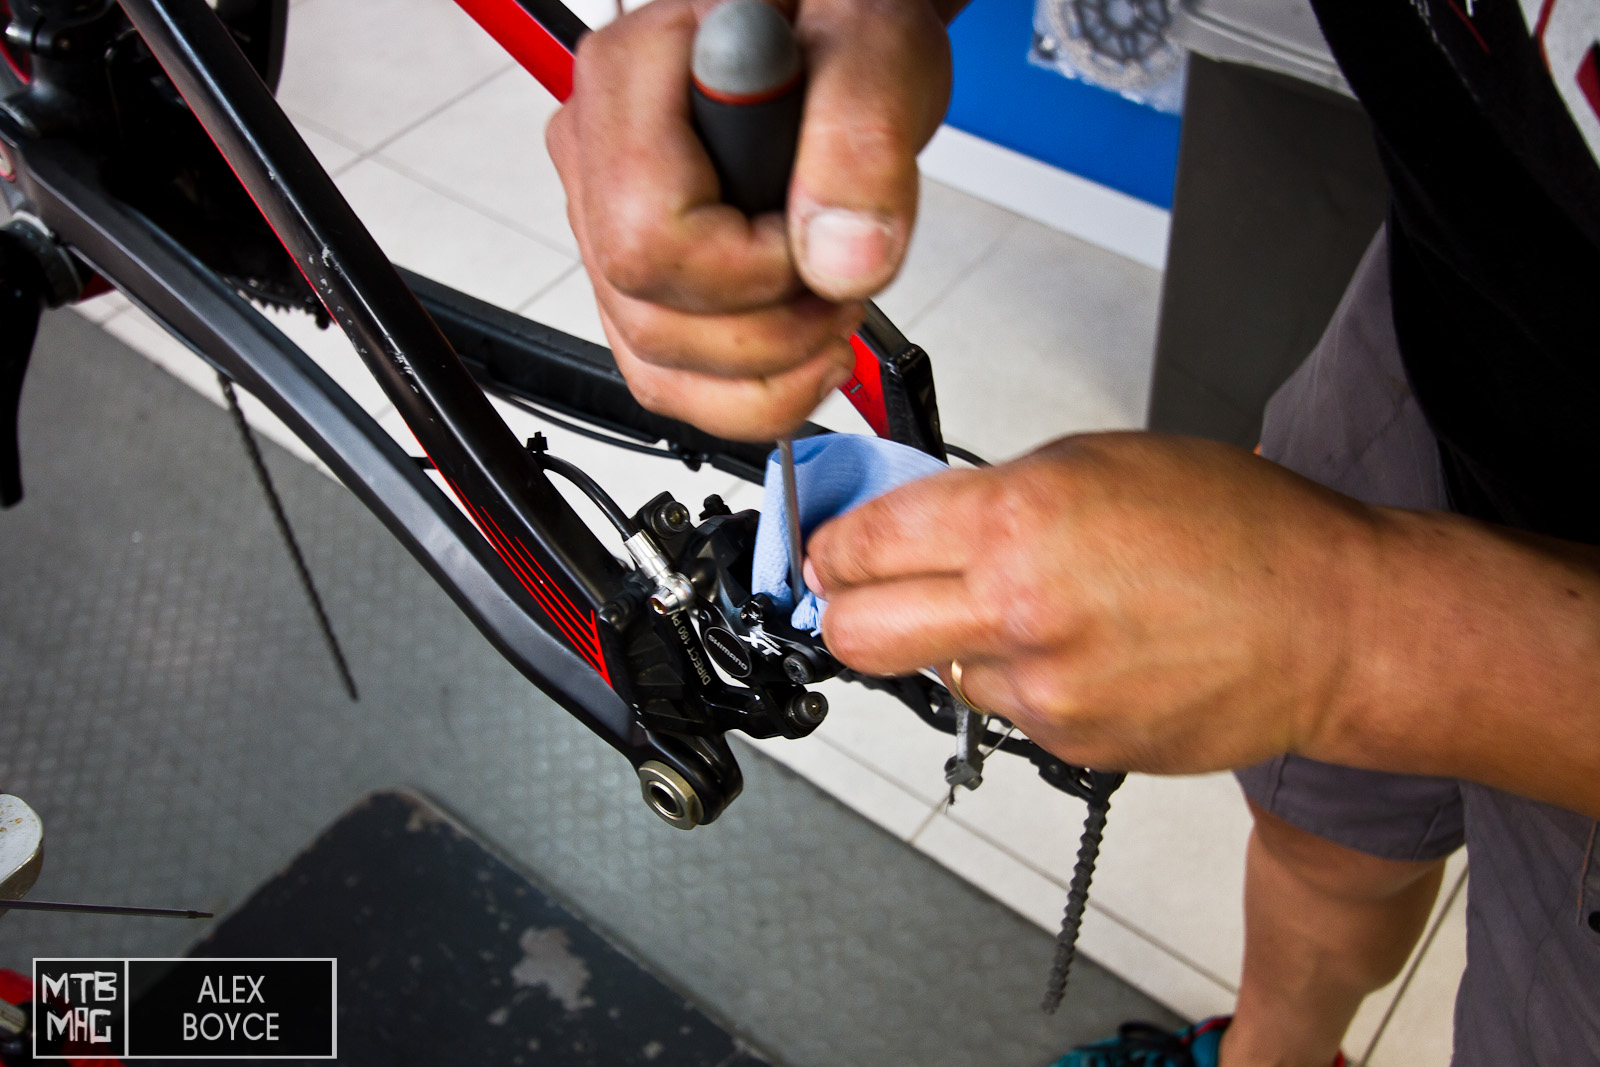
Use a tool to rub the piston edges.
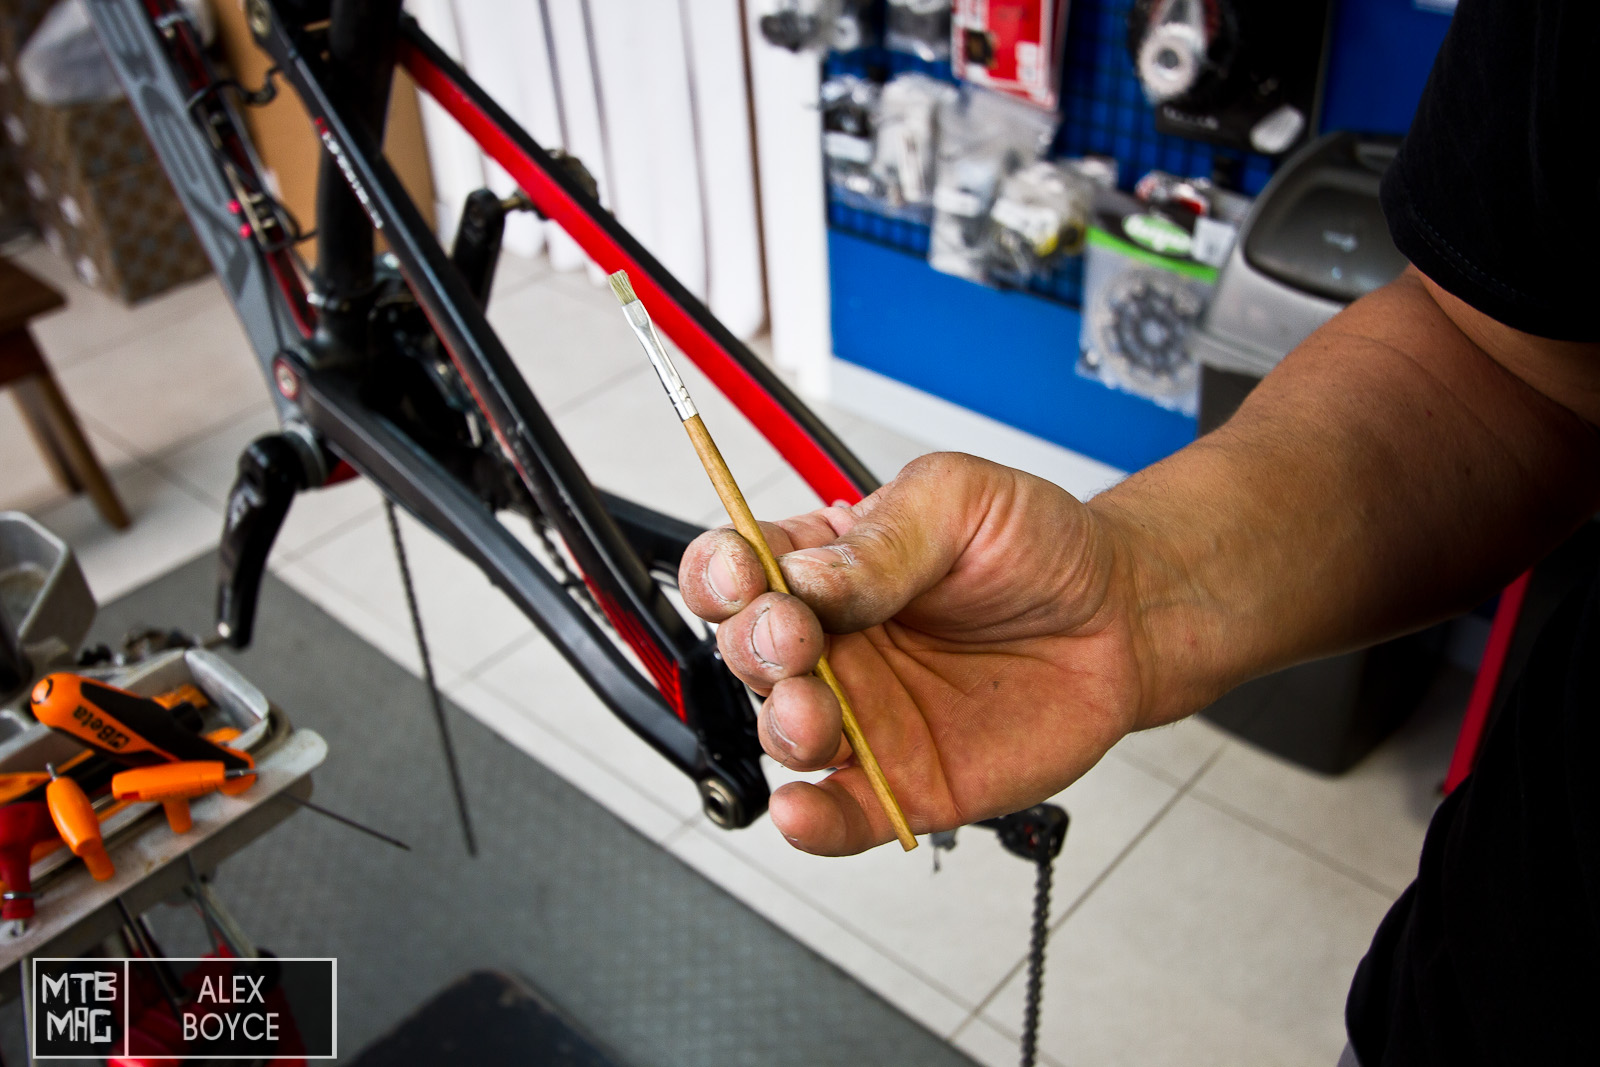
Take a paint brush.
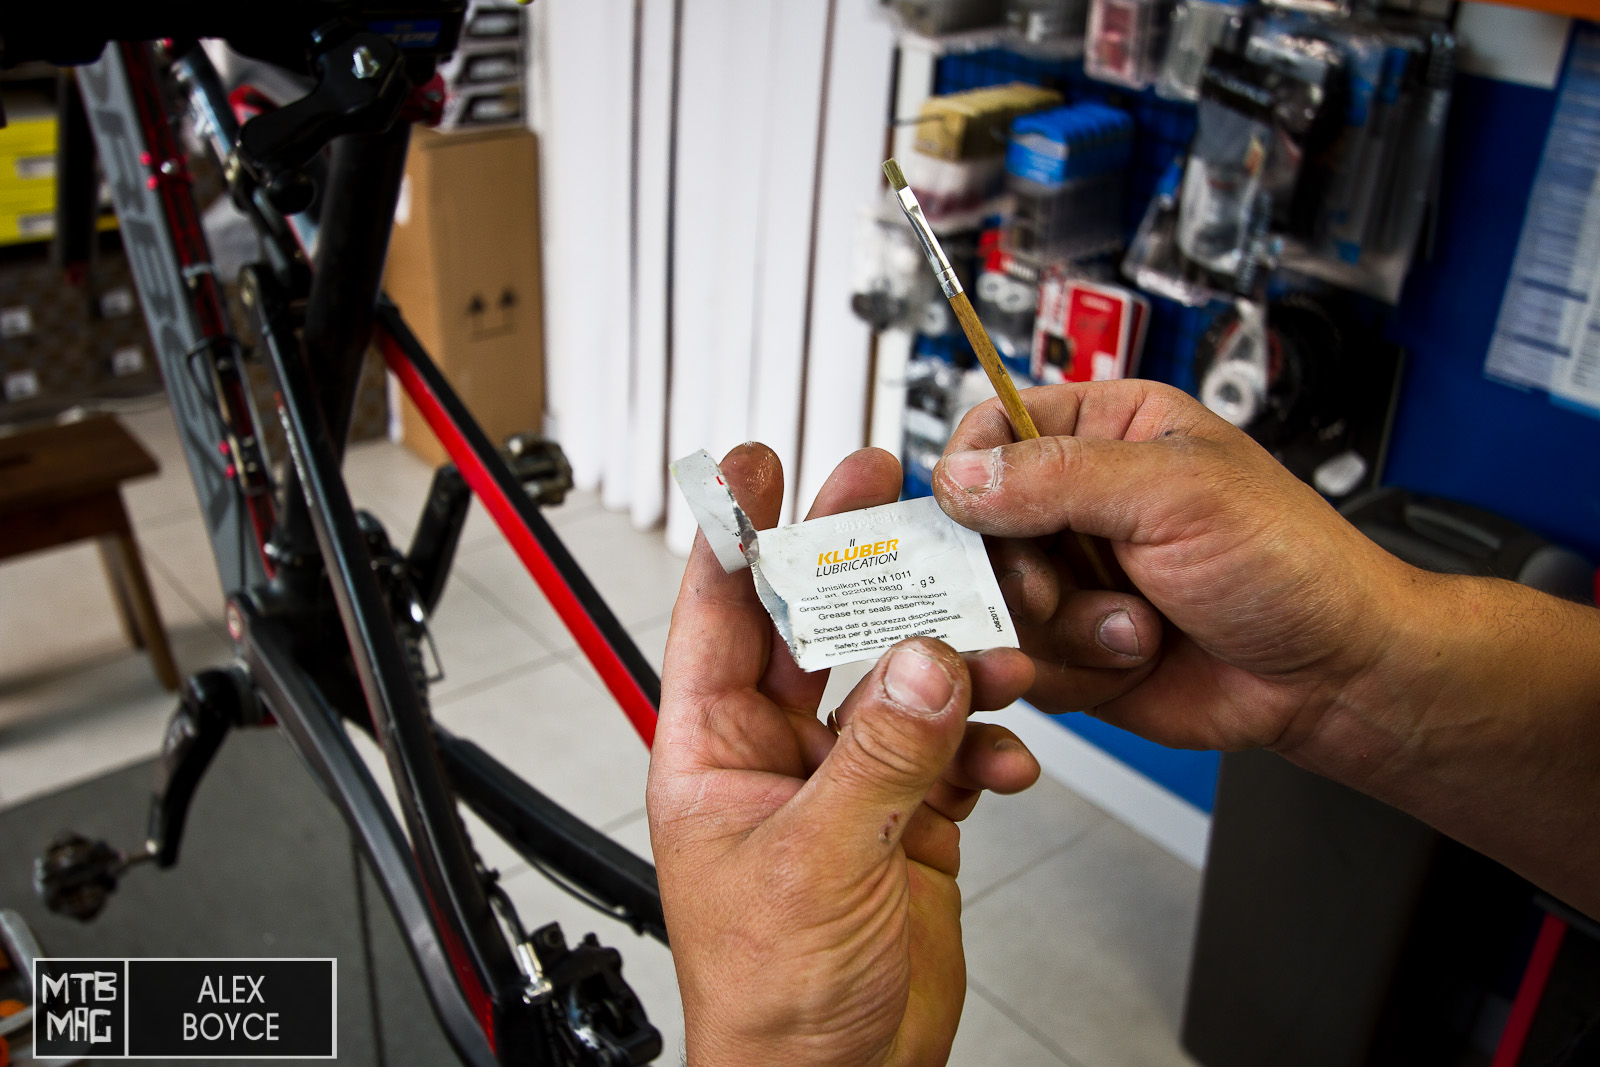
Take some special high temperature o-ring grease.
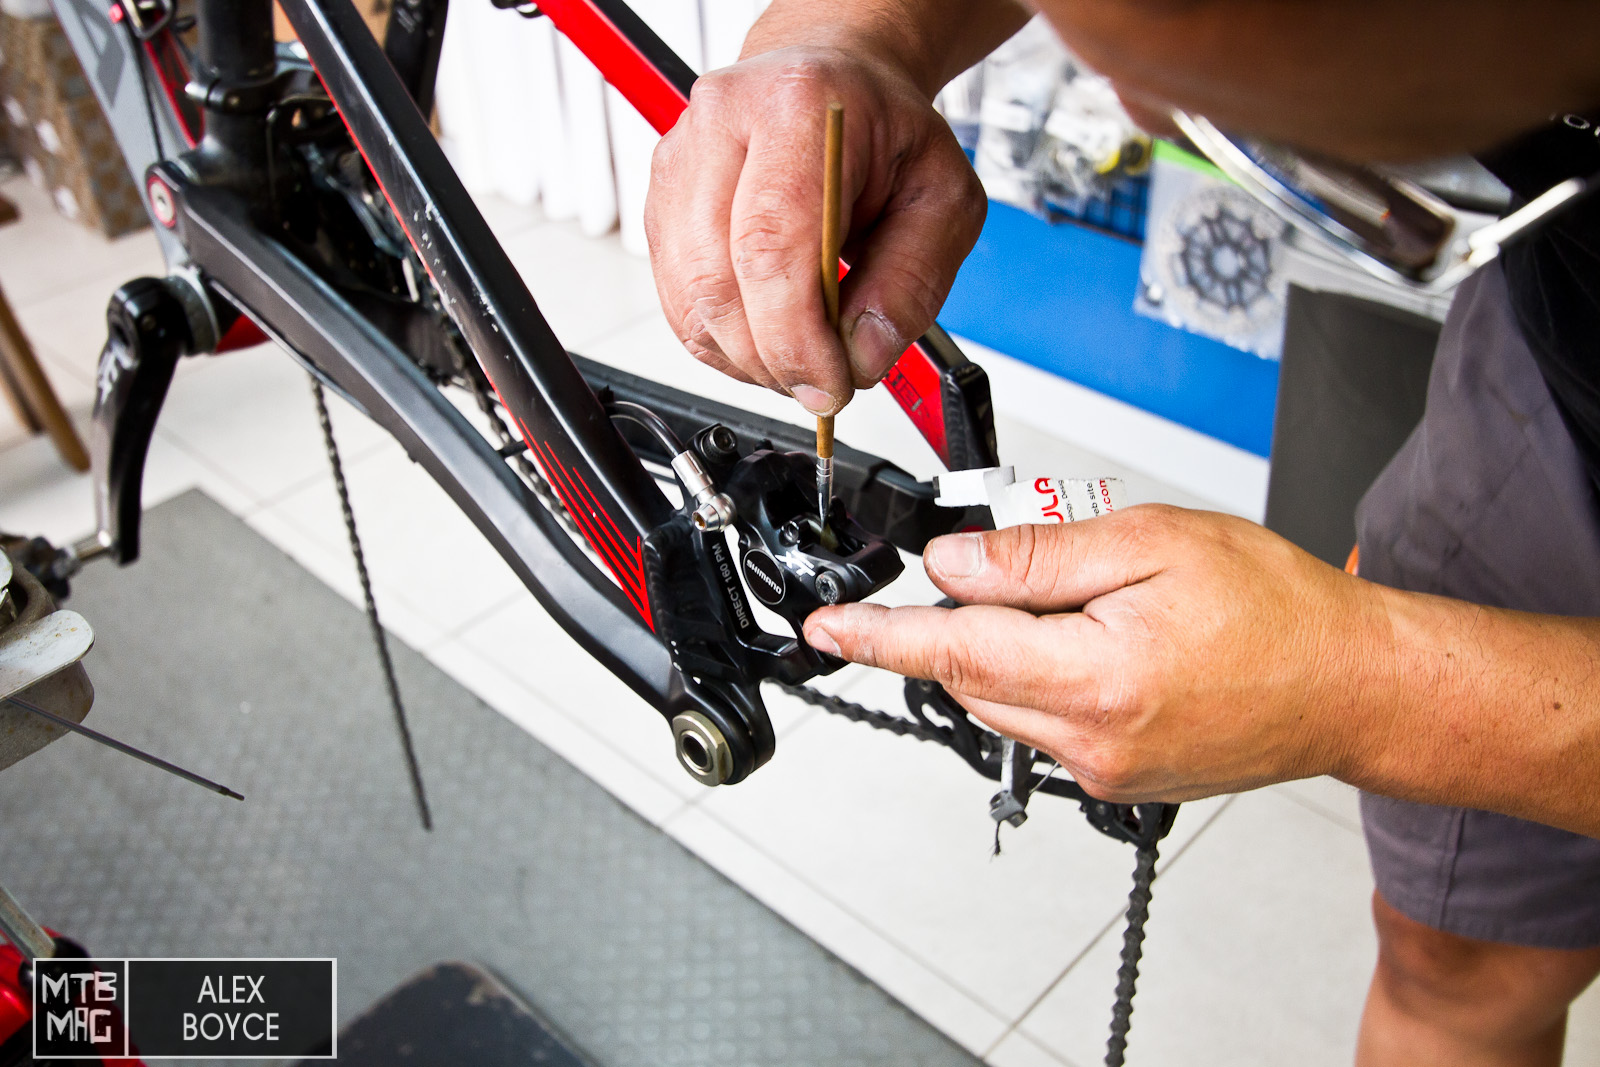
Apply it to the piston edges that protrude.


Re-spread the pistons in the calliper.
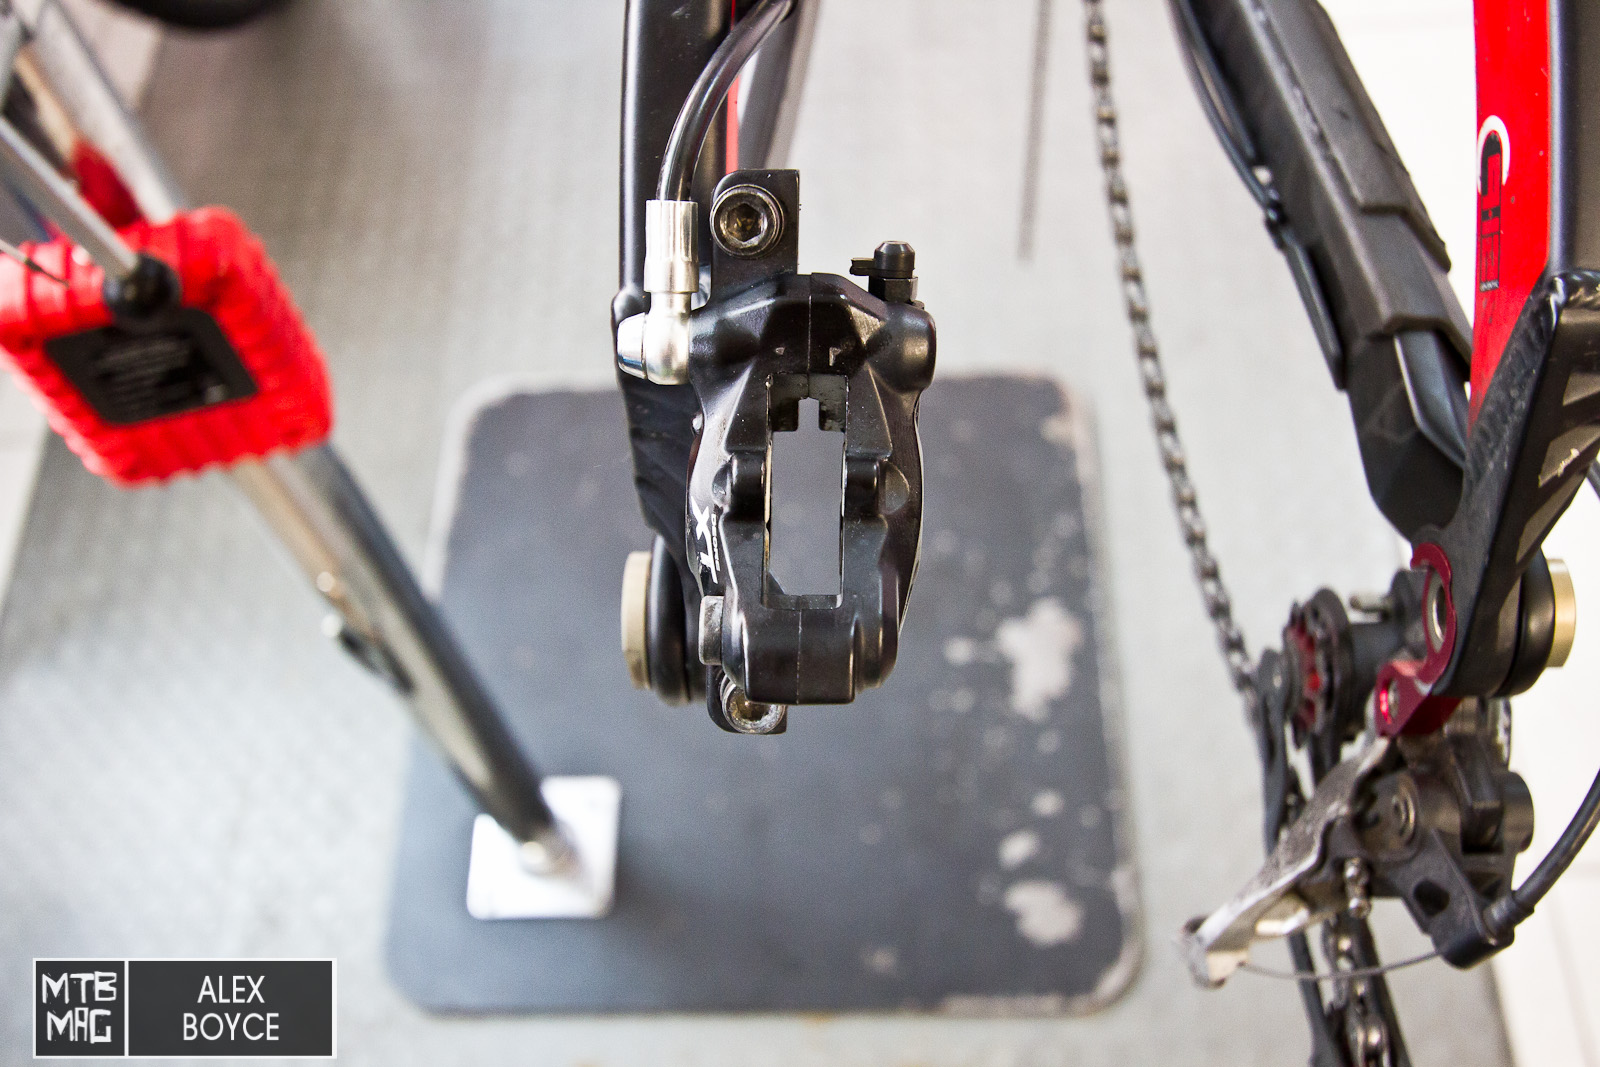
The callipers are now ready to have the pads inserted.

In the case of Shimano make sure the right pad is in the right side.
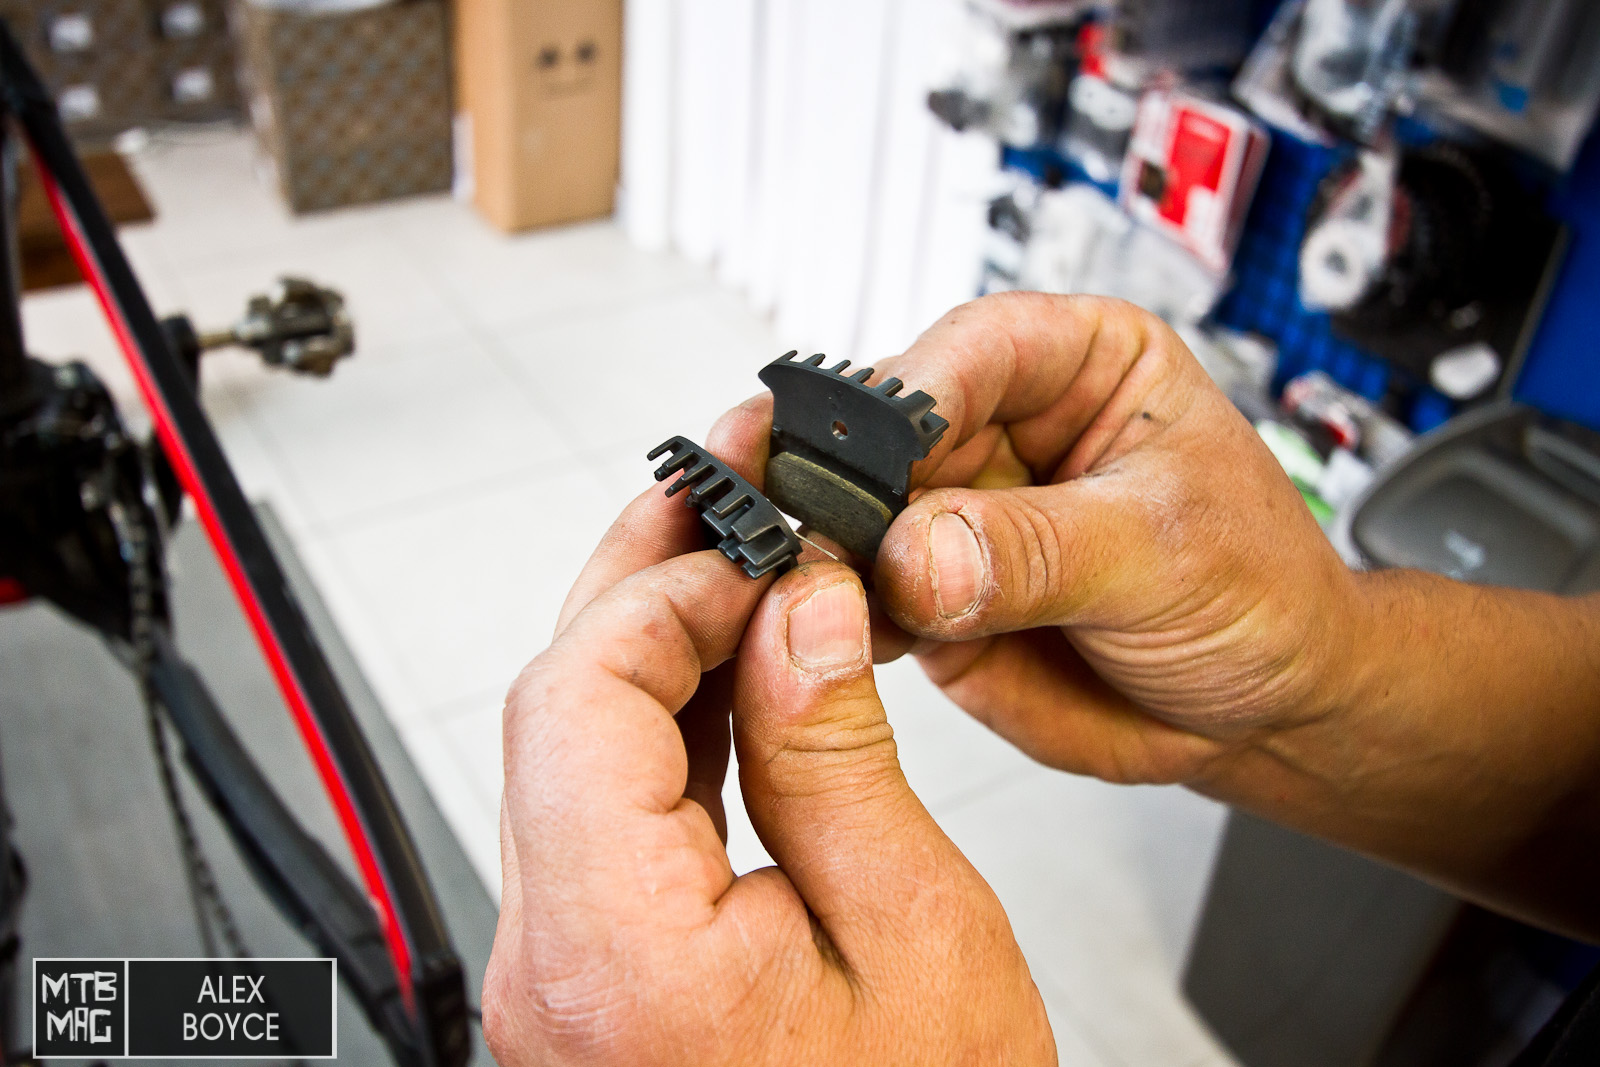
Position the pad spring.

In this case the pad spring also has a correct side.
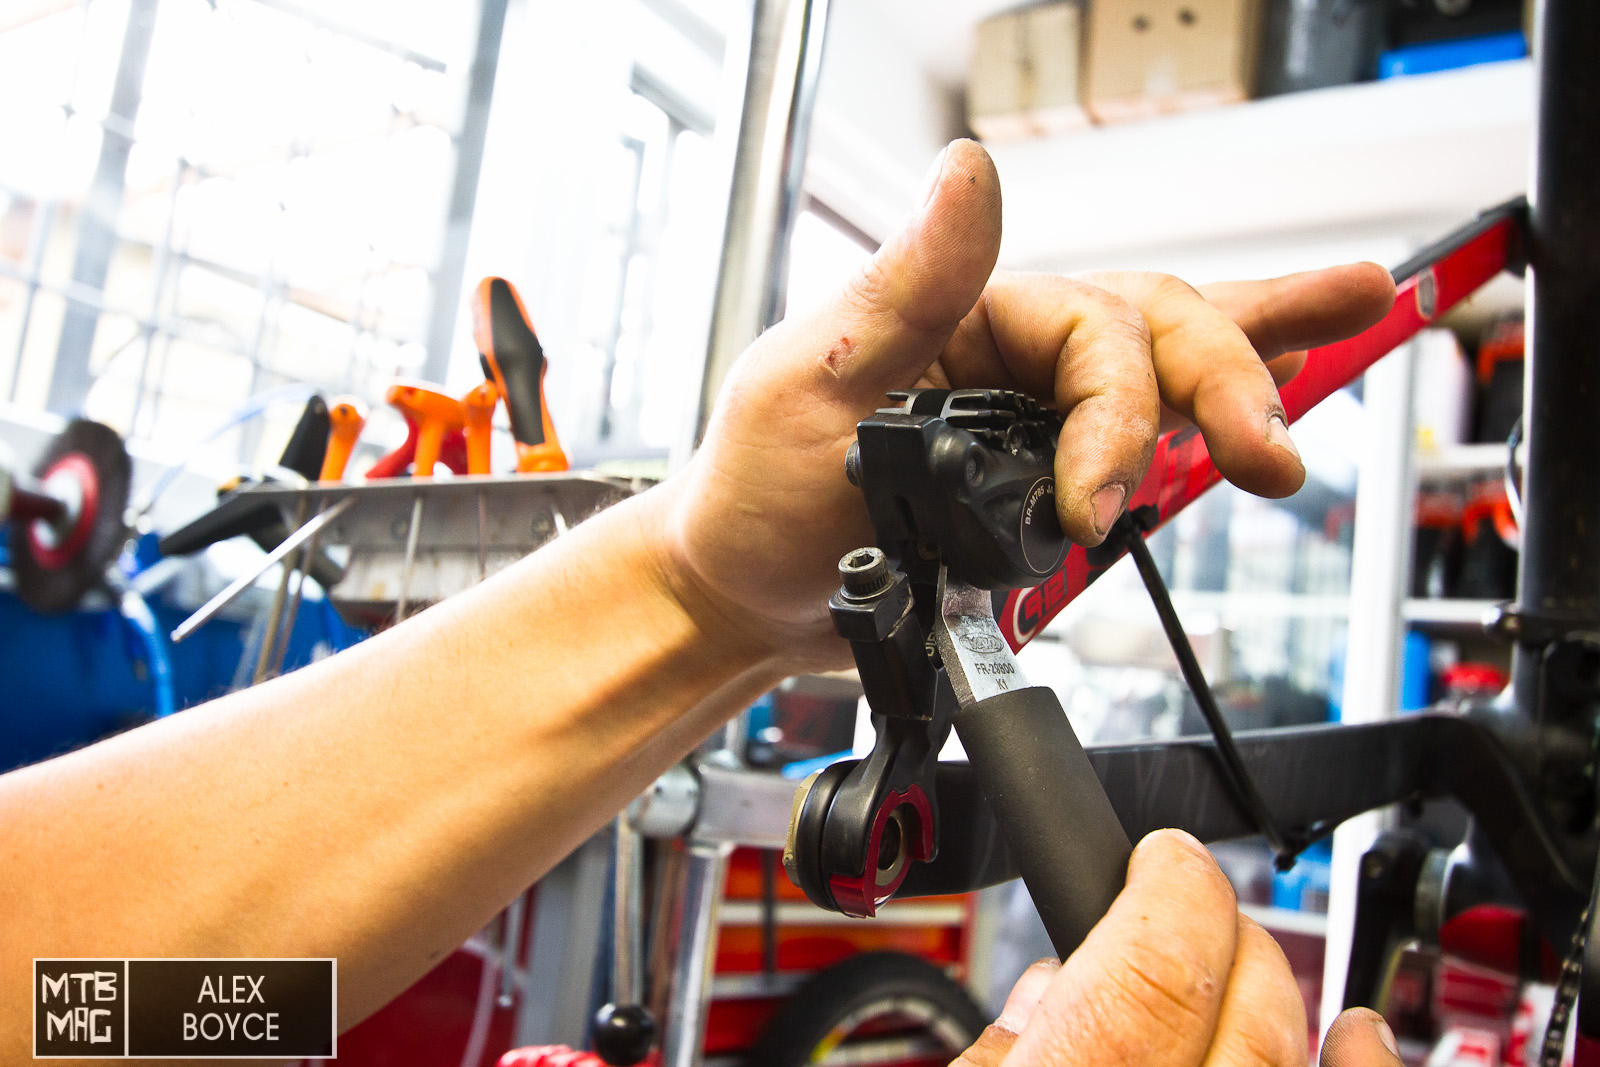
Insert the the pad retaining screw.

Tighten fully.
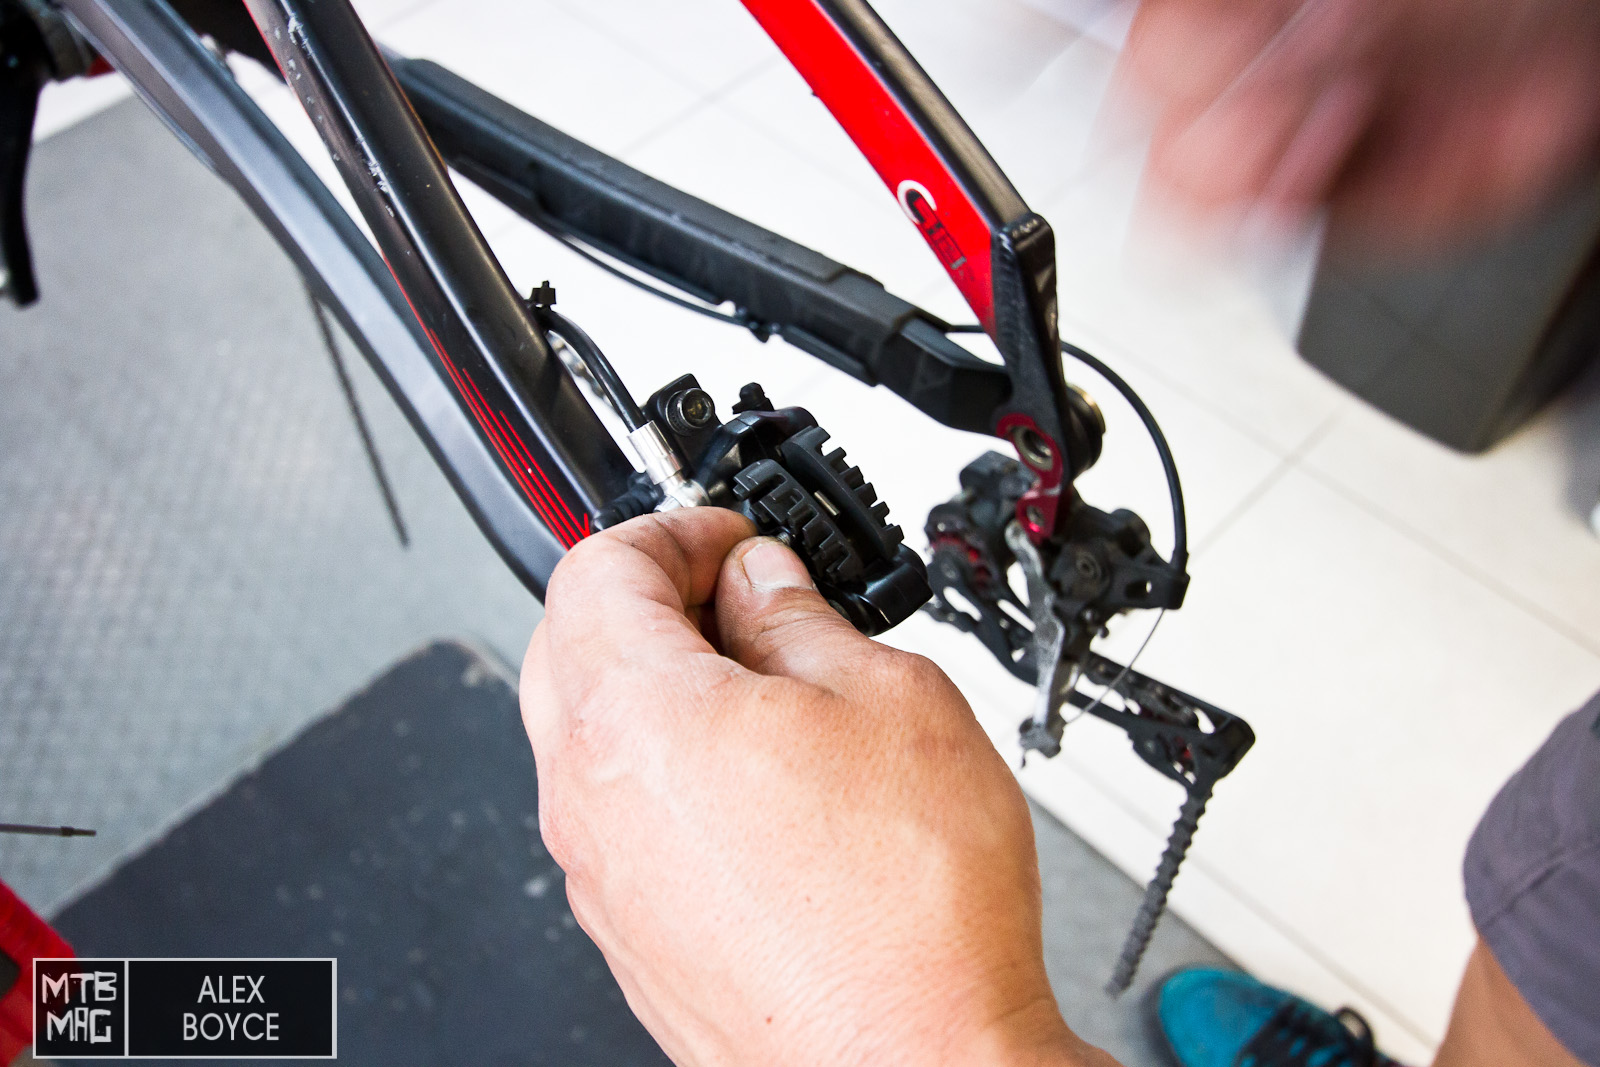
Make sure the calliper retaining bolts are loose.
Place the wheel into the frame and disc into position.
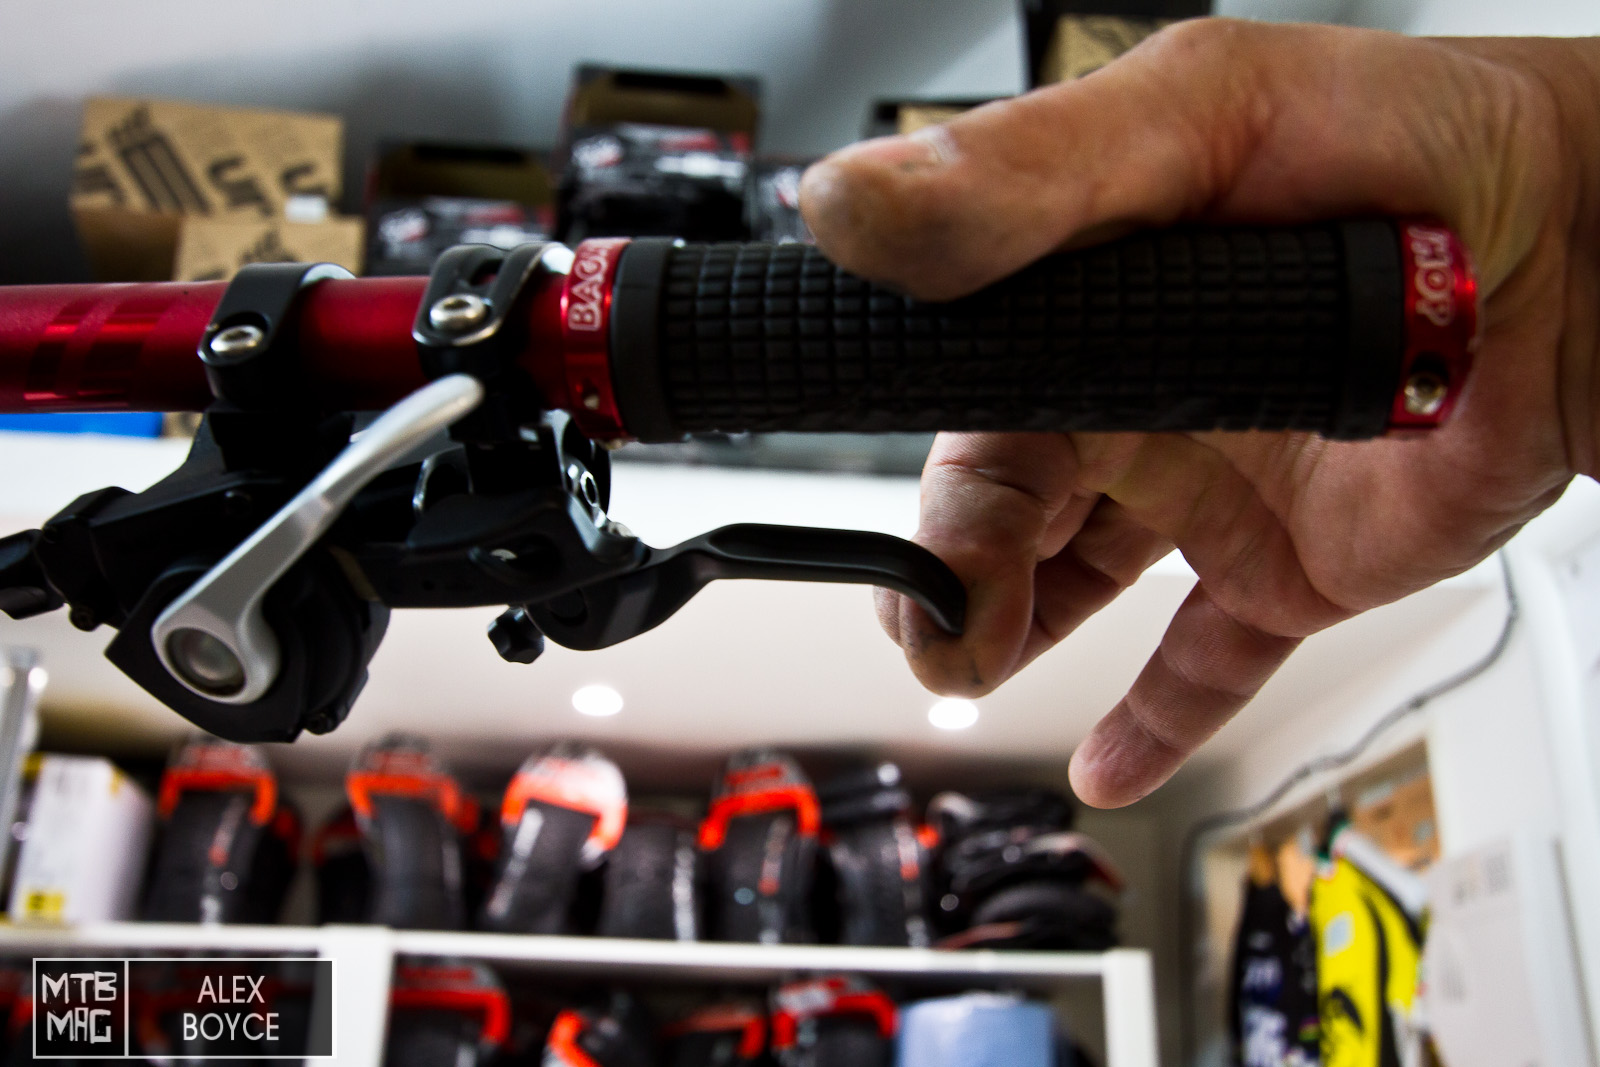
Check that the brake levers are not squashy, (system may need a bleed).
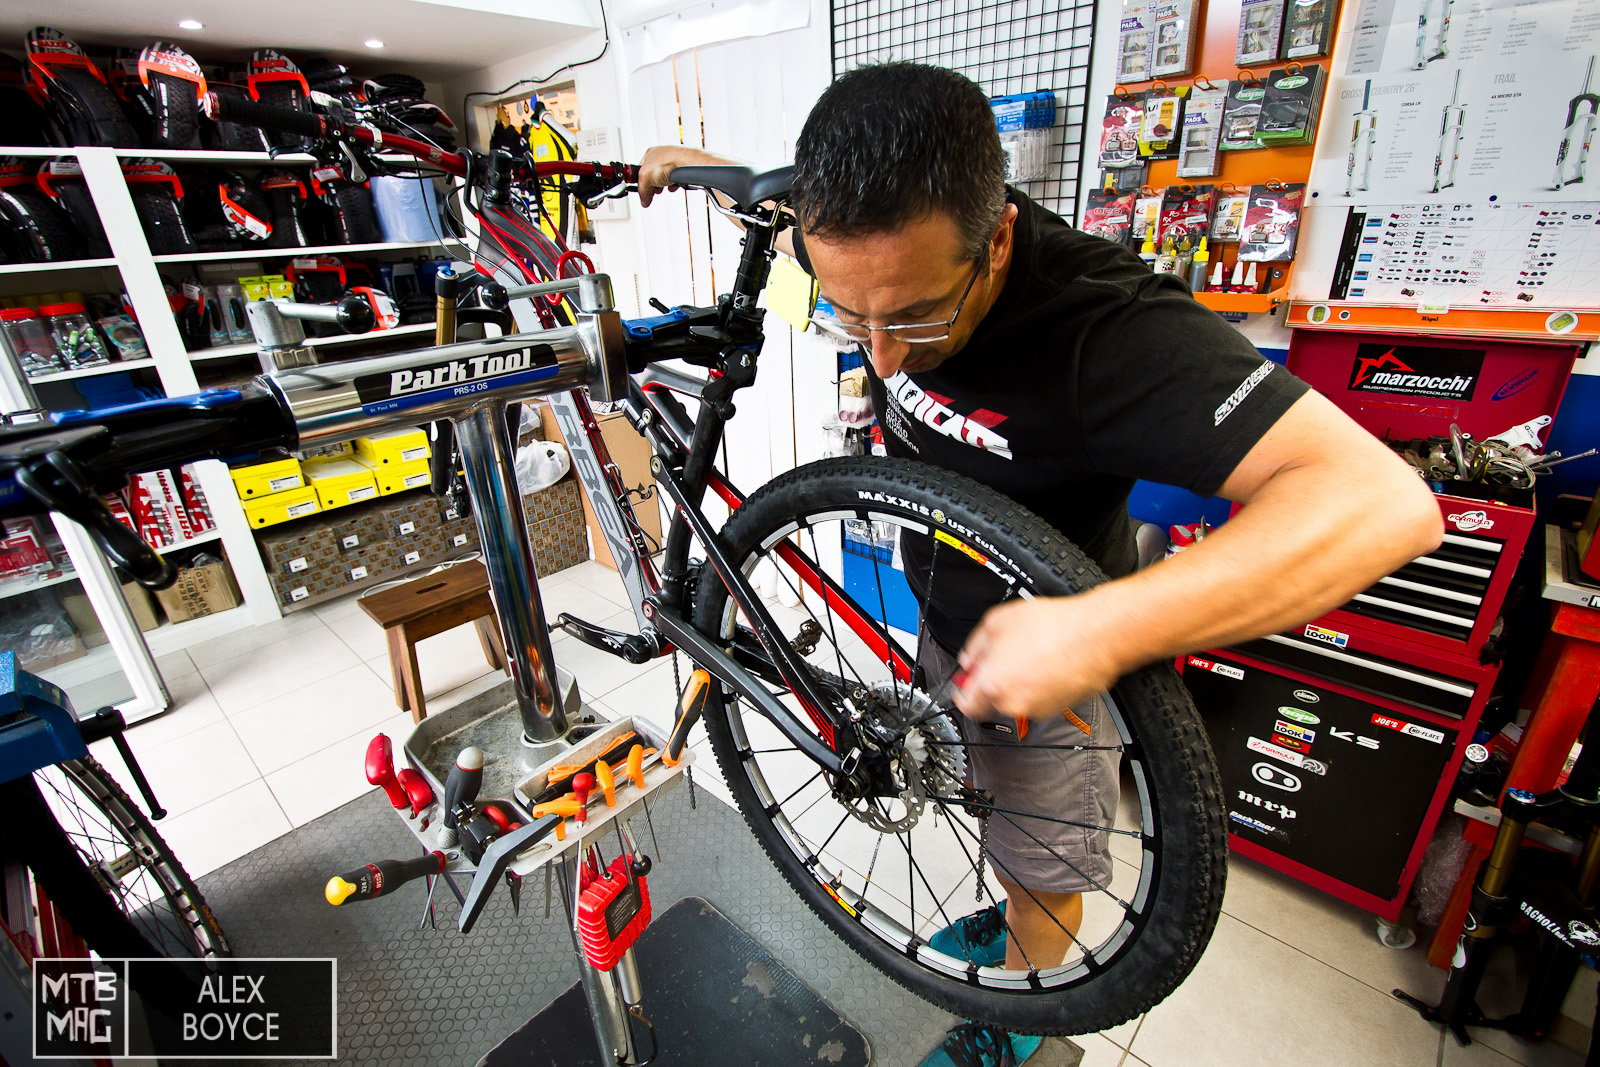
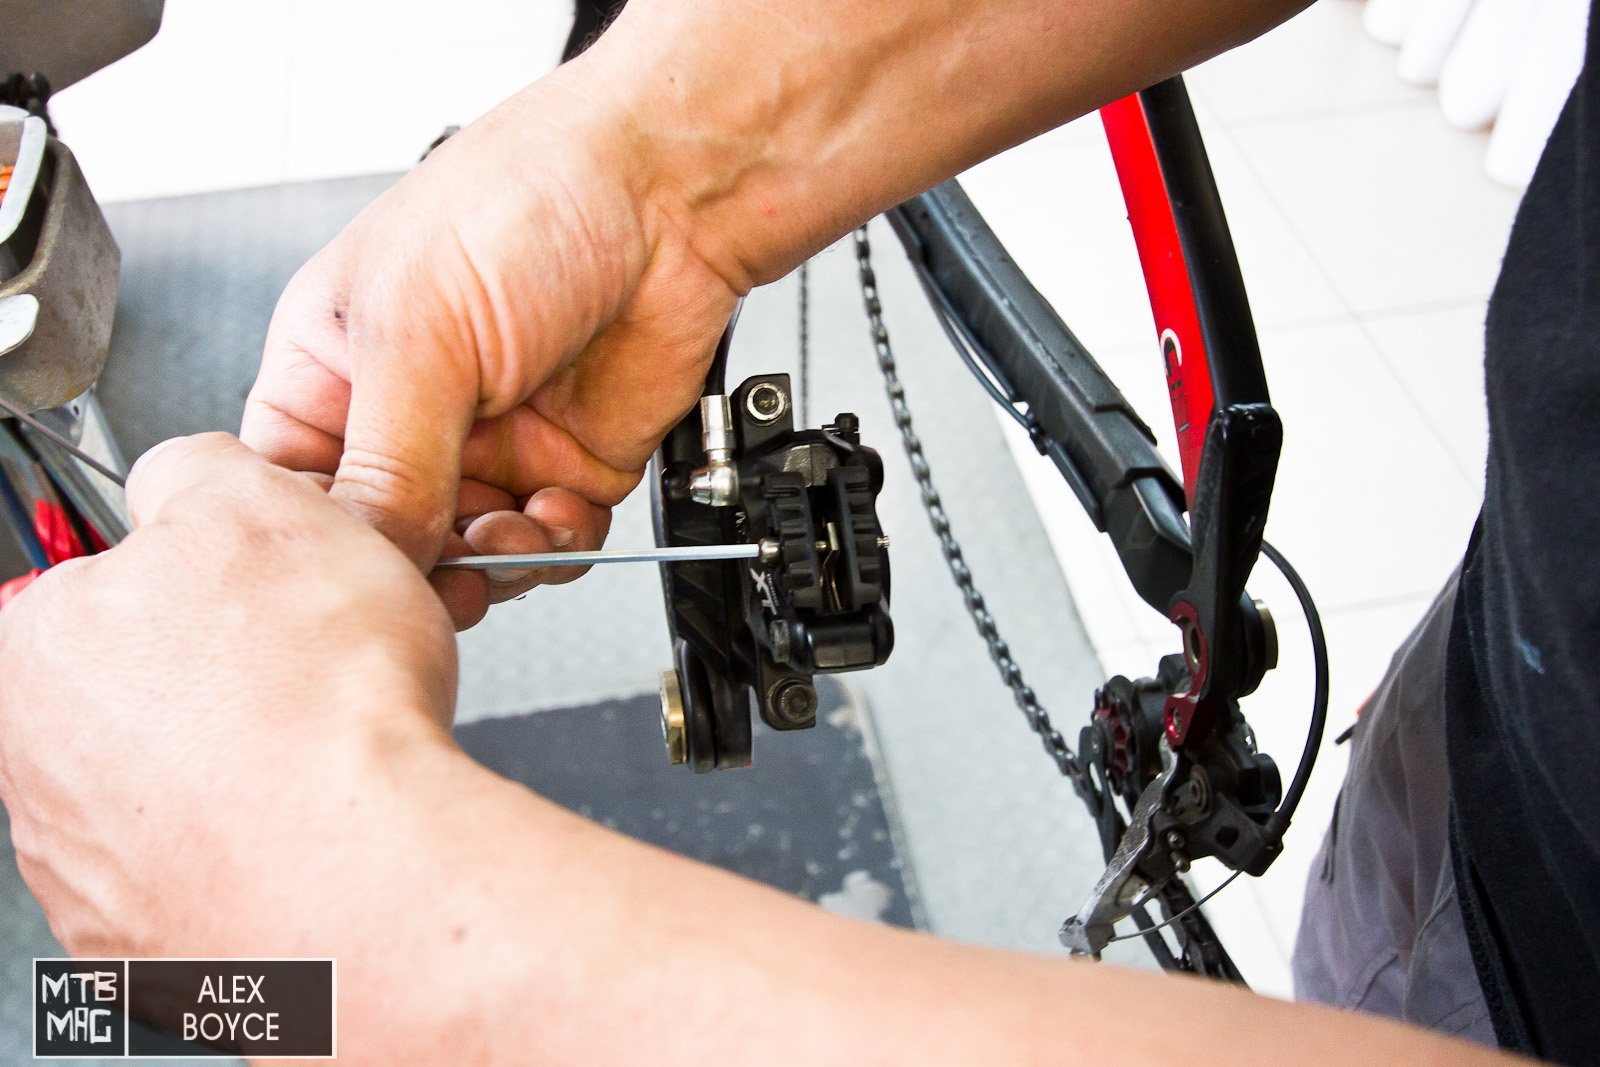
Whilst braking the lever firmly, tighten the calliper bolts.
Rotate the wheel and check the disc is not rubbing. Readjust if needed.
Here you can see the pads are centralized.
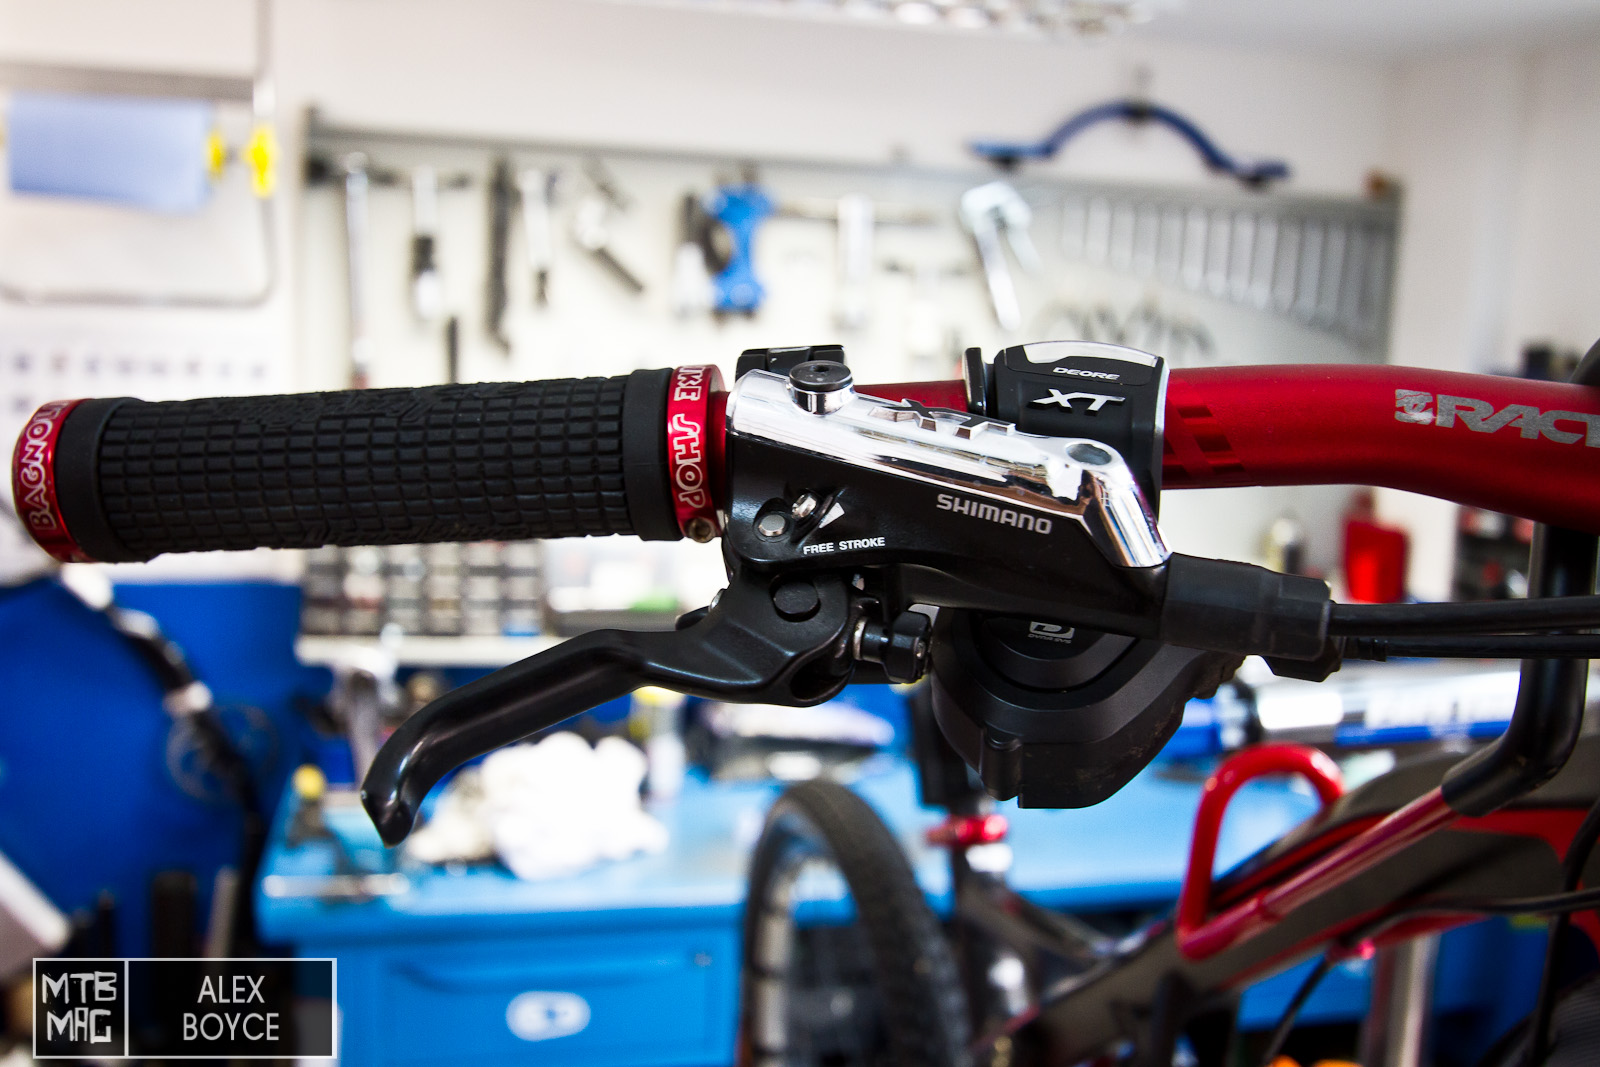
Check the lever is in good condition and not cracked or broken.
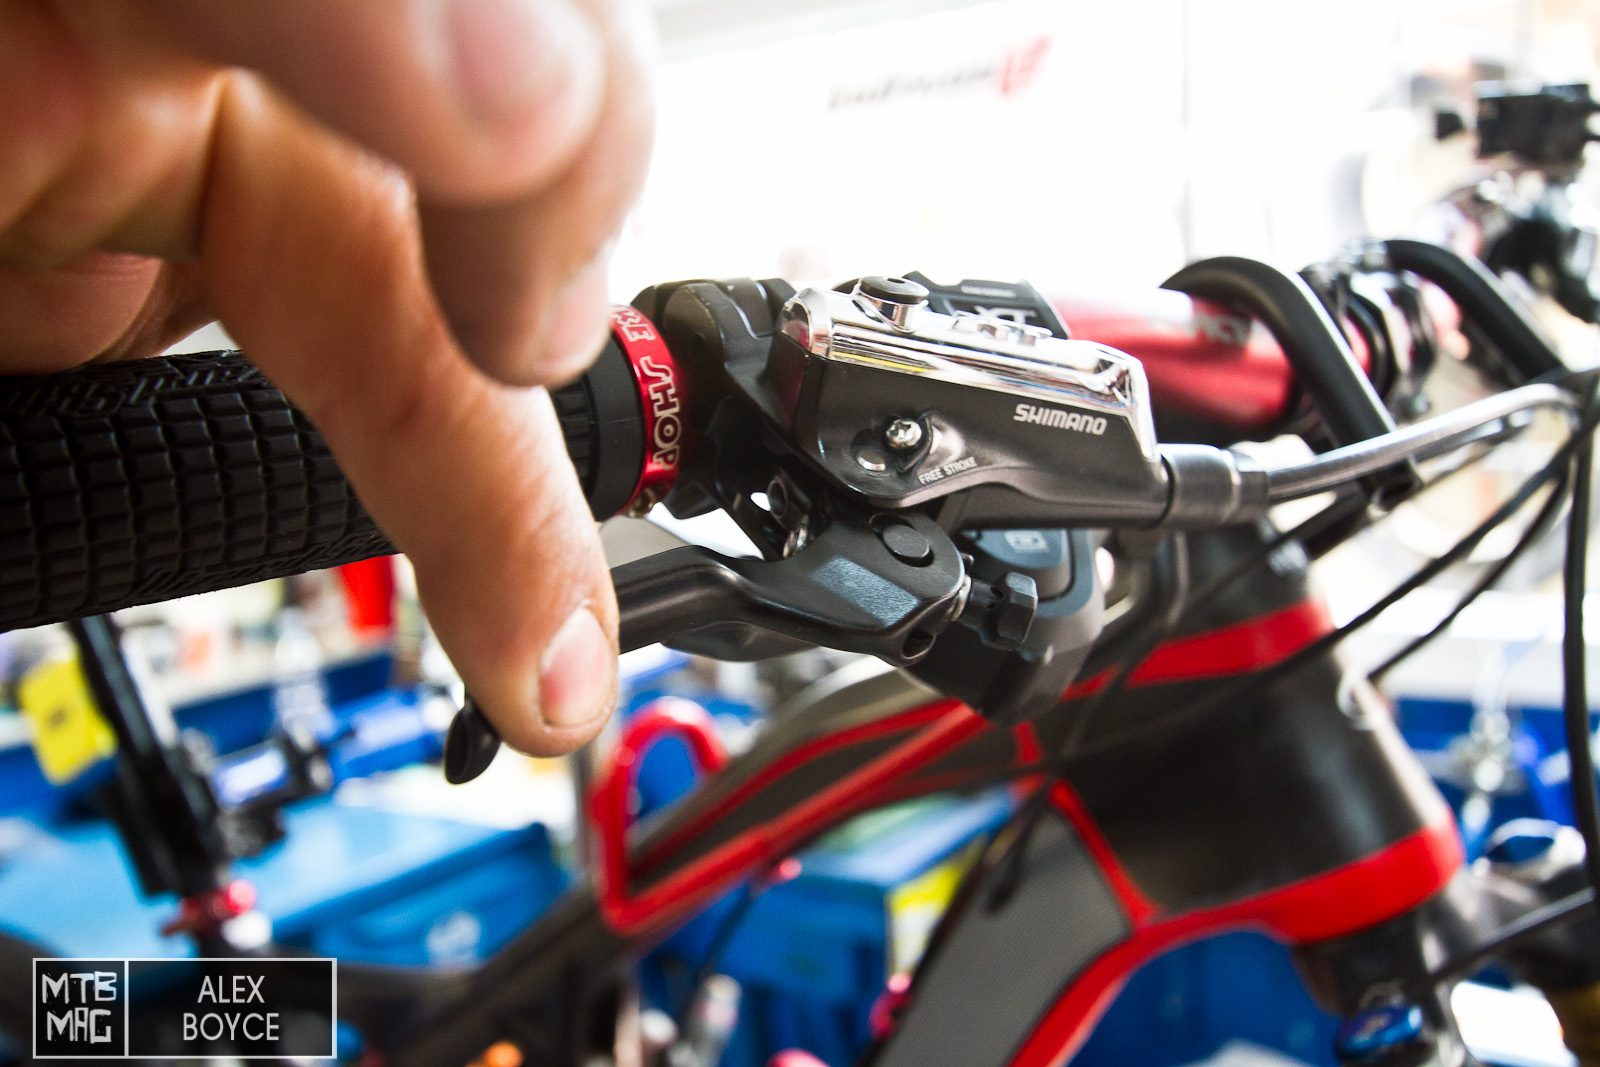
Pump the lever, make sure the pistons have no leaks, the lever will remain firm and all will be correct, Then go ride!
[ad45]