[ad3]
After a short tech break we are now back at our new bike facility at the Punta Ala Trail Center and we have been getting to grips with installing some new Guide Ultimate brakes from SRAM on our Cannondale test rig.
Installing new brakes sounds simple enough but with hydraulic disc brakes, quite often it is slightly complicated by the fact that you’ll need to shorten a brake hose (or two). Lets take a look below at our process, including a few tips we had not considered before, when mounting a new system.
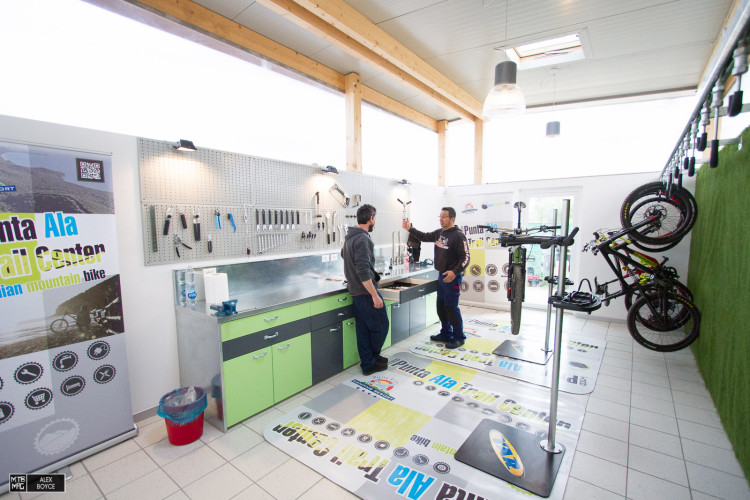 We start the process at our new tech centre, a pretty cool work space to learn tech tips in.
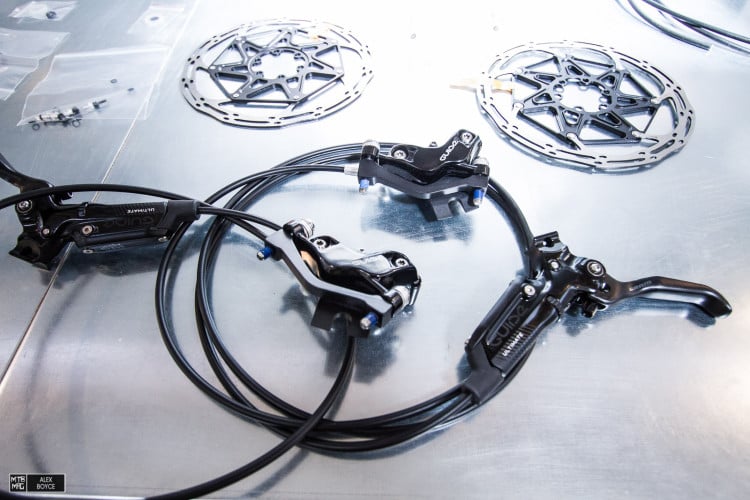 New SRAM Guide Ultimate brakes, ready to be installed.
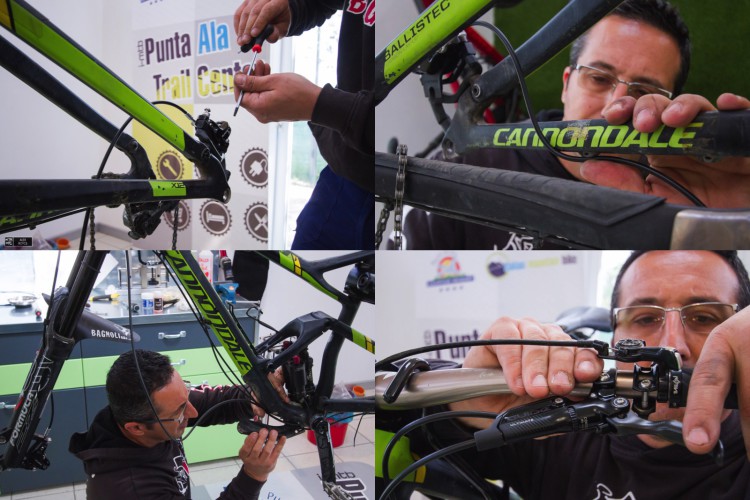
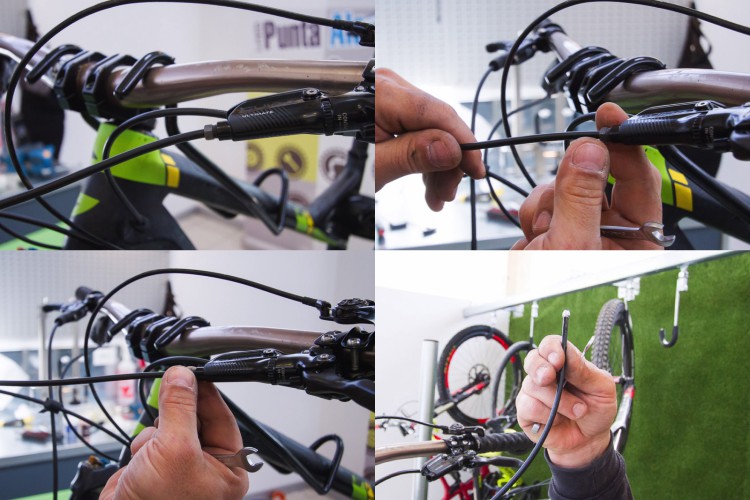
 Mounting options in our case meant an individual brake to bar mount as opposed to SRAM’s matchmaker mount. Davide, our mechanic commented that some riders have requested to use this system as they have become more picky about brake angles relative to shifter/dropper lever positioning. Here we start with the front brake, on the right as our test rider is a moto-style rider. Do not tighten down the calipers on the post mounts yet and leave the caliper spacer parts inserted until later.
 Simple tips…Start from the back and work your way forwards. This means there will be no mucking around with cables in cable guides etc if hose length is not correct and re-fixing cable ties etc as you try to yank a cable through.
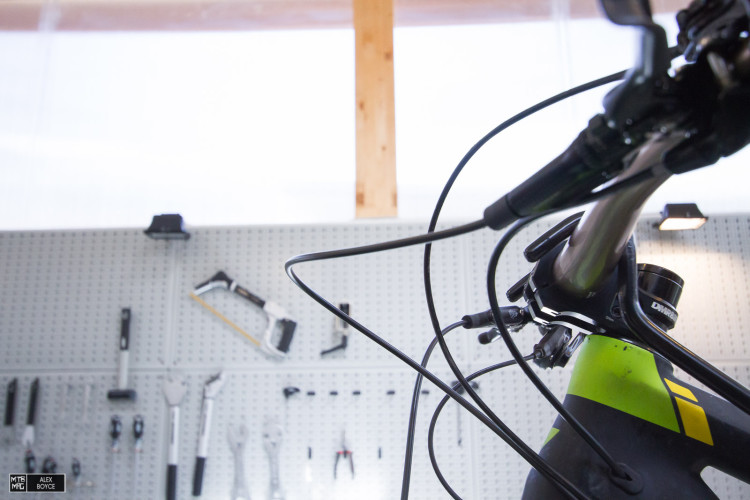 Clearly, the rear brake hose is a bit too long.
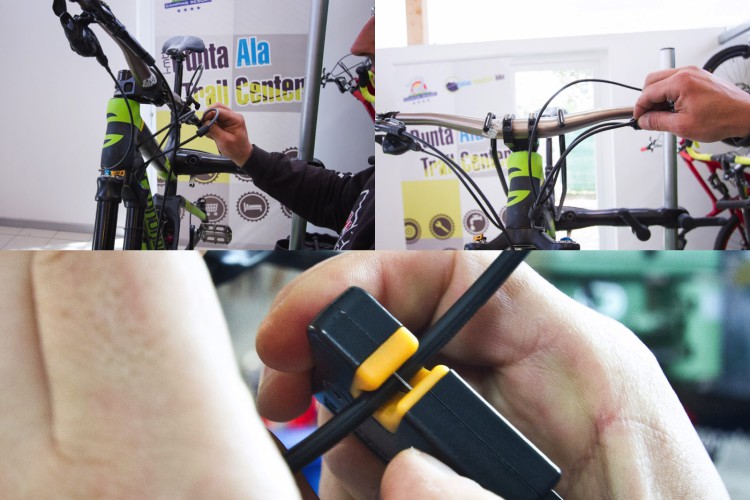
 Now we know when we cut a hose, it’s recommended that we do a brake bleed, (which we will show you next week), to minimise the amount of bleeding with a SRAM brake hose system do the following.
– Cover the brake caliper with a clean rag or bag it off. This way, if any brake fluid drips, it won’t contaminate the pads. Also, place the front wheel/rotor a few feet away from your work area.
– Secure the handlebar from turning and point the lever up in the air a bit.
– Slide the rubber hose fitting off.
– Undo the hose retaining collar 3 turns. Leave it and the rubber fitting a ways down the hose. Don’t remove them
– With the collar still mounted unseat the brake hose by pulling it. It will make a click. This avoids any loss of liquid from the hose as the cable jolts around when it suddenly lets go.
– Hold the cable up high whilst you move on to the next move.
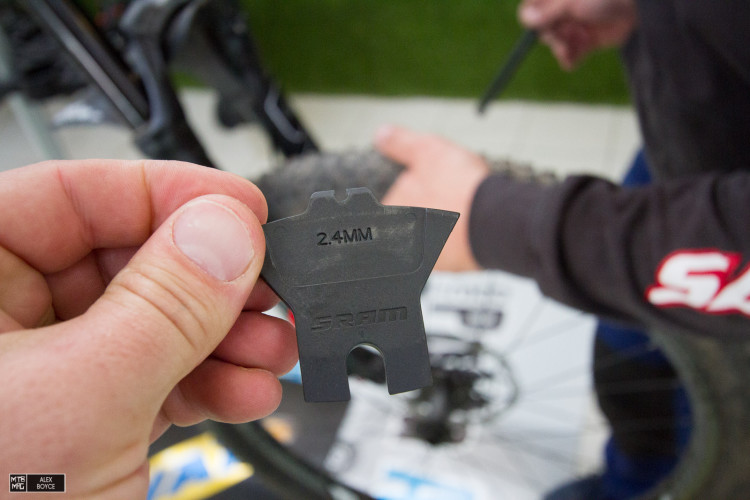
 Cutting the hose should be done with a specific hydraulic hose cutting tool as shown in the photo. Take time to set the length correctly. In the upper pictures we checked our length in reference to the handle bar movement.
 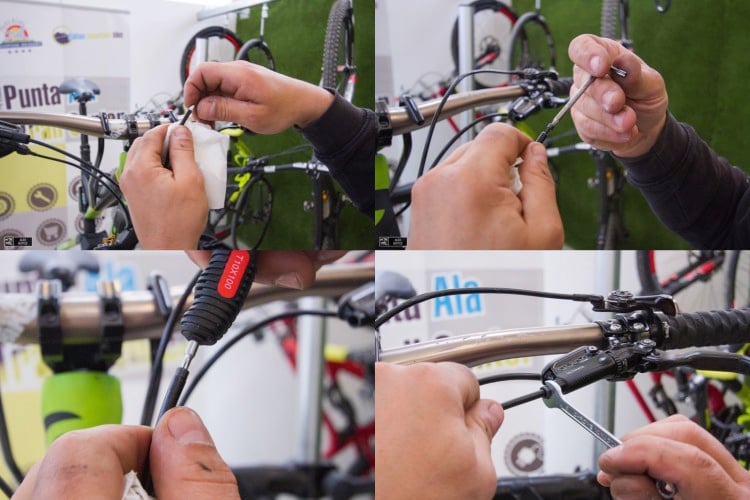 Slide the olive onto the hose, then using the supplied, knurled torx tool thread the hose barb into the end of the hose. Next, slide the collar back up to the end of the hose and thread it back into the lever. Doing this permanently secures the olive. The brake hose should be mounted and tightened enough so there is no fluid leakage. Do not over tighten.
 We check the lever feel to make sure there is no air in the system.
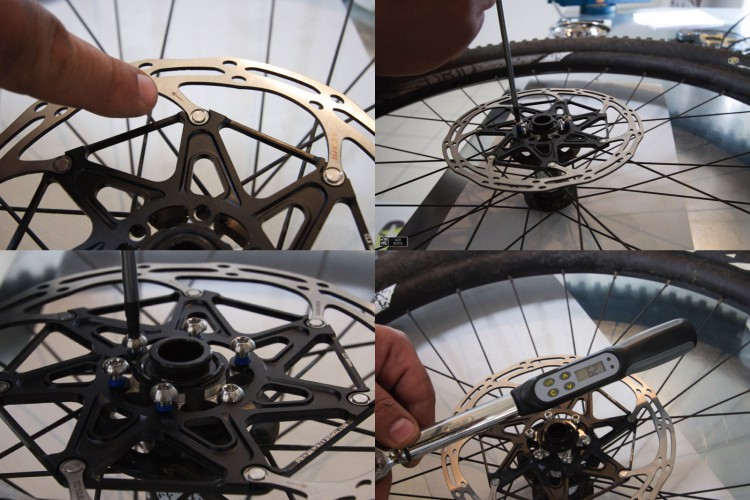 Time to mount the rotor. Place it onto the hub, note disc orientation and rotation direction.
After initially mounting the six disc bolts on a disc, tighten up with a star pattern, always tightening opposites to keep the rotor centralised correctly. Then torque the bolts to the suggested specs. In this case we have a digital meter and set 6.2 n/m.
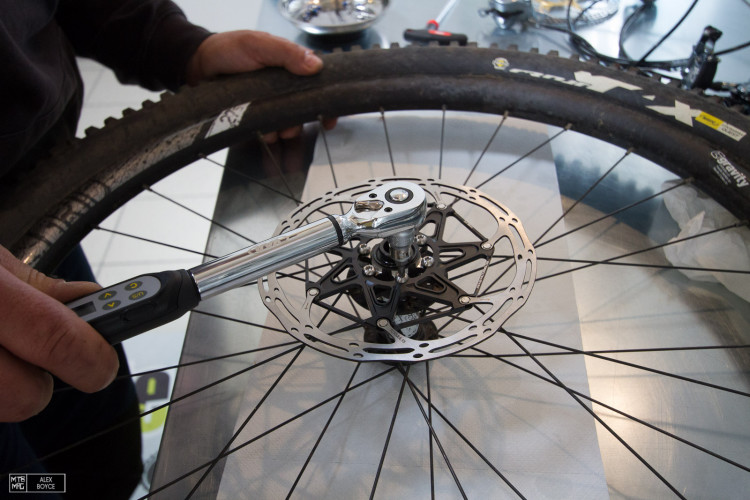 It is surprising how soft 6.2 n/m is. Do this correctly and the bolts will always be easy to remove. Davide mentioned that over-tightened brake disc rotor bolts are one of his number one things that he spots home mechanics do. This can lead to a struggle to remove a disc later and a risk of stripping a bolt head.
 Now we remove the caliper spacer parts and insert the wheels.
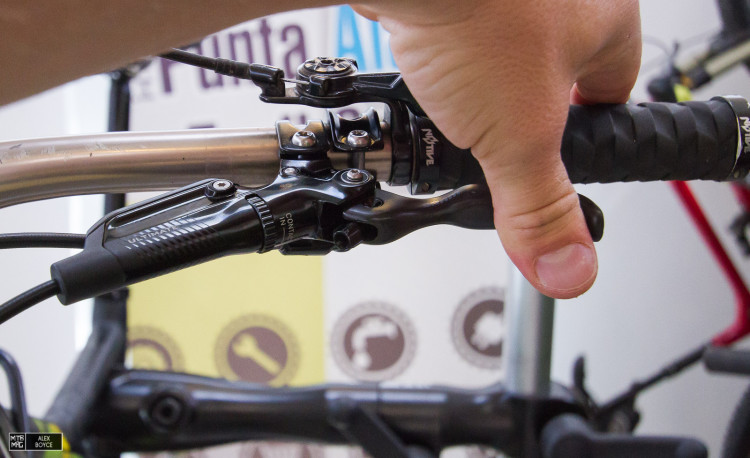
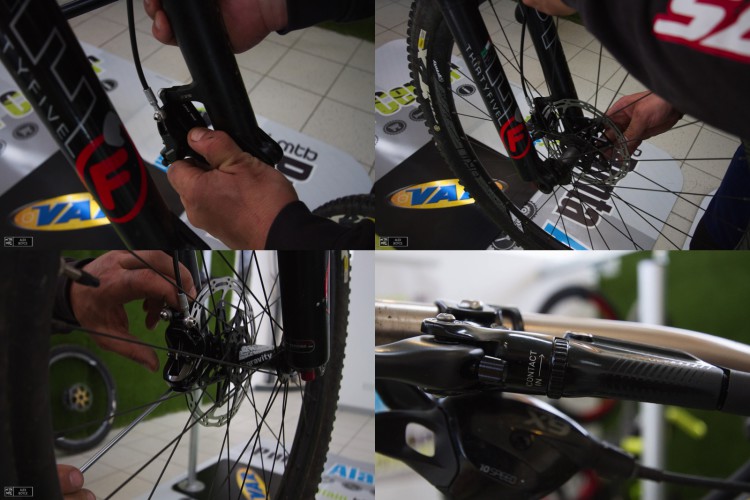 Once the wheels are inserted, with the direct mount style caliper, it is possible to squeeze the brake lever hard to align the calipers on the disc and then tighten the bolts down. You should find alignment is almost perfect and very little “by eye” alignment is necessary. Note the pad contact adjuster should be set to the pads being as far away from the disc as possible on the lever stroke when aligning the pads. Set to preference later.
 The bike’s brake controls on the rear brake are now ready for a bleed which we will show you next week.
Mechanic Davide Bagnoli @ Punta Ala Trail Center
Brakes Supplied by SRAM