[ad3]
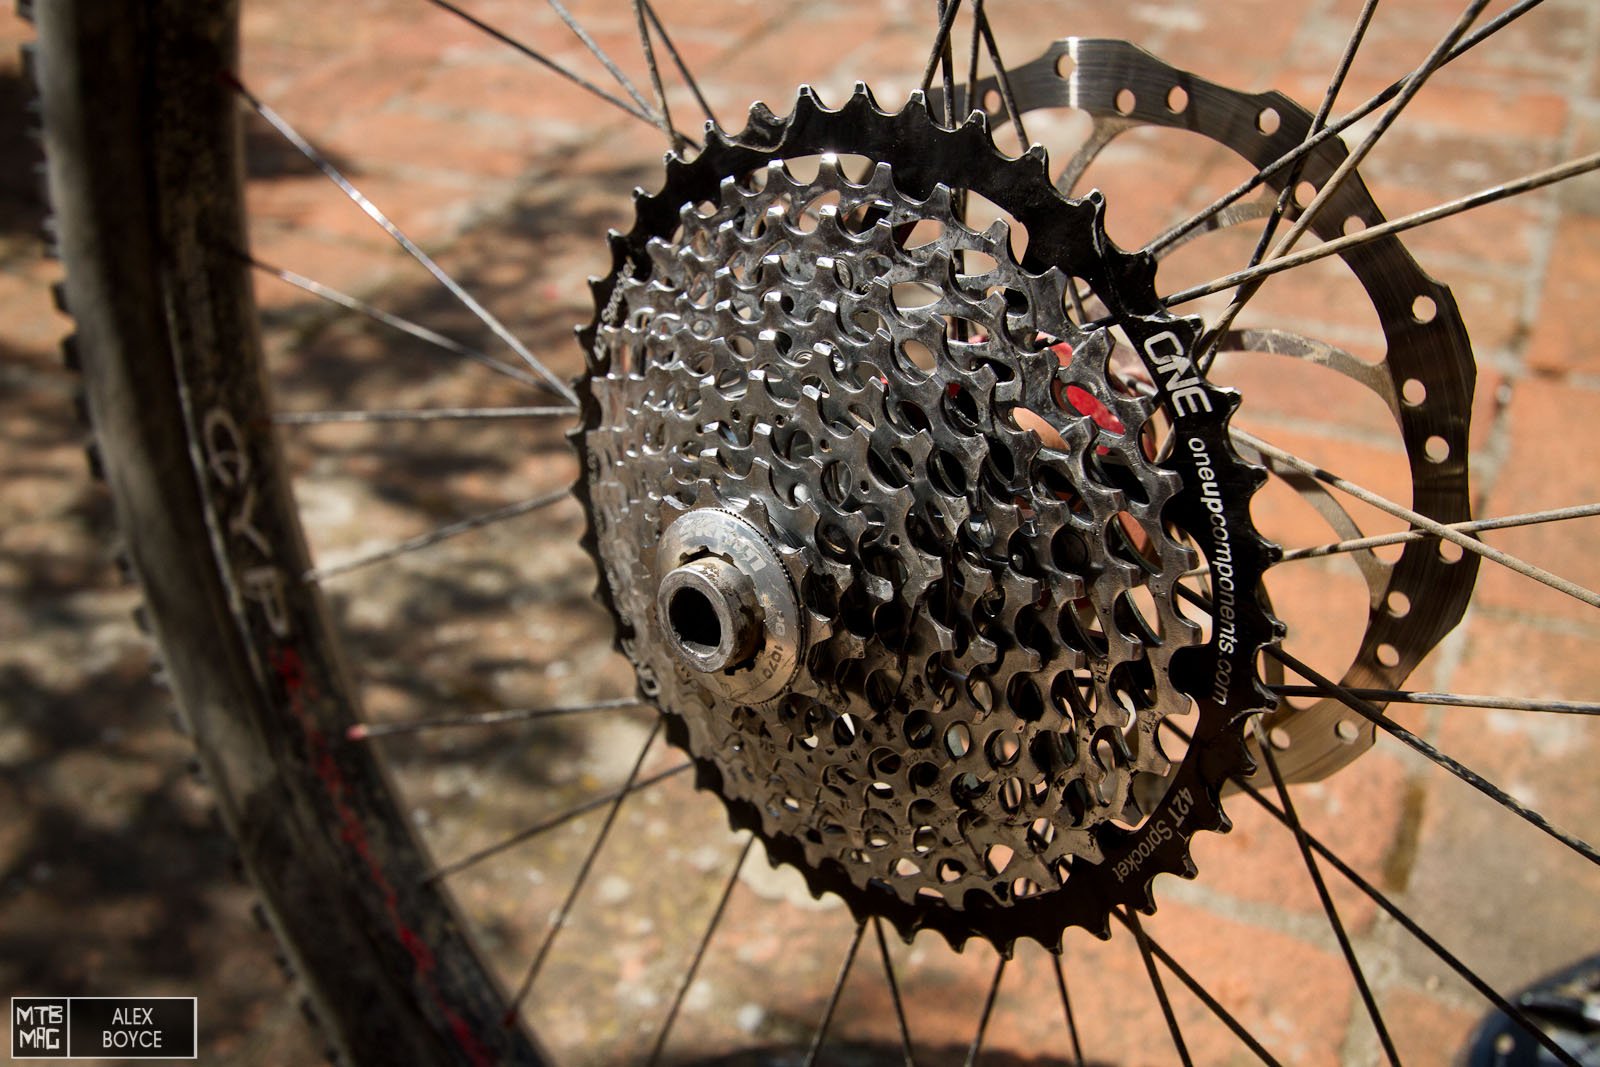
The gears on our bikes are the core of the system that keeps us rolling. One important element of the gears is the cassette block. After any long period of use they can become dirty and full of dried grease and mud, worn or damaged if you have hit them on something whilst riding. In this case it is necessary to remove them from the cassette driver body in order to more easily inspect, change or clean the parts. Below is the basic method of removing a standard cassette block that uses a standard free hub body.
Tools Required: Chain Whip, free-hub body lock ring adaptor, spanner/key.
Cassette Removal And Remounting
Remove the rear wheel of the bike and any quick release lever.
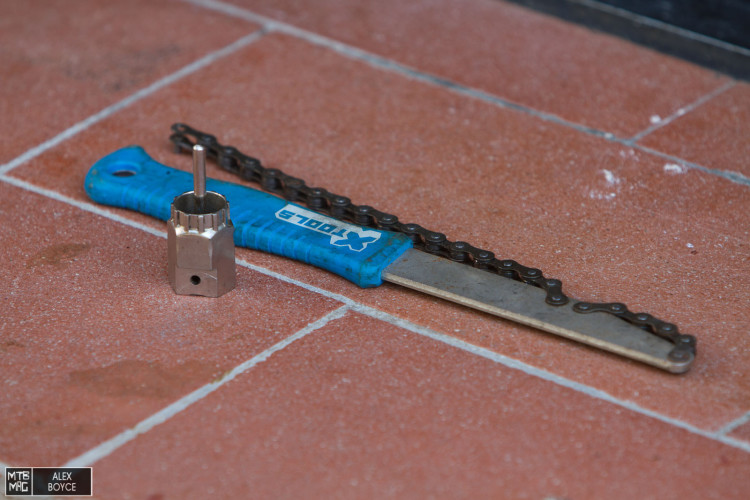
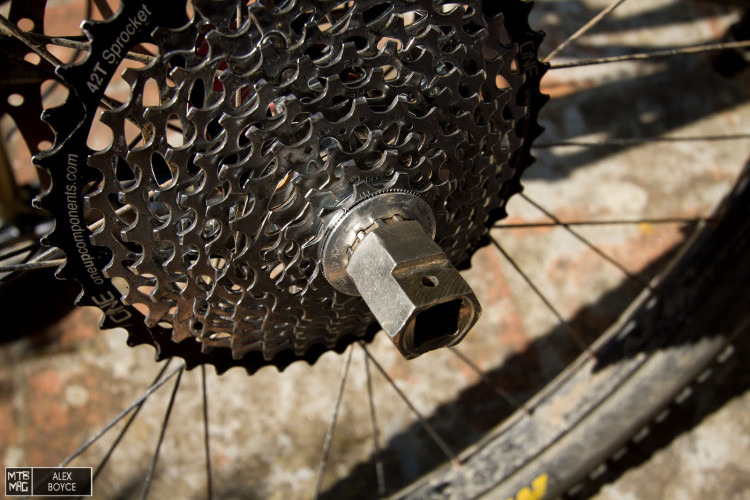
Take a chain whip and free-hub body adaptor key.
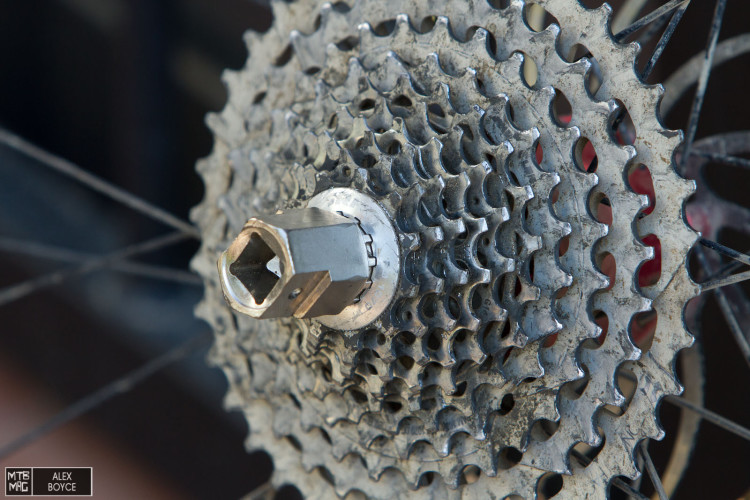
Insert the adaptor key into the lock ring sprocket holes. Check the holes are not damaged or rounded off in any way.
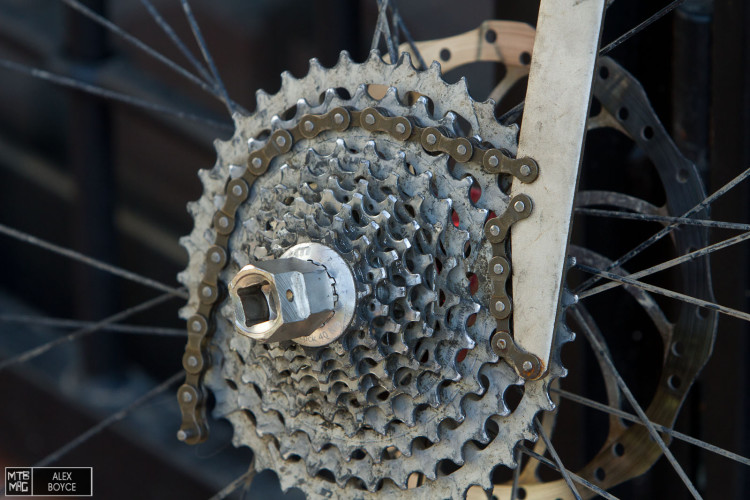
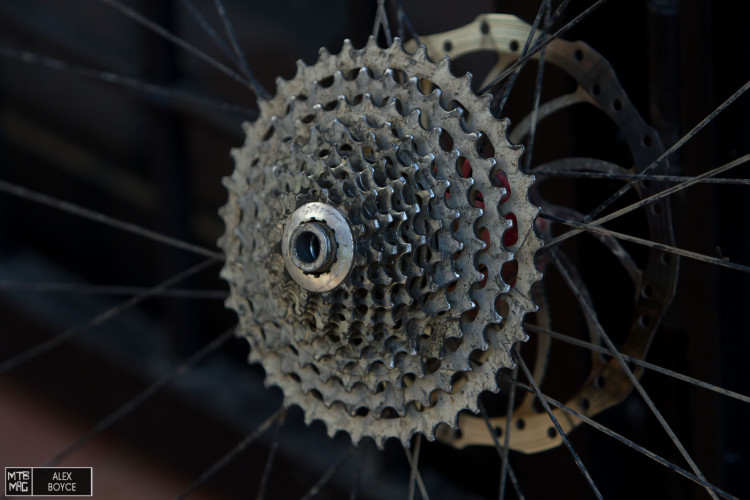
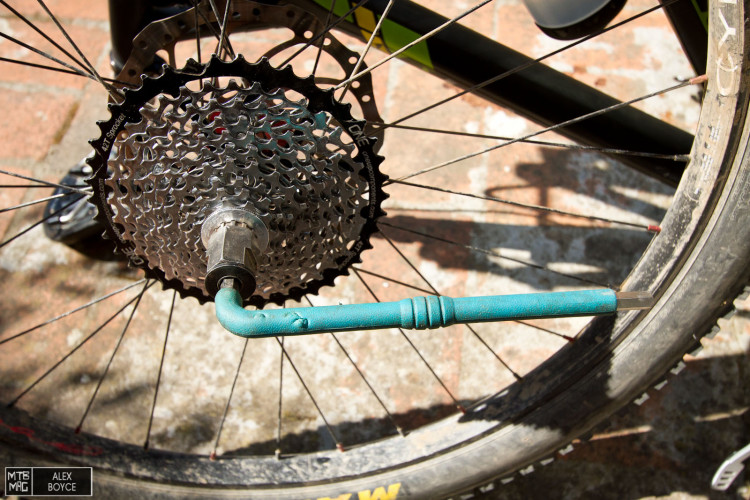
Wrap the chain whip around the cassette as shown in the photo (It is used to stop the cassette rotating) .

Place your spanner/key on the free-hub adapter and make sure everything is ready to be undone i.e. gripping well.

Rotate the key/spanner anti-clockwise and grip the cassette with the chain whip, with the chain whip handle being pushed clockwise against the push of the other spanner.

The lock ring should loosen probably quite suddenly as it has a toothed lock profile that will suddenly release at a certain point.
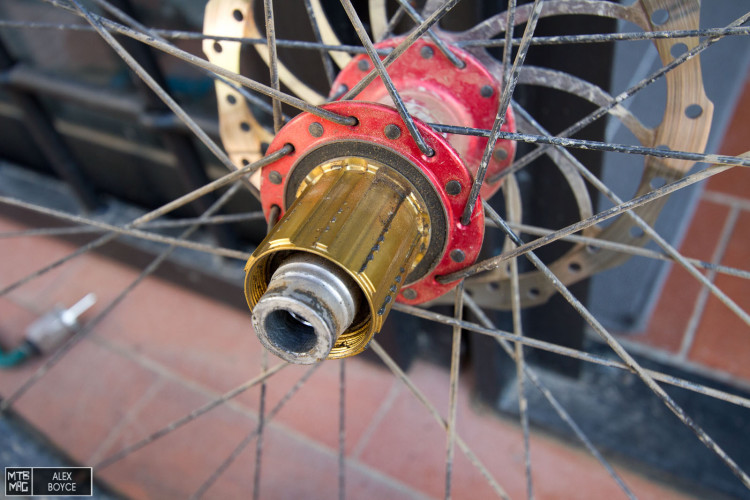
Remove the cassette and check the rotation of the free-hub body and surfaces, make sure they are not badly marked/pitted by the cassette, above in the photo is fine, anything ridge pitting that is greater and the cassette may misalign slightly on the body. If the body is damaged or loose then replace. (We will show this another time).
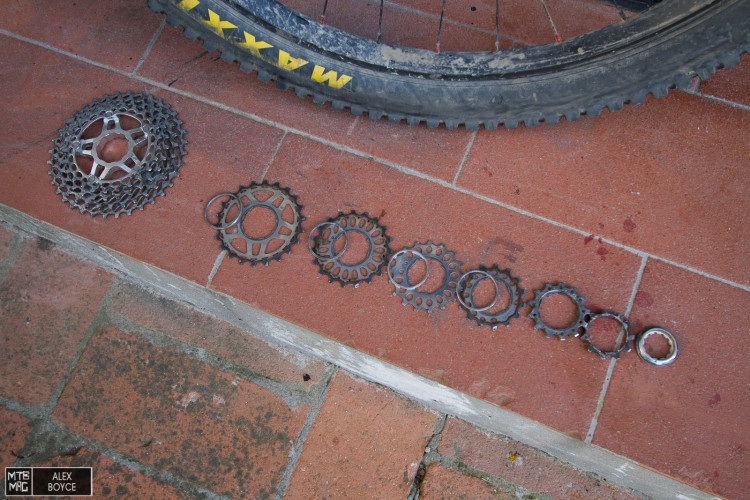
With the removed cassette, check each sprocket is straight and not too worn, clean/replace the cassette parts if necessary.

This sprocket ring shows no excessive wear and is ok to use. Clean before remounting. The little sprockets tend to be the first to wear so all should be inspected, if they have an excessive hooked profile, replace the cassette.

Remount the cassette on to the free hub body (In this case we are upgrading the cassette for a test item). Notice the wide tooth channel which corresponds to each sprocket piece.
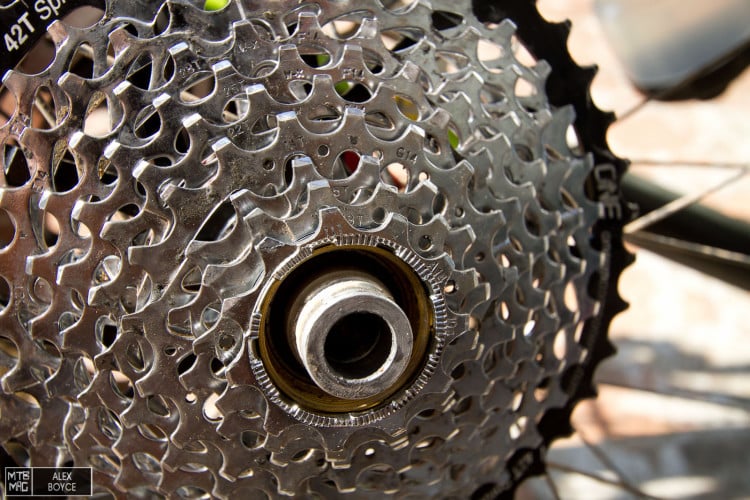
Once all the sprockets are mounted by lining up the wide tooth channel on each sprocket, check the spacing is equal and all sprockets are on correctly.
Re-take your free hub adaptor tool and lock ring, and place into the threaded end of the free-hub body and do up by hand as much as you can.
For the last part, take your key/spanner and tighten the sprocket as much as it will go with out forcing it. (If you have a torque wrench apply the recommend torque force that is written on the lock ring.)

Check by spinning the sprockets that all is working correctly. Your cassette is ready to go!
[ad45]