[ad3]
One of the fundamentals that needs to be set-up on almost all bikes that have some form of suspension is suspension sag.
Sag is the amount that suspension compresses when the rider is sat on the bike statically. This setting then decides how the bike feels when ridden on a trail. If the sag is set high then the bike will feel soft and soggy. If it is set low then the bike will feel stiffer and harder when it hits bumps. The ideal amount of sag for most suspension systems and most riders is around 20-30% sag.
Most suspension is designed to work on the bike with this optimal amount of sag. Bagnoli Bike our tech specialists showed us how to set up a bike with a correct amount of sag. In this case we used air regulated suspension components, not coil springs, which require a different set-up procedure.
Tools: Suspension pump, ideally a helper.
Rear Suspension Sag Set-up

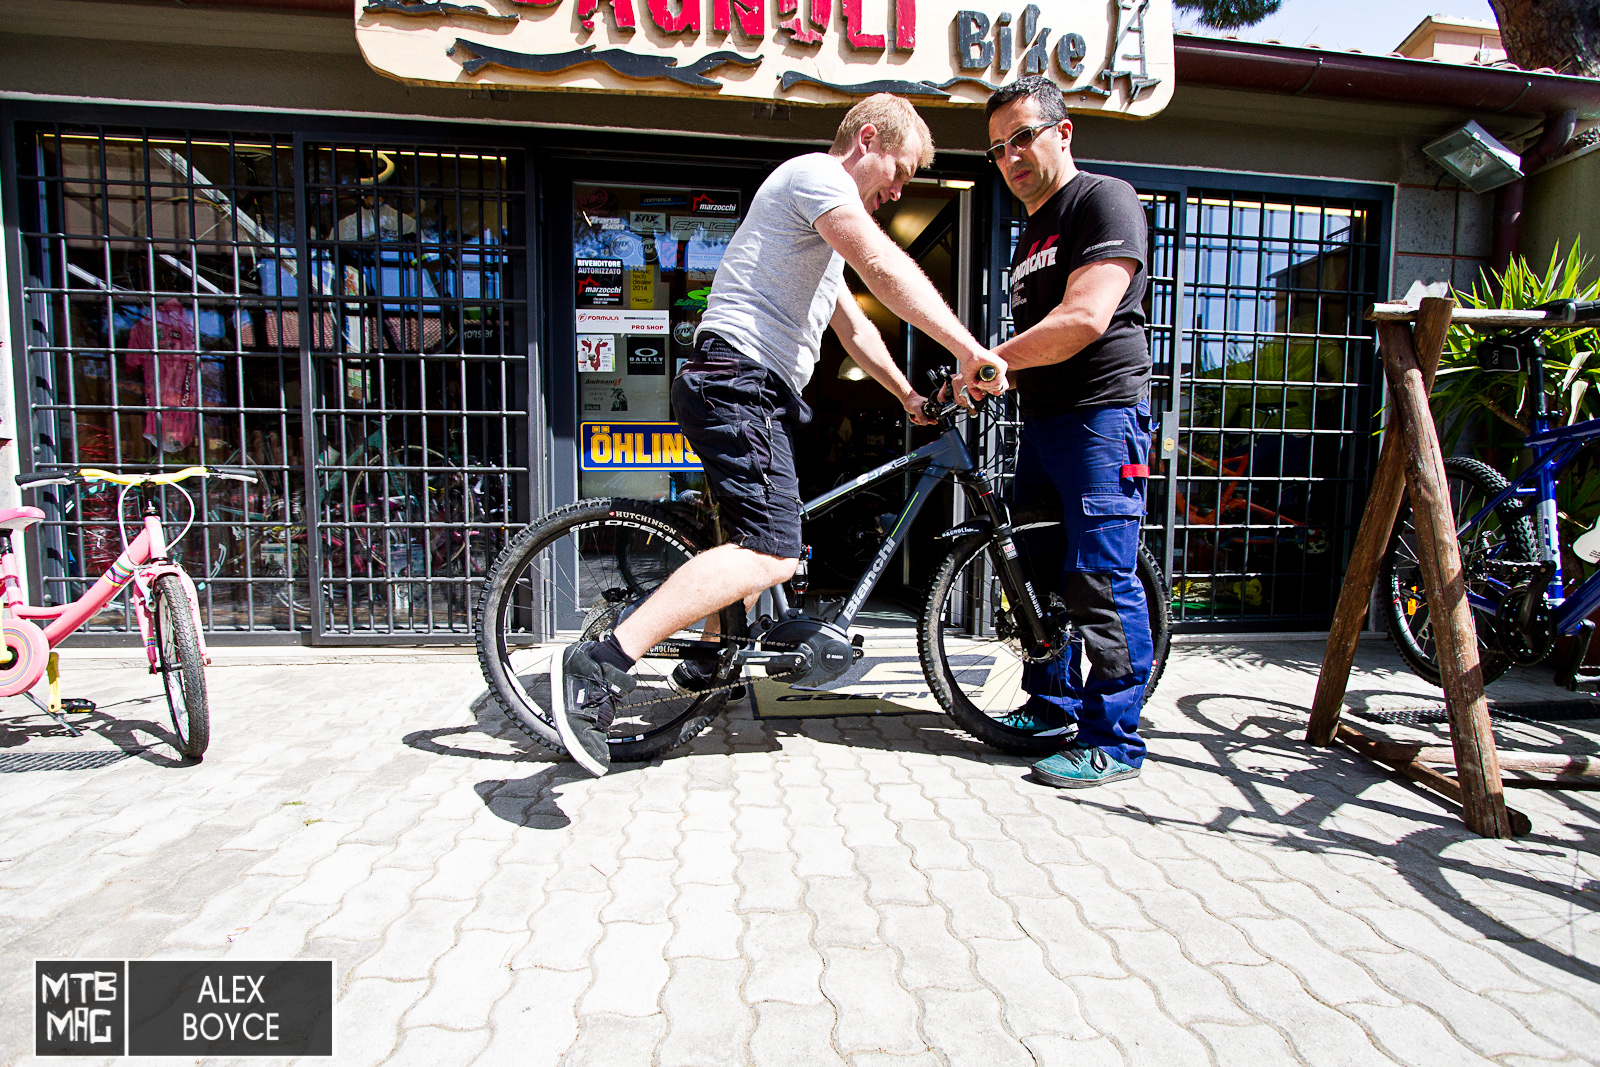
Take the bike and make sure the tyres are at the correct pressure for your riding and you are dressed as normally as possible with your riding gear weight of clothes. (In this case our model didn’t think of this!)

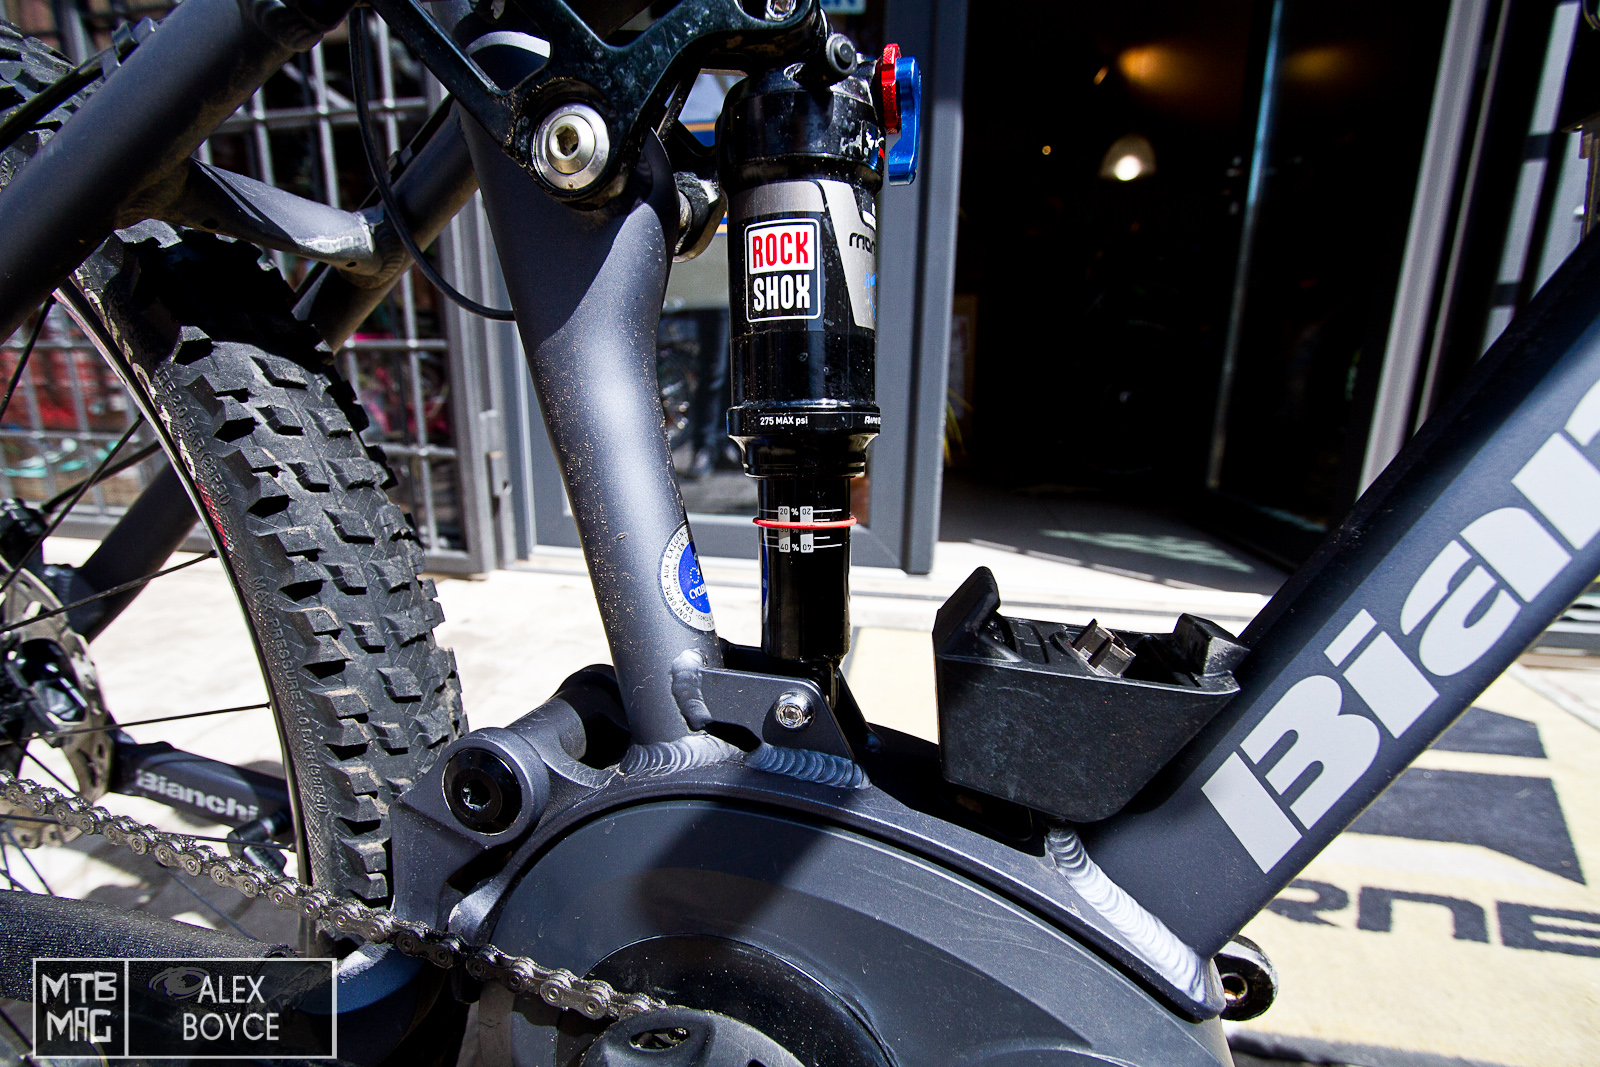
For the rear suspension make sure any valves are set to free/open.
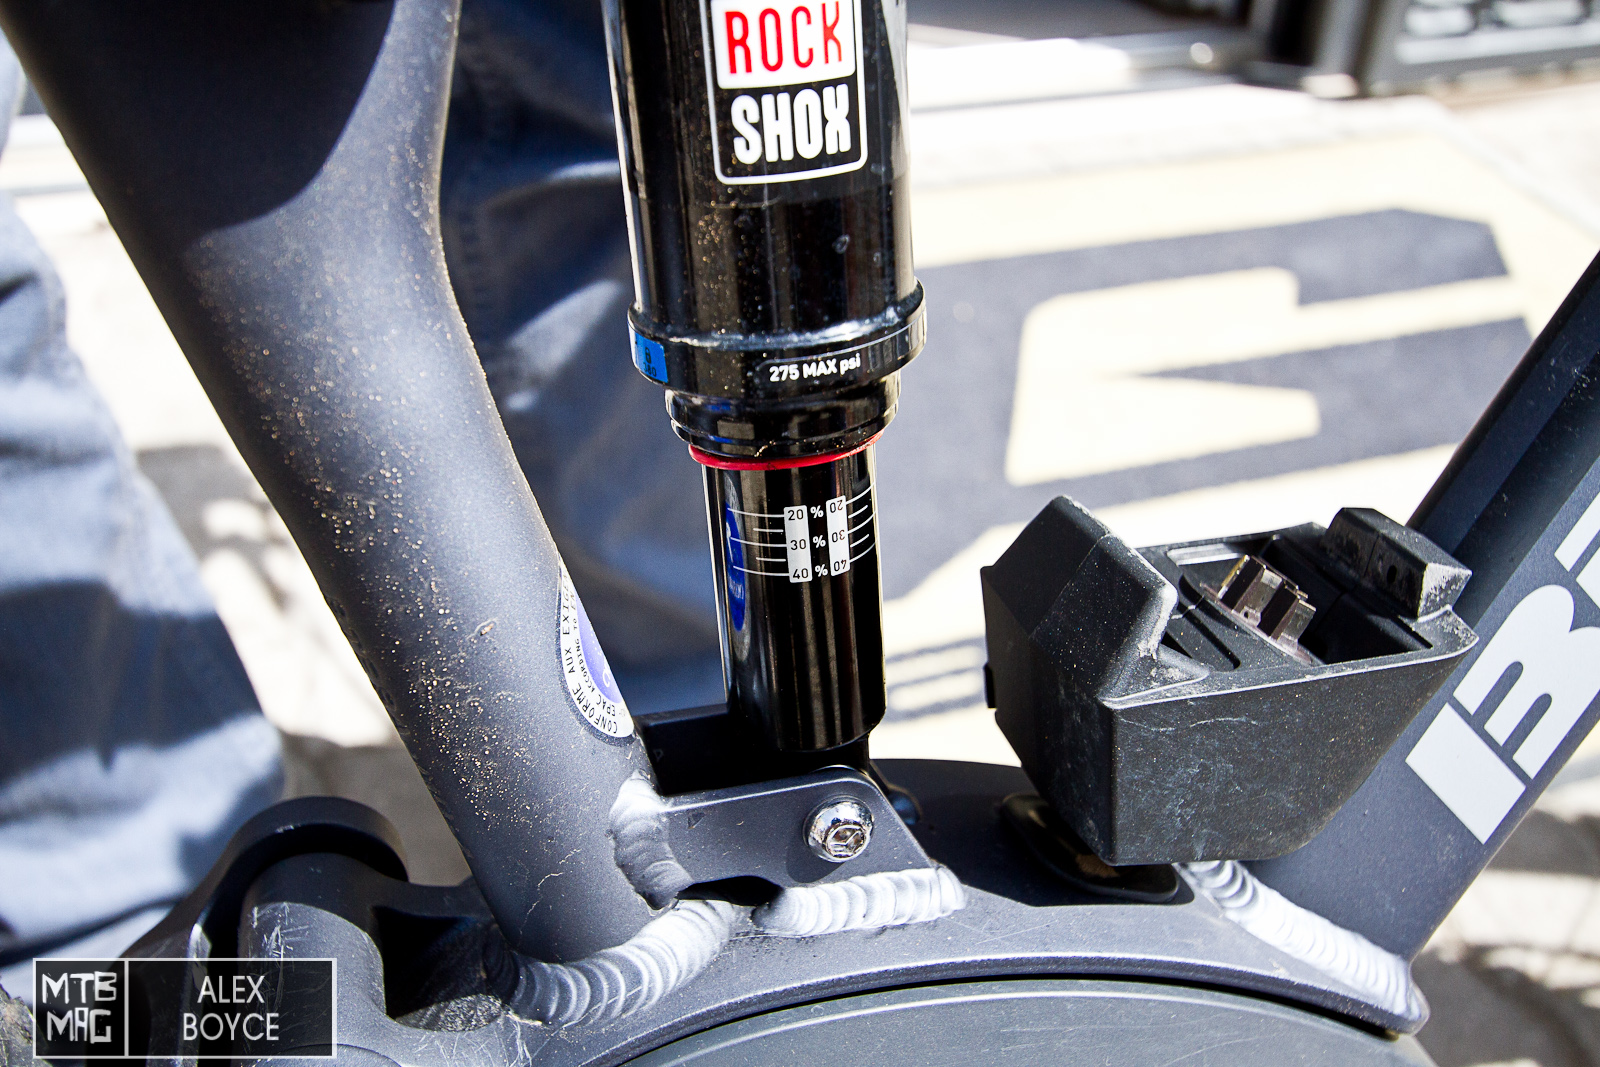
Then if the shock has a rubber ring position it on the outer cylinder stop.
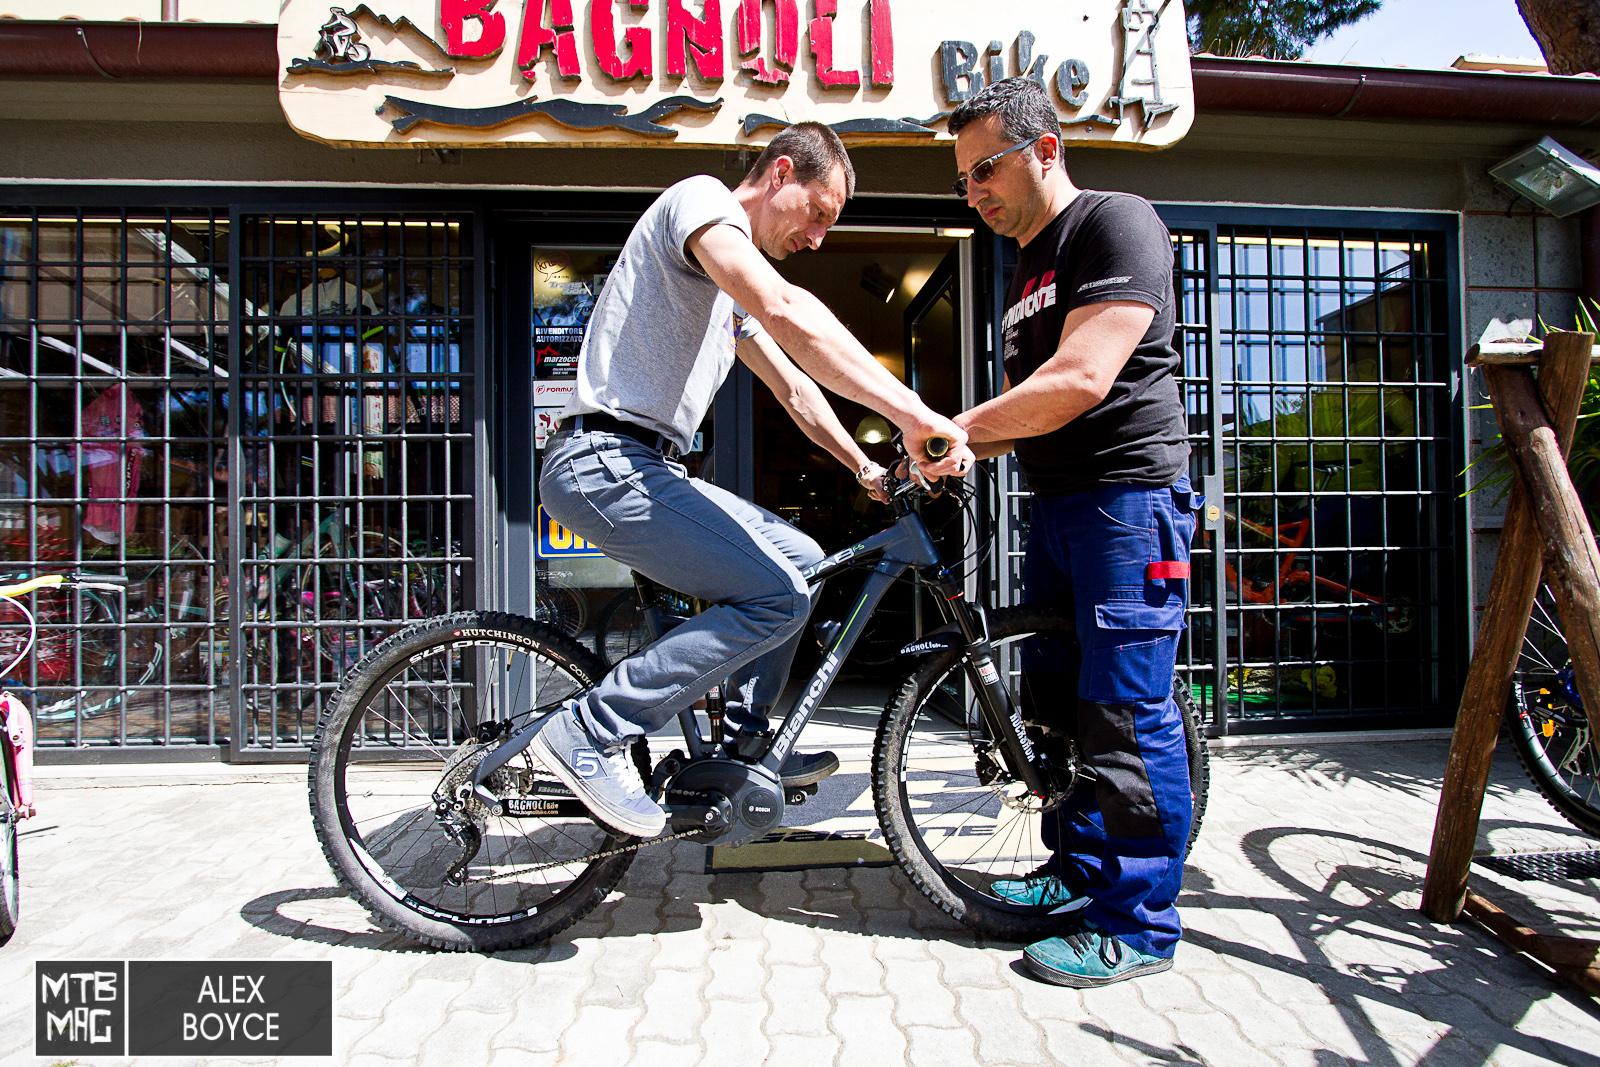
Very carefully the rider to be set up on the bike gets on the bike without making any sudden movements. Use the helper to steady the bike on flat ground.
Here we can see the sag is at 20 percent, so the rider decided to leave the shock alone!
We took a heavier rider, and tried him on the bike.
[ad3]
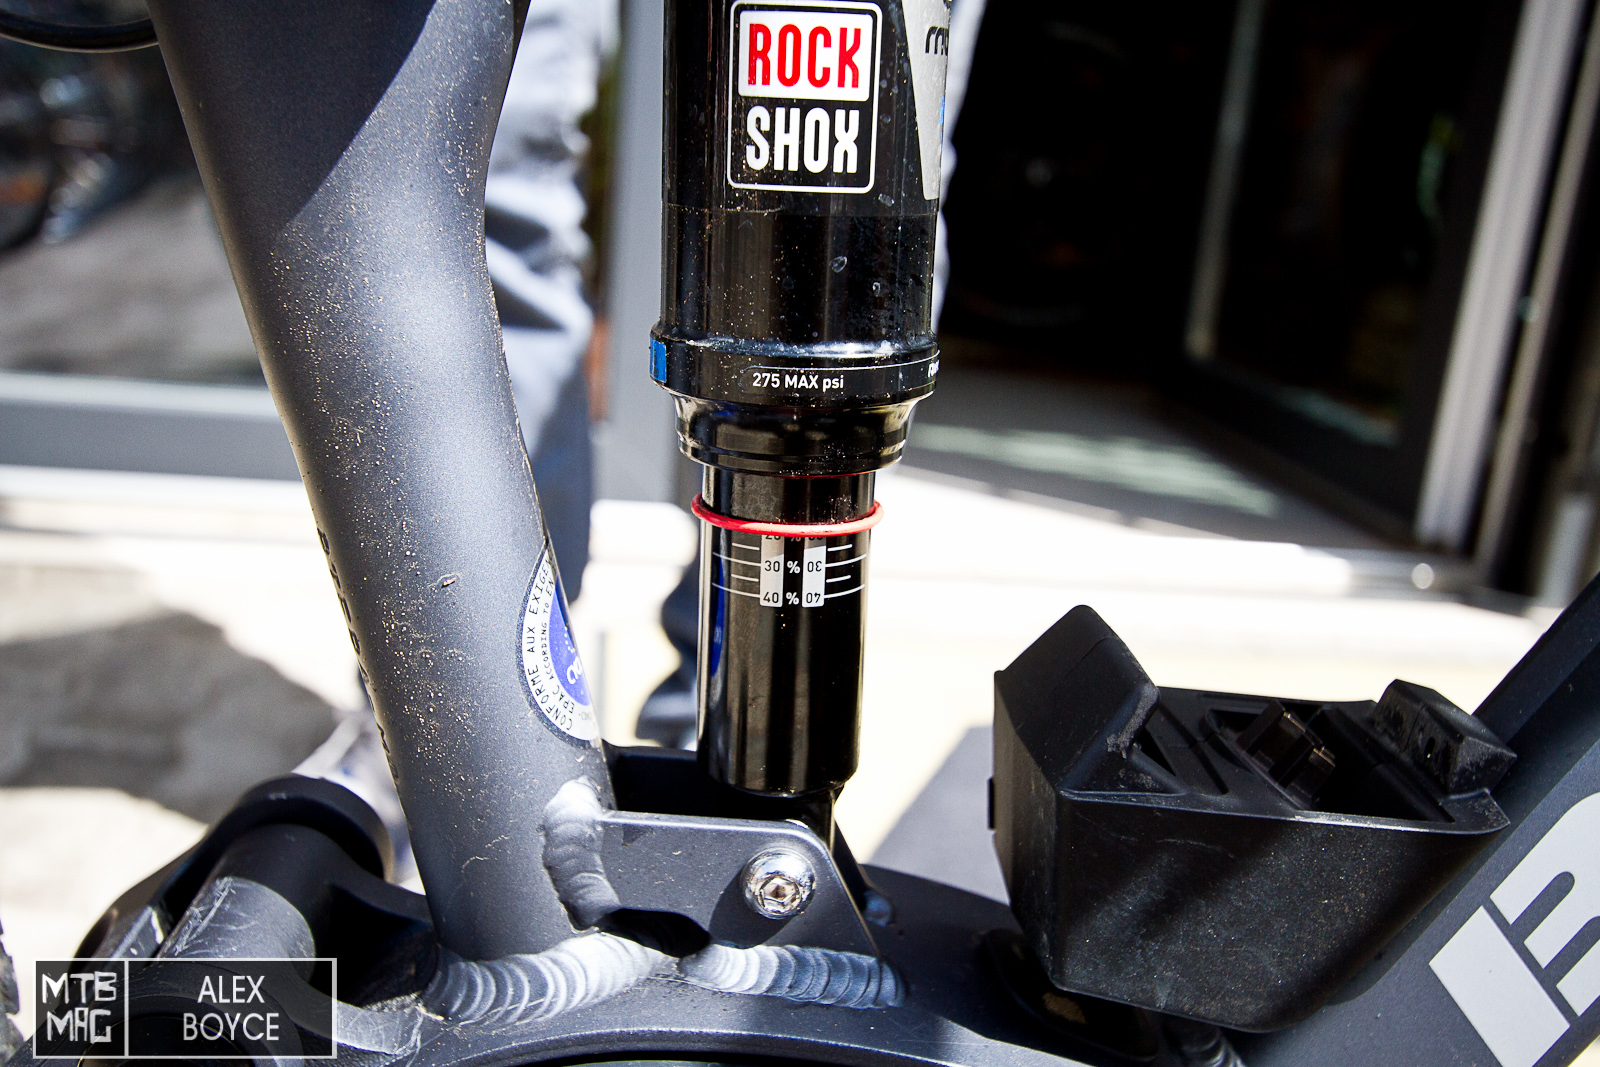
His sag on the same shock without changing any settings was 30 percent.
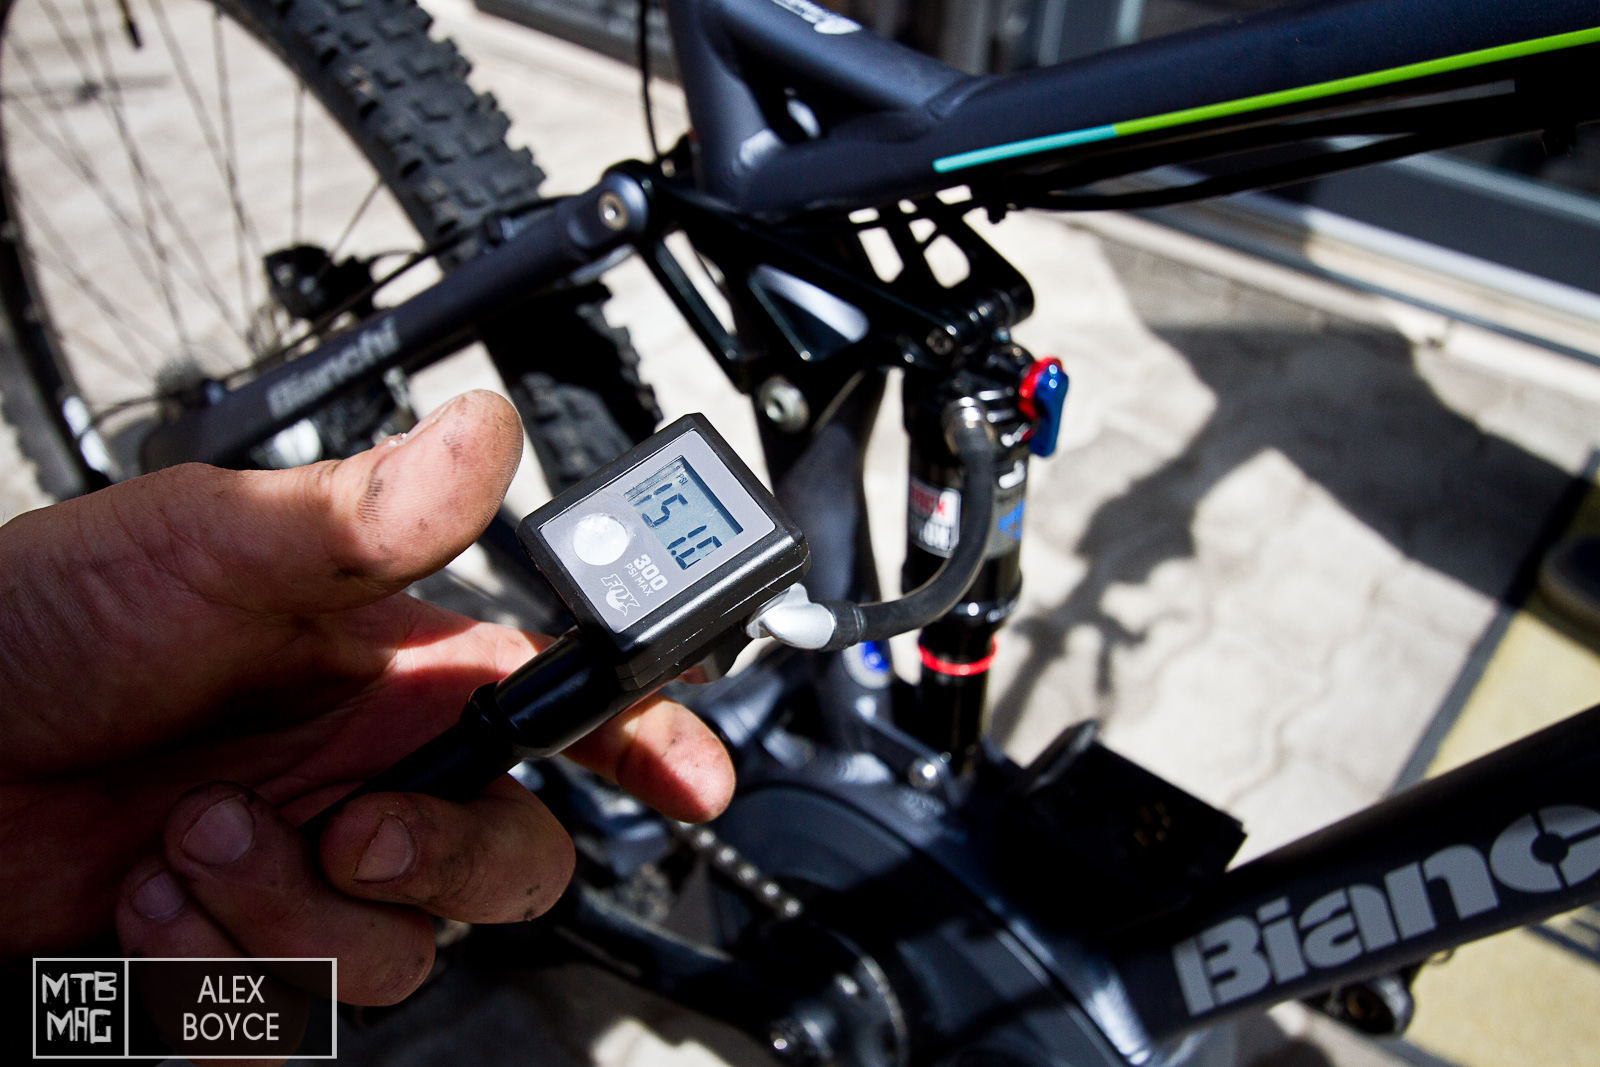
In this case the rider needs to adjust the pressure on the shock. Screw a shock pump onto the valve on the shock and adjust the pressure until the desired 30% is reached, which can be checked by the rider continually getting on and off the bike and rechecking it as above.
Front Suspension Set-up
The front requires a similar methodology, our set-up procedure is mostly for single air chamber forks. Some forks out there have dual air chambers or different set-ups, in these case please refer to the instructions that came with the bike.
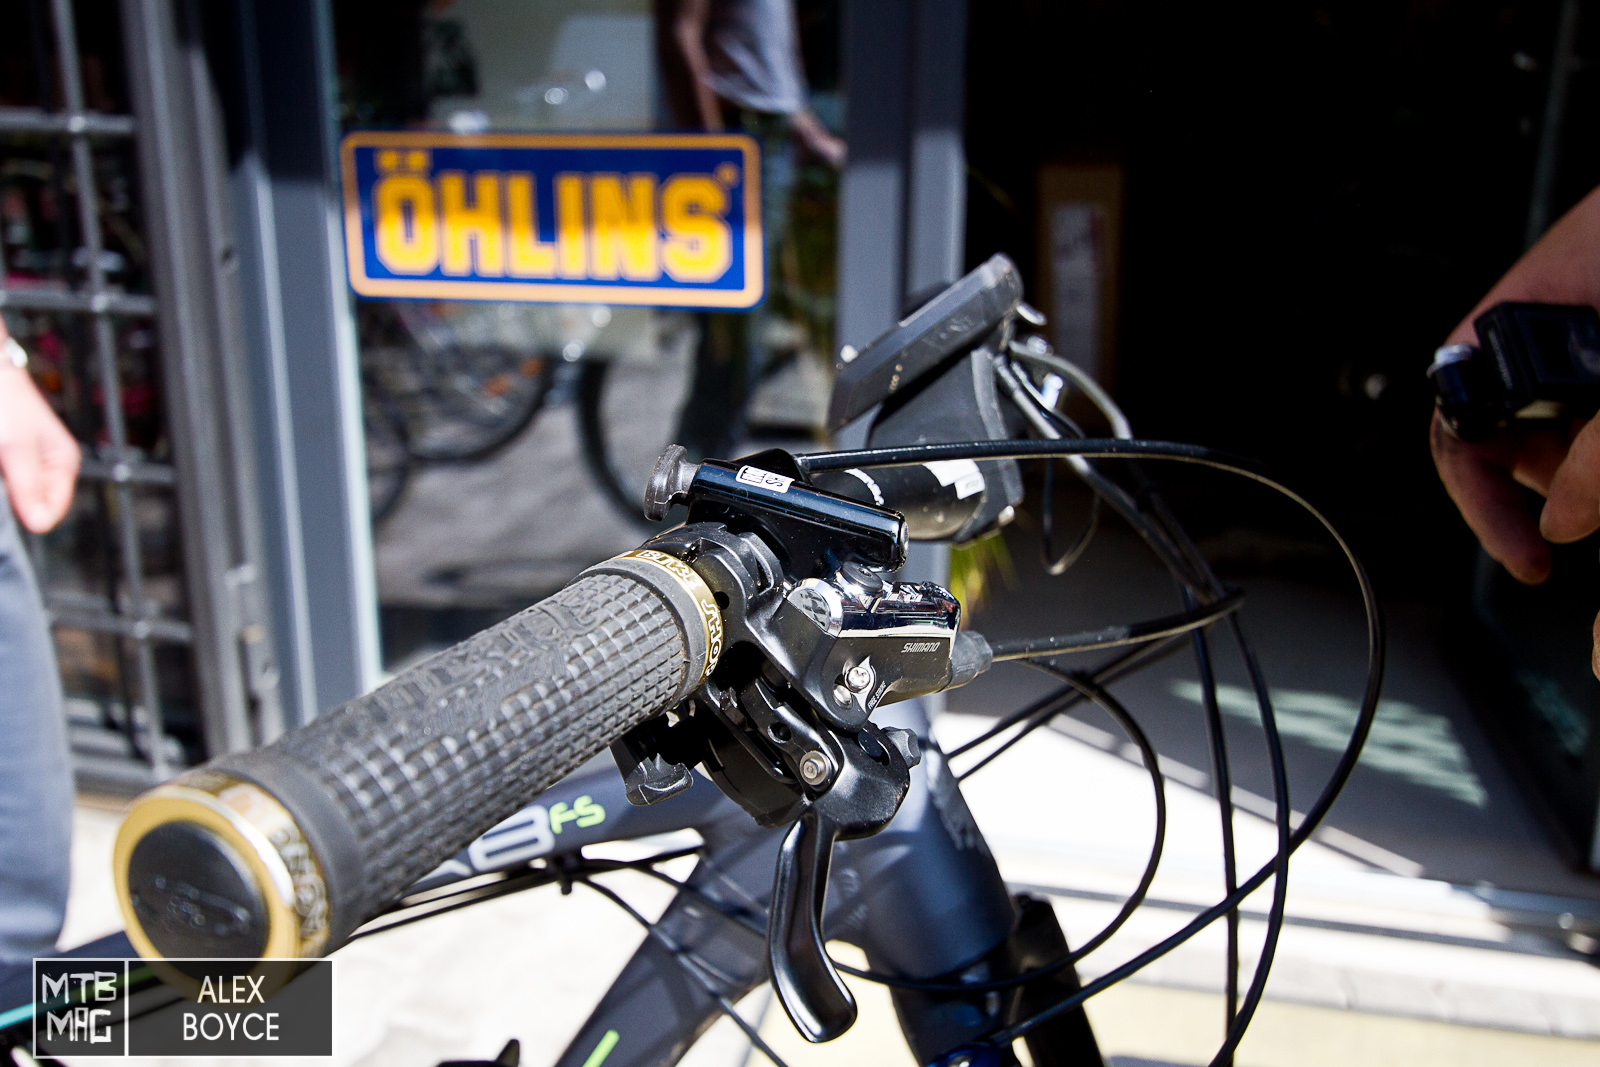
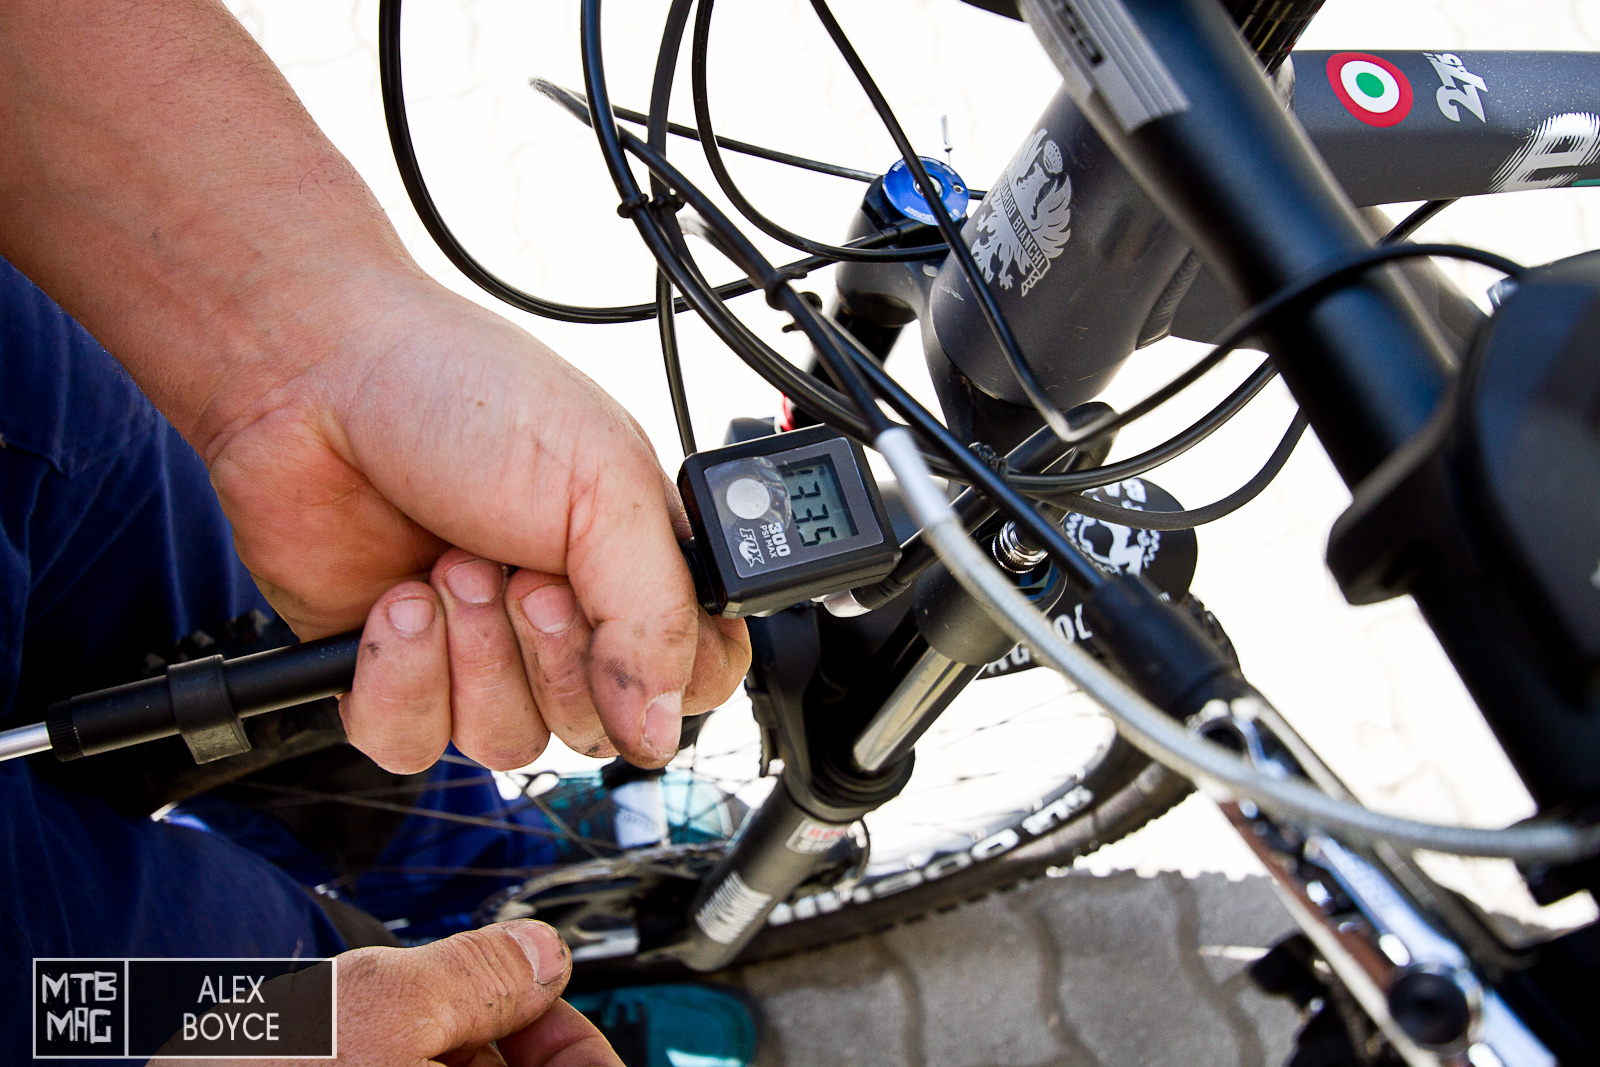
With front suspension we need to again make sure the suspension is unlocked.
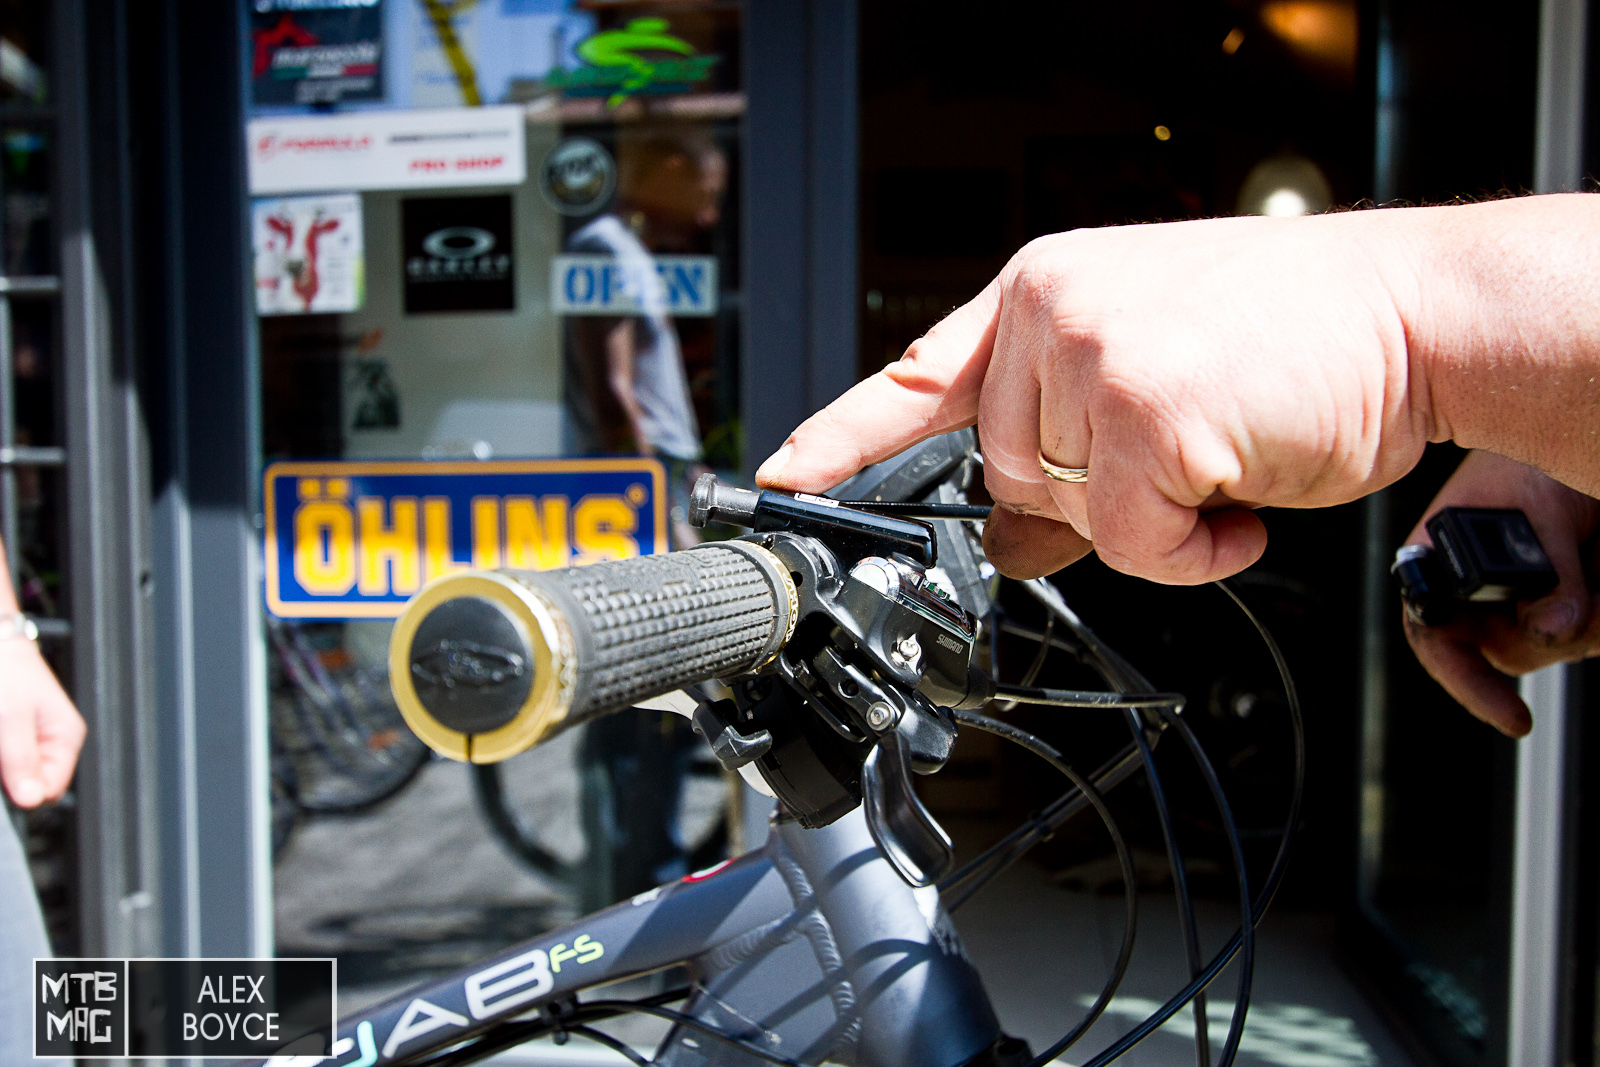
On this bike the remote on the handlebar controls this. We unlocked it.
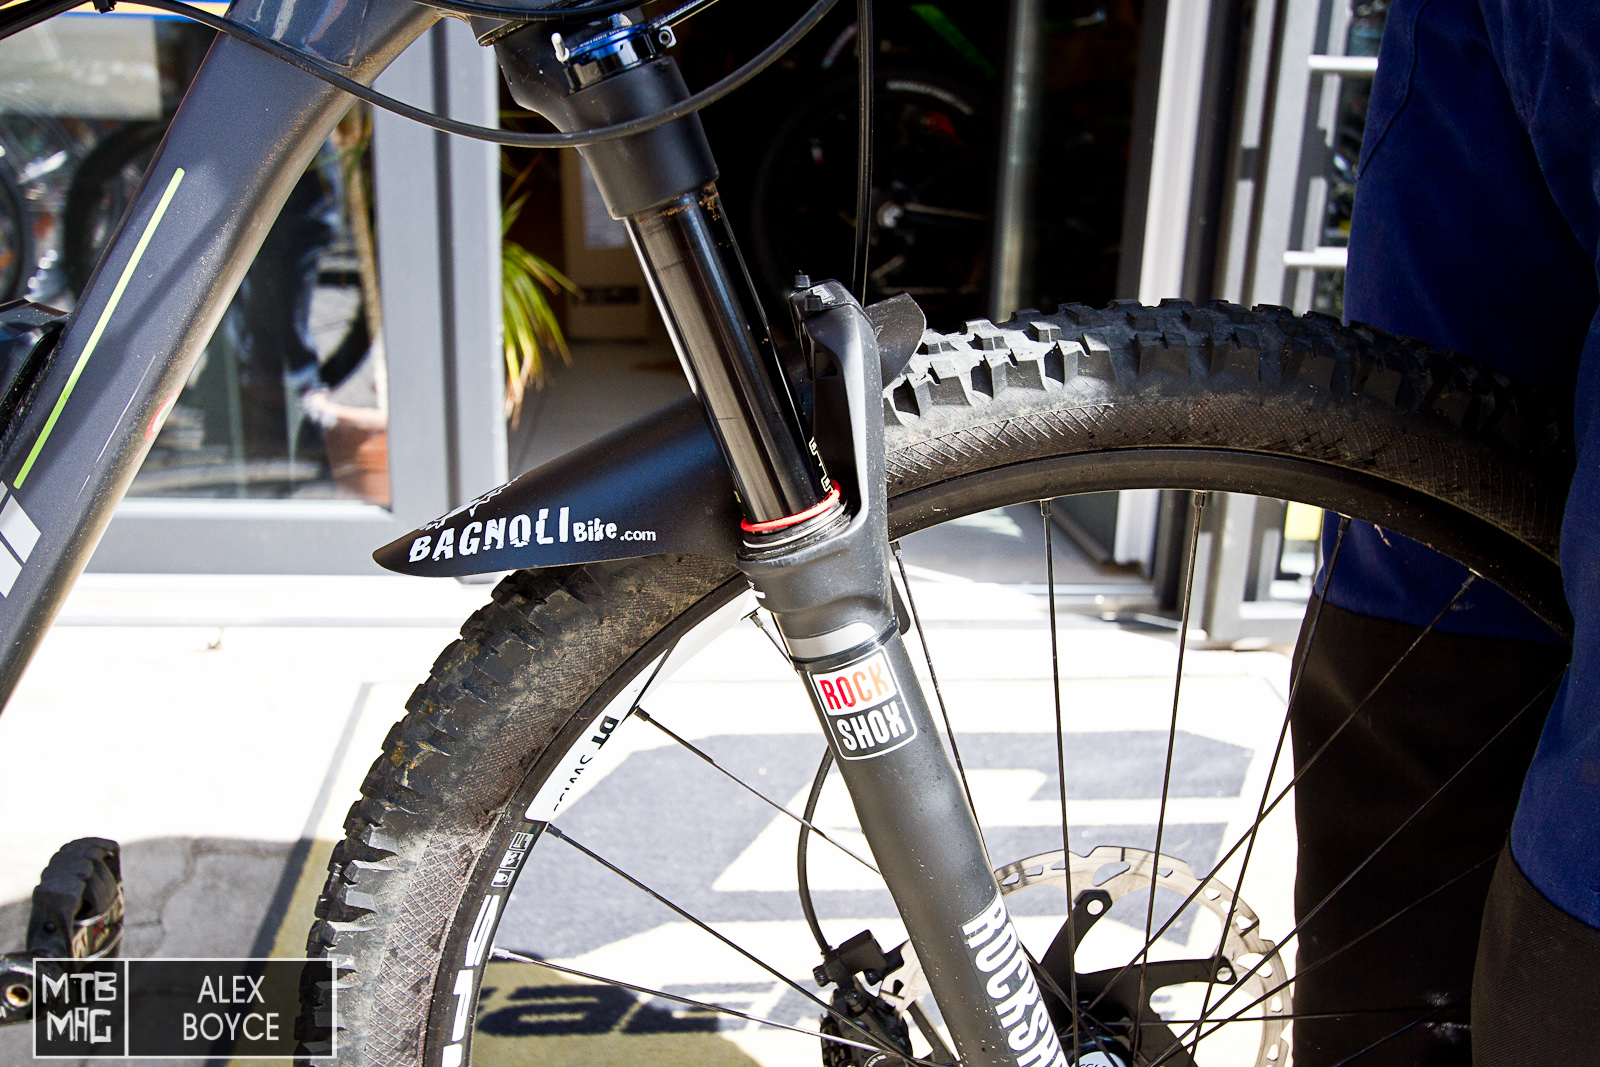
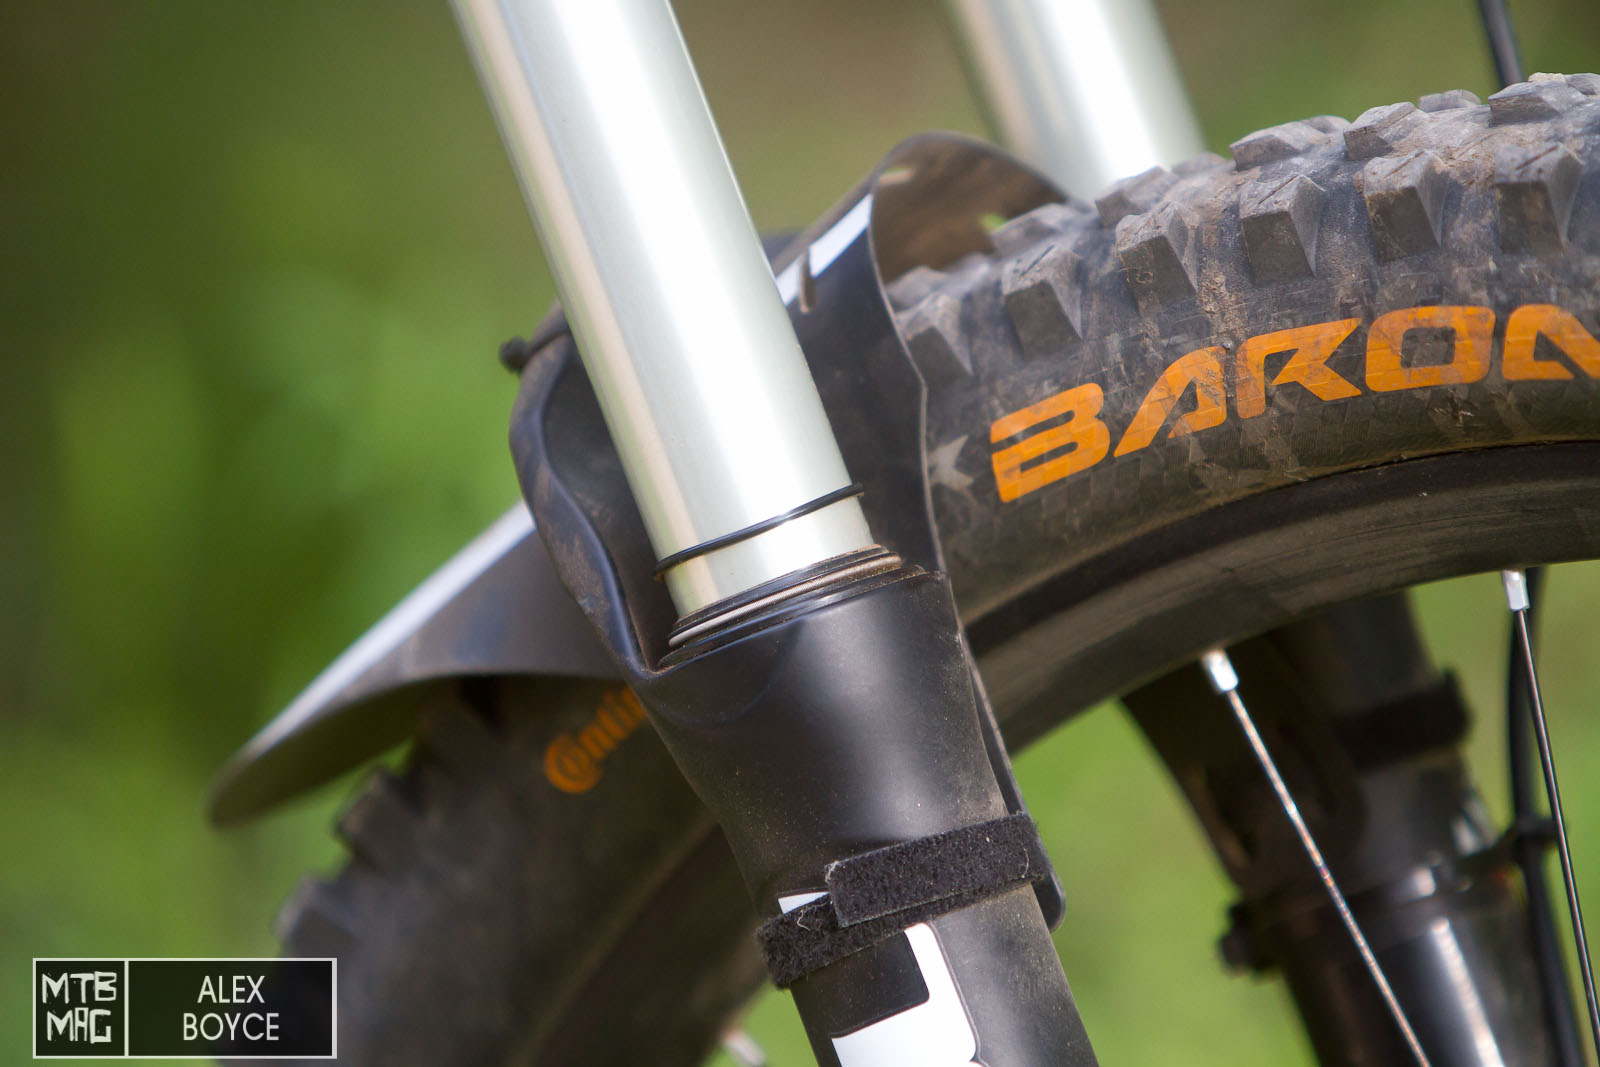
Push the rubber ring down against the top of the stanchion.
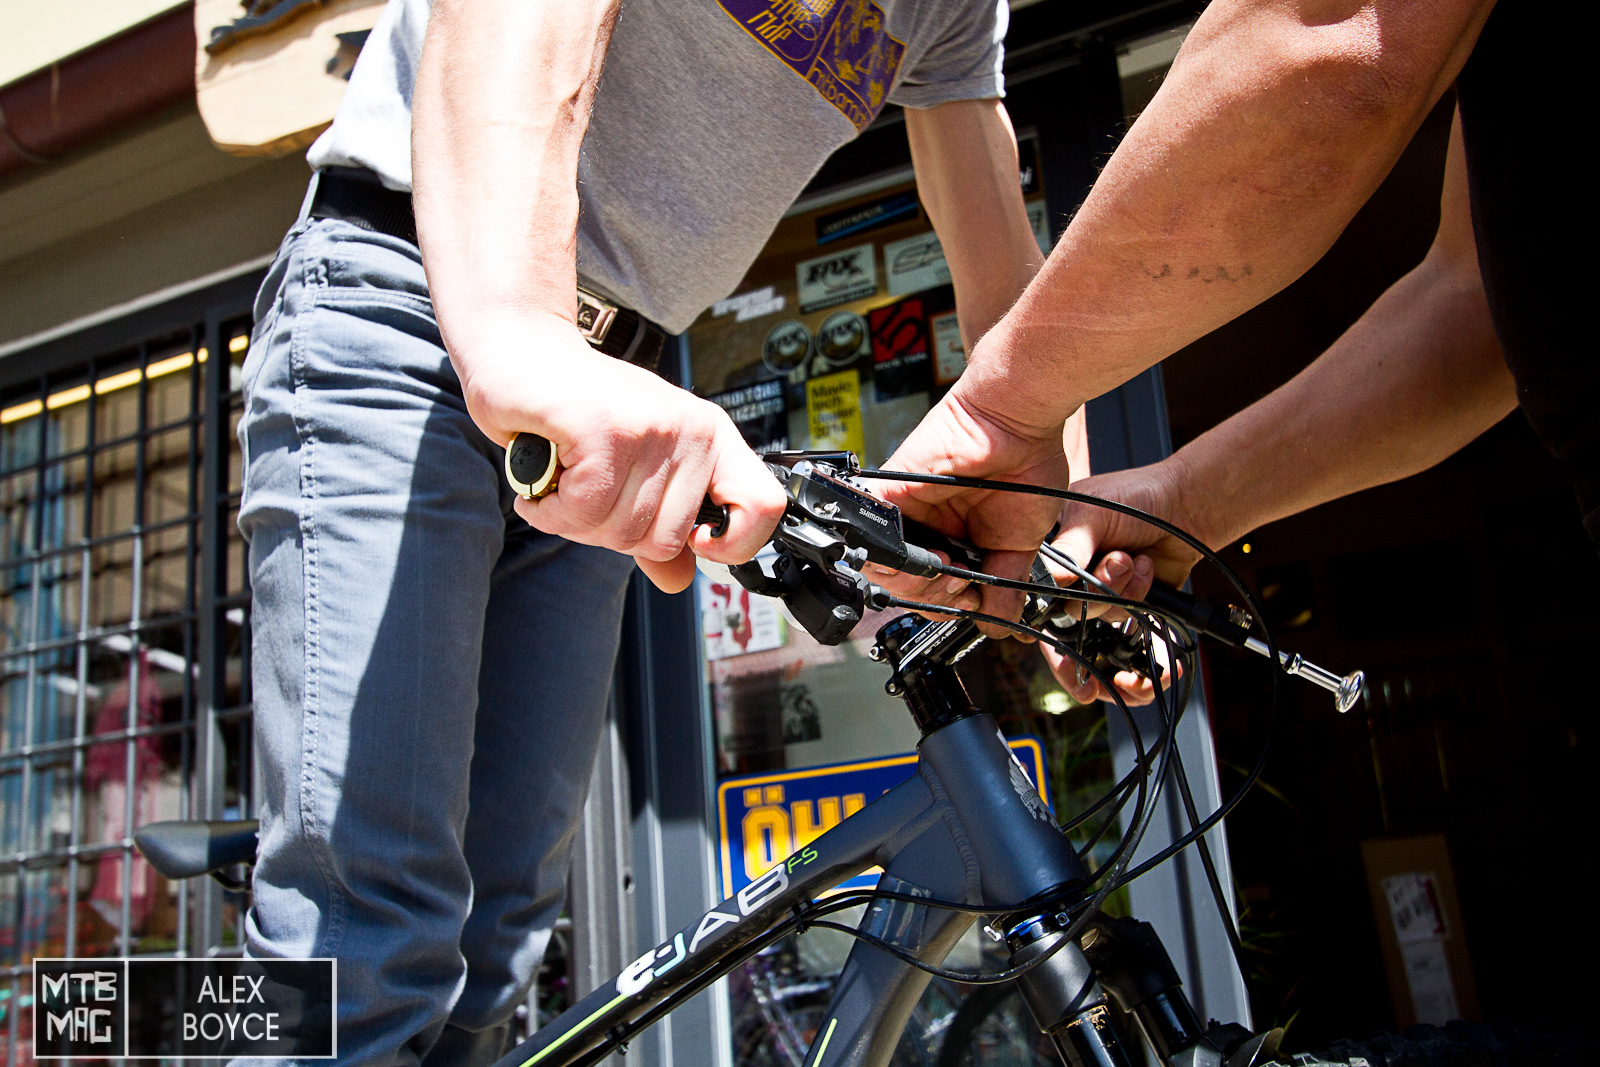
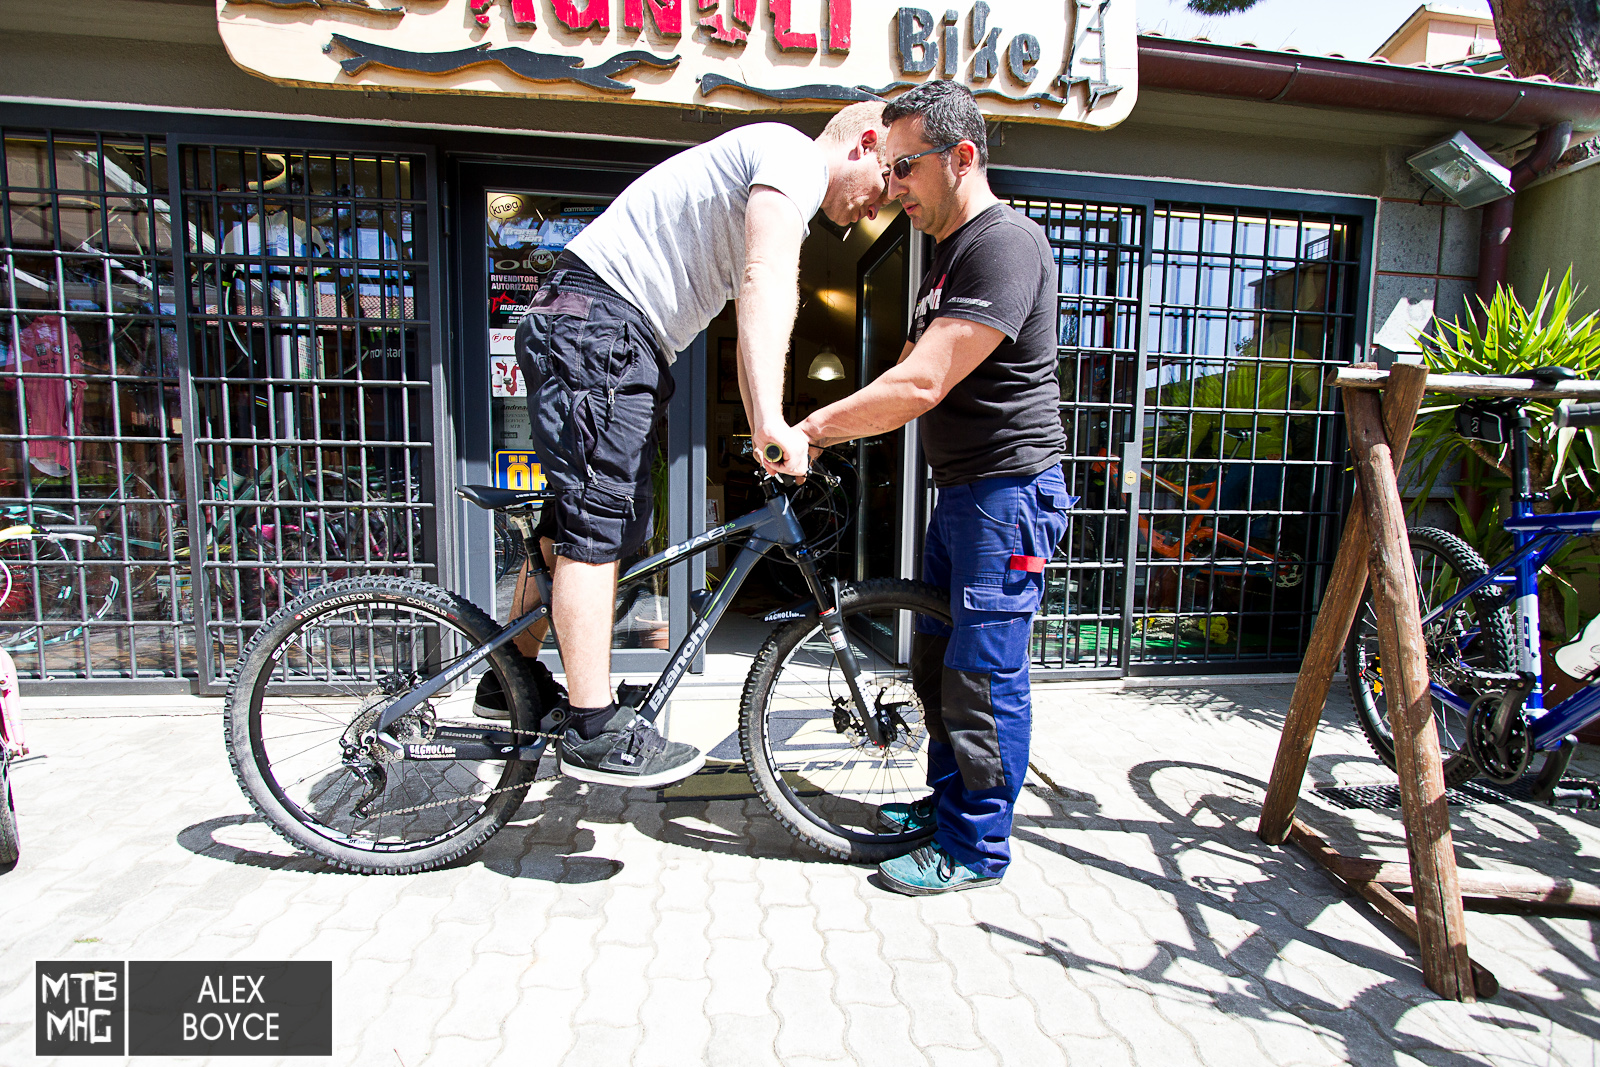
The rider then gets on the bike carefully whilst grabbing the brakes.

The rider positions his weight slightly forward over the bars.
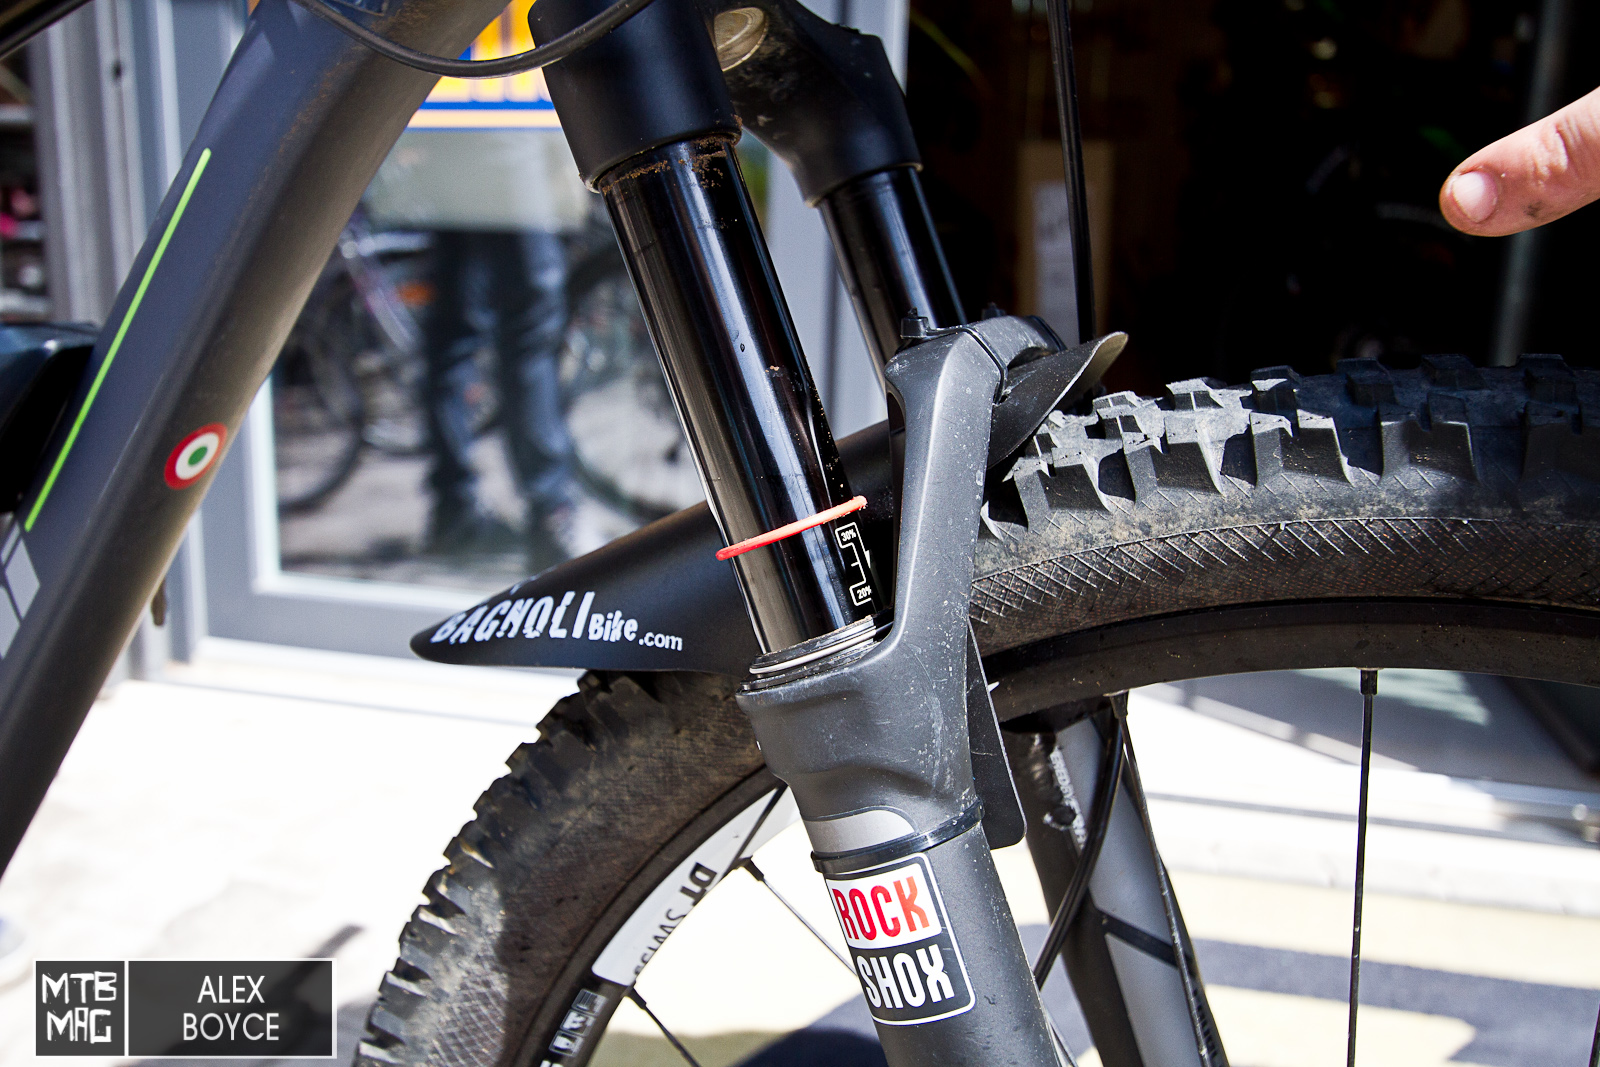
The rider gets off the bike, and in this case according to the sag marks on the fork we can see his ideal sag is a bit too soft.
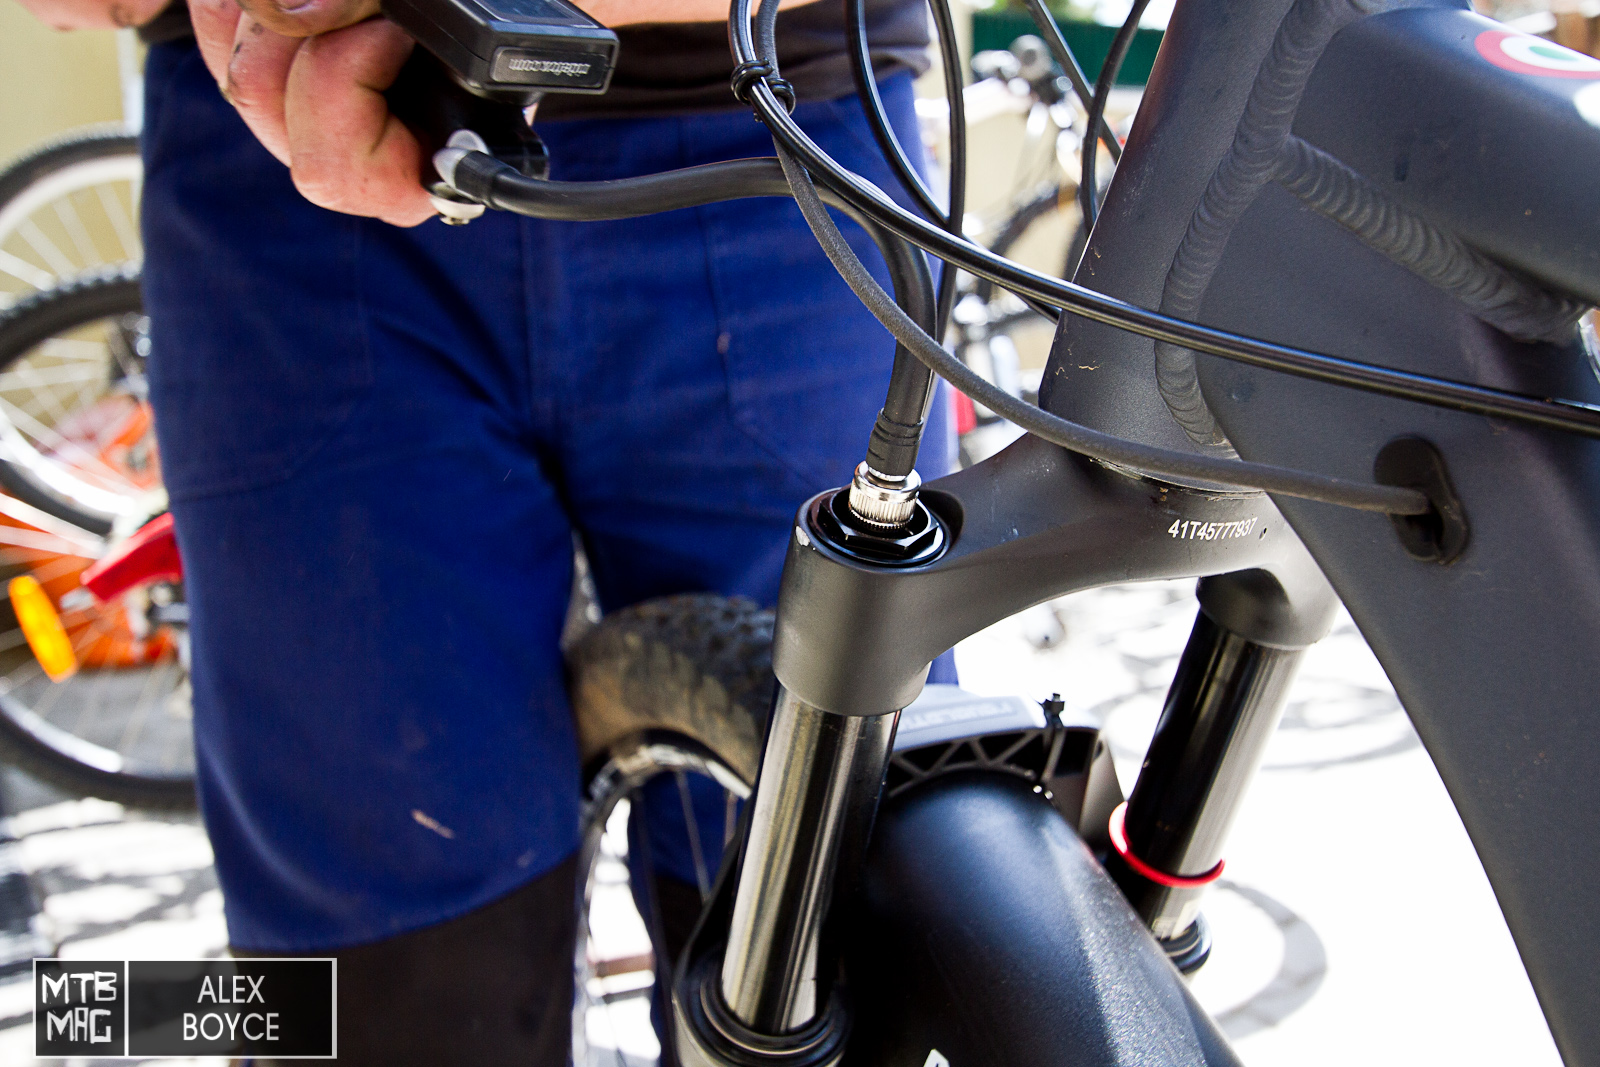
We inflate the top of the air spring which is mounted on the left leg of the fork in this case on top under a dust cap.
The pressure is increased and the rider re-tests the sag, we then write down the actual pressure settings for future reference. Note that 1 or 2 psi can make a difference to the suspension sag setting.

Some forks have ideal pressures actually printed onto the forks. These are only indicative, but give a clue for a specific weight what a rider can set his bike sag to.
The main issue with suspension sag is that it is personal, so whenever the rider swaps bikes it is advisable to change the sag for a better more ideal ride. Despite the number recommend for sag of 30 percent often pro riders have different tunes and their forks have different spacers in the air spring chamber meaning a different sag can be run. As riders we are trying to avoid the bike bottoming out, as it can break/damage the suspension and make for uncomfortable landings or make the bike too soggy when pedalling. Likewise have the suspension too stiff and the ride can be harsh and rough, less sag though is often ideal for pro riders as they ride faster and hit objects harder so they have less sag as there is more chance of bottoming the suspension.
This is the suspension sag setting for the Enduro rider James Shirley from the Radon Factory Racing Team. He has his sag set at about 10 percent reflecting the speed at which he rides at.
[ad45]