We first laid eyes on the RockShox MegNeg air can in prototype form back in 2018, under Sam Hill. Since then, it has become available to the public in 3 sizes, covering the range of RockShox rear shocks. Short for Mega Negative, the oversized sleeve increases a RockShox Deluxe or Super Deluxe rear shock’s negative air spring volume by up to 111%. Why would one want to do this you might ask? In short, it opens your rear suspension tuning up to a broader range of options. Generally speaking, it will likely be most beneficial for those who are looking for a bit more support in the early stage of their bike’s travel and a bit more bottoming resistance toward the end. Let’s dive in…
Details
- 3 sizes: 185/210 x 47.5-55mm, 205/230 x 57.5-65mm & 225/250 x 67.5-75mm
- ~60 gram weight increase, depending on size and number of bands
- grease, lube, seals and four volume reducers included
- $90.00 USD
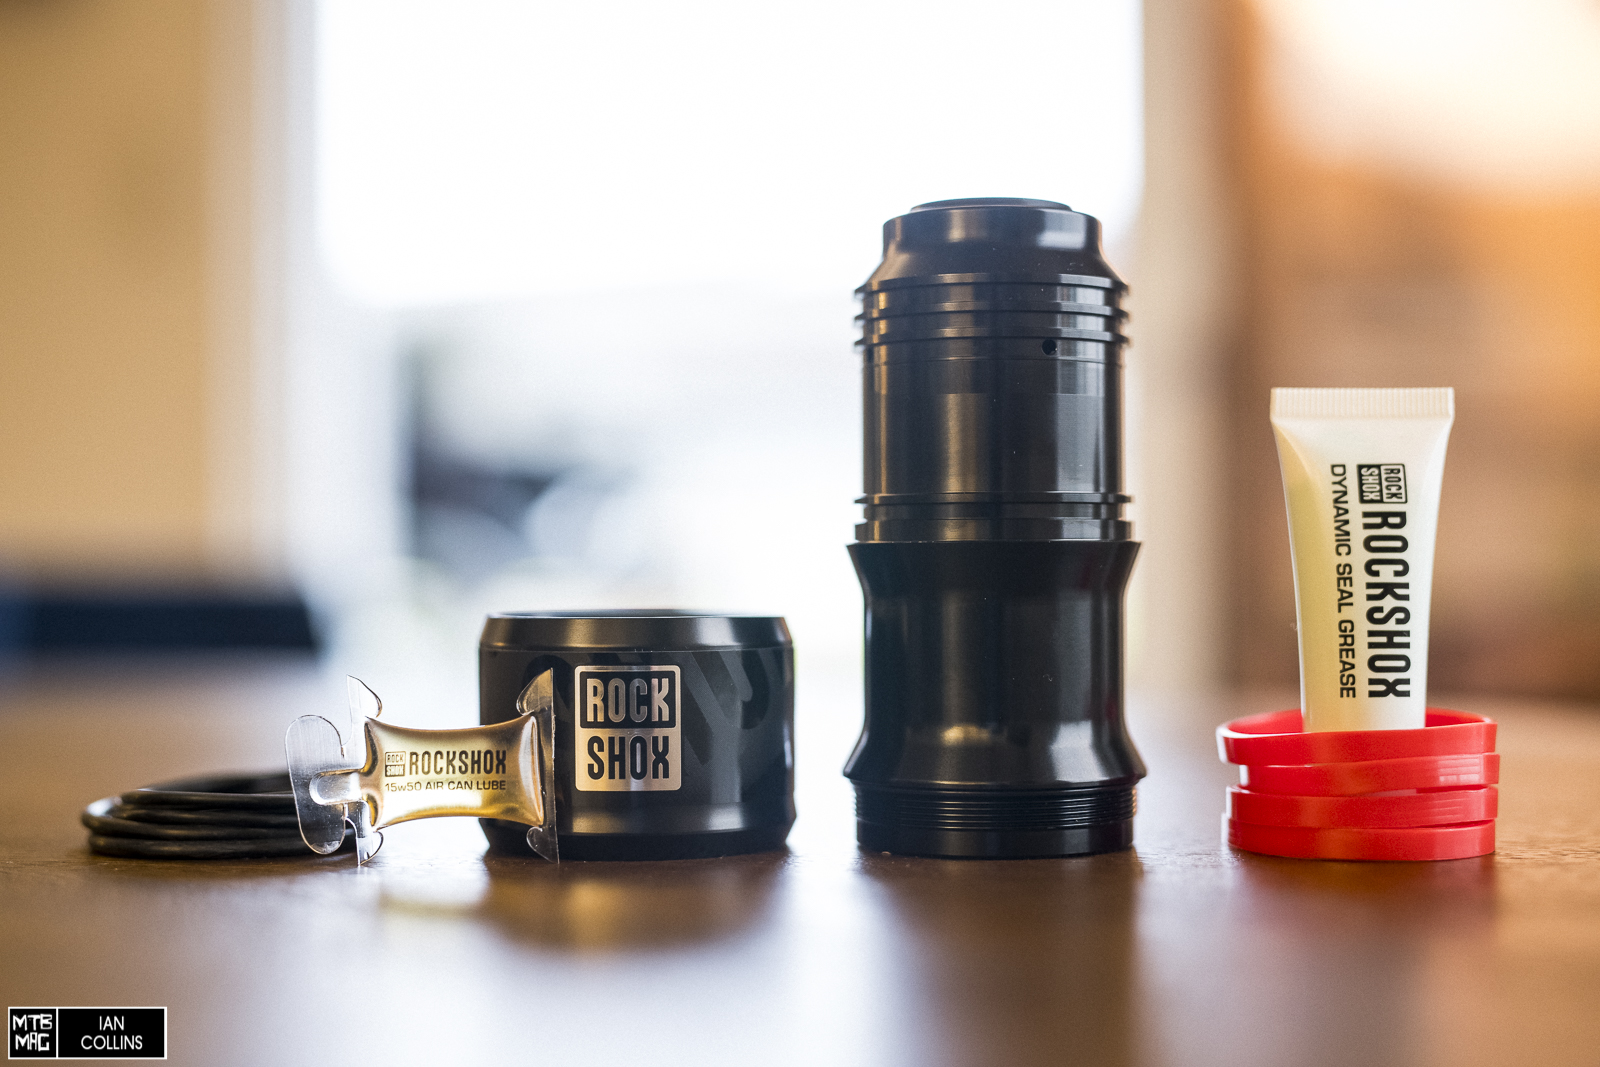
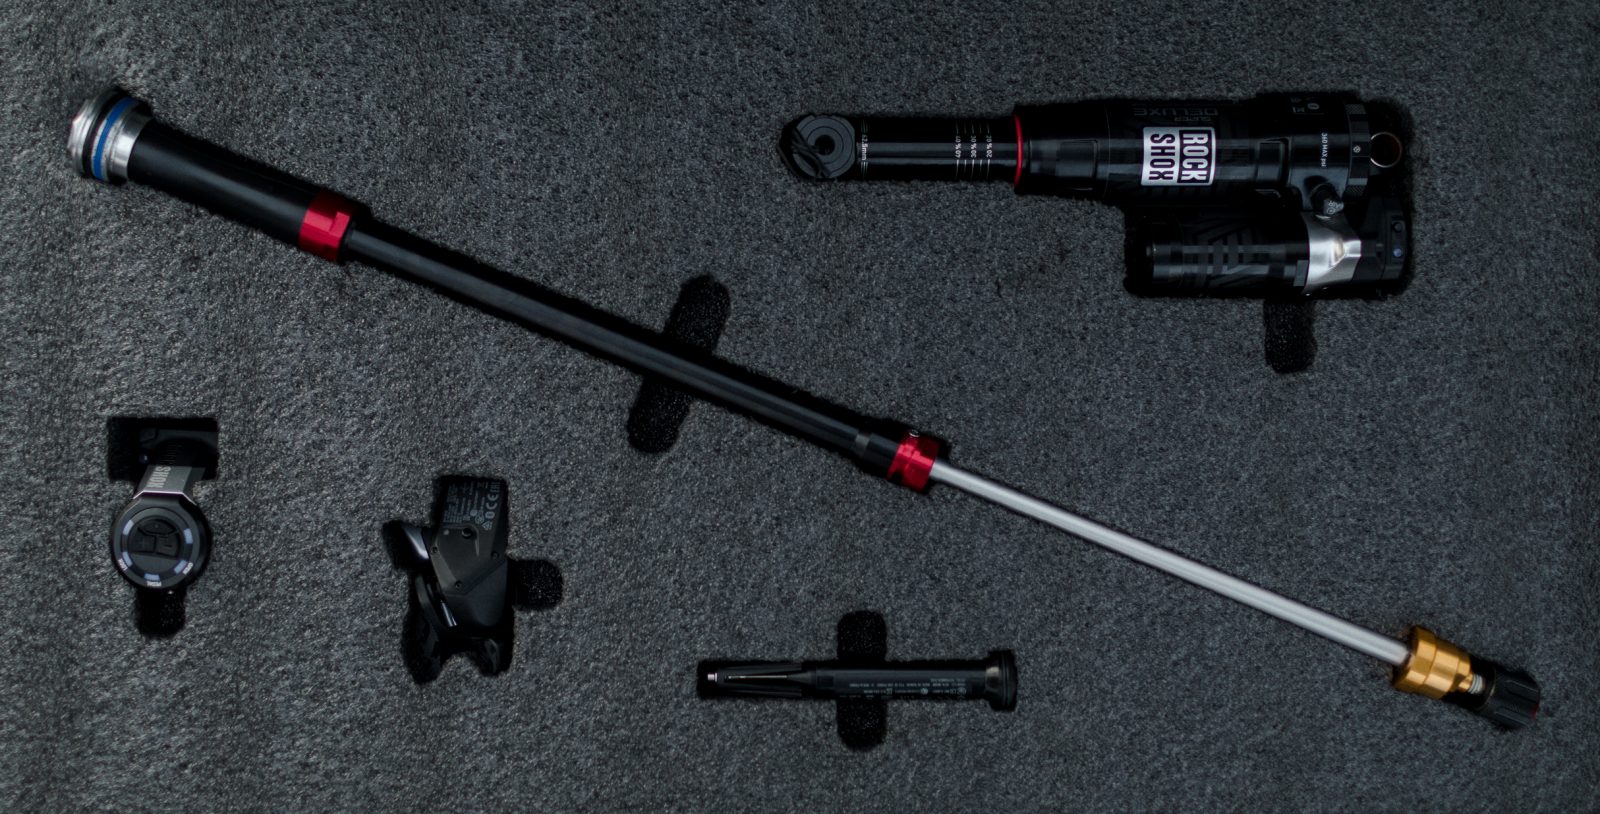
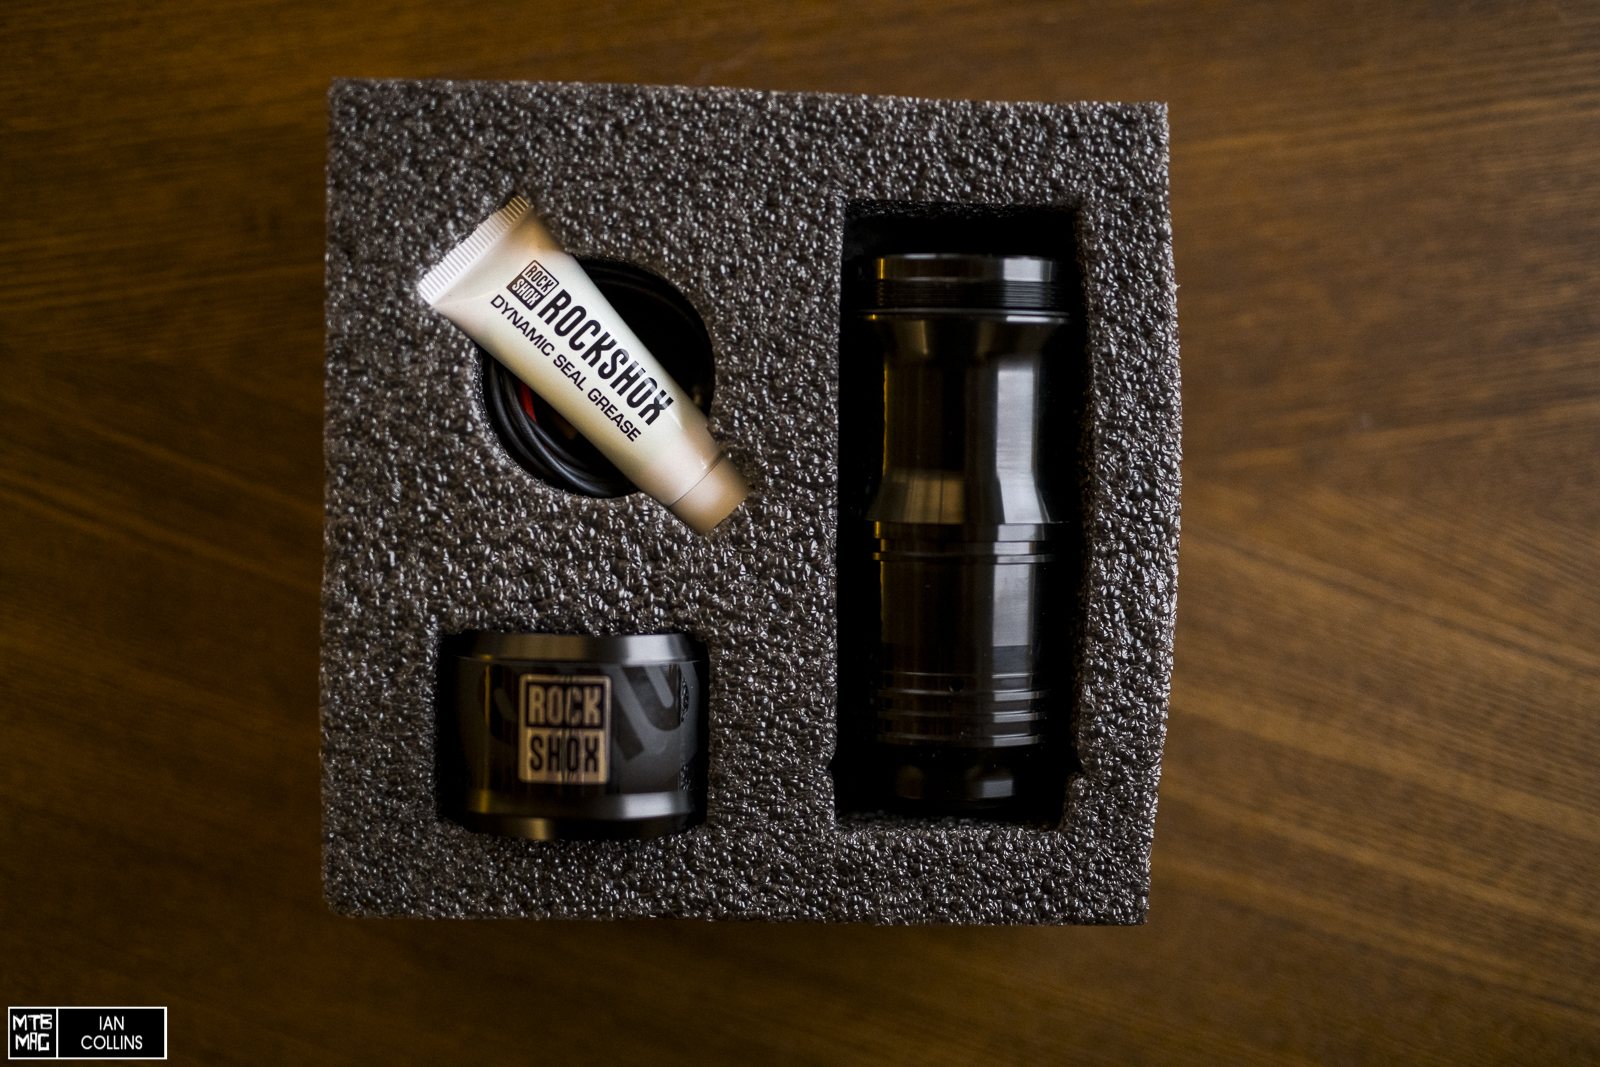
The whole kit is pictured above. Aside from whichever tools are required to remove your rear shock, the only other tool you’ll need is a strap wrench, to remove your air can. The 4 bottomless rings shown on the right above are for fine tuning the negative air spring volume, similarly to how you’d use these to tune the positive air volume currently.
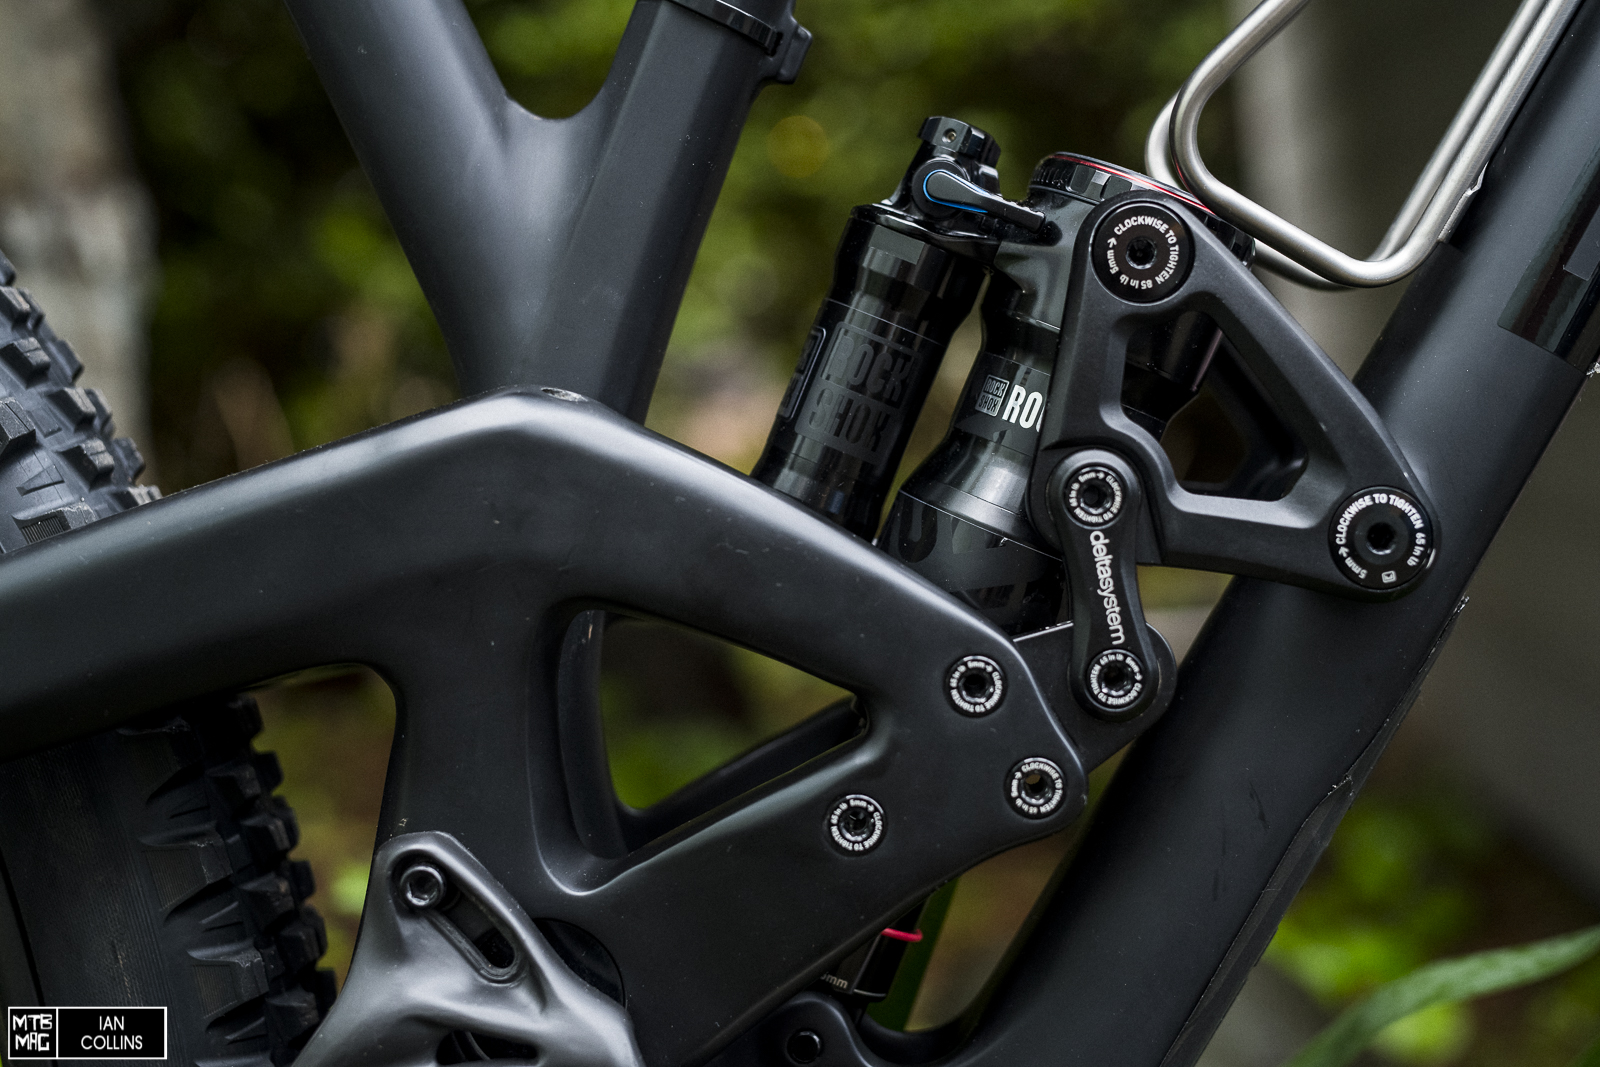
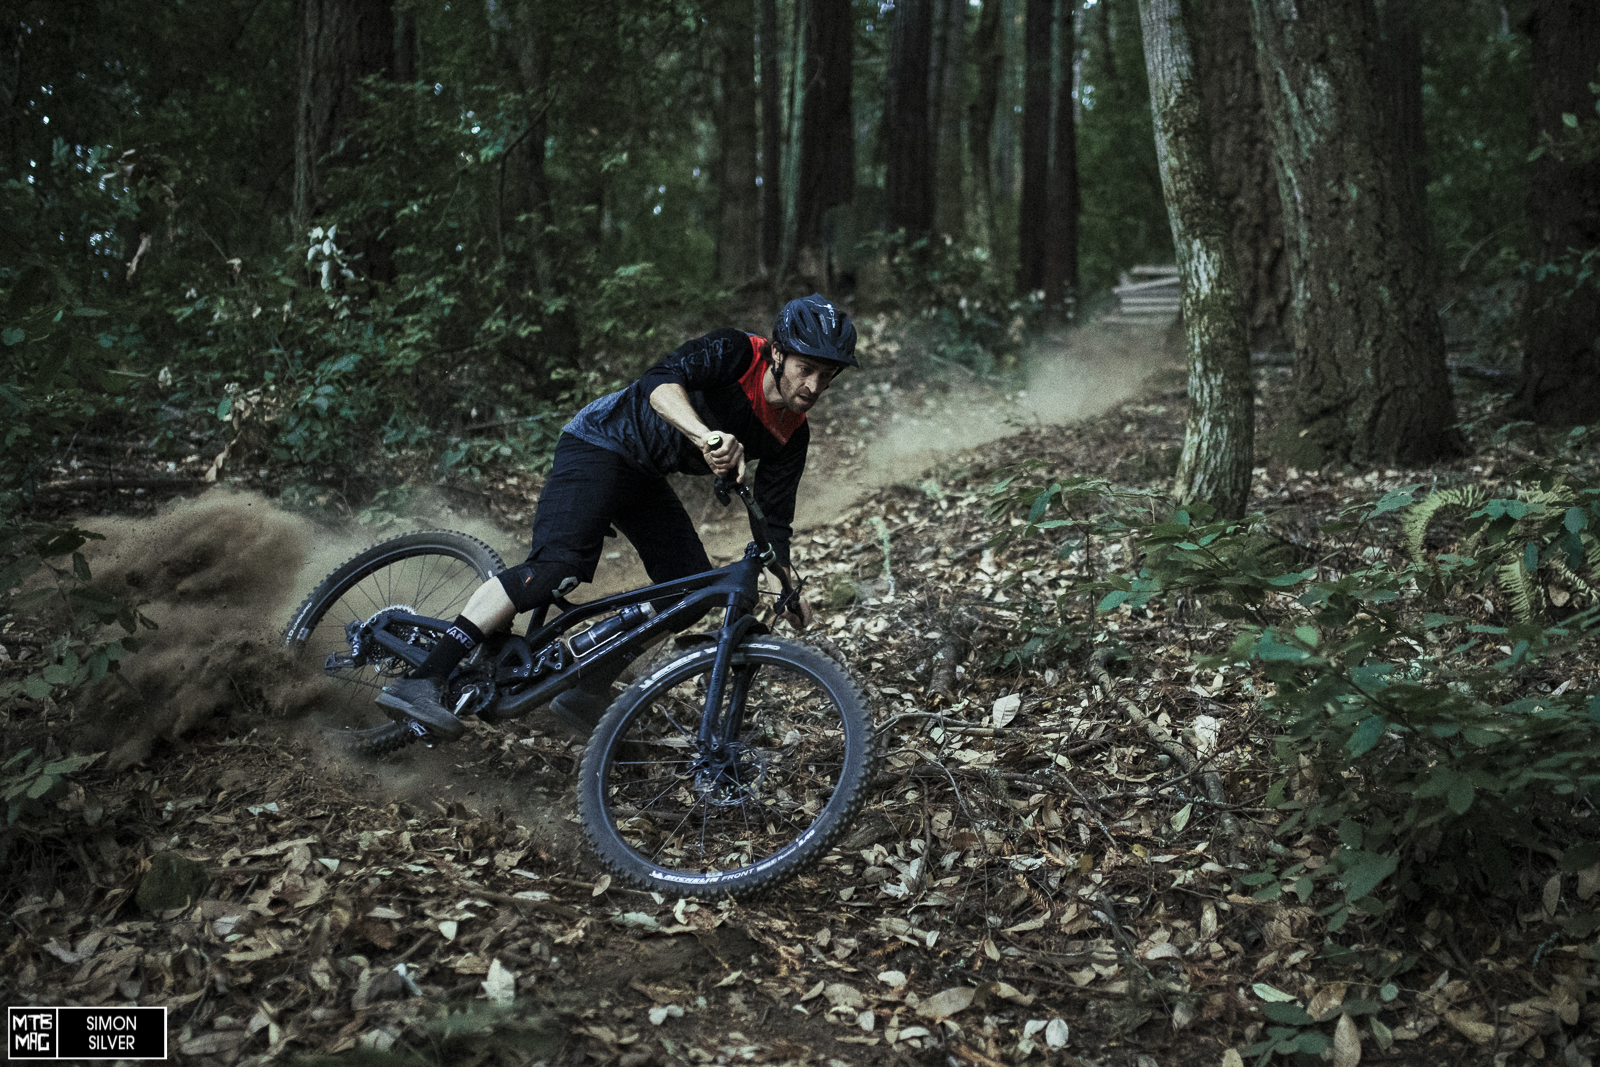
MegNeg installed – I spent most of my time testing it on my Evil Offering.
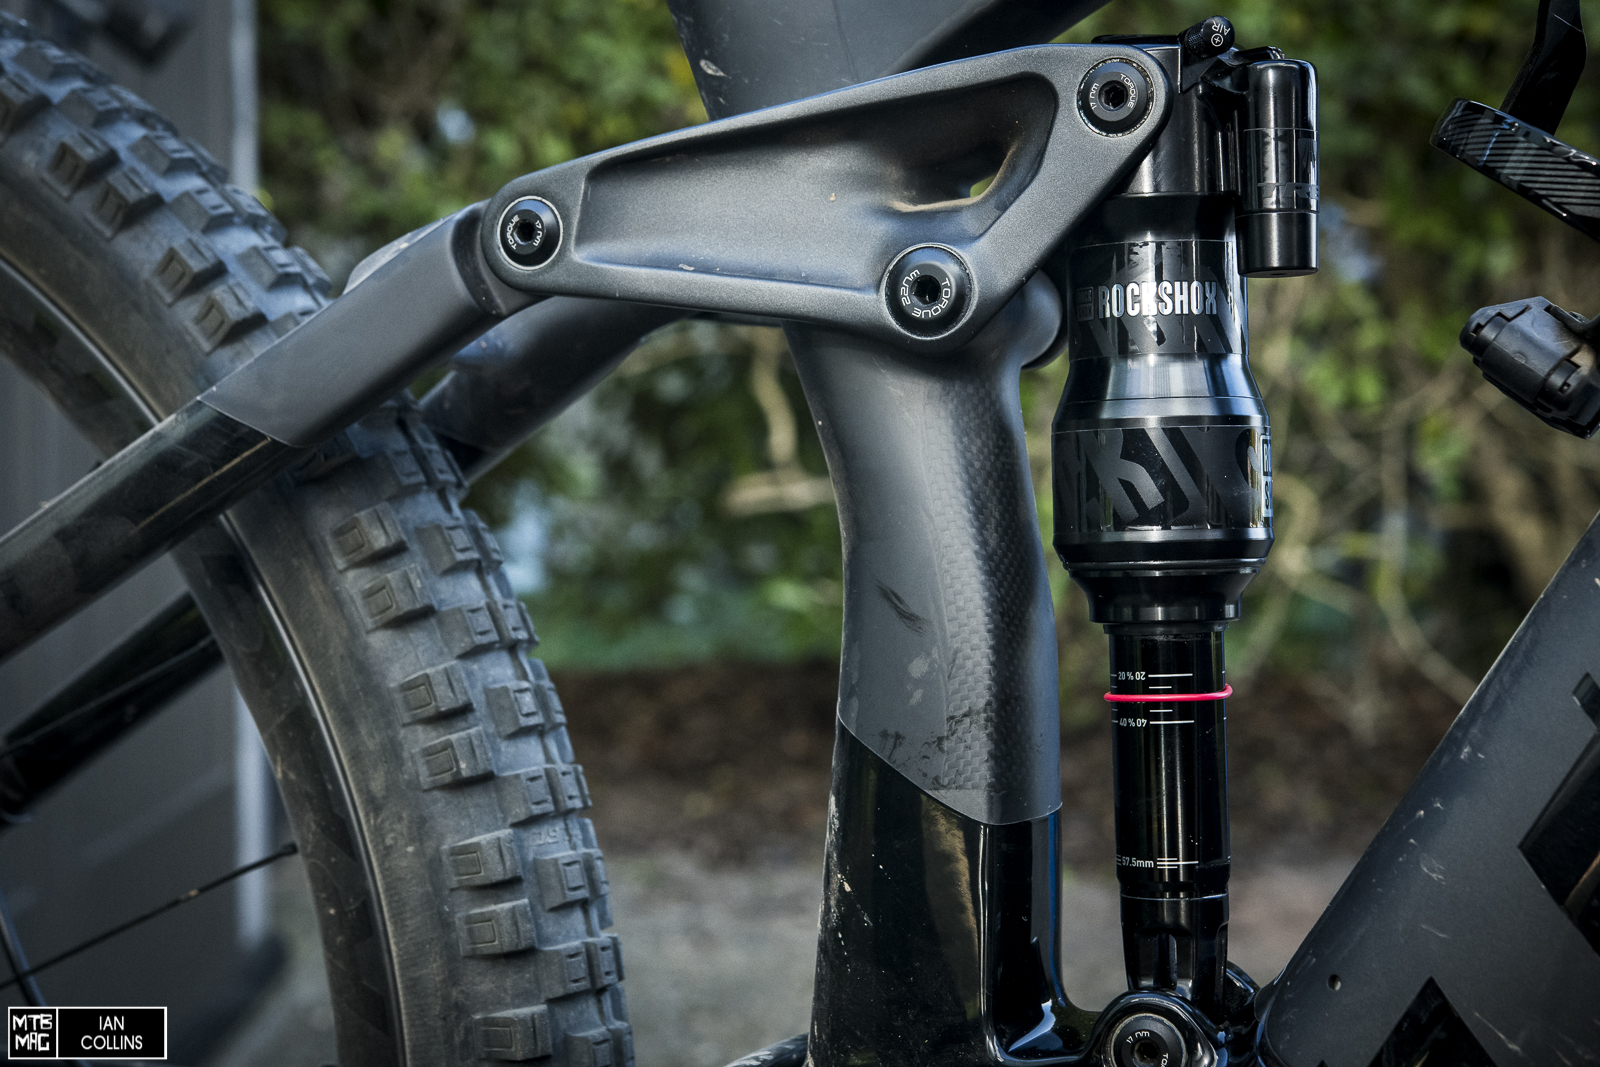
I also spent a fair bit of time riding with a MegNeg installed on my Trek Rail e-bike, to see how it would improve support on a bike that weighs a good 20 pounds more than my Evil. The Rail uses Trek’s proprietary Re:Aktiv damping with Thru Shaft, but that wasn’t an issue – MegNeg plays nice with these rear shocks as well, provided that there is clearance on the frame. For the bulk of this review, I’ll be expounding on how MegNeg worked on my standard bike, but it’s an upgrade well worth considering on an e-bike if you’re looking for a bit more pop with more support, less wallow and far fewer bottom outs – all of which are things that usually need improving on e-bikes in general.
Setup
When I first received my Offering I rode it in stock form with the factory recommended zero volume reducers in the rear shock. After finding that it had a tendency to bottom a bit too easily, I added a single reducer, and then another. Surprisingly, it still bottomed more easily than I’d like with one reducer but started to get a little harsh in its early travel with two reducers…Then, along came MegNeg for testing, tweaking and geeking. The range in MegNeg’s volume, relative to the positive chamber’s volume, goes from 211% with zero volume reducers to 164% with all four volume reducers installed. Knowing that I was looking for a feel just slightly better than what I could achieve with the stock can, I knew I wouldn’t need to set up at the extreme end, with zero reducers installed. Instead I started with 3, then eventually moved up to four…

Pictured above is a chart plotting my Offering’s 55mm of shock stroke using the stock air can with two positive volume reducers, portrayed by the red line. The MegNeg with all four negative volume reducers installed in it is shown by the blue line. The takeaway is that MegNeg provides more midstroke support, while ending with roughly the same bottoming resistance. The most notable difference between the two setups is the increased support in roughly the middle third of the travel. *Note: once I installed MegNeg, I was no longer using any positive volume reducers.
After most of the fine tuning settled out, my particular setup worked best by running the MegNeg with four negative volume reducers. Interestingly, this is as close is it can be to the standard can with two positive reducers, which was where I left off. It was different in some important ways however, which I’ll touch on shortly. The point being while MegNeg gives you a massive range of adjustment, it will appeal the most to the fiddlers and fine tuners.
Because of the enormous volume in the negative spring, you’ll find yourself running roughly (read: very roughly) 20% more pressure with a MegNeg to achieve the same sag percentage. For example, I ran around 200PSI with a stock air can and about 240PSI with MegNeg in my Offering. Lastly, if I could pass on a couple small bits of tuning advice, I would say to change one variable at a time, control for sag by keeping it constant throughout the tuning process, and start with four negative bands installed then work your way toward the other, more extreme end.
On the trail
As noted under setup, after some dabbling I found myself settling into my starting point – at the least extreme end of MegNeg’s setup possibilities. This is largely because of the fact that the Evil Offering has a fair bit of progression and anti-squat built into its kinematics right out of the gate. With the new air can my bottoming subsided immediately, but no longer at the expense of the earlier compliance that I was looking for. Now, you might be thinking – “how did you get more compliance by firming up your mid stroke”? It’s understandable how that can sound contradictory on the surface, but essentially when your rear suspension tends to sit higher in the travel, that means there is more available travel to use. Often during suspension tuning, when a bike feels rough, riders will instinctively soften their suspension only to find the bike just gets even more harsh. This is because you are sitting deeper and have less available travel. Anyhow – for this bike, MegNeg truly was a magic bullet. Sitting up a bit higher in the travel improved the cornering, jumping, pumping and even climbing. The complete drop off of harsh bottom outs meant less distractions and happier ankles.
So, a greatly widened range of tuning possibilities, better bottoming resistance and a more supportive mid stroke – this has to come at the expense of something, right? Well, yes and no…there are a couple of things you might want to be aware of before you drop in. First, if your bike’s rear suspension layout has loads of progression, MegNeg could limit its ability to achieve full travel. Second, it does require much higher air pressures overall and generally speaking less pressure is easier on seals and makes for improved traction. The other potential hangup is that if you are a heavier rider on a highly leveraged bike, you could find yourself inching toward the maximum recommended pressure as MegNeg requires higher pressures in general compared to the standard air can. However, the aforementioned describes a relatively small sliver of the market.
Overall
At the end of the day, given that plenty of us are spending many thousands of dollars on our bikes, $90 isn’t all that much money to cough up if you’re wanting to experiment more with your rear suspension in hopes of getting a little bit more out of it. Depending on your bike, setup and what you’re looking to accomplish, there is a very very good chance MegNeg could help you achieve that perfect balance you were after. All in all, it’s a rad little upgrade kit.