[ad3]
It is not too difficult to install a fork on a new frame, and it typically does not require any special tools. With some fairly household tools you can complete this simple task at home or in the garage.
What do we need?
To install your fork, you need some basic parts to keep everything together:
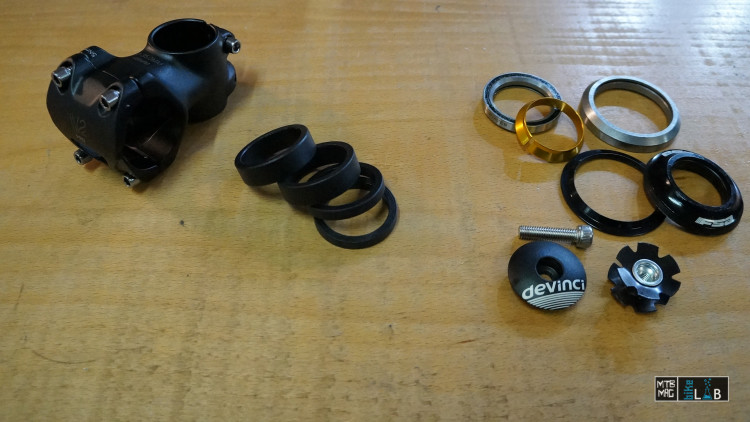
- Handlebar stem
- Headset
- Spacers of various sizes
As well as some tools:
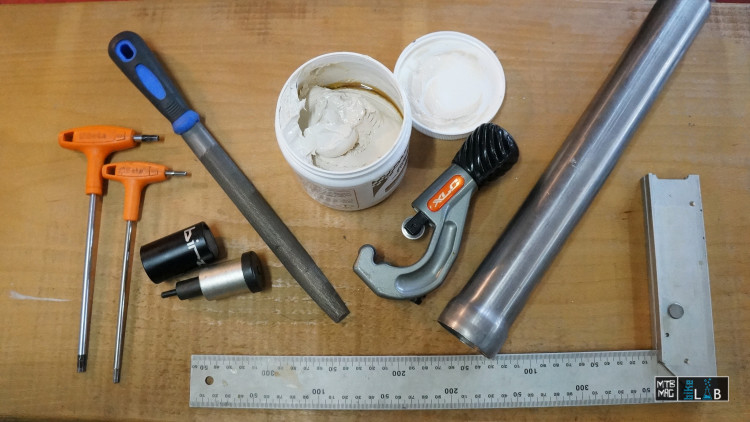
- A measuring tape
- A pipe cutter or hack saw with a guide rail
- A file
- A hex-key set
- White lithium grease
- Headset starnut installation tool (or 9mm spark plug wrench)
- Race setting tool to install the headset crown race
At work!
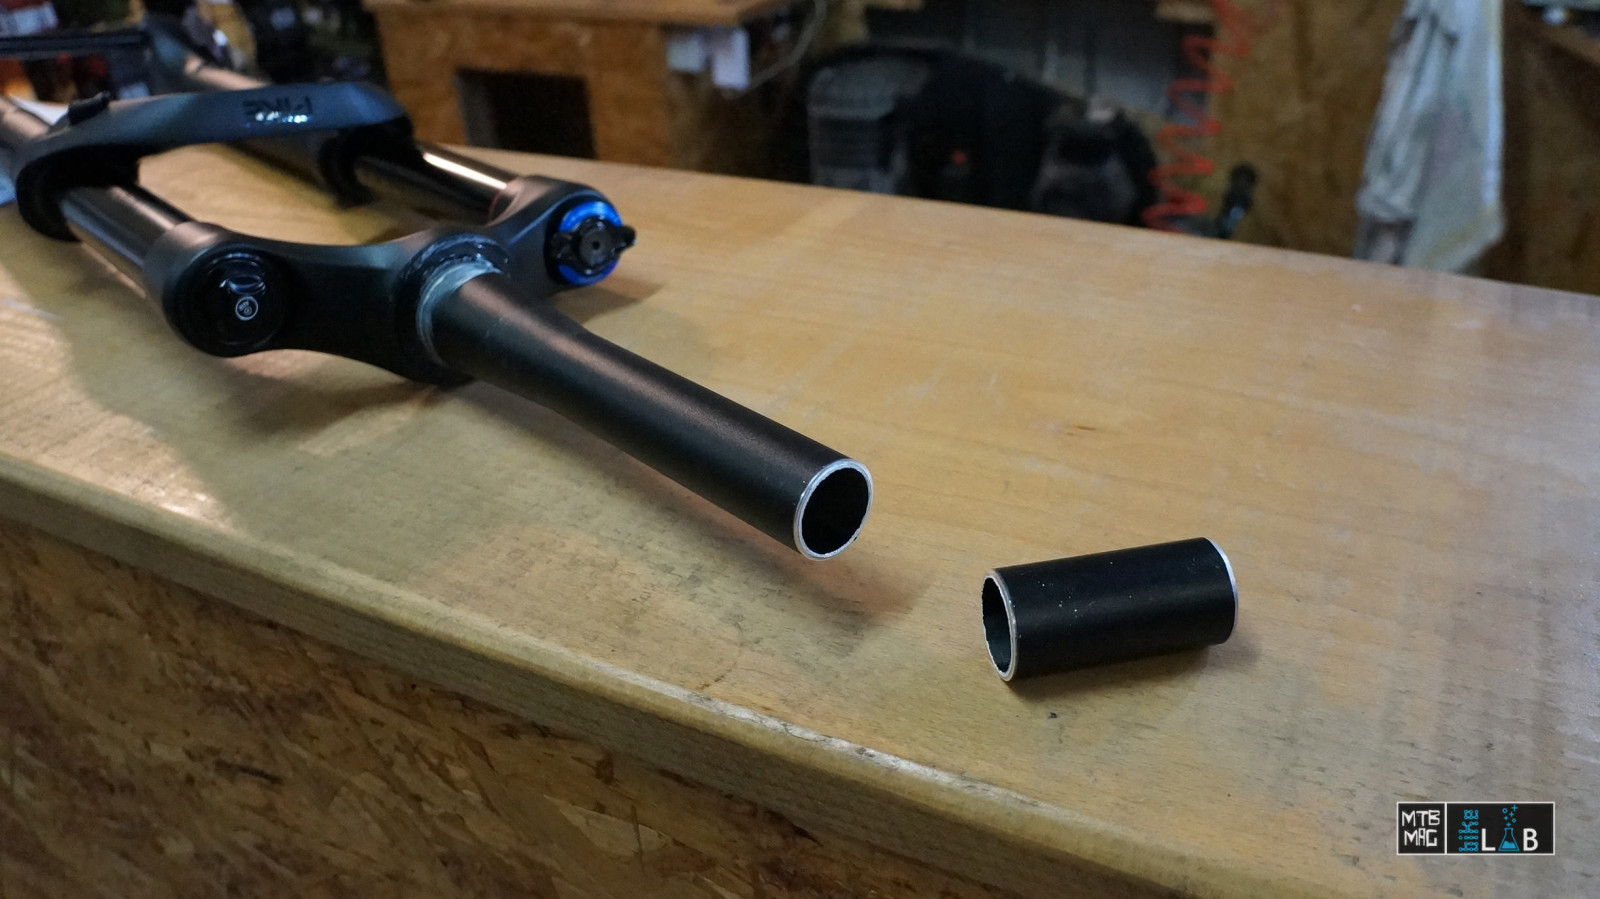
Not everyone knows it, but forks are supplied with a long steerer tube which does need to be cut. Each fork must be cut specifically according to the frame size (headset height) and the handling preferences (number of spacers to install below the stem). Especially when dealing with a new bike, it’s suggested to cut the tube leaving a slight margin, and place some extra spacers above and below the stem. This way you can test different handling characteristics by adjusting the handlebar position according to your preferences. Once you’ve found the ideal configuration, you can proceed with the final cut of the steerer tube.
Another important thing to be considered is that once you’ve cut the steerer tube, you can’t make it longer. The golden rule here is: “measure twice and cut once”, because there’s no margin for error. That’s why it is always better to leave it a bit long.
In theory, it is possible to calculate the optimal steerer tube length: you simply add together the headset length, the upper and lower headset stack, the number of spacers to install below the stem and the stem height, and take away 5mm from the result. Actually, this is not a precise method because you add up various measuring errors. For this reason I suggest determining the cutting point directly on the steerer tube, placing all of the parts to install them in the right position.
1) Headset installation: let’s start by installing the headset. Pictured is the Devinci Spartan with the bearing cups already installed. We just need to install the bearings and the spacers. Put some white lithium grease on the bearings and cups to prevent the contact with water. The lower bearing shouldn’t fall out because of the grease.
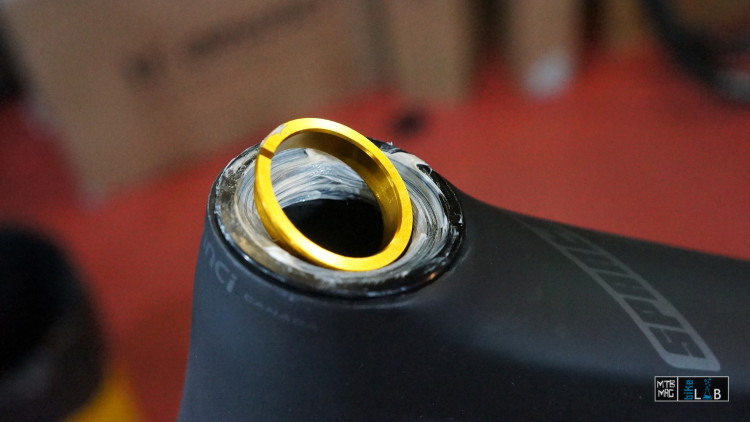
3) Headset crown race installation: the headset lower crown race needs to be pressed onto the lower part of the fork steerer tube.
Pay attention to the fact that the lower tube is tapered and therefore wider, in order to hold the crown race by interference fit. The crown race needs to be pressed to full contact onto the head of the fork steerer tube.
To perform this operation you need a pipe of the right diameter. At a plumbing shop we’ve found a steel sink pipe of the exact size to install the headset crown race, but there are tools specifically made for this application by reputable bike brands like Park and Birzman.
Apply some lithium grease in the crown race slot, place the pipe onto it and hammer it forcefully.
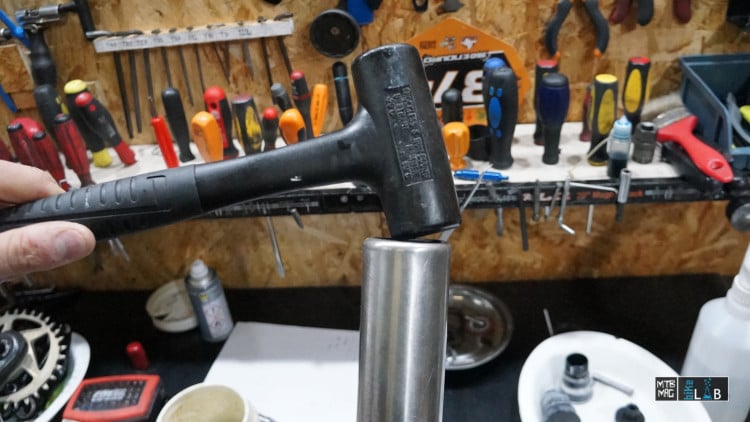
When you hear a duller sound, it means the crown race is set in place.
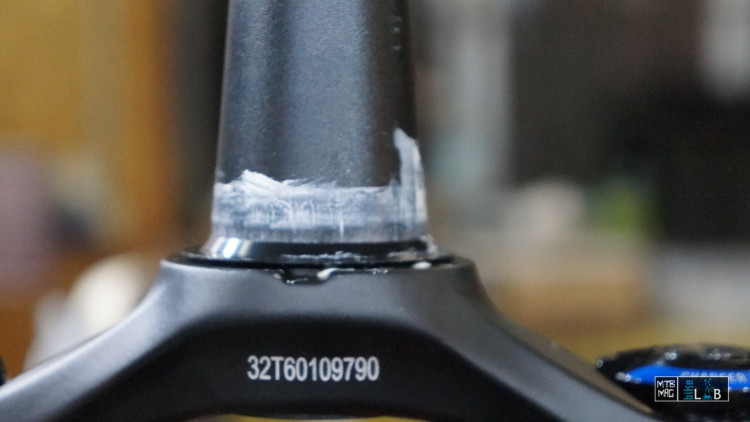
Before moving to the next step, check against the light to make sure that there is no space left between the crown race and the fork.
*A split crown race can be installed and removed manually.
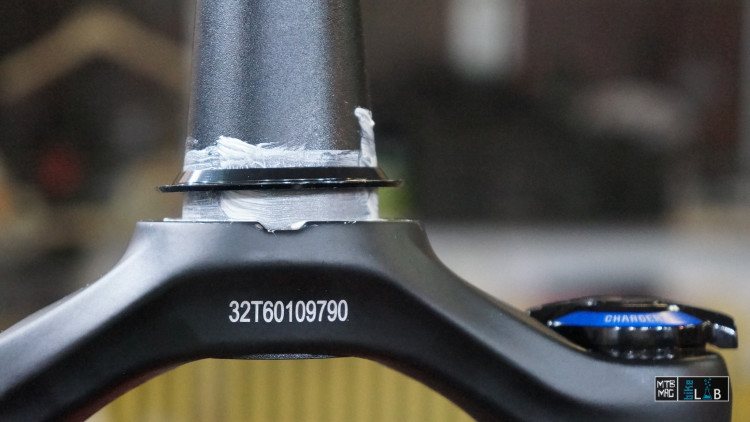
3) Measuring: now fit the fork into the headset, place the desired number of spacers below and possibly above the stem.
With a screwdriver, as shown in the picture, leave a mark in correspondence with the last spacer. The tube must be cut 4-6mm below the mark.
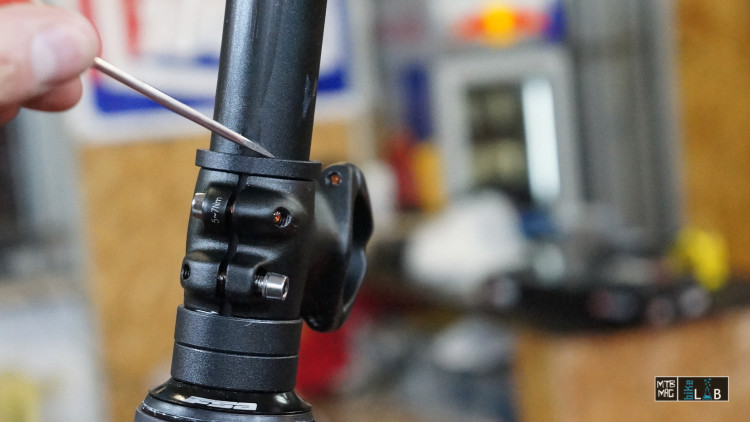
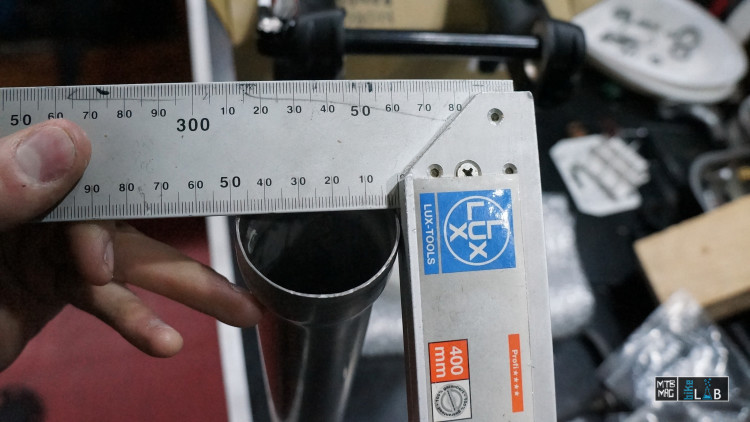
4) Cutting: with the tube cutter or the hack saw, cut the tube at 5-6mm below the mark. While using the tube cutter the cut is perfect, with the hack saw it is recommended to use a guide rail to make it straight.

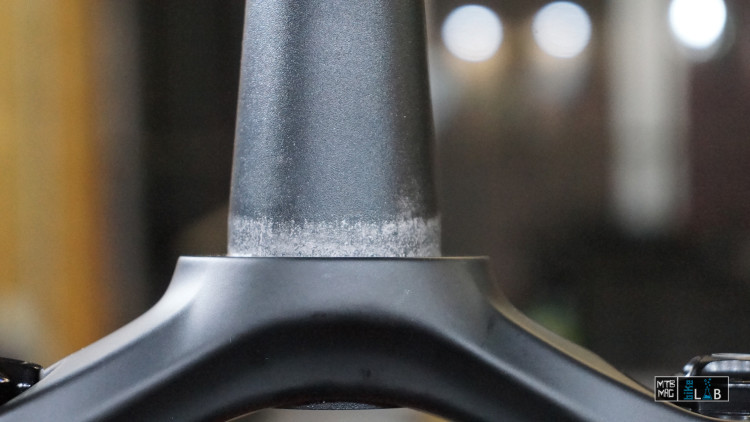
5) Finishing: the cutting procedure leaves some imperfections on the fork steerer tube, they need to be finished on both the inner and outer side.
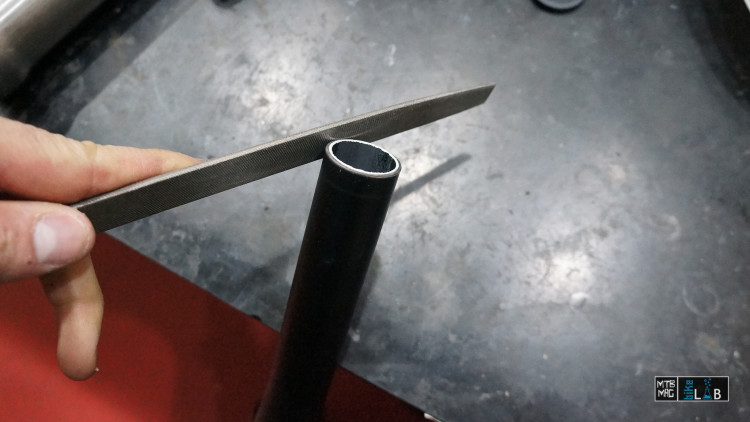
Using a file, remove all the flaws caused by the cutting process. It is essential to check that the stem and spacers fit perfectly and effortlessly. In this way to install, remove and adjust the headset will be easier and more efficient.
6) Star nut installation: dealing with aluminum tubes, you need to install the starnut. It acts as an anchor by gripping the inside of the steerer tube with a downward force and allows the bolt to compress the stem down preloading the bearings. The starnut is to be hammered down at approximately 1cm form the cutting edge. It needs to be perfectly straight, otherwise the top bolt can not be screwed in.

There are some specific tools to install the star nut (and they are quite cheap, I suggest to buy one of those). If you have good manual skill, you can also use a 9mm spark plug wrench, but be careful to place it just right.
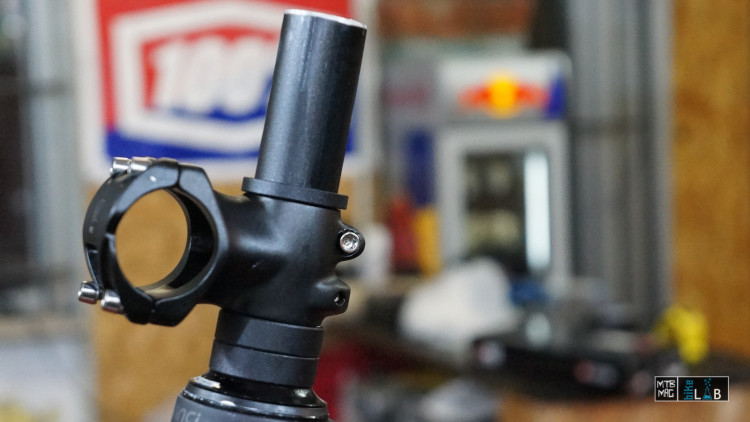
7) Installation and final check: fit the fork into the headset and check that all the headset parts are correctly assembled. Place the desired spacers below the stem and then install the stem itself. Possibly place some other spacers so that the last one protrudes approx. 5mm above the headset. Now place the cap bolt and tighten the headset until there is no play in the bearings.
It’s possible to cut the tube at a less than perfect length, so it may be necessary to place or remove additional 0.5cm spacers above the stem. It is extremely important that the tube ends at least 5mm below the last spacer so that the cap can properly preload the headset. If this is not the case, you need to add one more spacer.
If you don’t want to place any spacers above the stem, make sure there are those 5mm of gap between the upper edge of the stem and the end of the tube, but the latter must not end below the second(read: upper) screw of the stem. This is of extreme importance because otherwise the upper screw doesn’t lock properly and the risk of falling during a ride is really high (the handlebar suddenly turns sideward). In such situations you need to remove some spacers from below the stem.
After this final check, the fork is ready. You can go on installing some other parts such as the handlebar or brakes. The centering and tightening of the stem are to be done when the whole bike will be assembled.