[ad3]
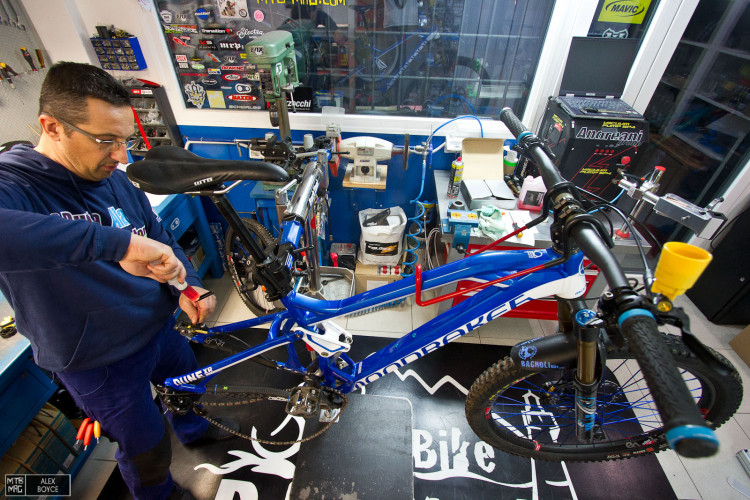
Last week we showed you how to shorten the brake hoses on Shimano brake systems, this week we are showing you how to bleed the system through, whether it is a fresh build or a bleed after a hose change swap/shortening or if your brakes just feel squishy and don’t work properly.
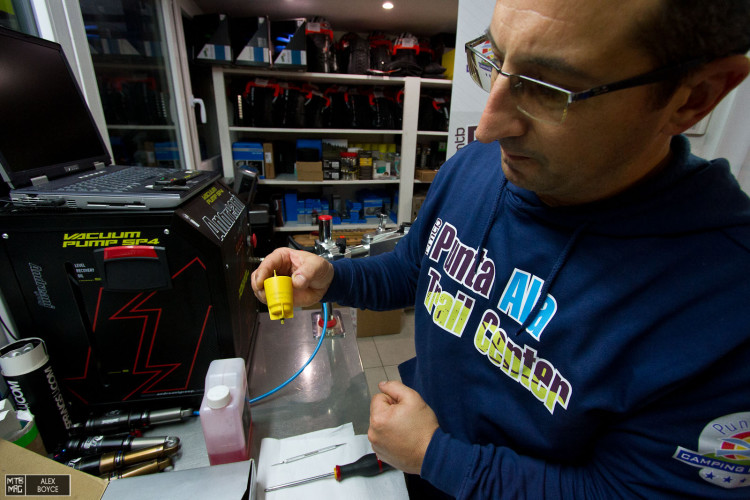
Tools required: 7mm spanner, Shimano bleed kit, Shimano mineral fluid, cleaning fluid, hex keys, screw drivers.

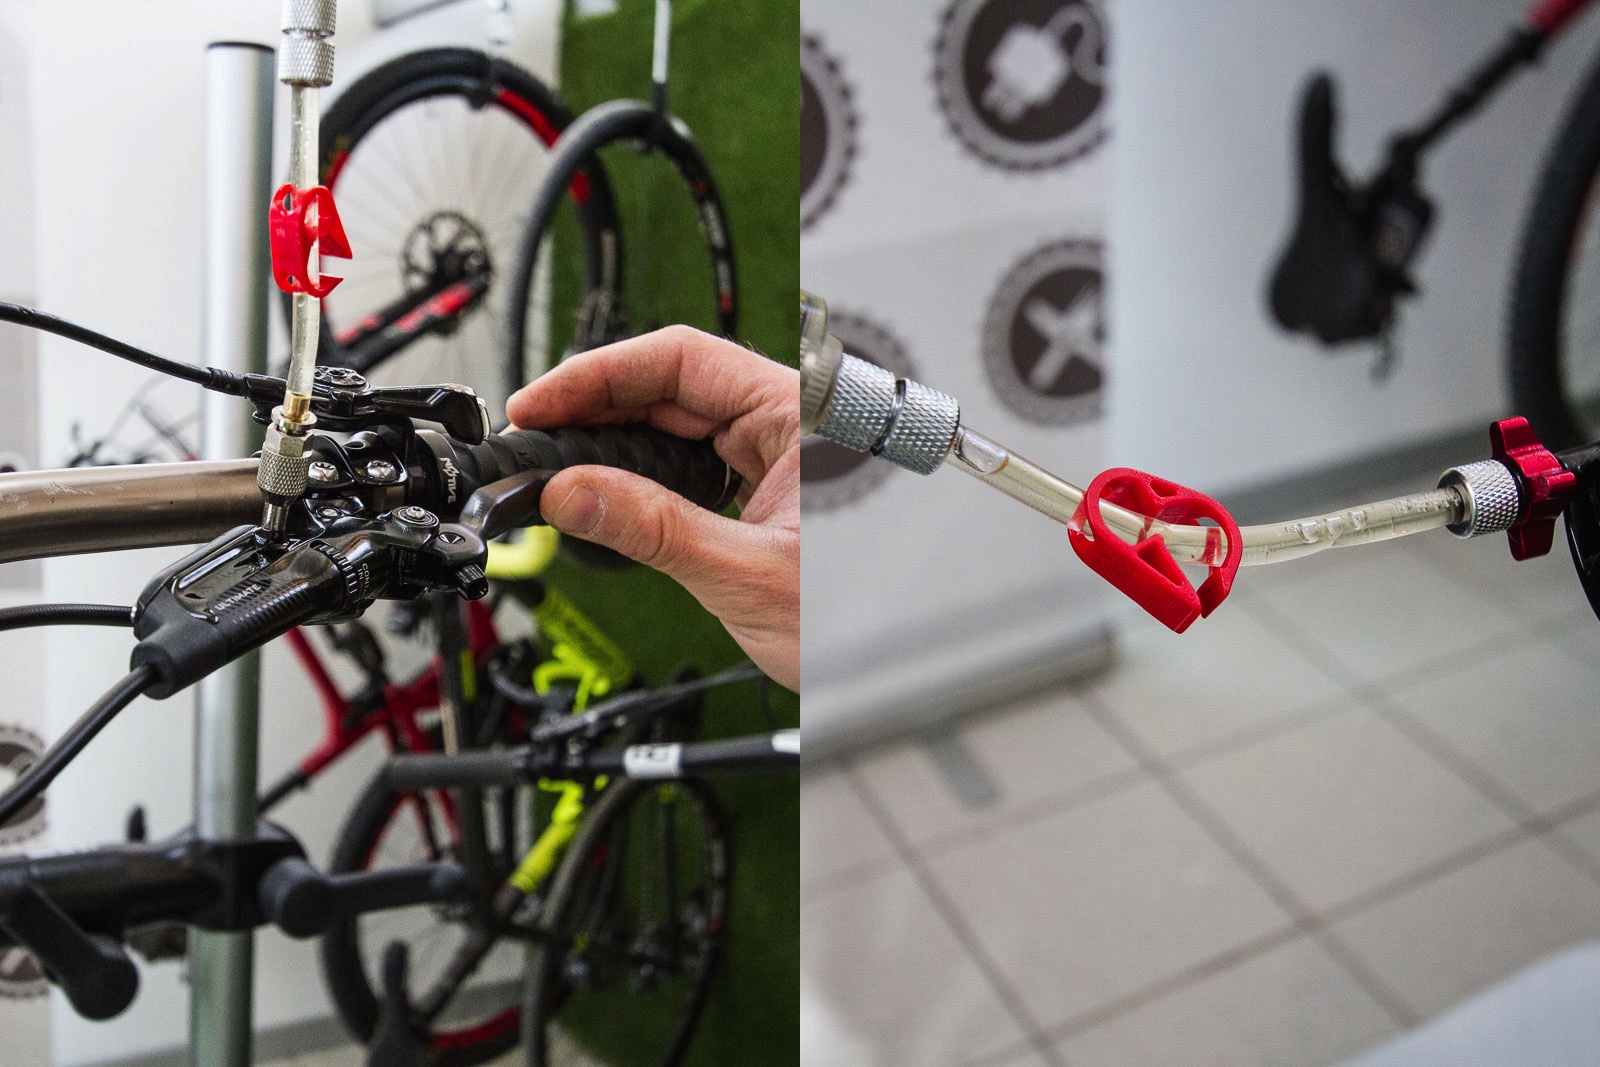
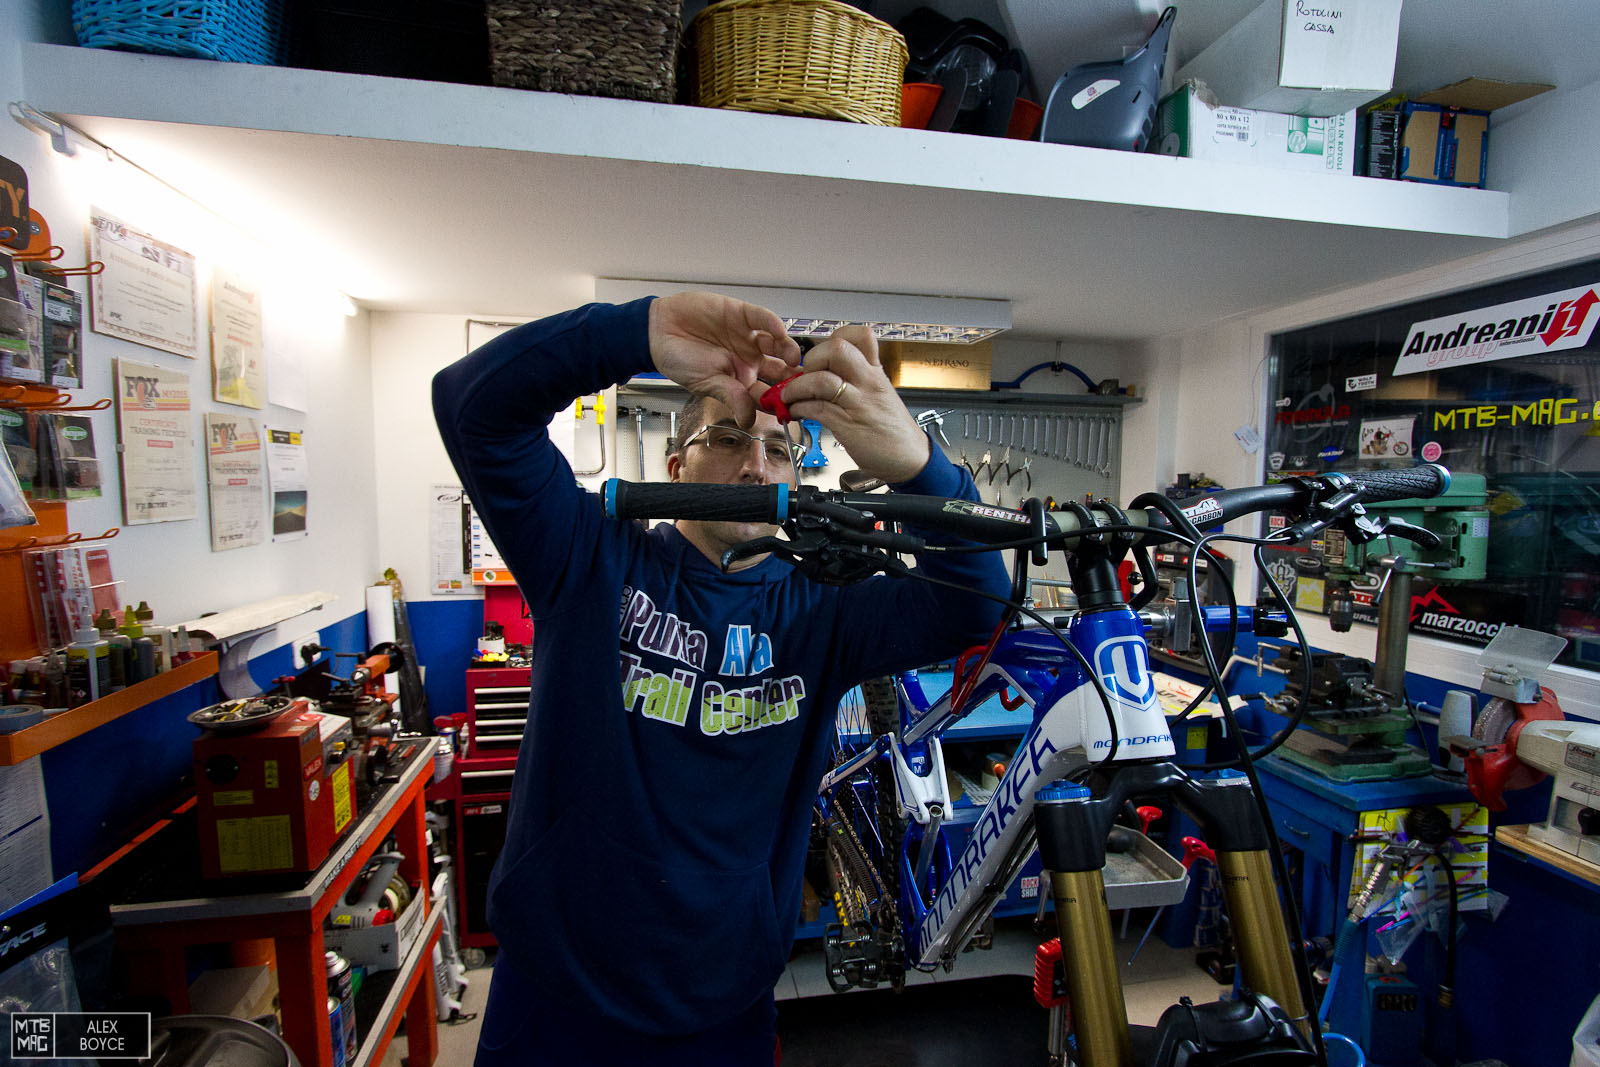
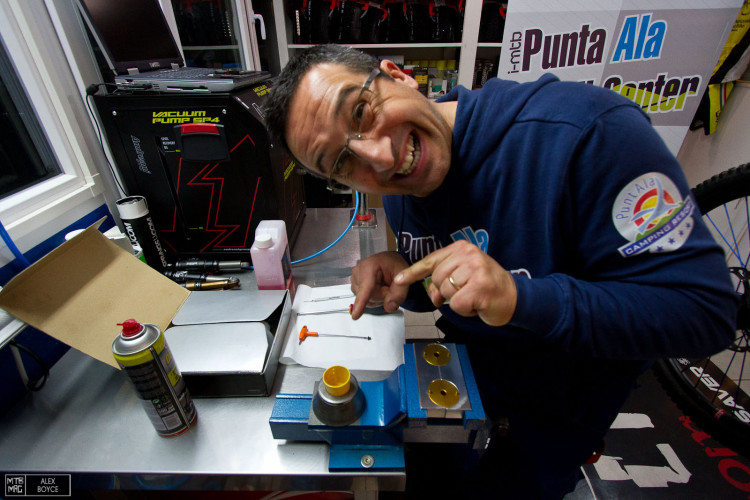
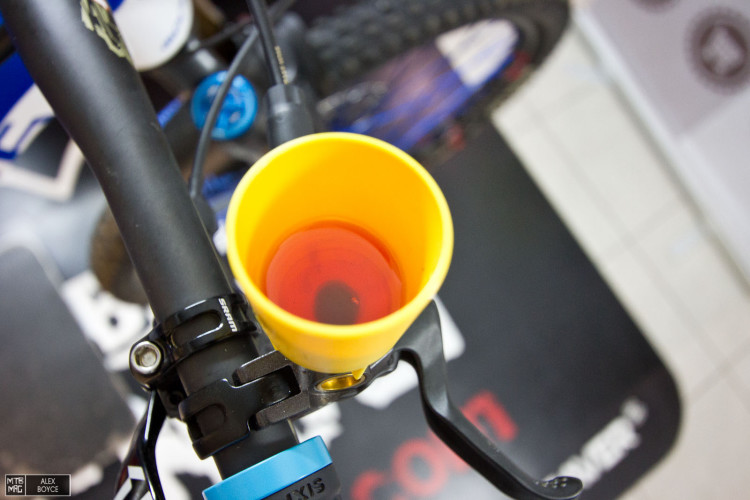
Davide always has a tip, here it is this, a circular piece of metal, very important.
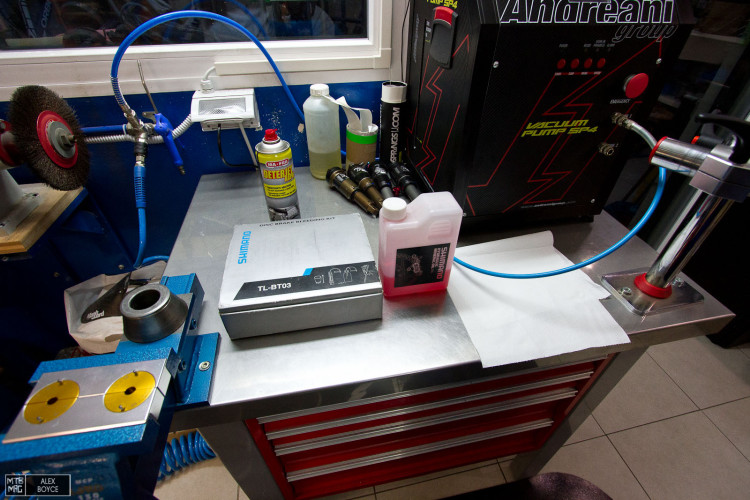
These are the two Shimano items that are most important, the bleed kit and fluid.
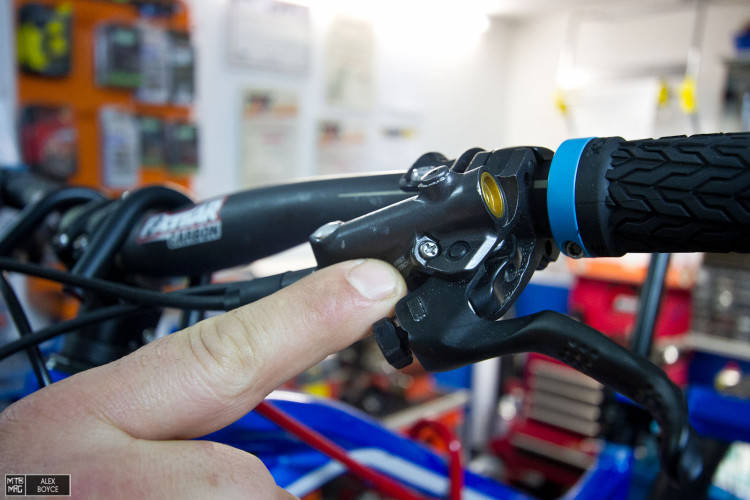
First thing to do, if you have a free stroke screw, back it off.
Here it is backed off, if you don’t have one it does not matter.
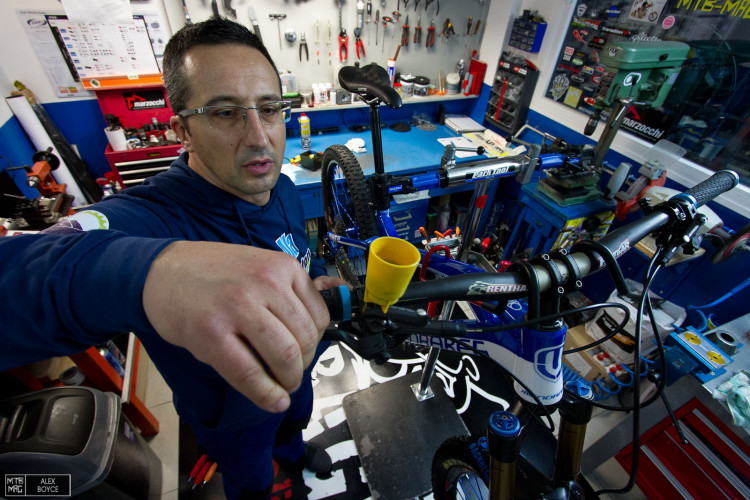
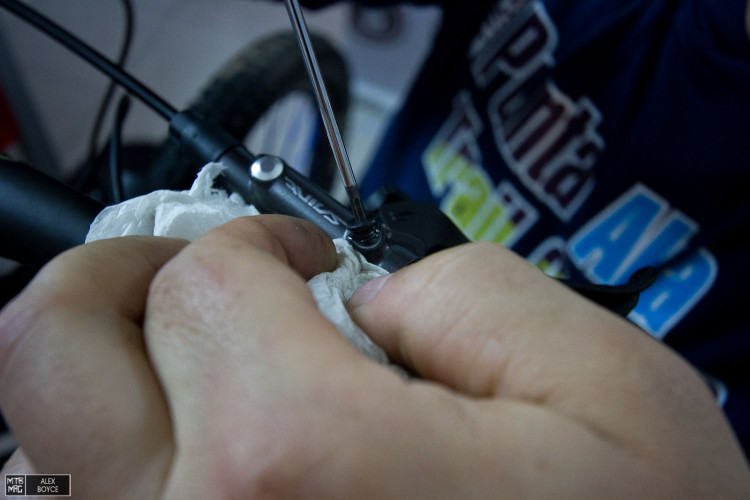
Now position the brake lever so the bleed screw is at it’s highest point.

Undo the bleed screw.
Make sure that the sealing o-ring comes out, if not retrieve it from the opening.

Retrieve the o-ring.
Take your bleed cup.
And place it in the handy piece of metal AKA a cup holder! Tip of the century!
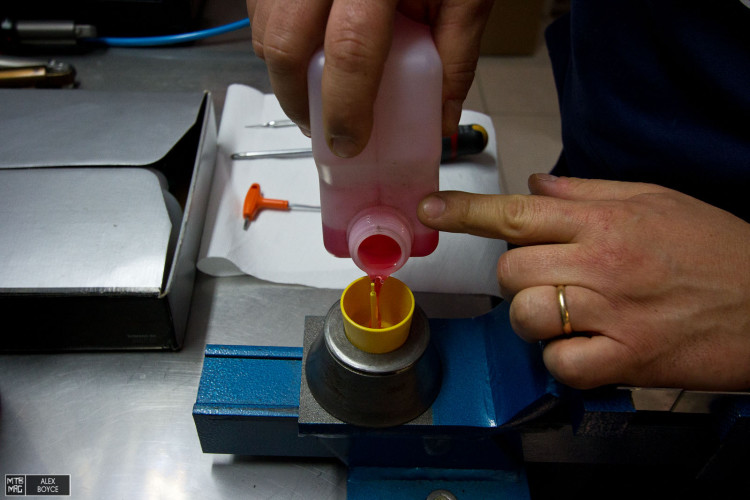
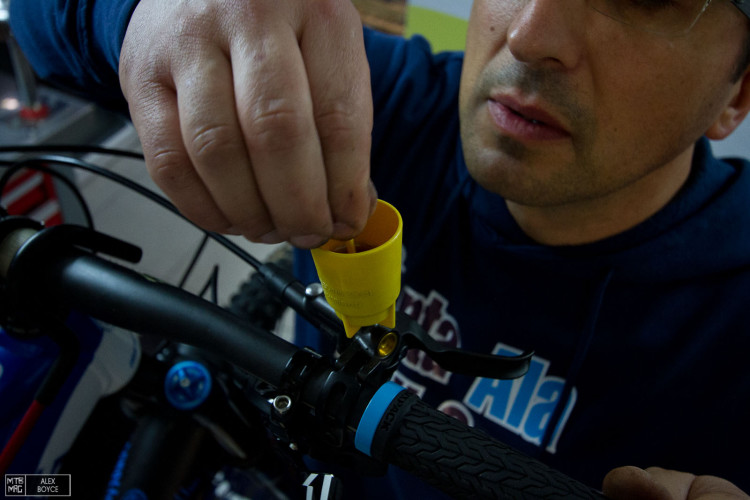
Now your cup is stable, pour in some mineral fluid, about 1/2 full.
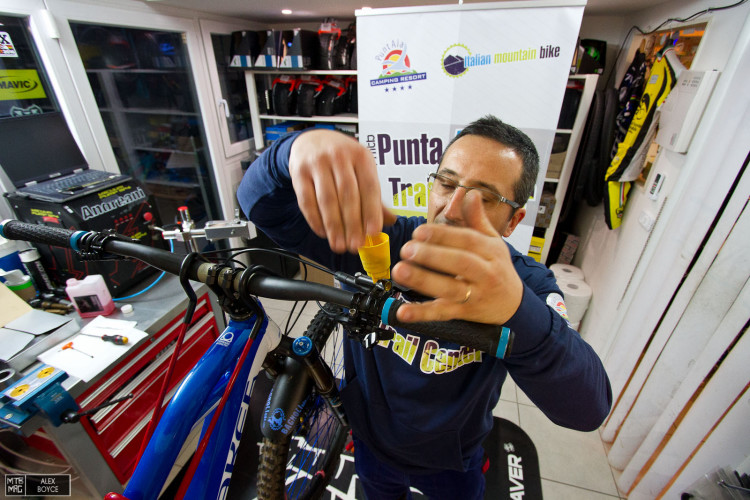
Carefully thread the cup into the open bleed screw hole on the lever.
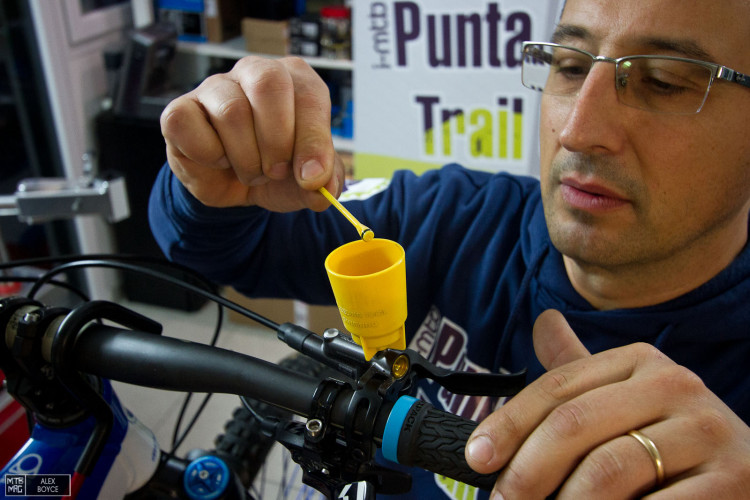
Remove the plug in the cup.
Pump the lever and watch the air bubbles pop out.
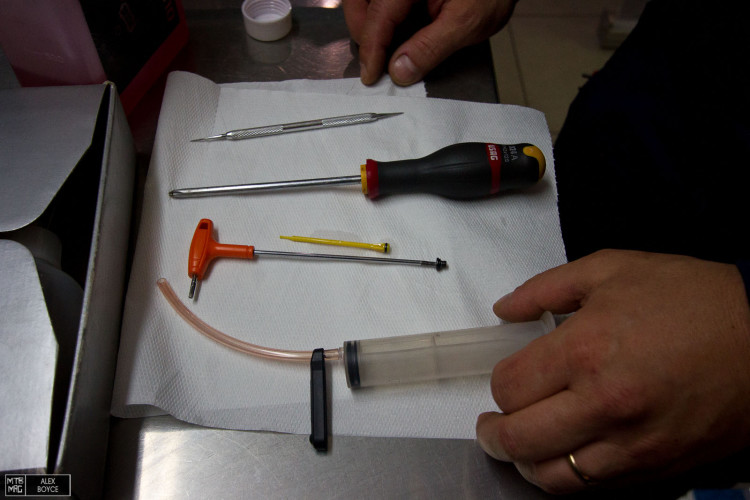
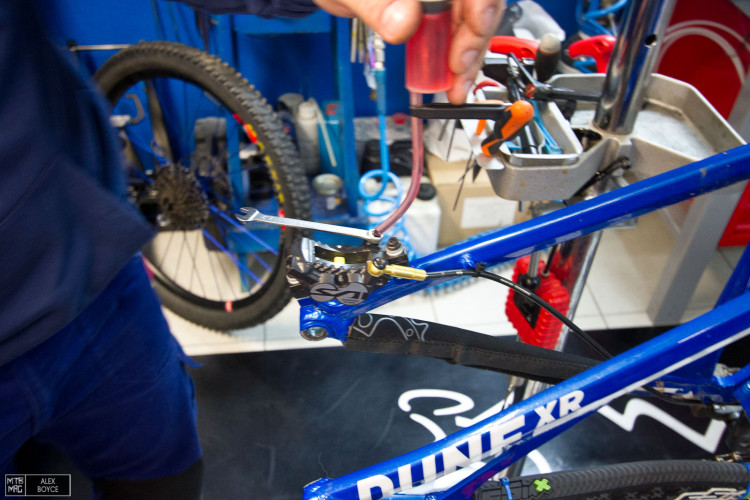
Now if you need to bleed the caliper, take the syringe tool.
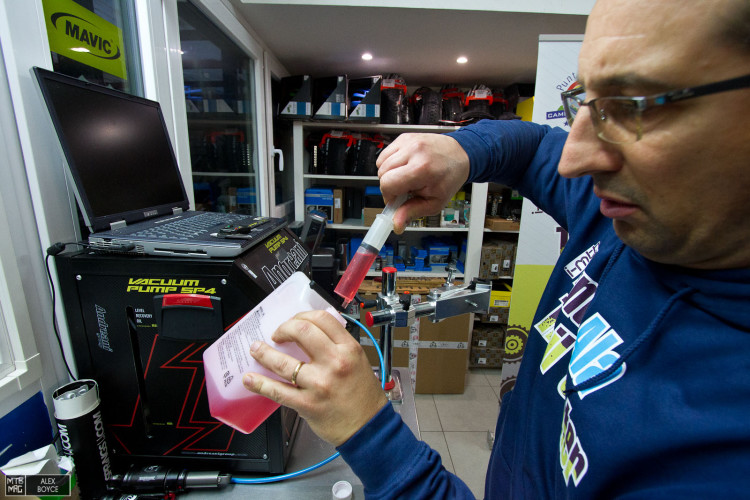
Fill it 3/4 full.
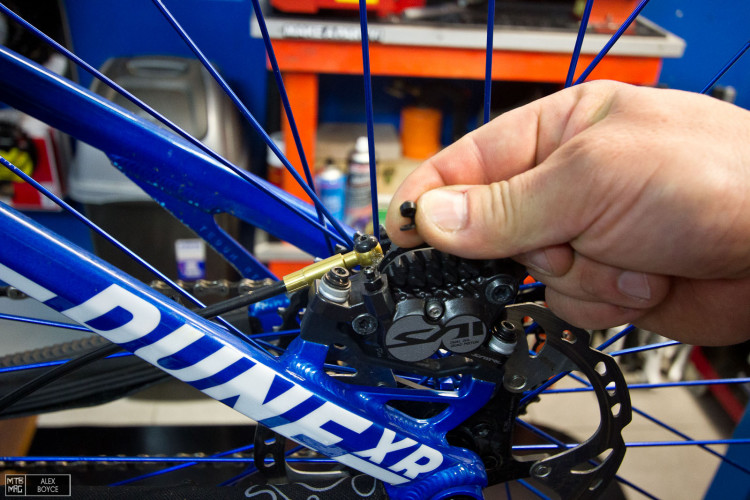
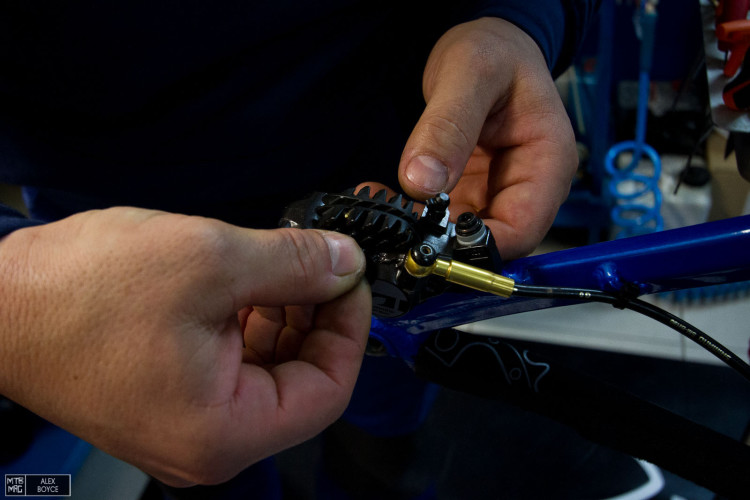
Remove the caliper bleed nipple cover.
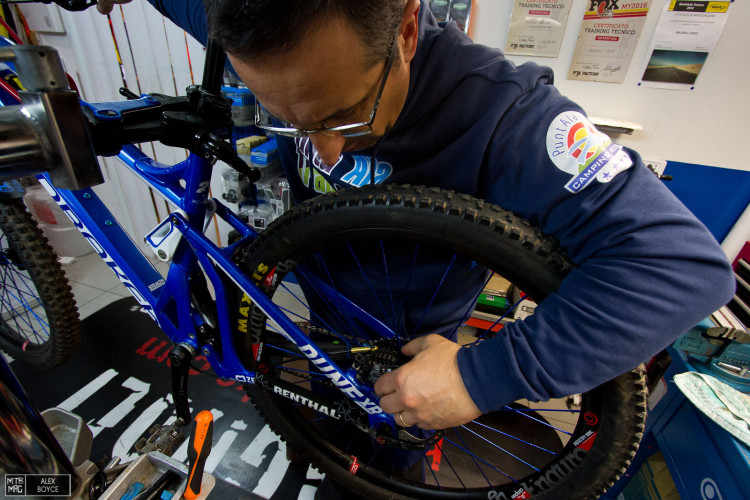
Remove the back wheel.
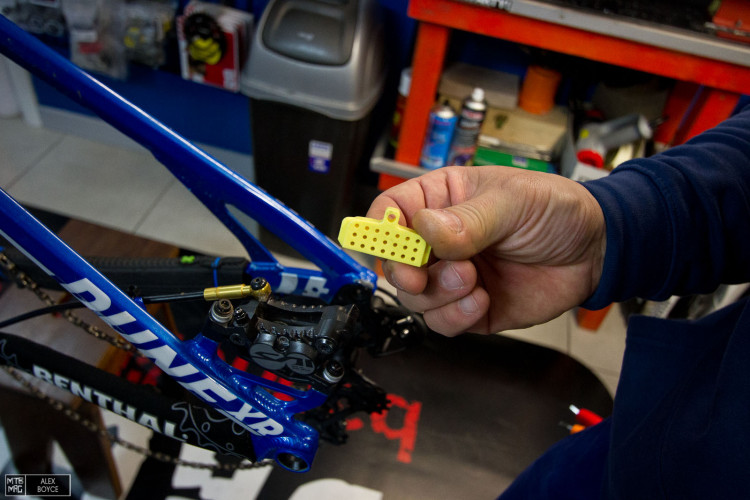
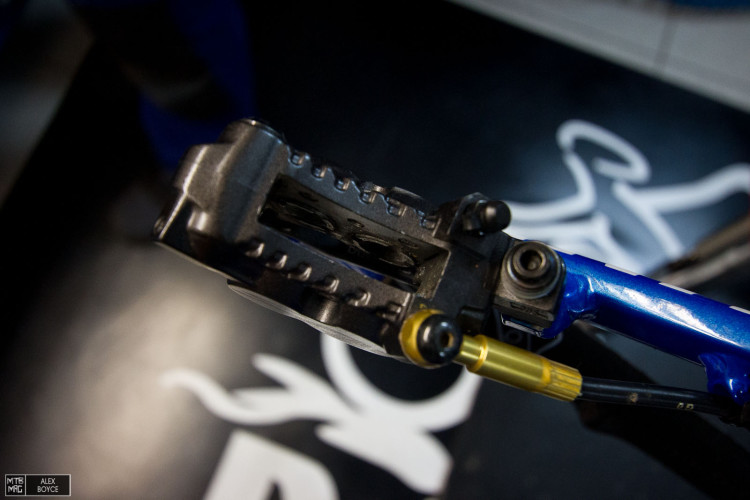
Remove the brake pads and replace them with the brake pad spacer block.
Retain the block in place with the pad screw.
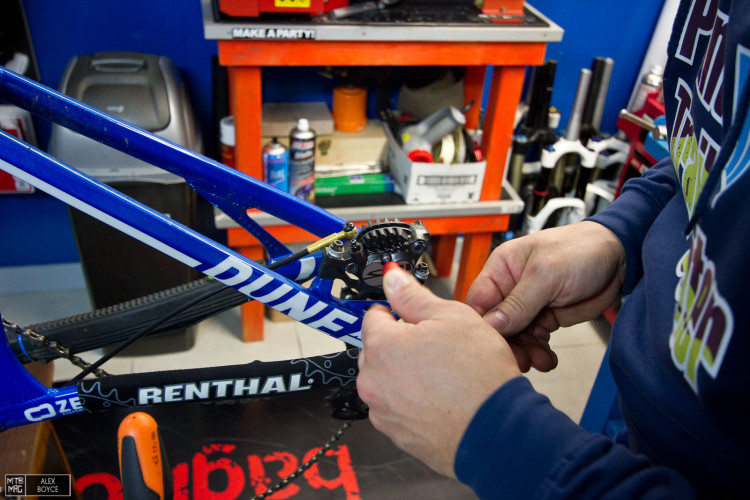
Attach the syringe to the caliper and release the bleed nipple screw.
Slowly press the syringe and watch for air bubbles passing out of the system.
After there are no more bubbles, release the pressure, tighten the bleed nipple and remove the syringe.

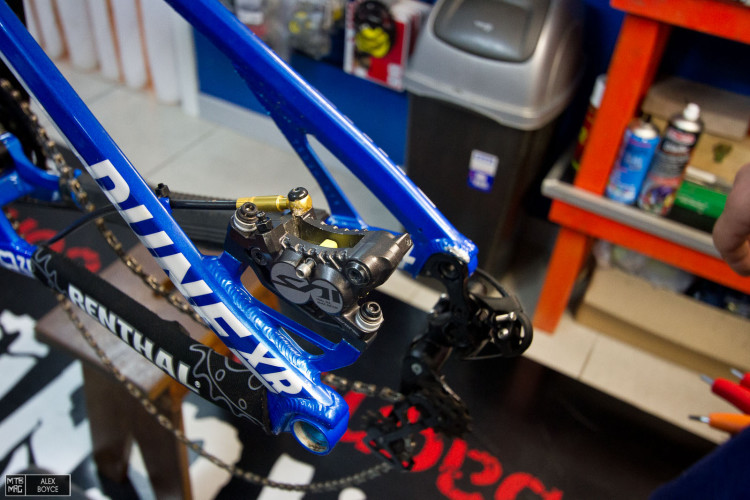
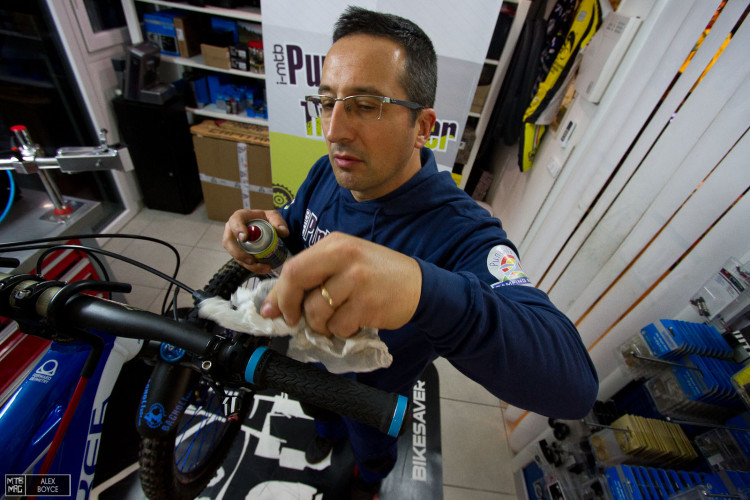
Clean the caliper area with brake cleaning fluid.

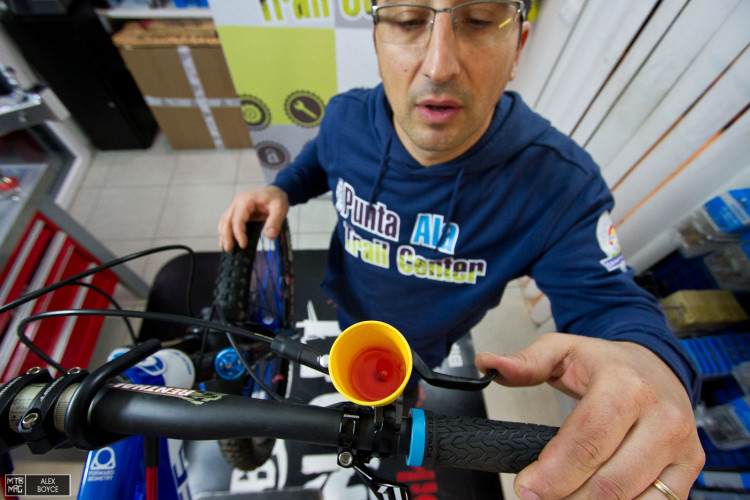
Return to the bleed cup and pump the handle some more.
Remove the block and refit the pads and wheel. Make sure to clean excess mineral fluid around the caliper off FIRST. A spray bottle full of isopropyl alcohol is ace for this.
Refit pads.
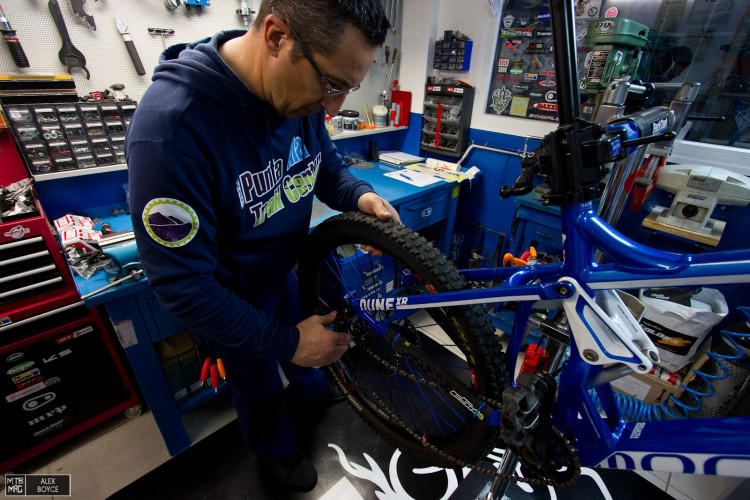
Refit wheel.
Pump again releasing any last air bubbles.
Insert the cup plug.

Unscrew the cup.
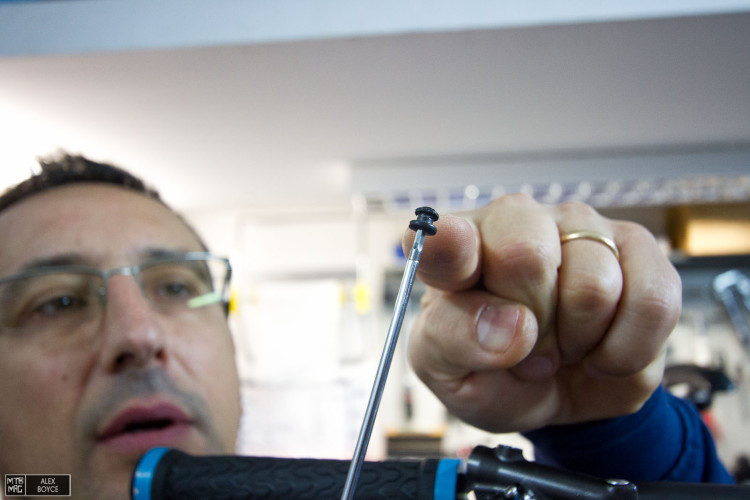
Refit the bleed screw into the brake lever.
Clean the brake lever.
Check the caliper alignment to make sure it doesn’t drag.

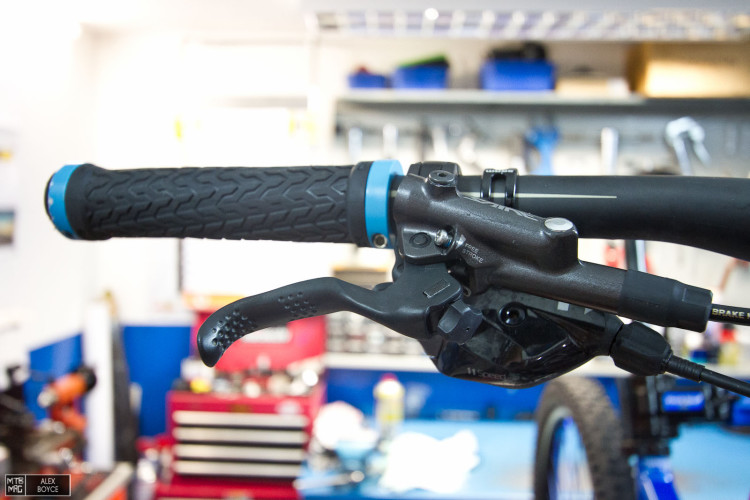
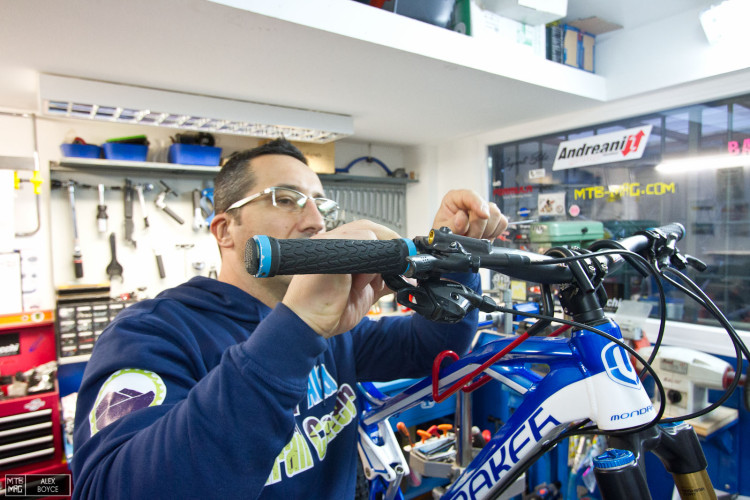
Reposition the brake lever assembly! You are done.
Mechanic: Davide Bagnoli @ Punta Ala Trail Center