[ad3]
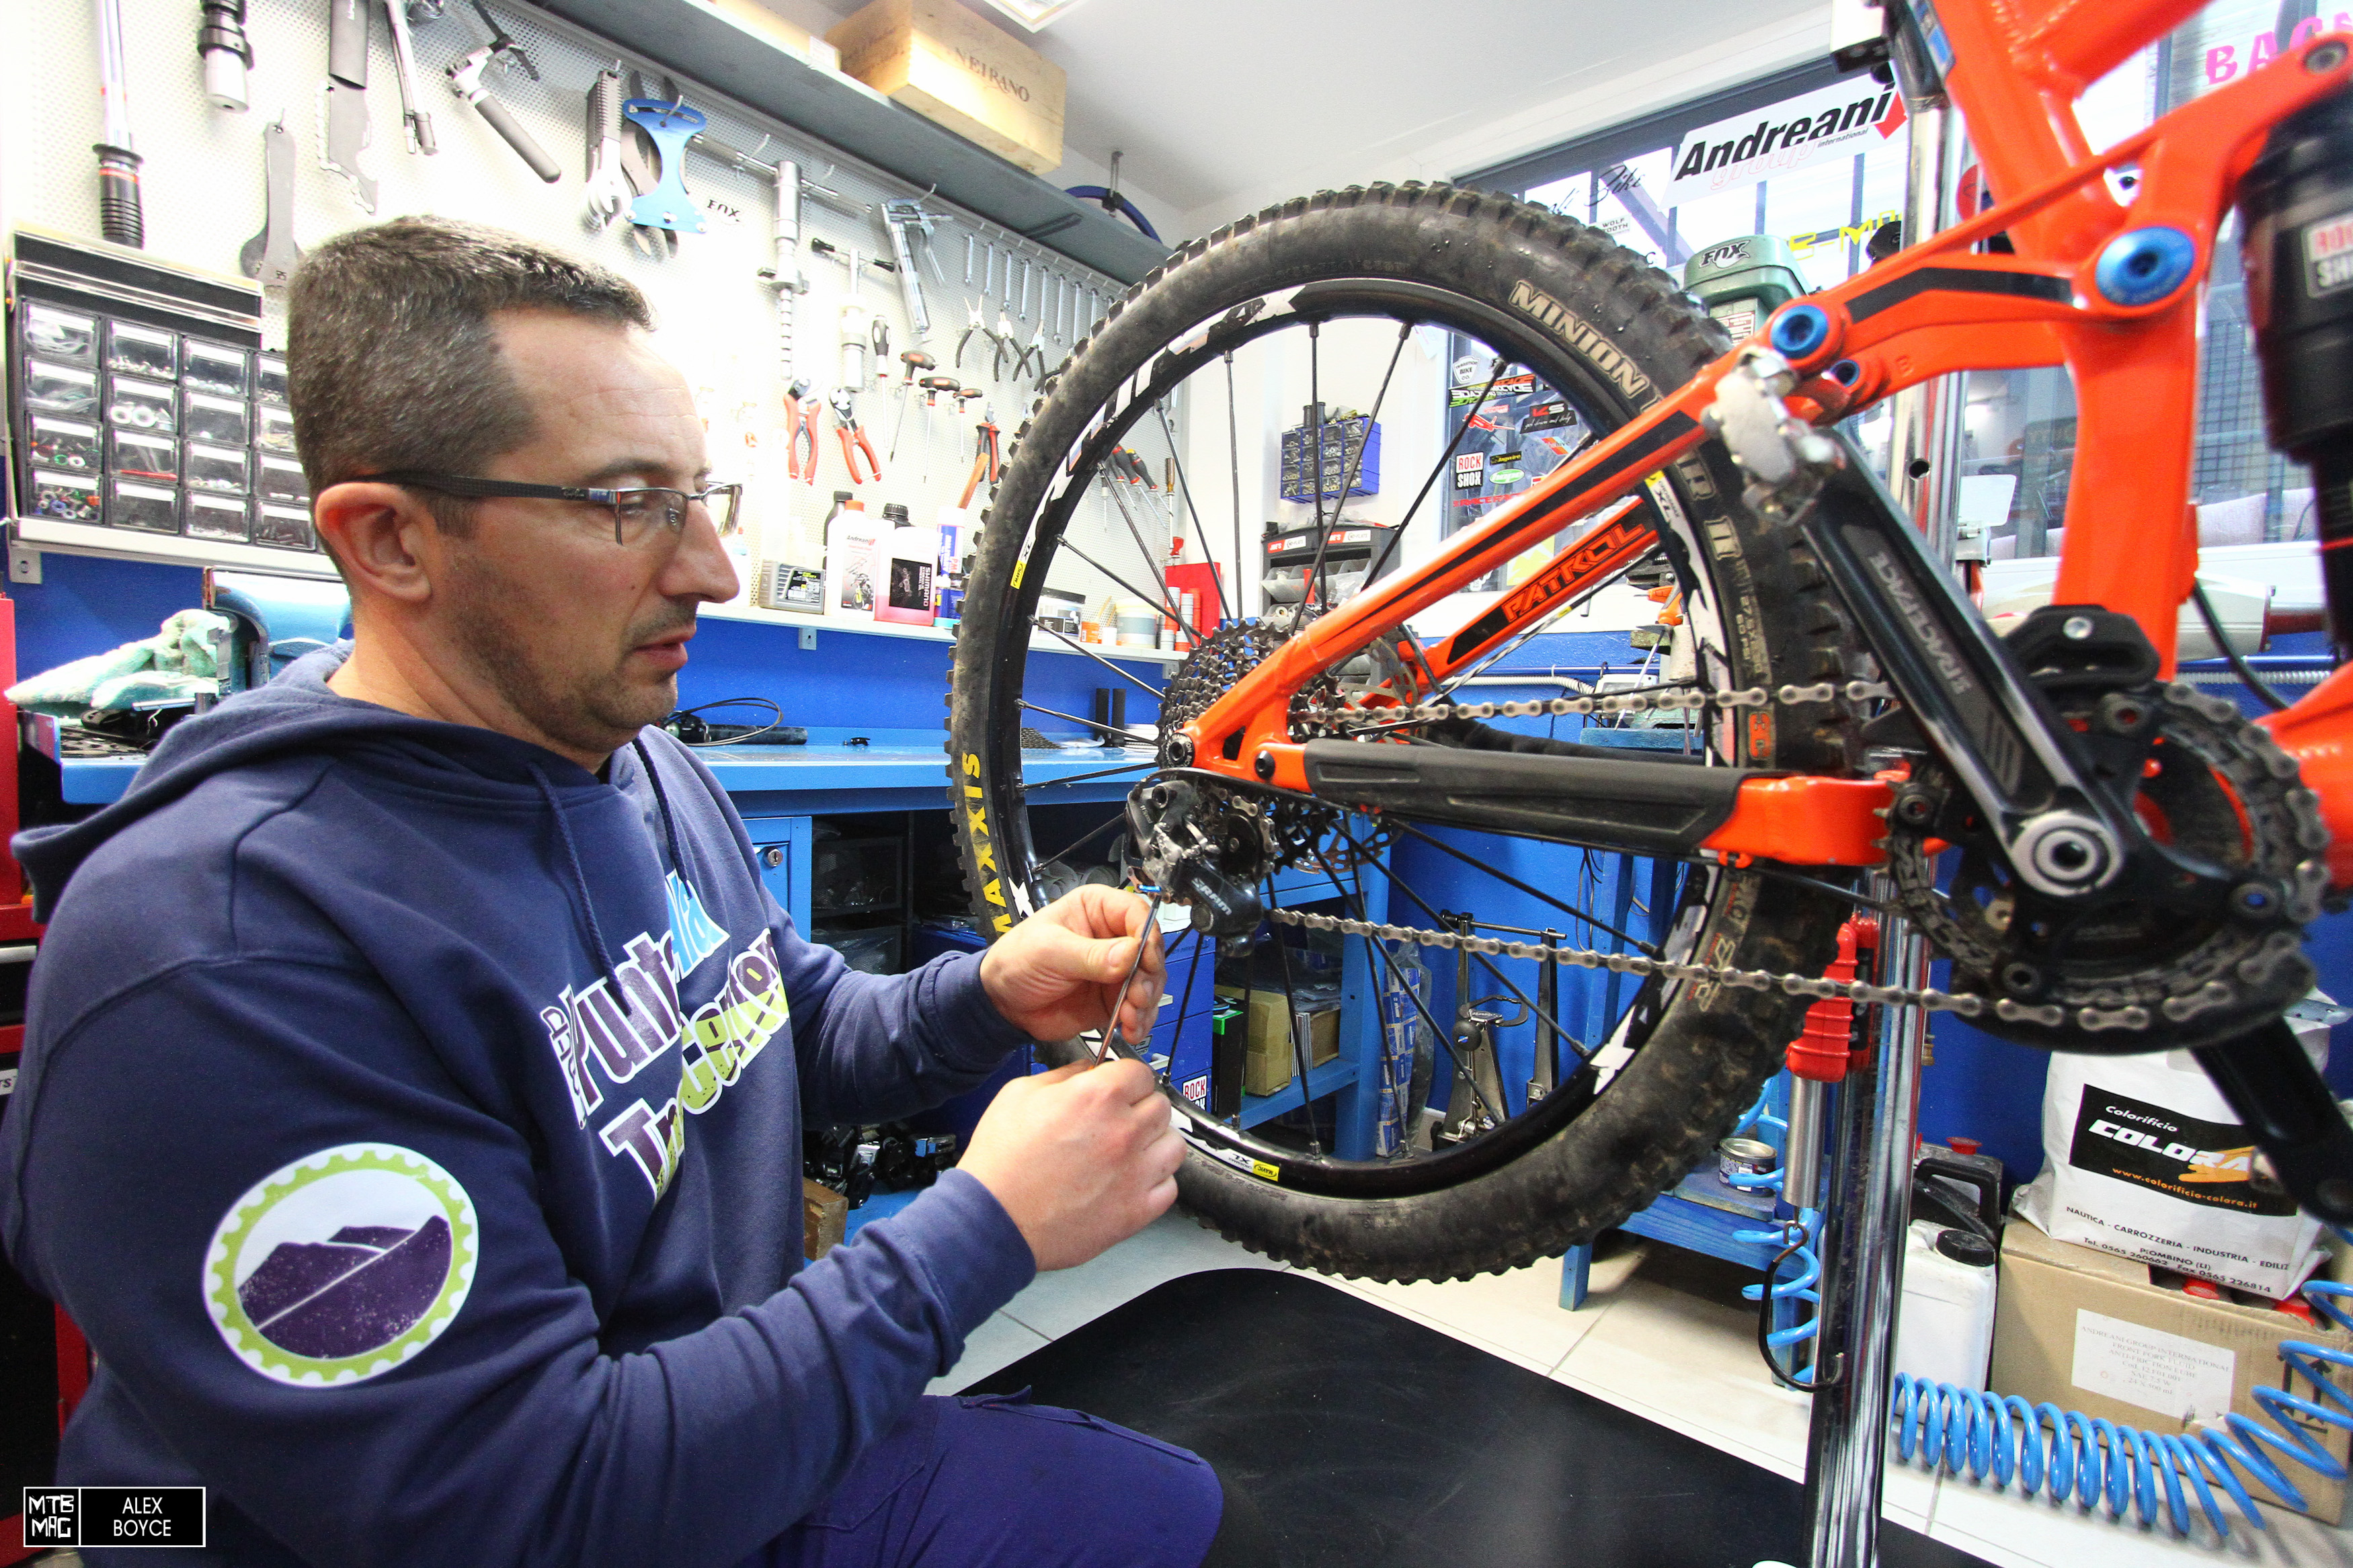
Gear cables are a fact of life, sometimes they stay in perfect working order no matter what you throw at them, other times they need changing frequently for any number of reasons after some off road trail time. If we were to put a list down of all the cable problems possible, the classic problems at the top of the list are frayed cable ends and split, kinked or broken housings. We take a look at how to change a cable on a 1 x 11 gear system. The process is similar for Shimano despite the fact we carried out the operation on a SRAM setup. Basically, most of this crosses over.
Tools: Hex key wrenches, cable housing cutters, new cable, screw driver, teflon based wet lubrication.
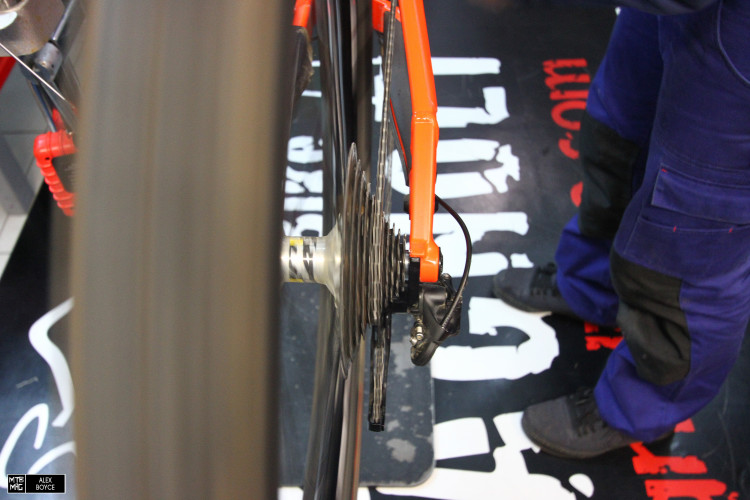
A close up look at our gear system shows the cable is damaged on the housing.

The gears sort of work but don’t sit in gear well, from our observations it seems it is best to change the cable, then clean and check everything.
Start by winding the gear shifter cable adjustment knob inwards.

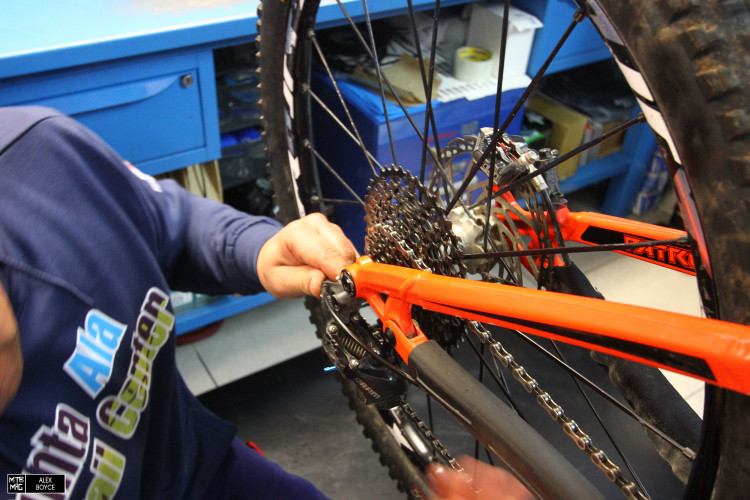
Then with the chain in the smallest gear, release the cable bolt on the derailleur. If it’s SRAM, besure to roll the pulley cage into the locked position. If it’s Shimano, simply switch off the chain retention clutch.
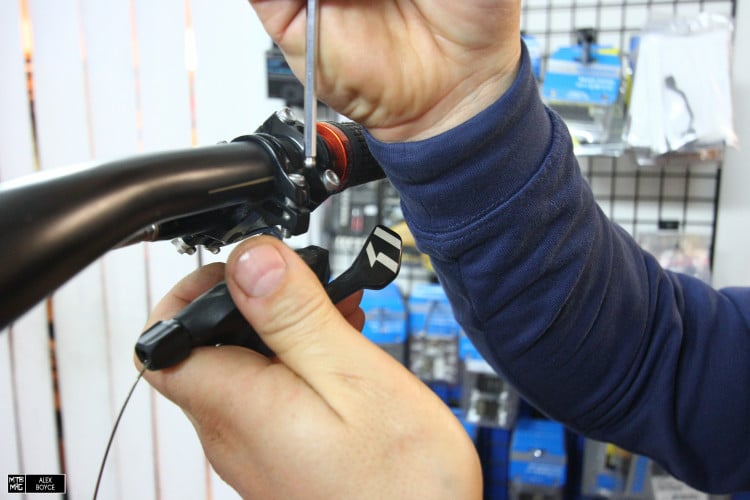
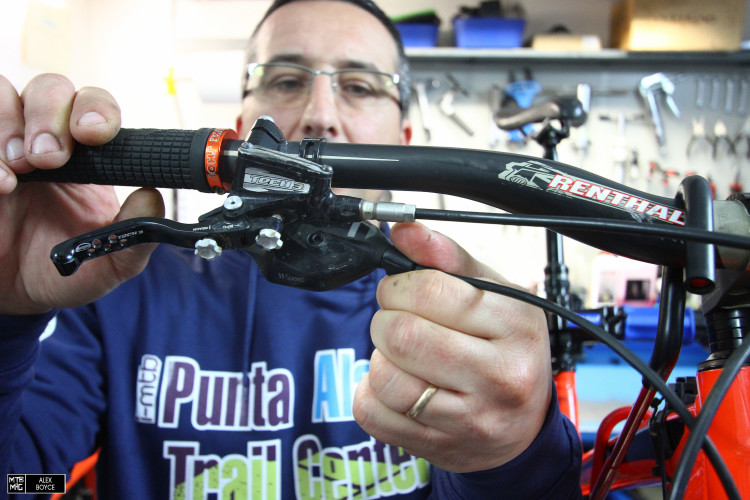
Un-bolt the shifter unit.
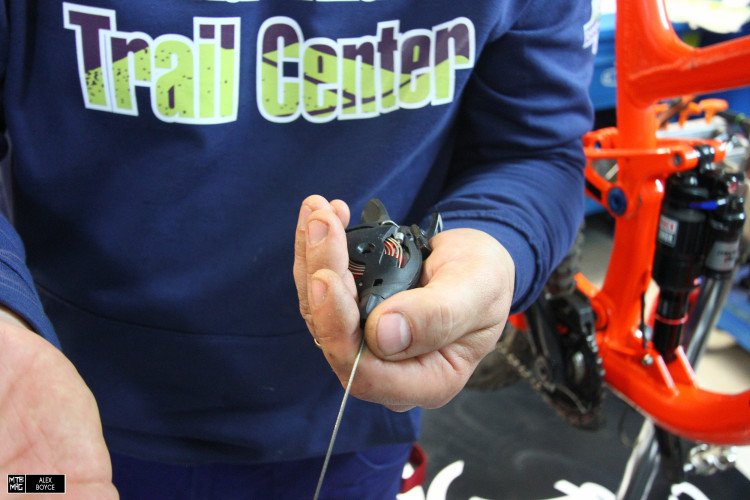
Remove the top of the shifter and pull out the cable from the housing. Reinsert a new cable through the guide hole with the shifter in top gear, (11th).
Replace the cover and re-attach the shifter unit to the bar.
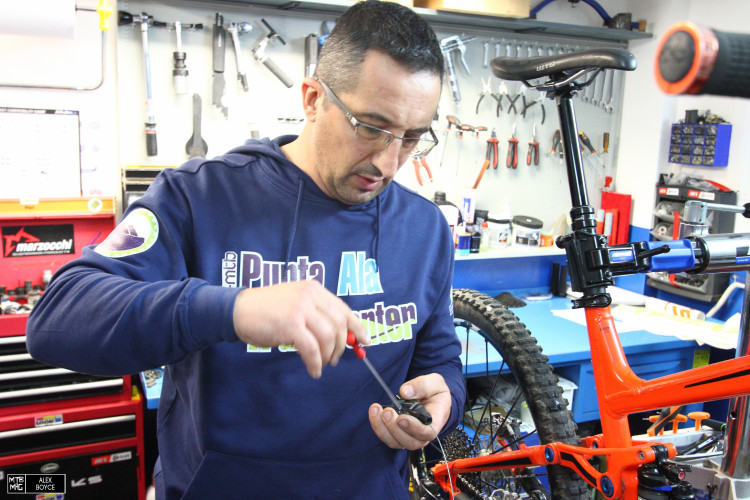
Before inserting the cable into the housing we check the end and discover it is losing composure.

The housing end cap is also damaged, bin it.
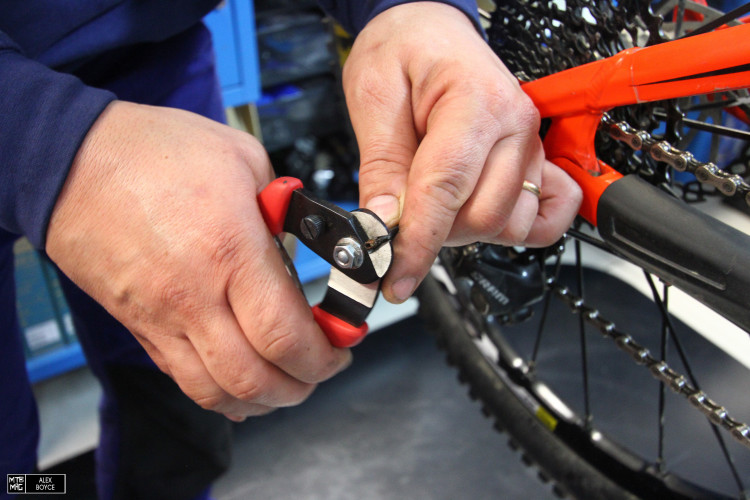
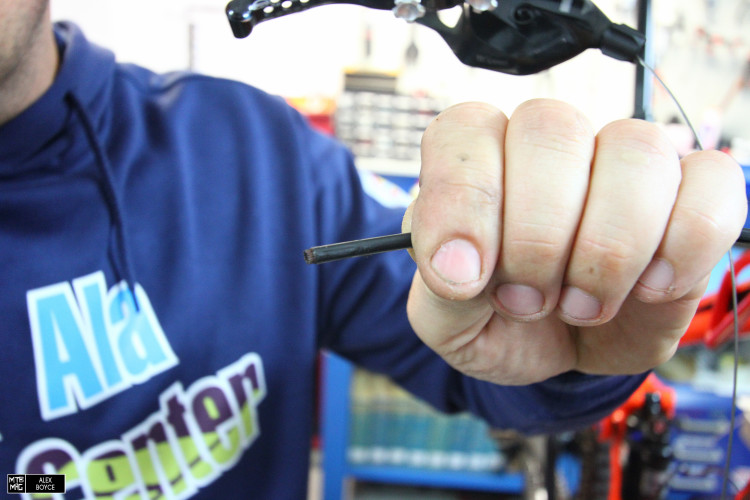
We chop the housing end off, about 5 mm.
We put new end-caps on the housing.
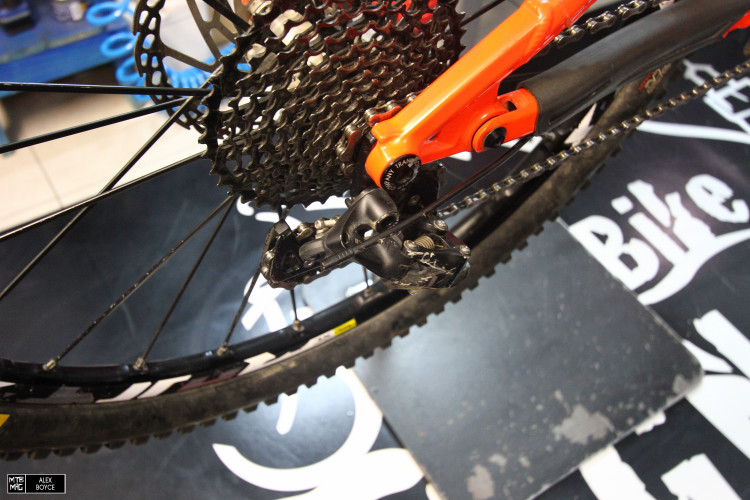
We check the alignment of the derailleur to cassette block and if the chain is running smoothly. Depending on impacts your bike may have seen, it might be necessary to have your derailleur hanger alignment checked. This requires a special tool and a potential visit to the shop.
We now feed the cable through the housing. If you want you can squirt some wet based teflon lubrication down the housing, or replace the housing as well. (Which we will show you how to do in another tutorial, especially when it comes to internal routing).
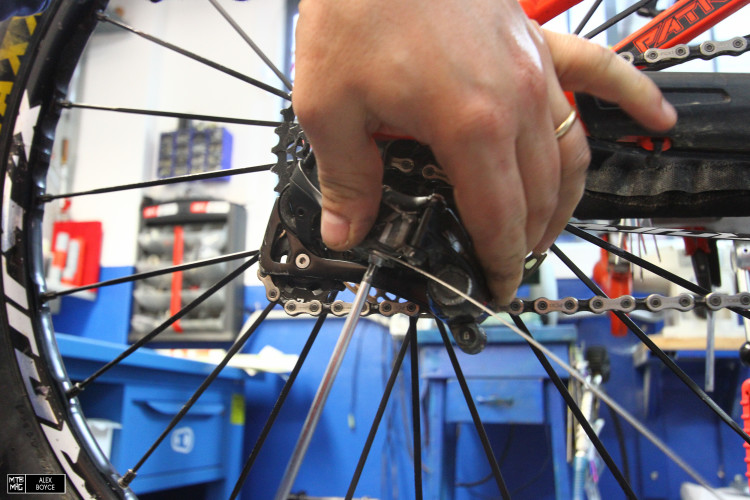
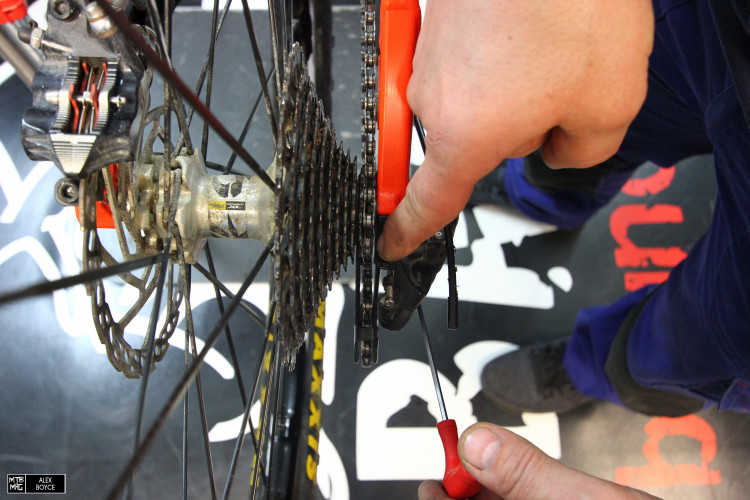
The rear cable is now attached to the derailleur, at this point it is important to remove most tension from the cable as you tighten the screw, but with out moving the derailleur so that the cable has no slack in it.
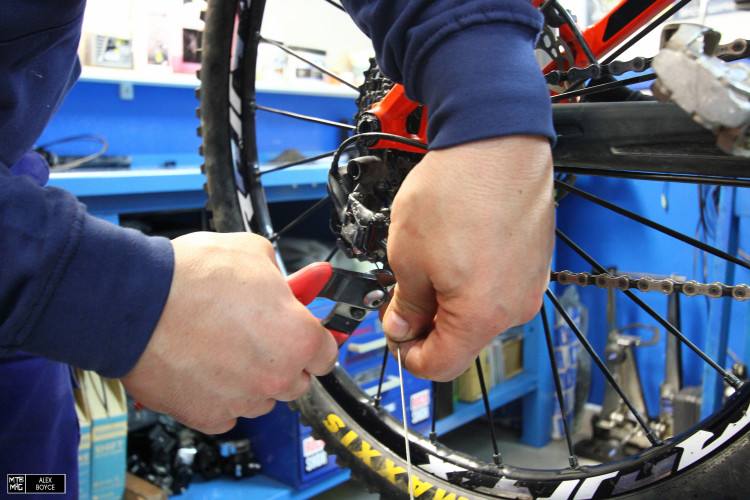
When in position we cut the cable end leaving about 3 cm free.

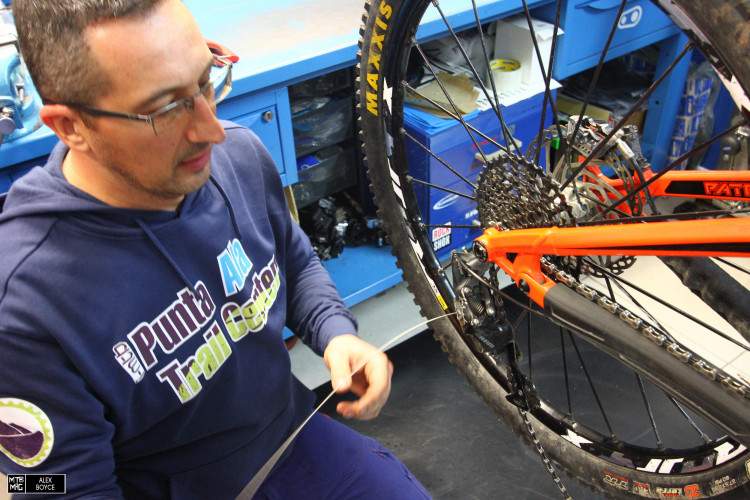
We then pedal the bike and go up the block.
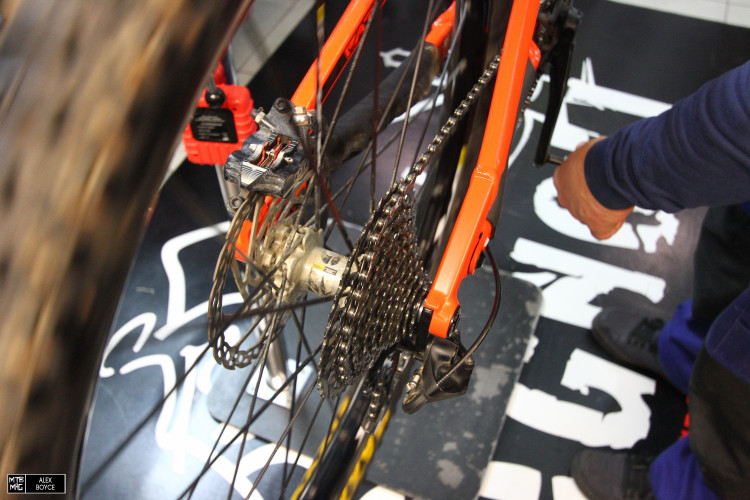
As we go up the cassette, the chain should shift smoothly here. You’ll want to use the barrel adjuster on the shifter to increase or decrease tension on the cable until your shifting syncs up nicely.
Once the shifting works going up through the range, check how it shifts in a downward direction as well.

Head up now to the top of the cassette and put it in the largest gear, we are going to check the derailleur low limit screw. It’s important that the low limit screw isn’t backed out too far. If it is, your chain can be shifted past your largest gear and get jammed between the cassette and spokes. This is not only potentially dangerous, but could be damaging to your fancy wheels as well. On the other end, we drop the chain to the smallest gear and adjust the high limit screw accordingly. Similarly, make sure that limit screw isn’t backed out so much that the chain can drop below the smallest gear and get jammed between the cassette and your frame.

At this point we check the gap on the top jockey wheel this distance is correct, about 12-16 mm. To adjust this, we use a 3mm allen key on the screw that sits up top, just behind the derailleur hanger and above the cable pulley.
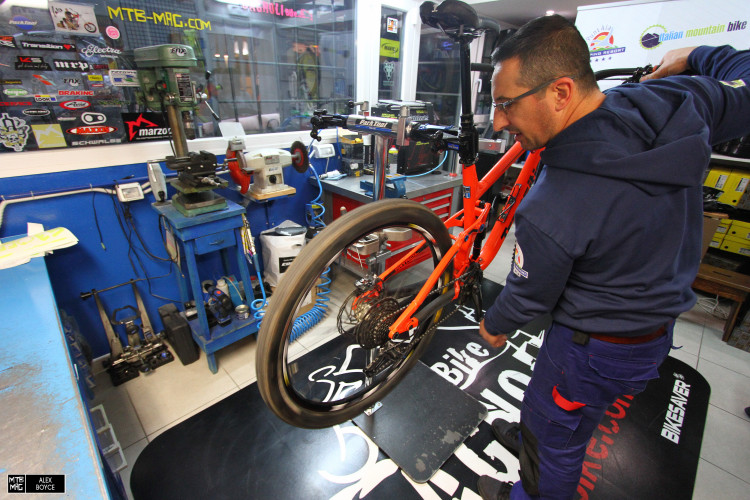
A final check and everything is working and ready to go!
Mechanic: Davide @ Punta Ala Trail Center