[ad3]
After our look at tubeless tyre installation we received a few requests regarding how to clean previously used tubeless tyres. This opened a huge can of worms and discussion about the best thing to do. We discovered after consultation with our mechanic that in this case it’s often about prevention rather than cure, so we went through a few procedures that you can do each time you dismantle a tubeless tyre that keeps things sealed and running nicely.
Tools: Rags, water, isopropyl alcohol.
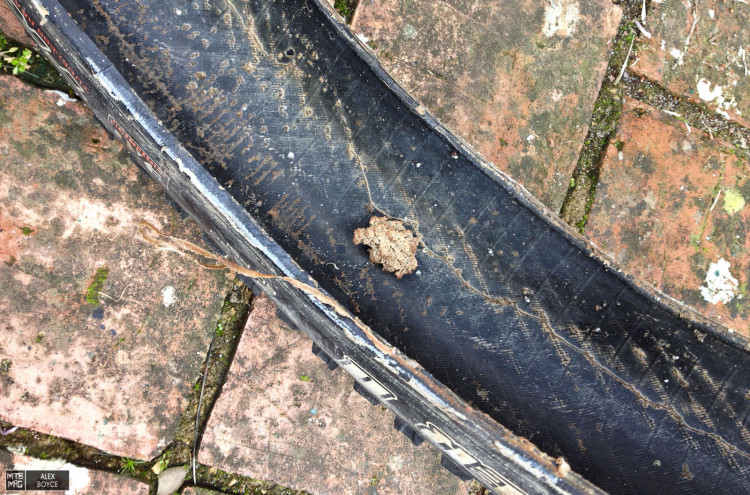
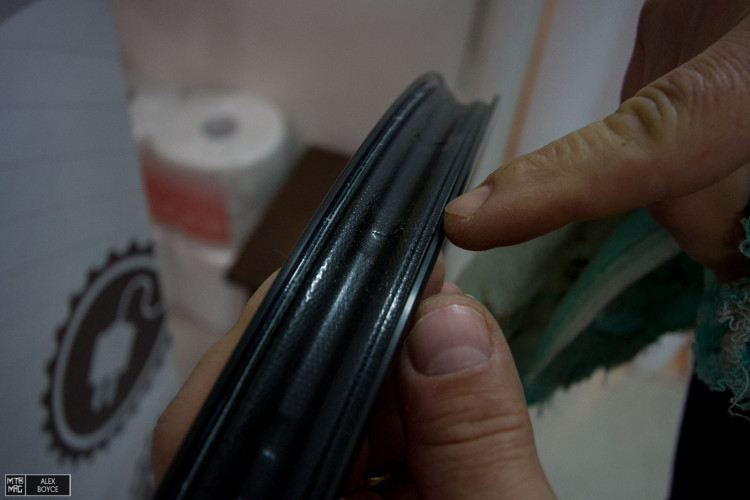
Dried up sticky latex in a tubeless tyre. Five minutes of maintenance after removing a tyre can save a lot headaches and latex picking by hand.
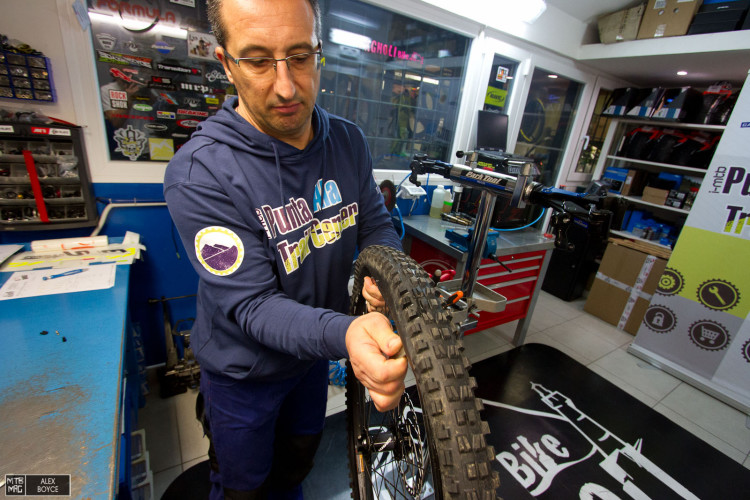
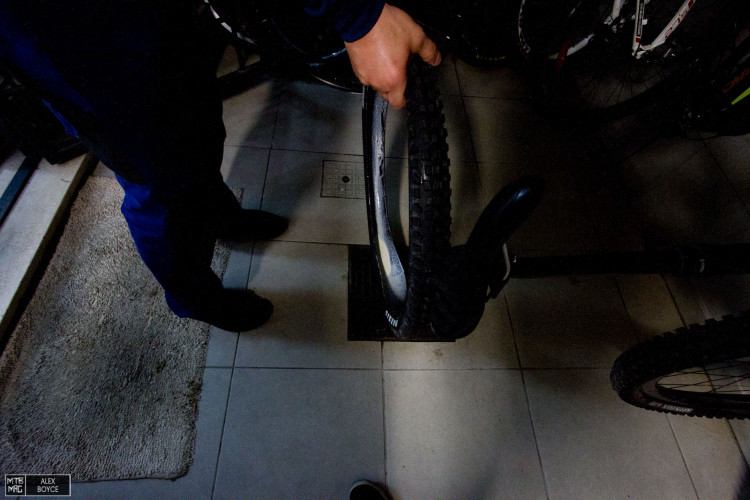
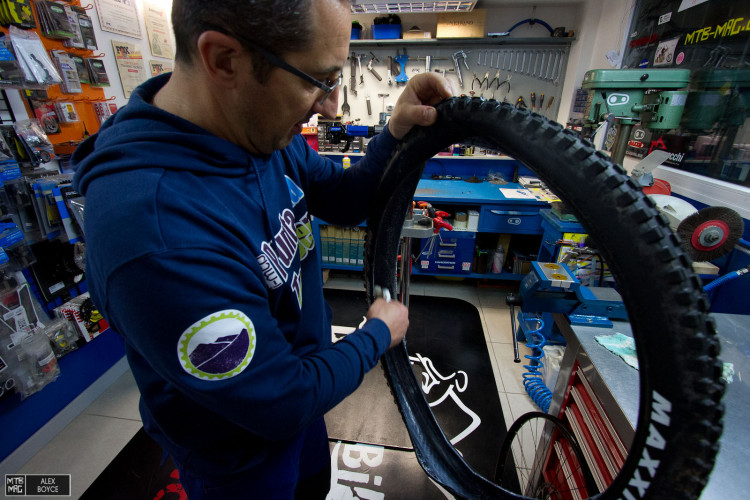
Remove the tyre, keeping the wheel upright.
If there is some liquid in the tyre then wait for it all to drain to the bottom.
This saves a lot of cleaning a few minutes of patience!
Dispose of the old liquid in the drain, it is water based so this is ok to do if there aren’t any huge chunks.
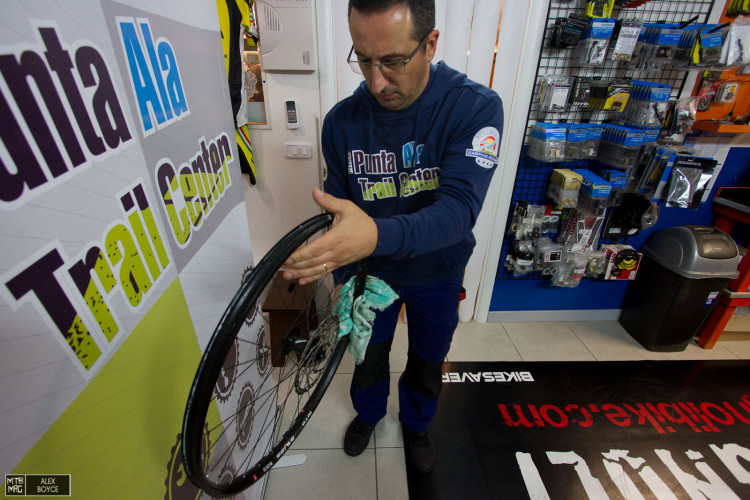
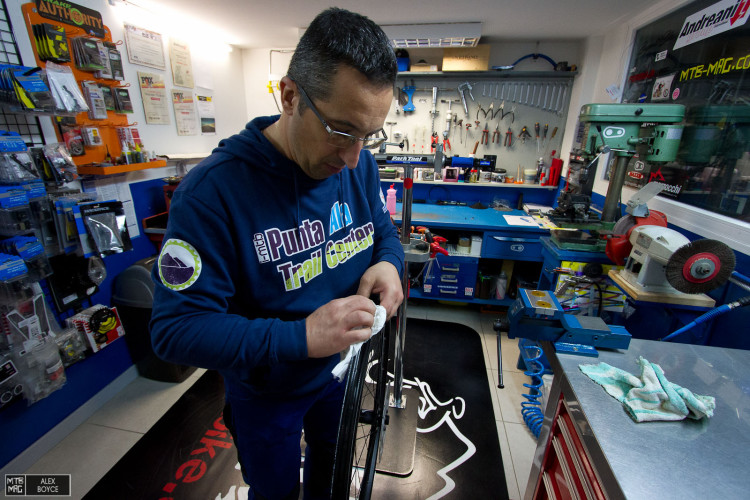
Take a rag and start to wipe the rim down.
Wipe as much as you can of the old latex off.
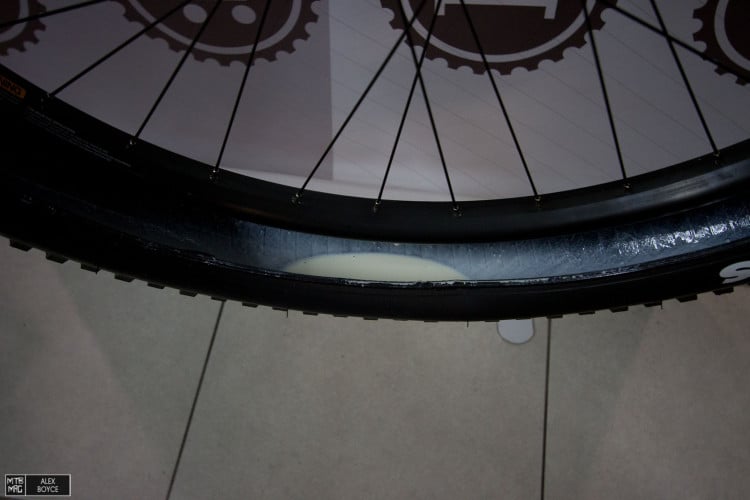
If you find globules around the valve, leave them alone! they are helping maintaining a seal.
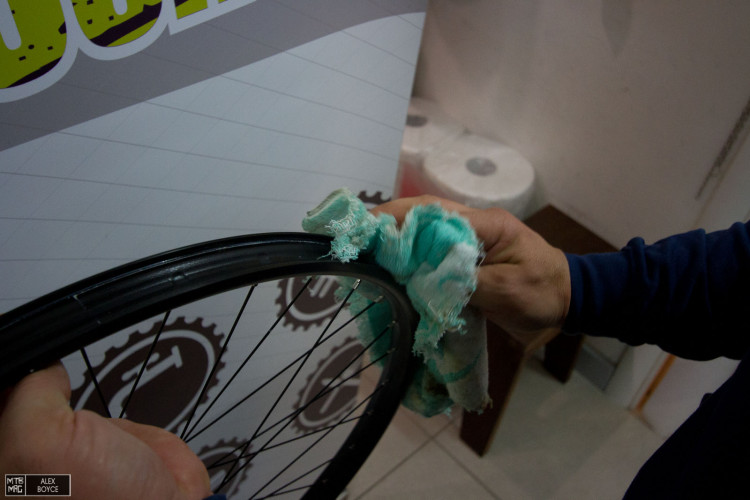
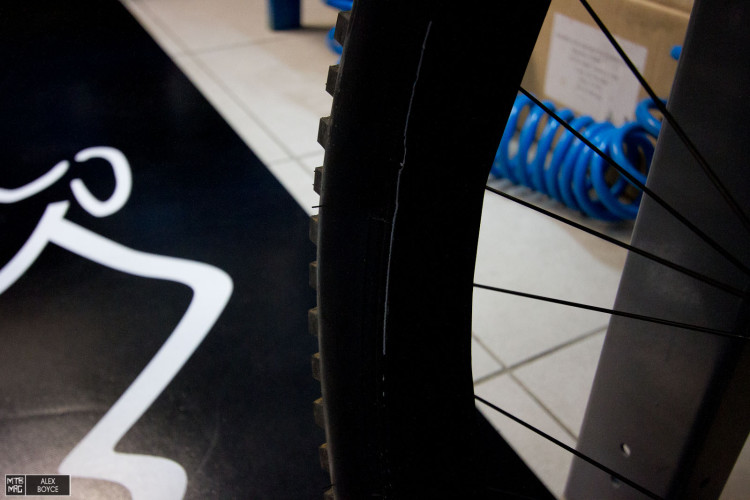
Go around the rim and check the sealing tape is in position especially around the edges where it can be shifted away by the tyre. (This is where you start to see the difference in quality of rim tapes for tubeless conversion!)

Here the overlap is acceptable although there is some latex filling there, leave it alone!
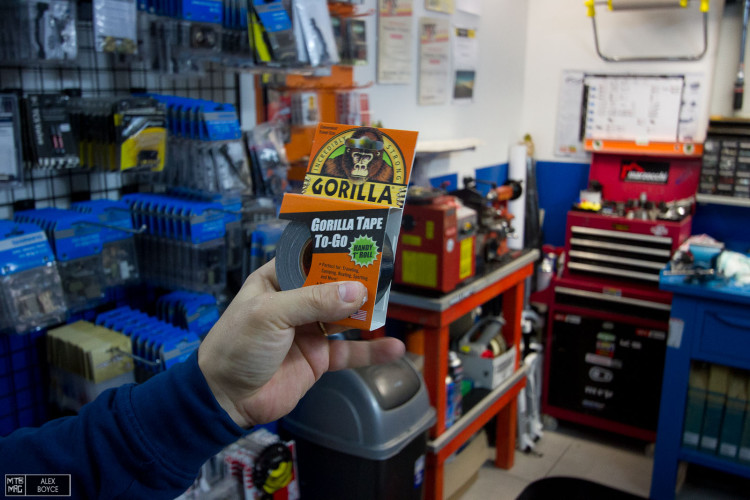
We don’t often push things like this but Gorilla tape really does an amazing job when applied properly.
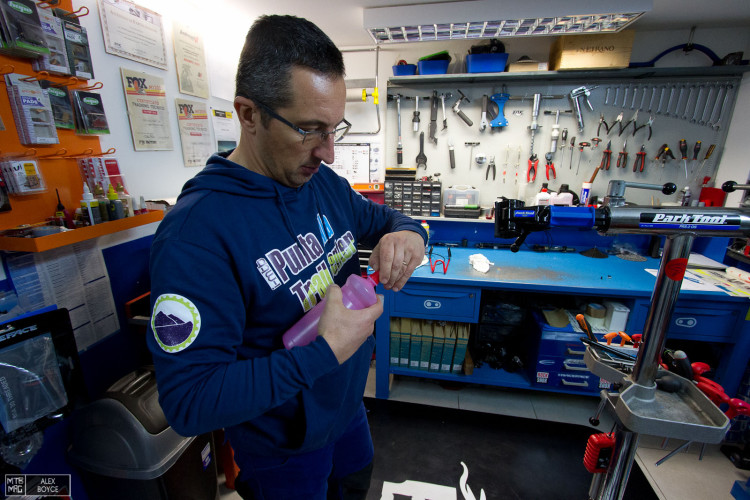
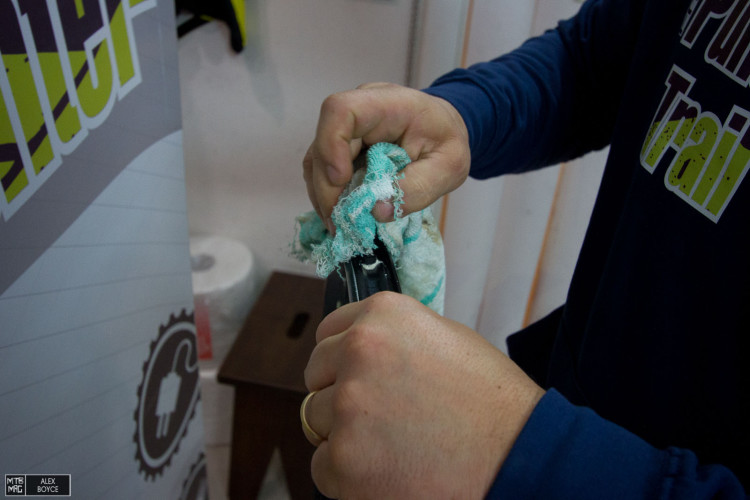
Take some isopropyl alcohol.
Now give a gentle clean round the rim.
The tyre is actually easy to deal with if you do this every month or two, depending how hot and dry you climate is! Take a rag and wipe inside the tyre that you left draining for a while before hand, more drain time, less wiping.

If the cloth is damp you can easily get the tyre back to this level of clean. Do this whenever you remove/install tyres and they will always be like this. There is no easy way around the sticky latex that you ignored for years…. ideas such as drills and brush pads inside the tyre will just wreck the beads and inner surfaces, which will increase risk of tyre sealing failure. If you tyre is super dry and sticky you are going to have to sit there by hand and pick it all out and spend more time than just cleaning like this once a month or so.
Once the inside is clean, double check the beads. Most importantly, make sure the bead is cleaned thoroughly and devoid of latex stuck to it. Excess latex will prevent a nice uniform sealing surface.Your tyre is now ready for remounting! Use our previous guide for that procedure.
Mechanic: Davide Bagnoli @ Punta Ala Trail Center