[ad3]
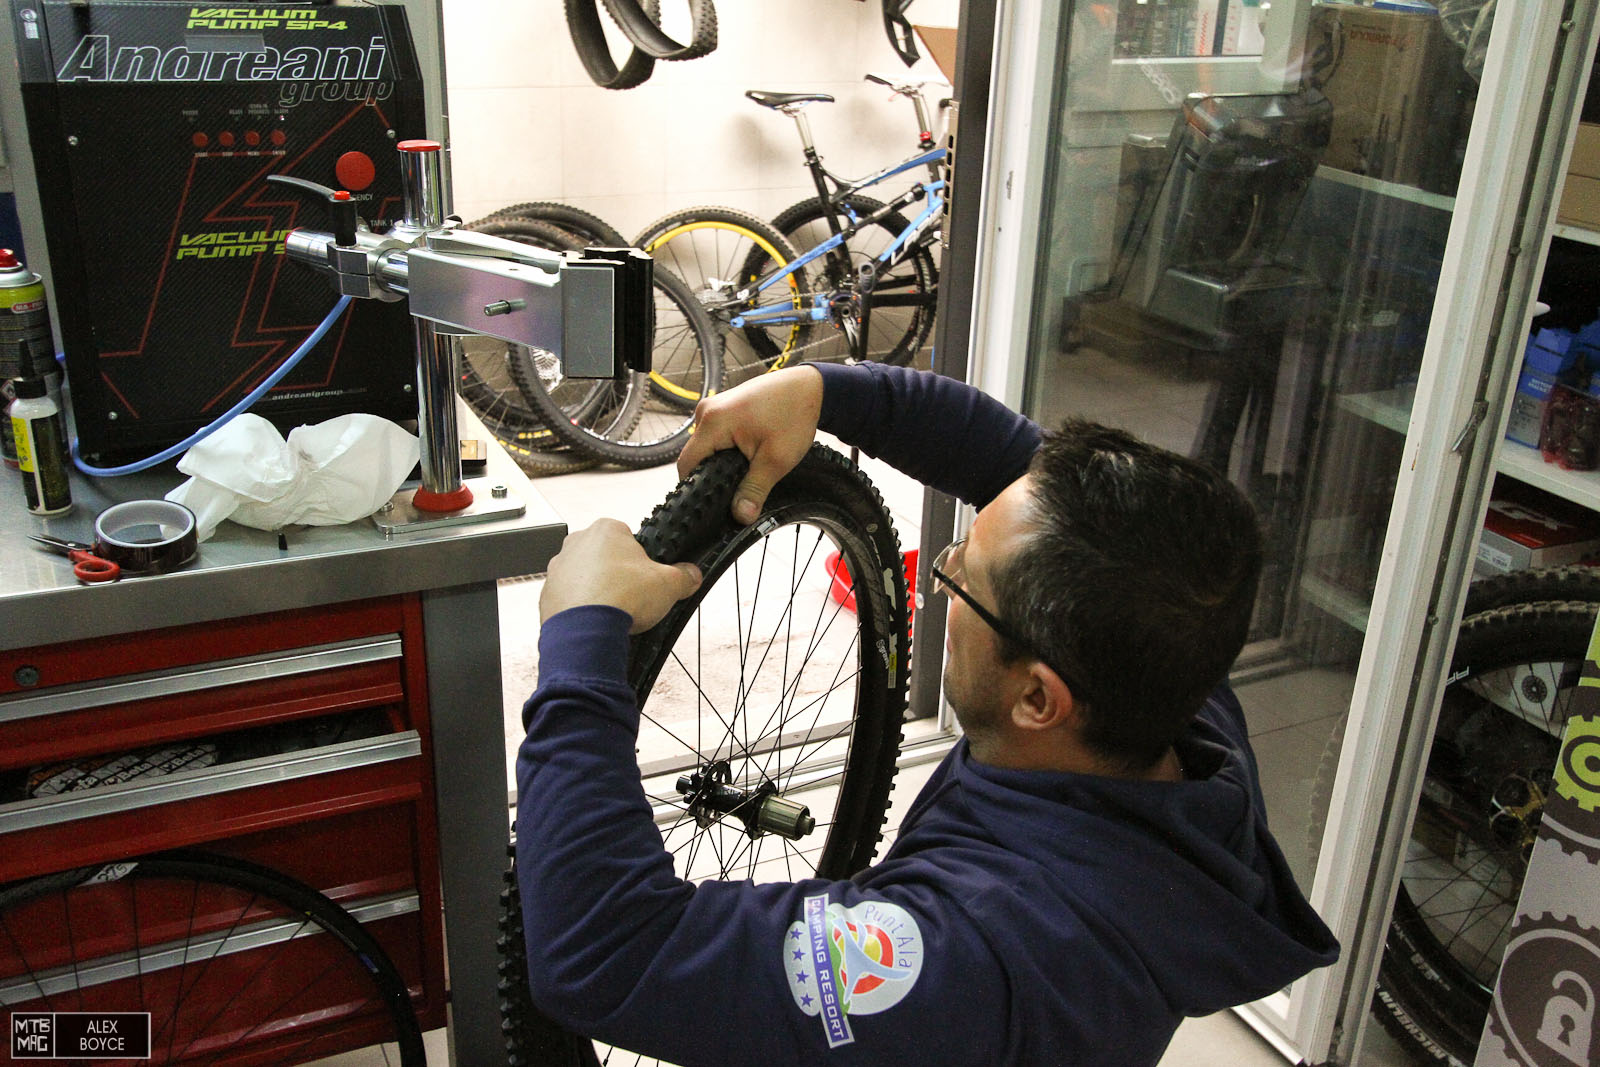
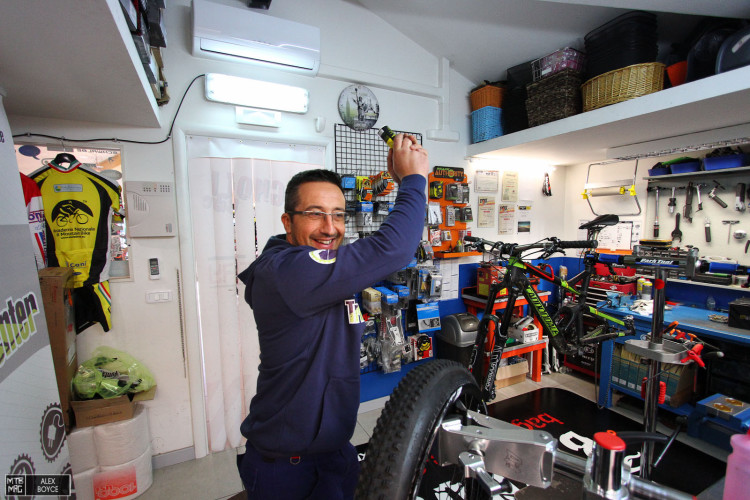
With the amount of wheels that have come through our hands recently and the possible arrival of new bike related presents which might need some mounting, we thought it would be good to show the basics required to mount tubeless tyres on any new set of wheels, whether aftermarket or that which came with new bike build. In this case, for examples sake, we used our FSA Gravity wheelset which comes with mounting tape and valves to make for an easy conversion to tubeless.
Tools: High flow inflation source, tubeless tape kit and sealant.
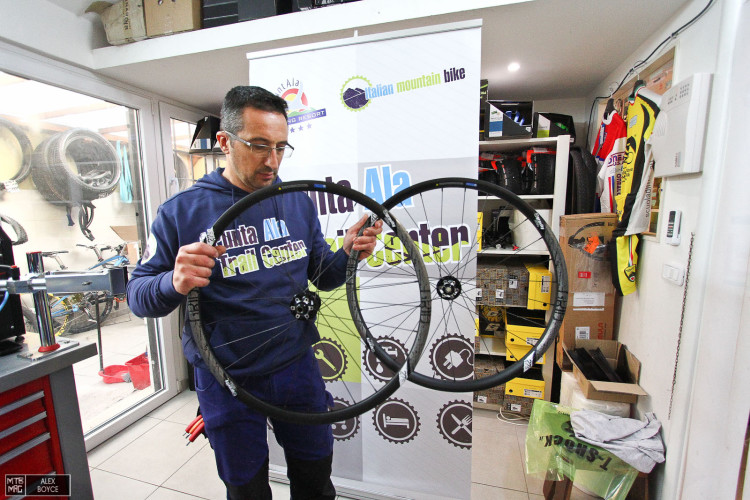
Everyone loves new wheels, so lets make them tubeless.
In this case FSA provides a complete kit for mounting tubeless. If you look at your local bike shop, or online, it is rather easy to find various tubeless kits that are either specific to your rims OR somewhat generic valves that work with a broad range of rims with similar profiles/widths.
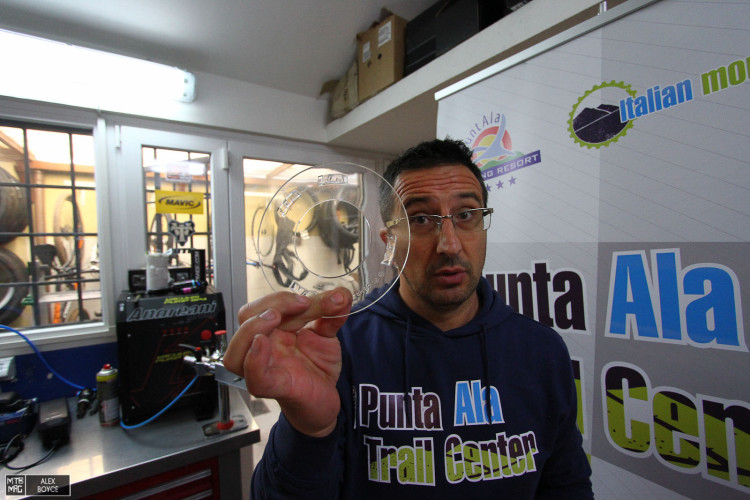
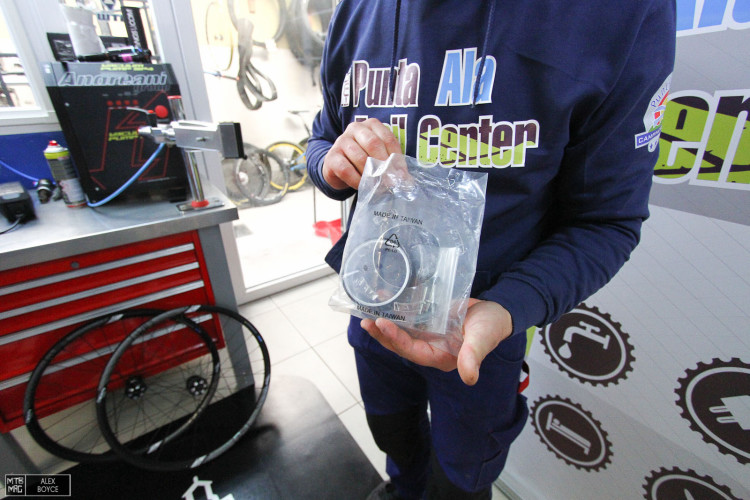
Our mechanic advised us based on his training by a top world cup mechanic what to do with this piece.

Yep it’s unfortunate, but it is not needed, so in the recycle bin it goes.
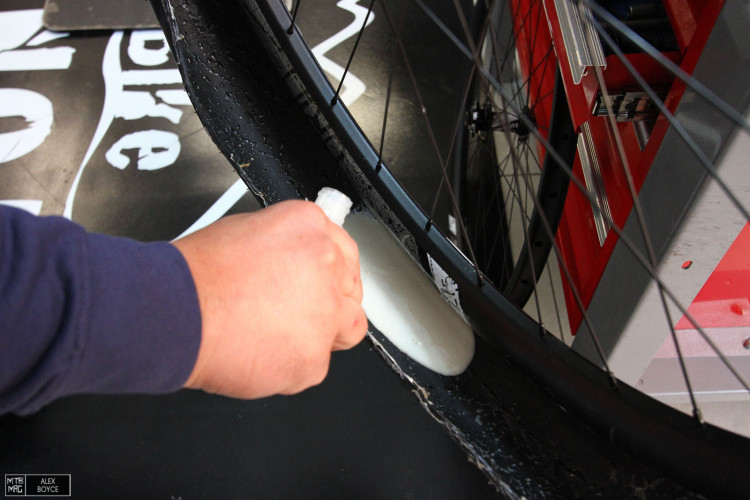
Take some alcohol cleaning fluid and a lint free rag.

Wipe the surface of the wheel rim to be mounted tubeless, even if it is new! This helps ensure that the rim tape actually adheres to the rims. Sometimes they can ship from the factory with residues or oils on them.

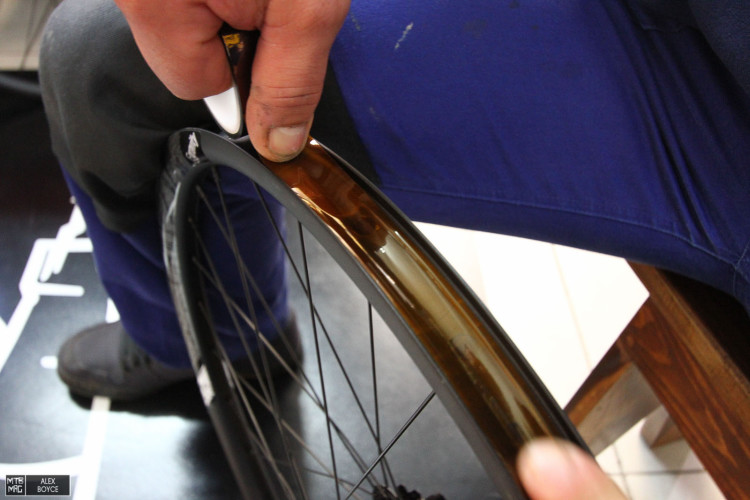
Find the valve hole and note a distance of around 14cm(5 inches) around it.
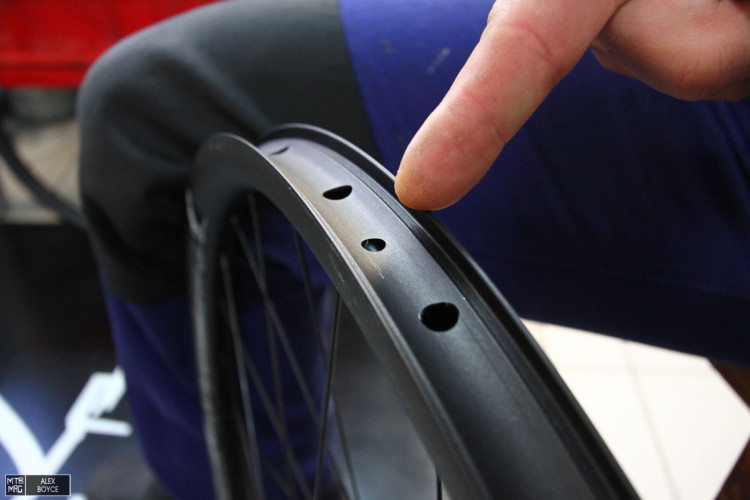
Here is the valve hole.
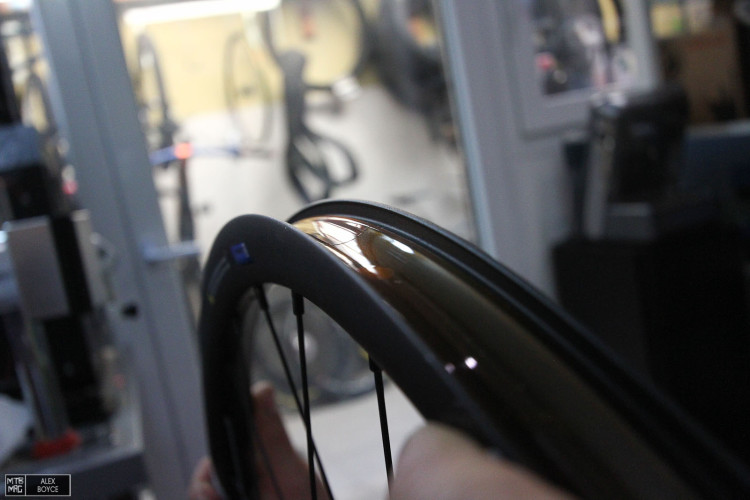
In the case of the FSA wheel tape, (which we find to be exceptionally good), a very precise install is required. placing the tape in the rim groove and then running it out very slowly and smoothing it down clearly.
When we have completed the whole round, then we overlap the tap by 10 cm.
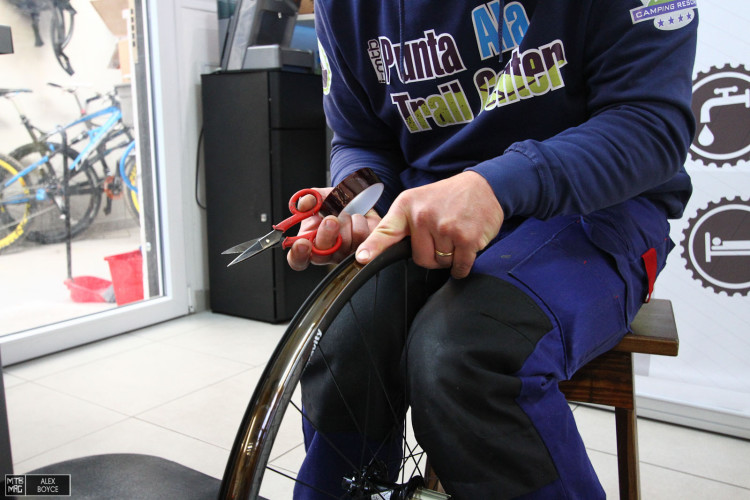
We precisely cut the tape with very sharp scissors and make sure the end is very tightly pressed down.
Like this no liquid or air can escape underneath the join. (One of the reasons we like FSA tape so much).
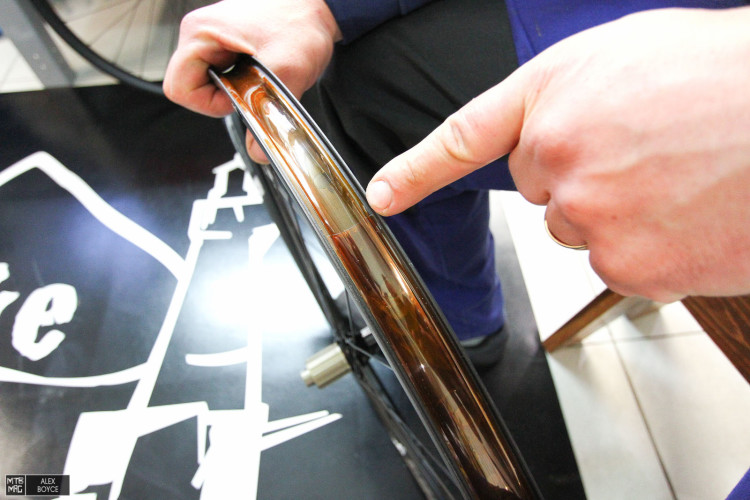
Barely noticeable, as we make a double check for air bubbles. It’s important to check and make sure the tape fully covers every single drilling for each spoke/nipple. If you miss one and don’t get it right the first time, it’s a bit of a mess and you’ll likely have to buy more tape and re apply, so be vigilant here…it’s worth it.
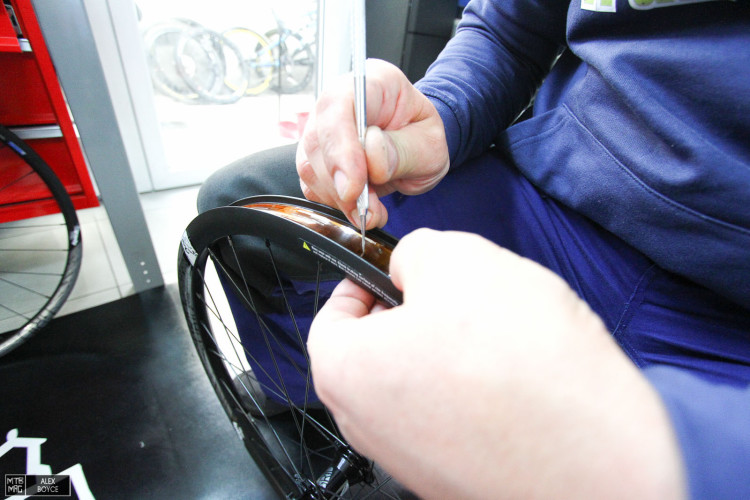
Find the valve hole.
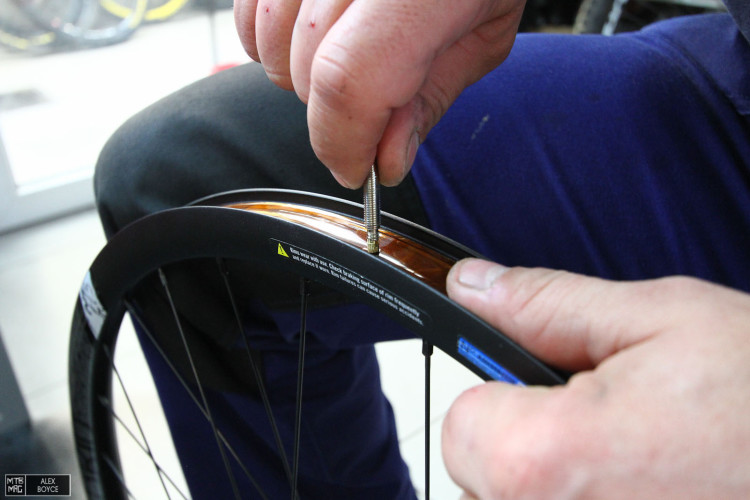
We cut a small hole for the valve, without pushing our sharp tool all the way through.
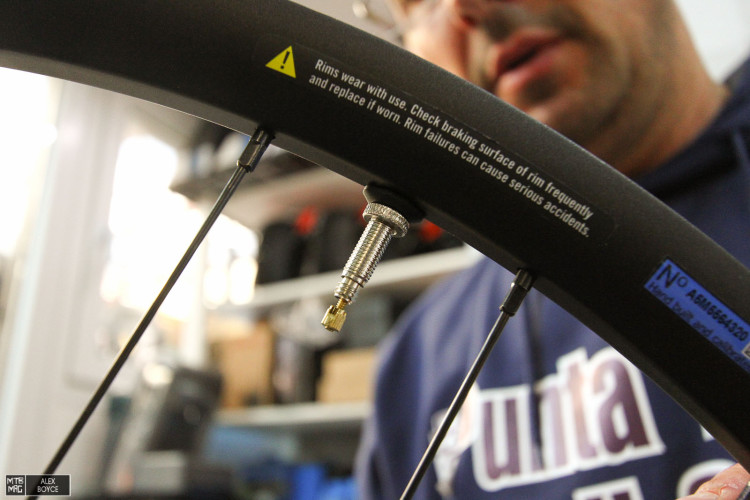
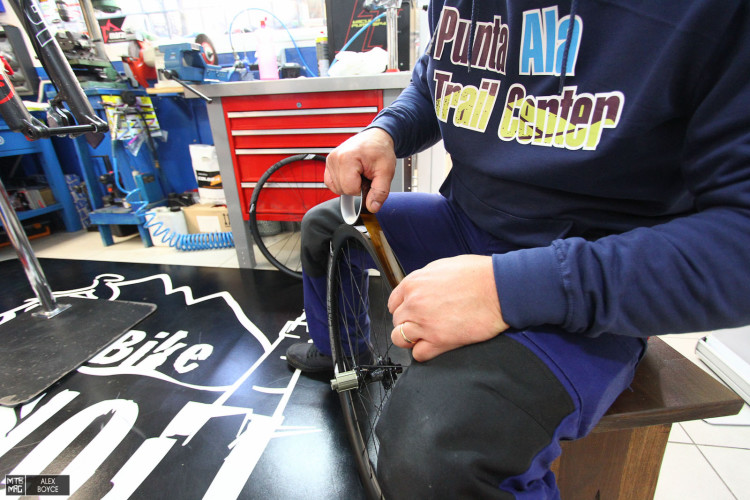
We install the valve, note with many rims they might have their own custom rim capping washer and O-rings, make sure you use it to keep the valve stable in the hole. Tighten it quite a bit, but make sure that it doesn’t rotate inside of the rim. This is especially with square shaped valve seals.
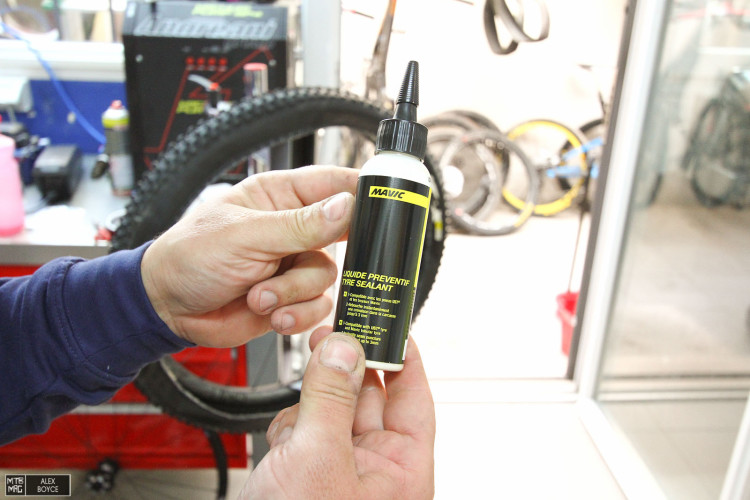
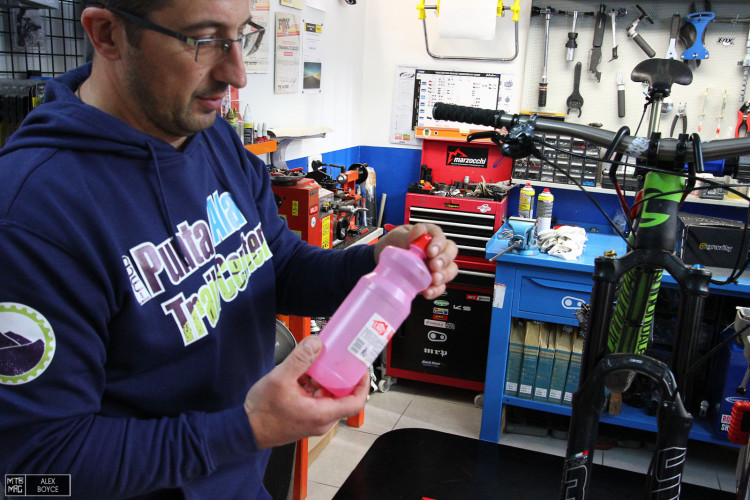
As we choose to mount Mavic tyres, we thought best to use their recommended sealant, although all sealant brands do the, job we it was felt better to stick with our tyres’ recommended brand.
Agitate the liquid…
In this case with one side of the tyre already placed on the rim we use half or about 60grams of liquid.

We then push the other tyre side onto the wheel.

Using a high flow air source we inflate the tyre to around 45 PSI or 3 bar. Some carbon wheelsets have max pressures so check your user manual and be careful with this. Some rim/tire combos can also be inflated with simply a high quality floor pump, quick hands and good technique. Tip : If you get the beads out of the drop center of the rim and into their respective channels, you will increase your chances of luck inflating with a floor pump.
We then spin the wheel to spread the sealant around the tyre by bouncing it and spin at the same time.
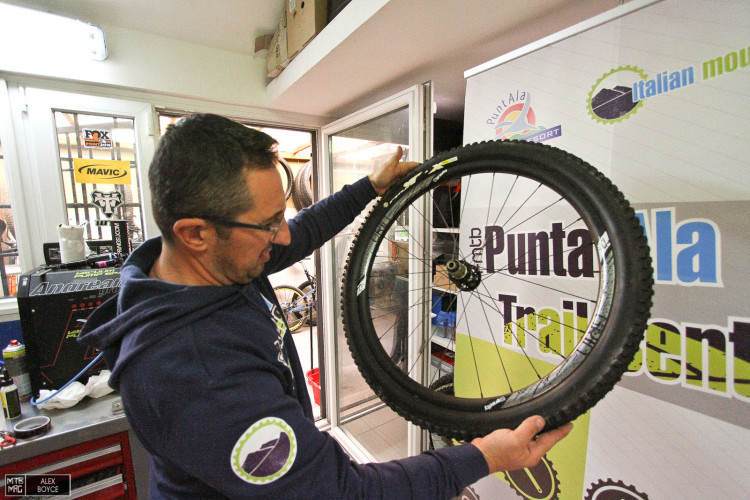
Once done we check the tyre for leakage and make sure it is mounted evenly! Set your tires to the your preferred pressure and you should be ready to go. Keep an eye/ear open and make sure there aren’t any slow leaks or bead areas that haven’t sealed.
Enjoy you new wheels and ride if you can!
[ad45]