[ad3]Depending on whether the bike you bought came with brake hoses that are too long or if you have just installed a new set of Shimano brakes we go through the steps needed for shortening the brake hoses.
Tools: Shimano brake hose tool, cutting tool, 7mm spanner, cleaning fluid, Shimano olive and connector insert and sealing ring.
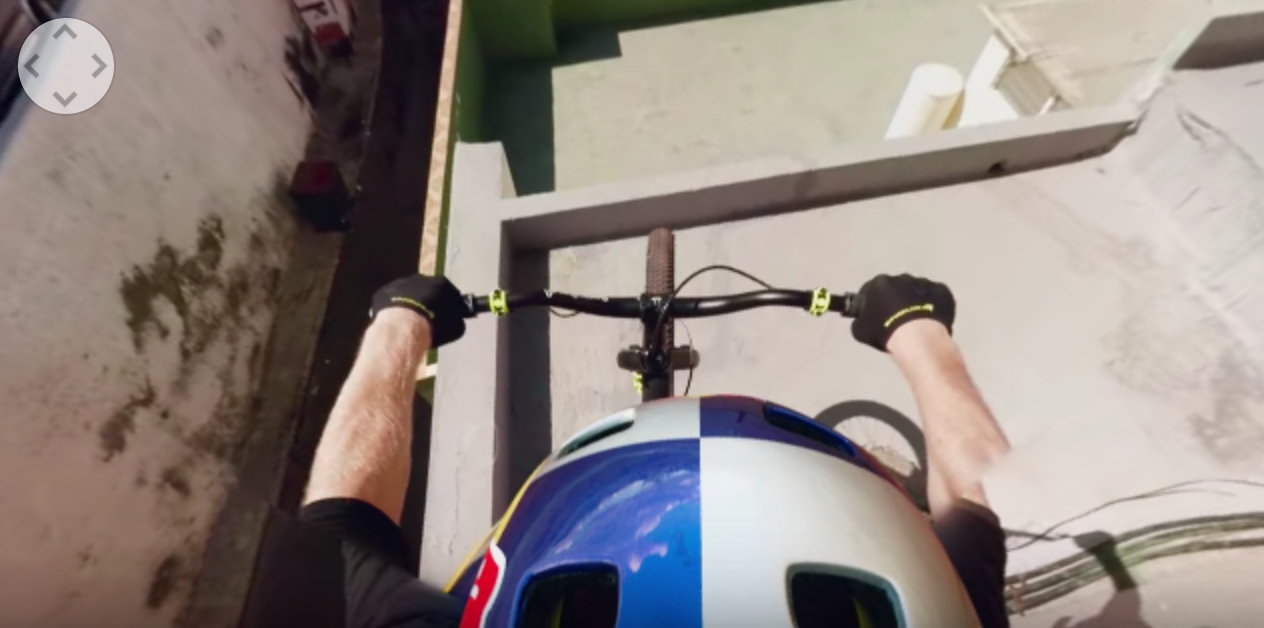
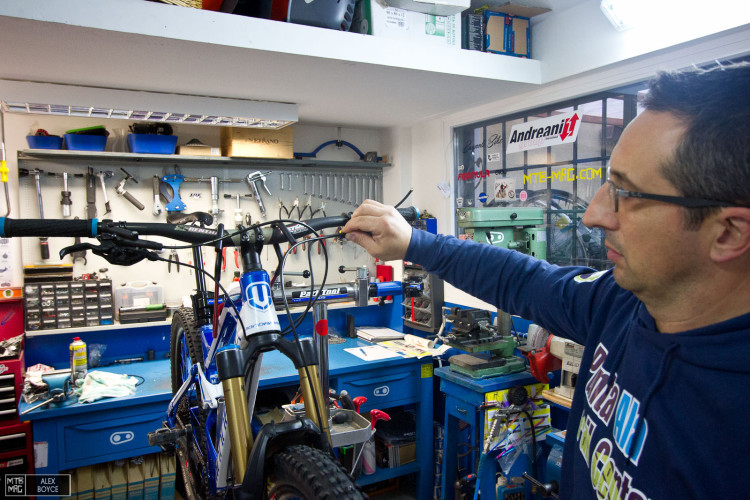
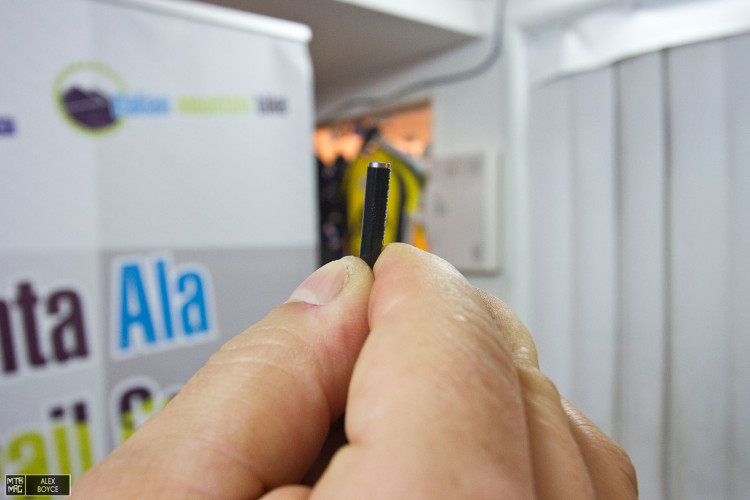
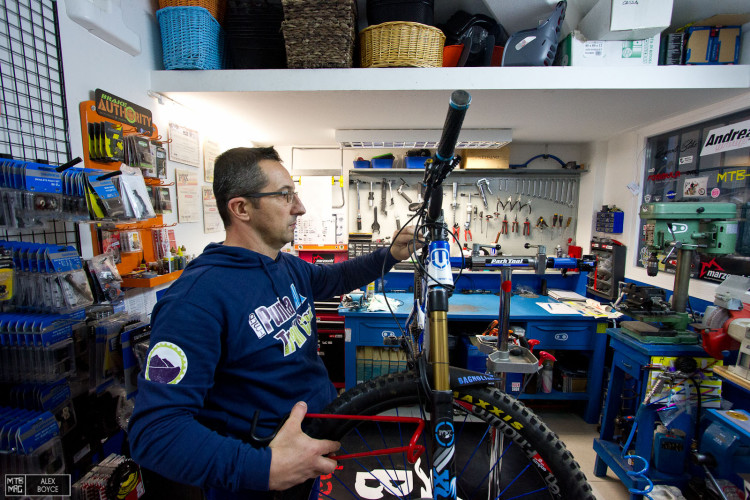
If you are like many riders out there, your brake hoses might be too long out of the box, like this one pictured above.

We are going to show you how we shortened our Shimano Saint brakes.
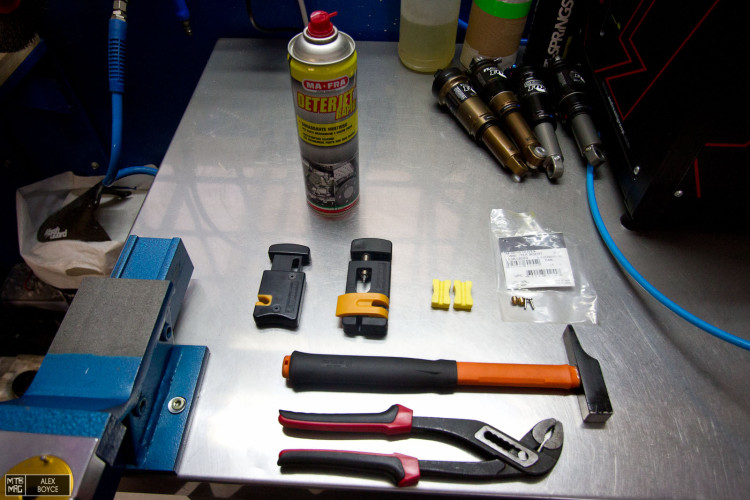
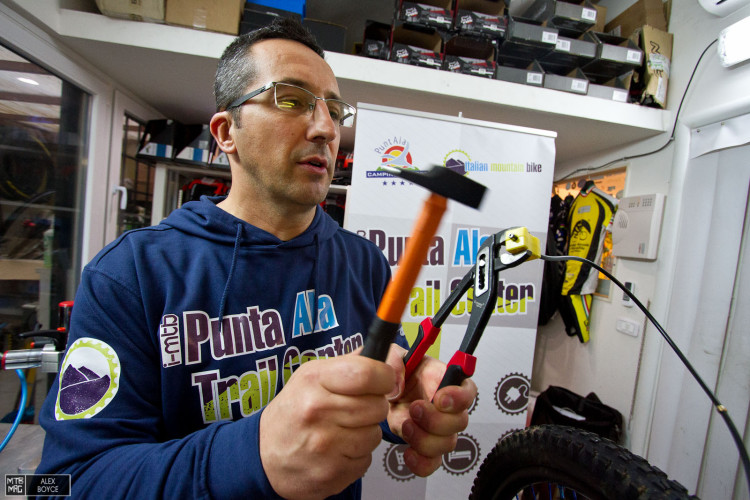
These are the tools that we need for the job, note the yellow Shimano hose clamp.

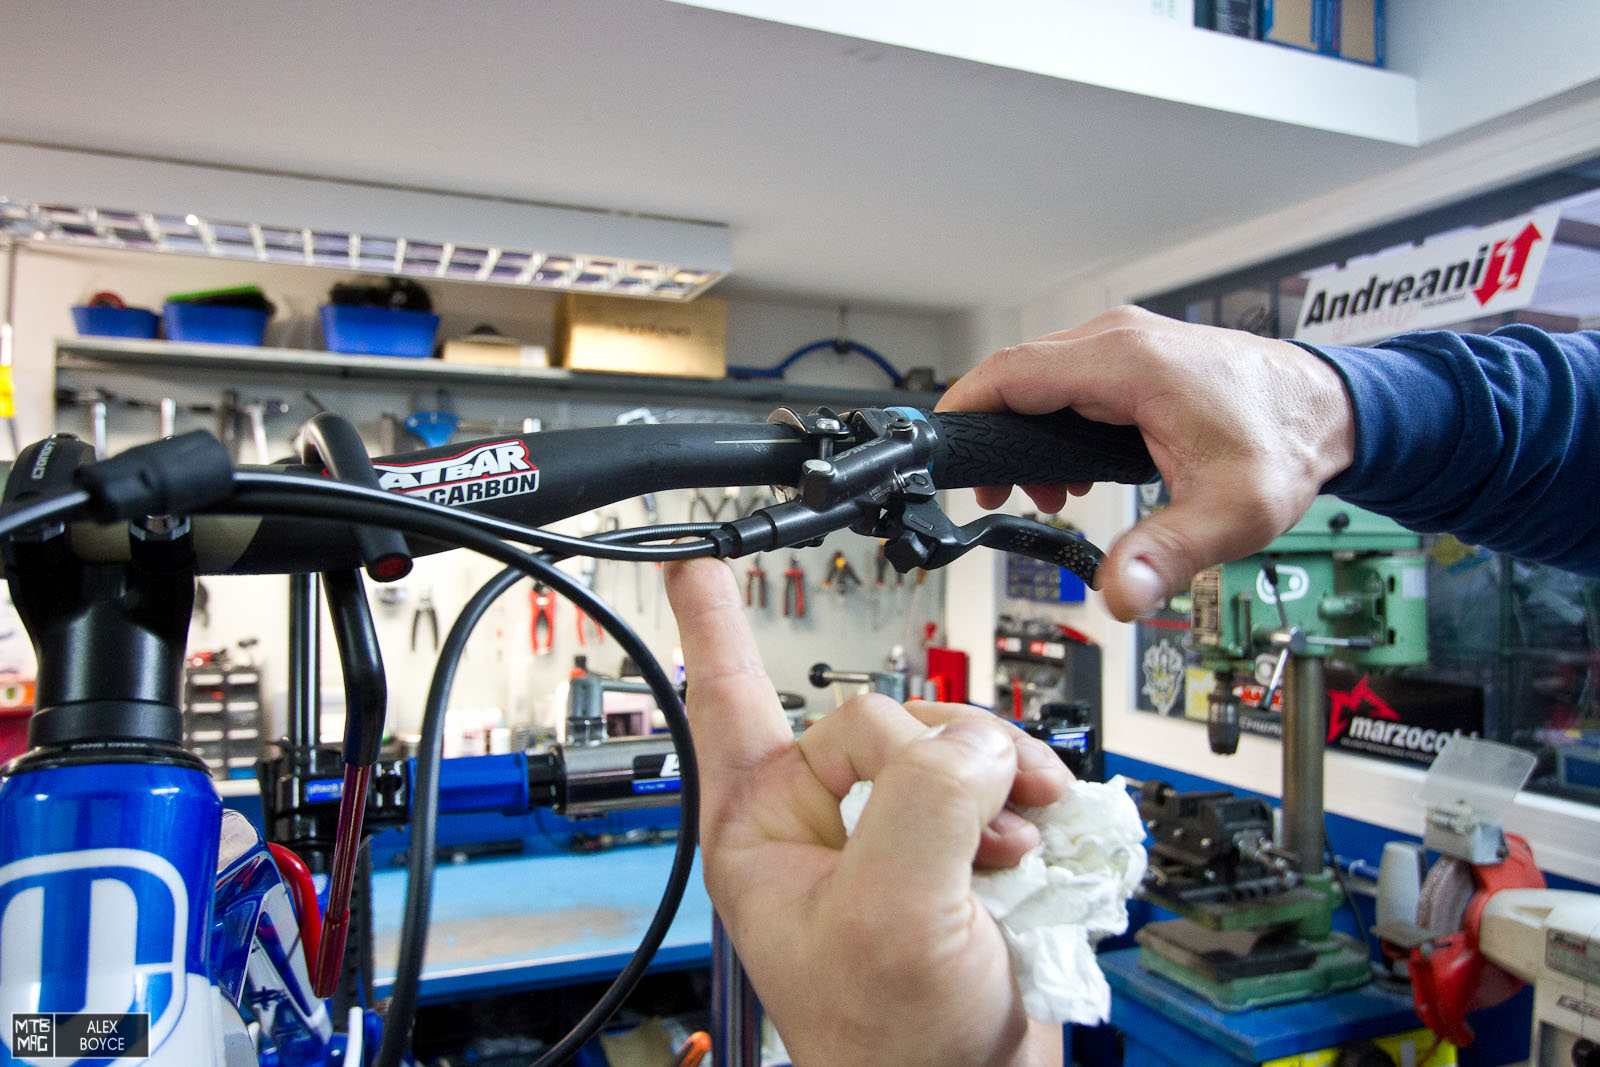
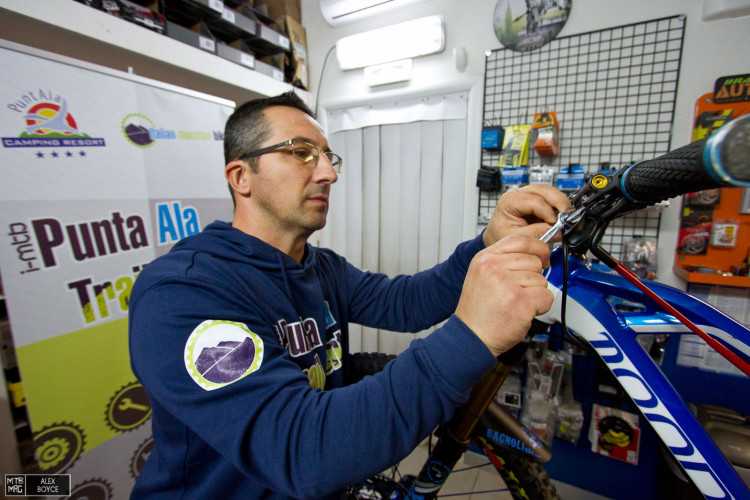
First we pull back the rubber fitting at the junction of the hose and lever.
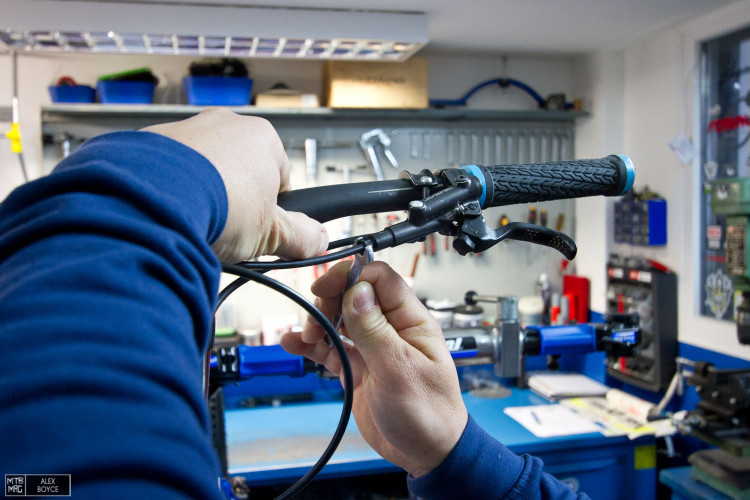
Then with a 7mm spanner we unscrew the nut that secures the hose about 3/4 of the way out.
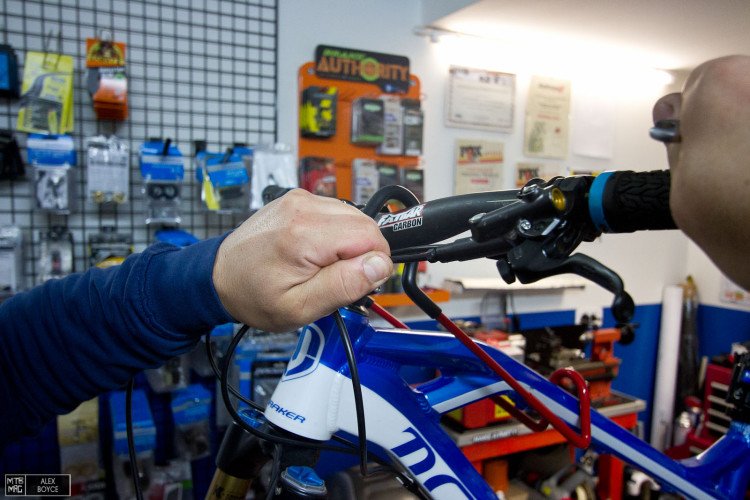
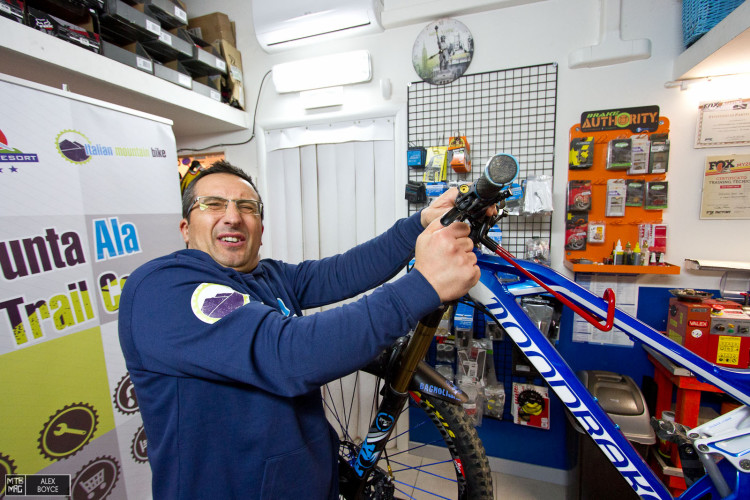
We then pull the hose so it is unseated, it will click, and then stop as the bolt holds the hose still partially in place, this avoids any fluid gushing all over the floor and bike.
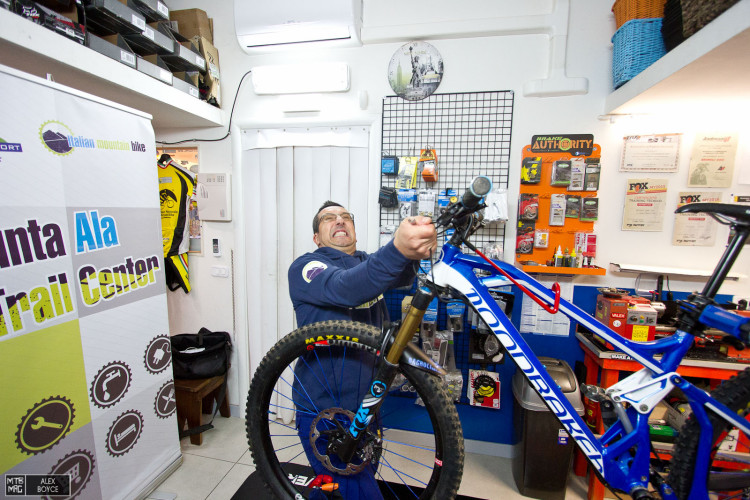
If you are pulling your hose like this, then be sure that the bolt is not undone. Don’t force anything.
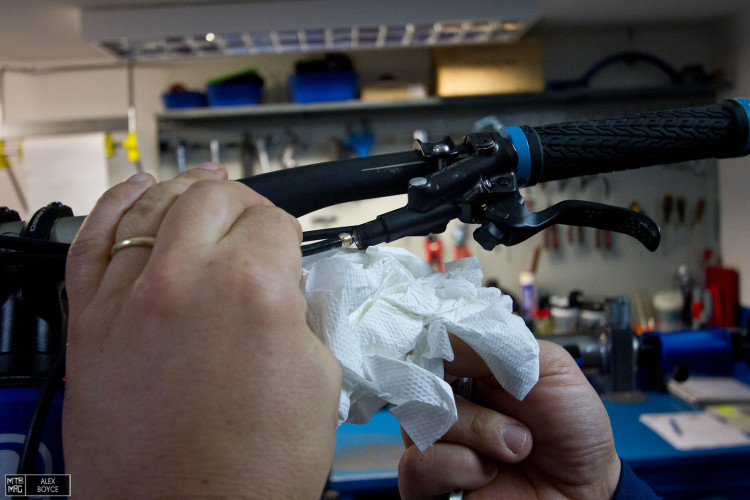
As you unseat the hose have a cloth ready to capture any drops of fluid that might exit from the system. Additionally, it’s best to remove your wheels and cover your calipers with a clean rag to avoid contaminating your rotors and pads with mineral fluid.
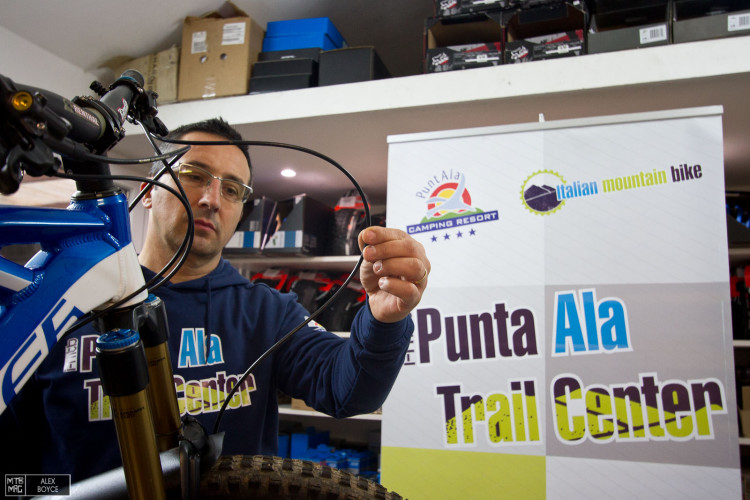
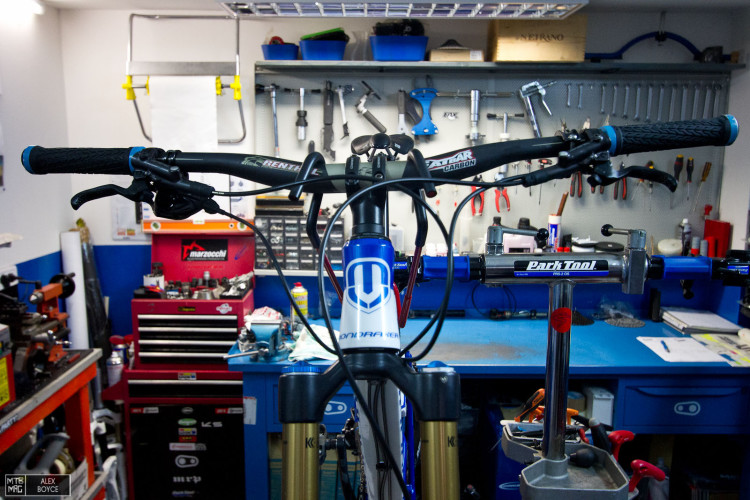
Then, once removed inspect the best route for the hose.
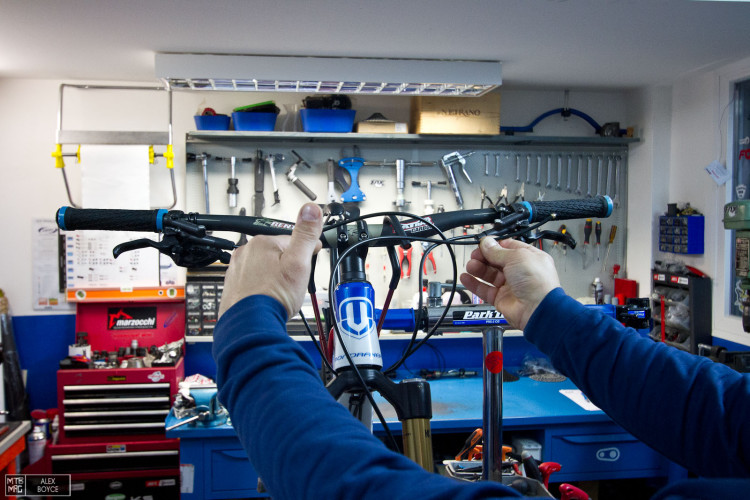
This is an ideal amount so we will be removing about 10 cm of hose. That will still enable our suspension to move freely without excess hose.
We take our hose cutting tool and trim the excess, during this whole procedure make sure to keep the end of the hose pointed up, to avoid having fluid leak out.
In the trash it goes.
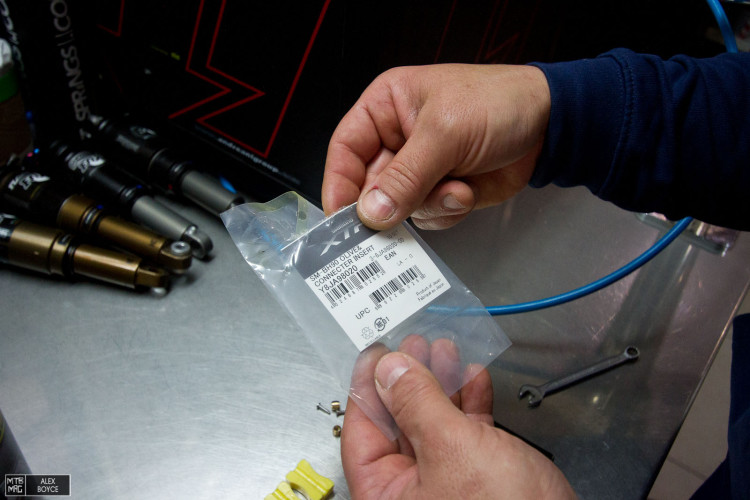
We take our Shimano olive and connector insert and slide the olive over the hose, then seat the connector insert by hand.
Place the olive before the end cap!
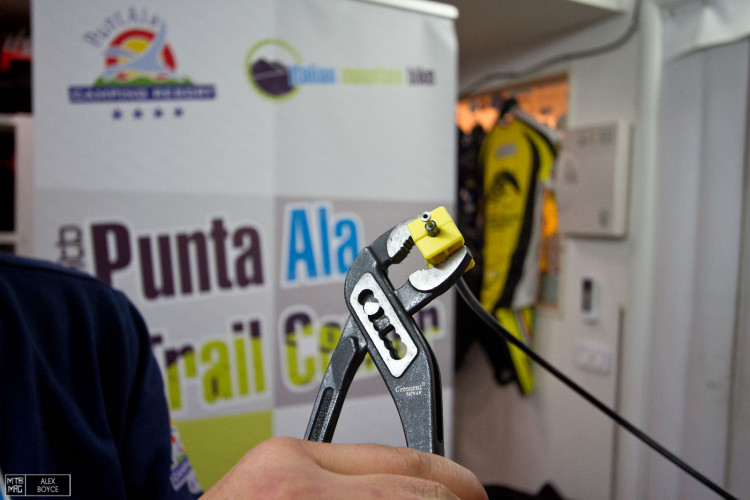
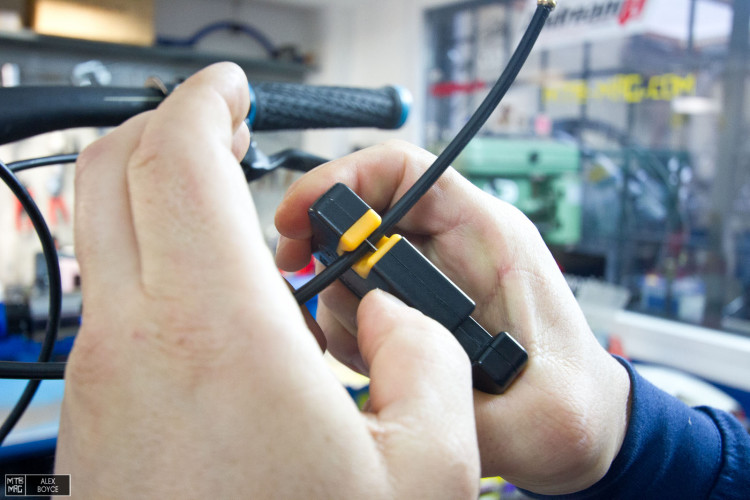
Once seated we take our yellow Shimano hose clamp and grip the hose end in the clamps. Do not clamp the olive. Slide that further down the hose, past the clamps.
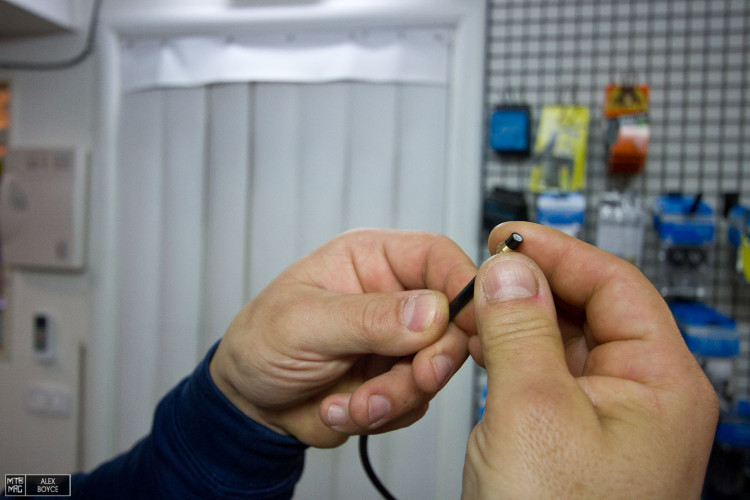
With light taps we tap home the connector insert with a hammer.
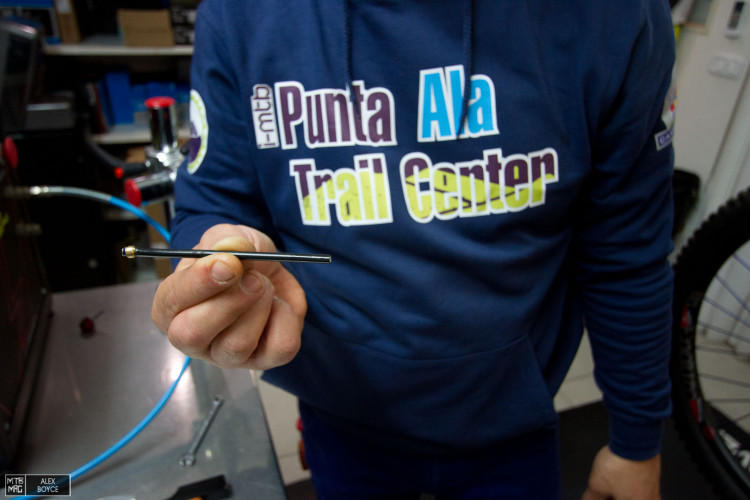
It should be seated as pictured here. Always keep it pointed up so as to avoid losing any fluid.

We then replace the hose into the brake lever body, through this whole procedure it is essential to not touch or squeeze the brake lever!
Once in, we re-tighten the 7mm bolt so the olive seats properly with a click and is snug.
If you are tightening like this, you are over tightening! Be gentle.
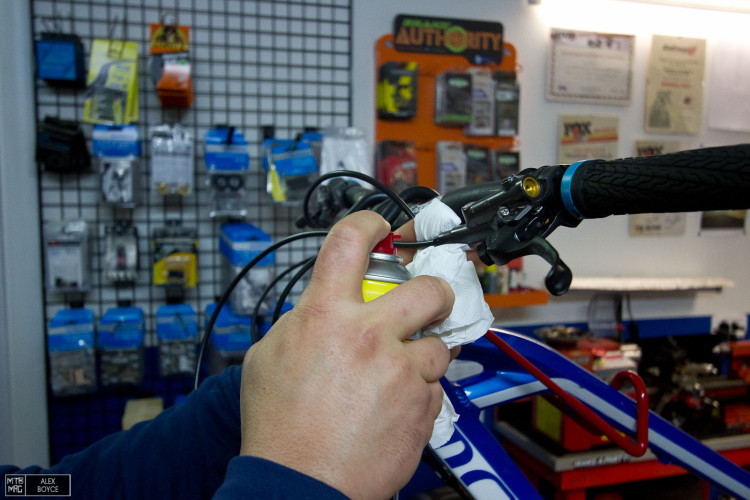
We clean the area surrounding the hose/lever junction, removing any leftover mineral fluid.

We then pump the lever a few times to check that the feel is correct and no fluid has exited from the hose/lever junction. With Shimano brakes it is very unlikely at this point that you need to bleed, which if necessary and we will be showing how to bleed Shimano brakes next week.
We then repeat the procedure for the rear brake, making sure that the new length takes into account handle bar rotation.
When all is done, replace the rubber hose fitting and you are finished. No more wonky hose lengths to risk getting caught up in trees when riding, and a much cleaner look.
Mechanic: Punta Ala Trail Center
[ad45]