[ad3]
Last weekend RockShox extended us a special opportunity to travel up to British Columbia for two days of tuning and testing in Squamish and Whistler. This was much different than a product launch. The sole purpose of the trip was to really dig deep with testing both ends of the spectrum on the air spring side for Pike and Monarch.

As many of you know, one of RockShox’ greatest assets in many of their products is their ease and ability in tuning for riders of all different skill sets, sizes, weights, etc. This camp mainly honed in on tuning the spring side through the use of volume reducers to manipulate the air spring’s progression curve.
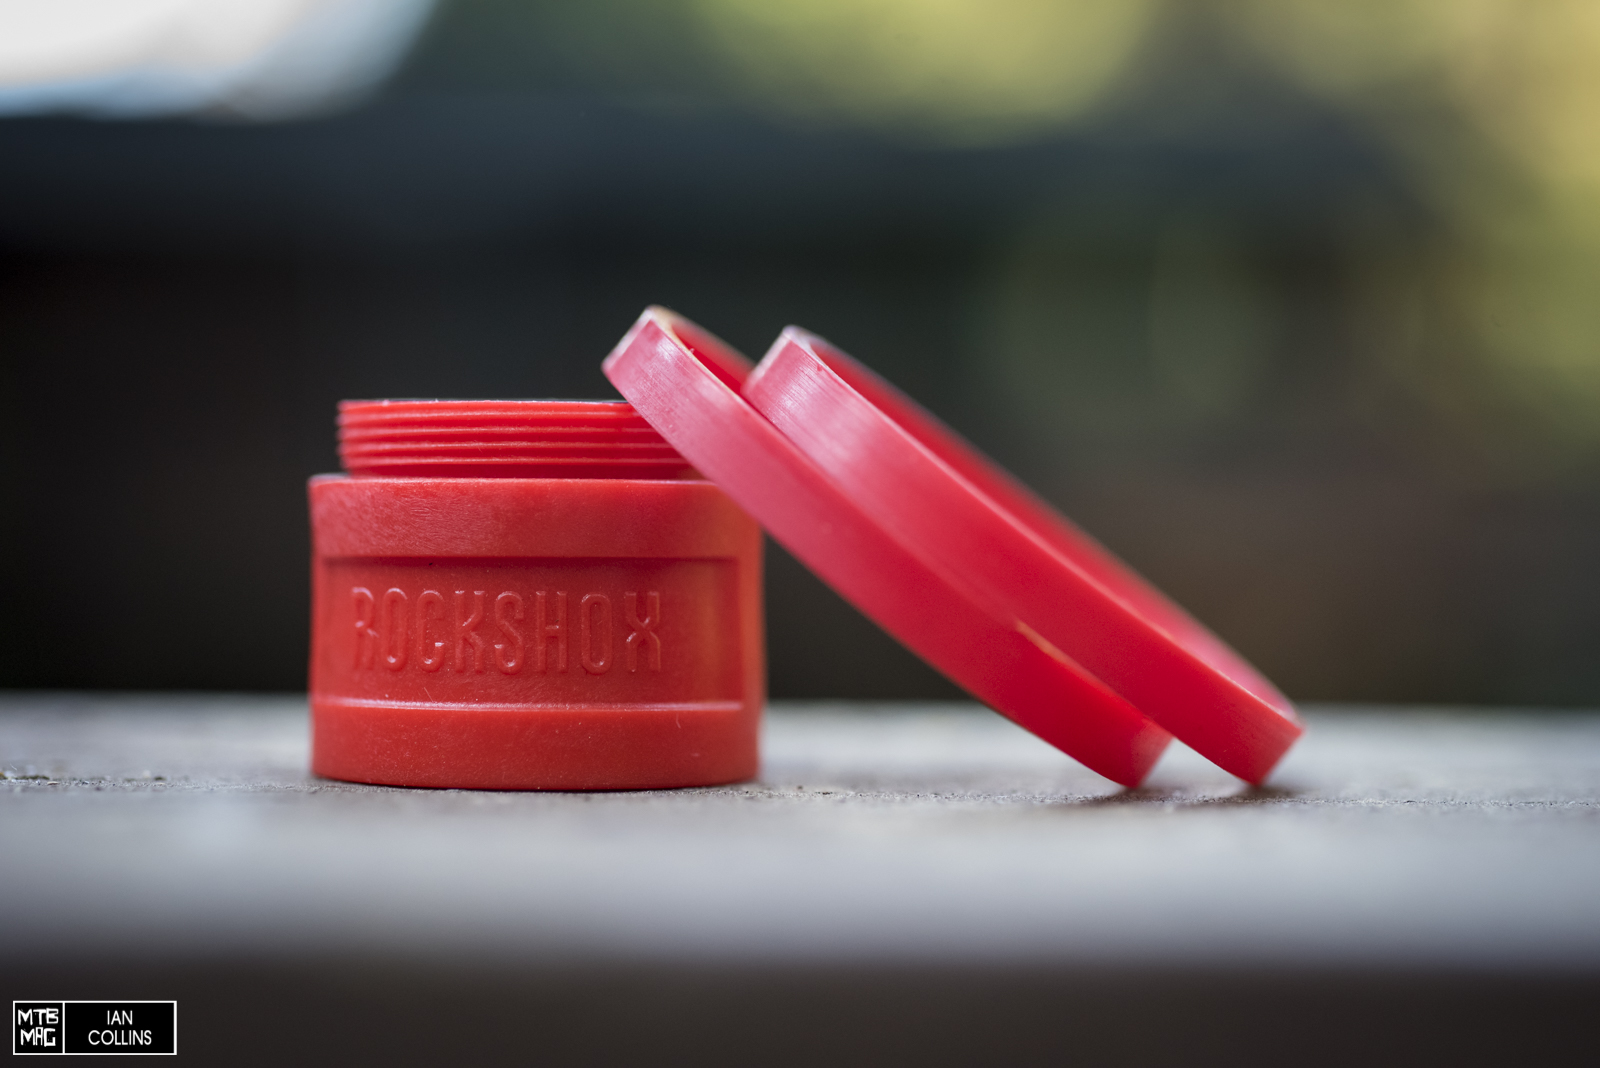
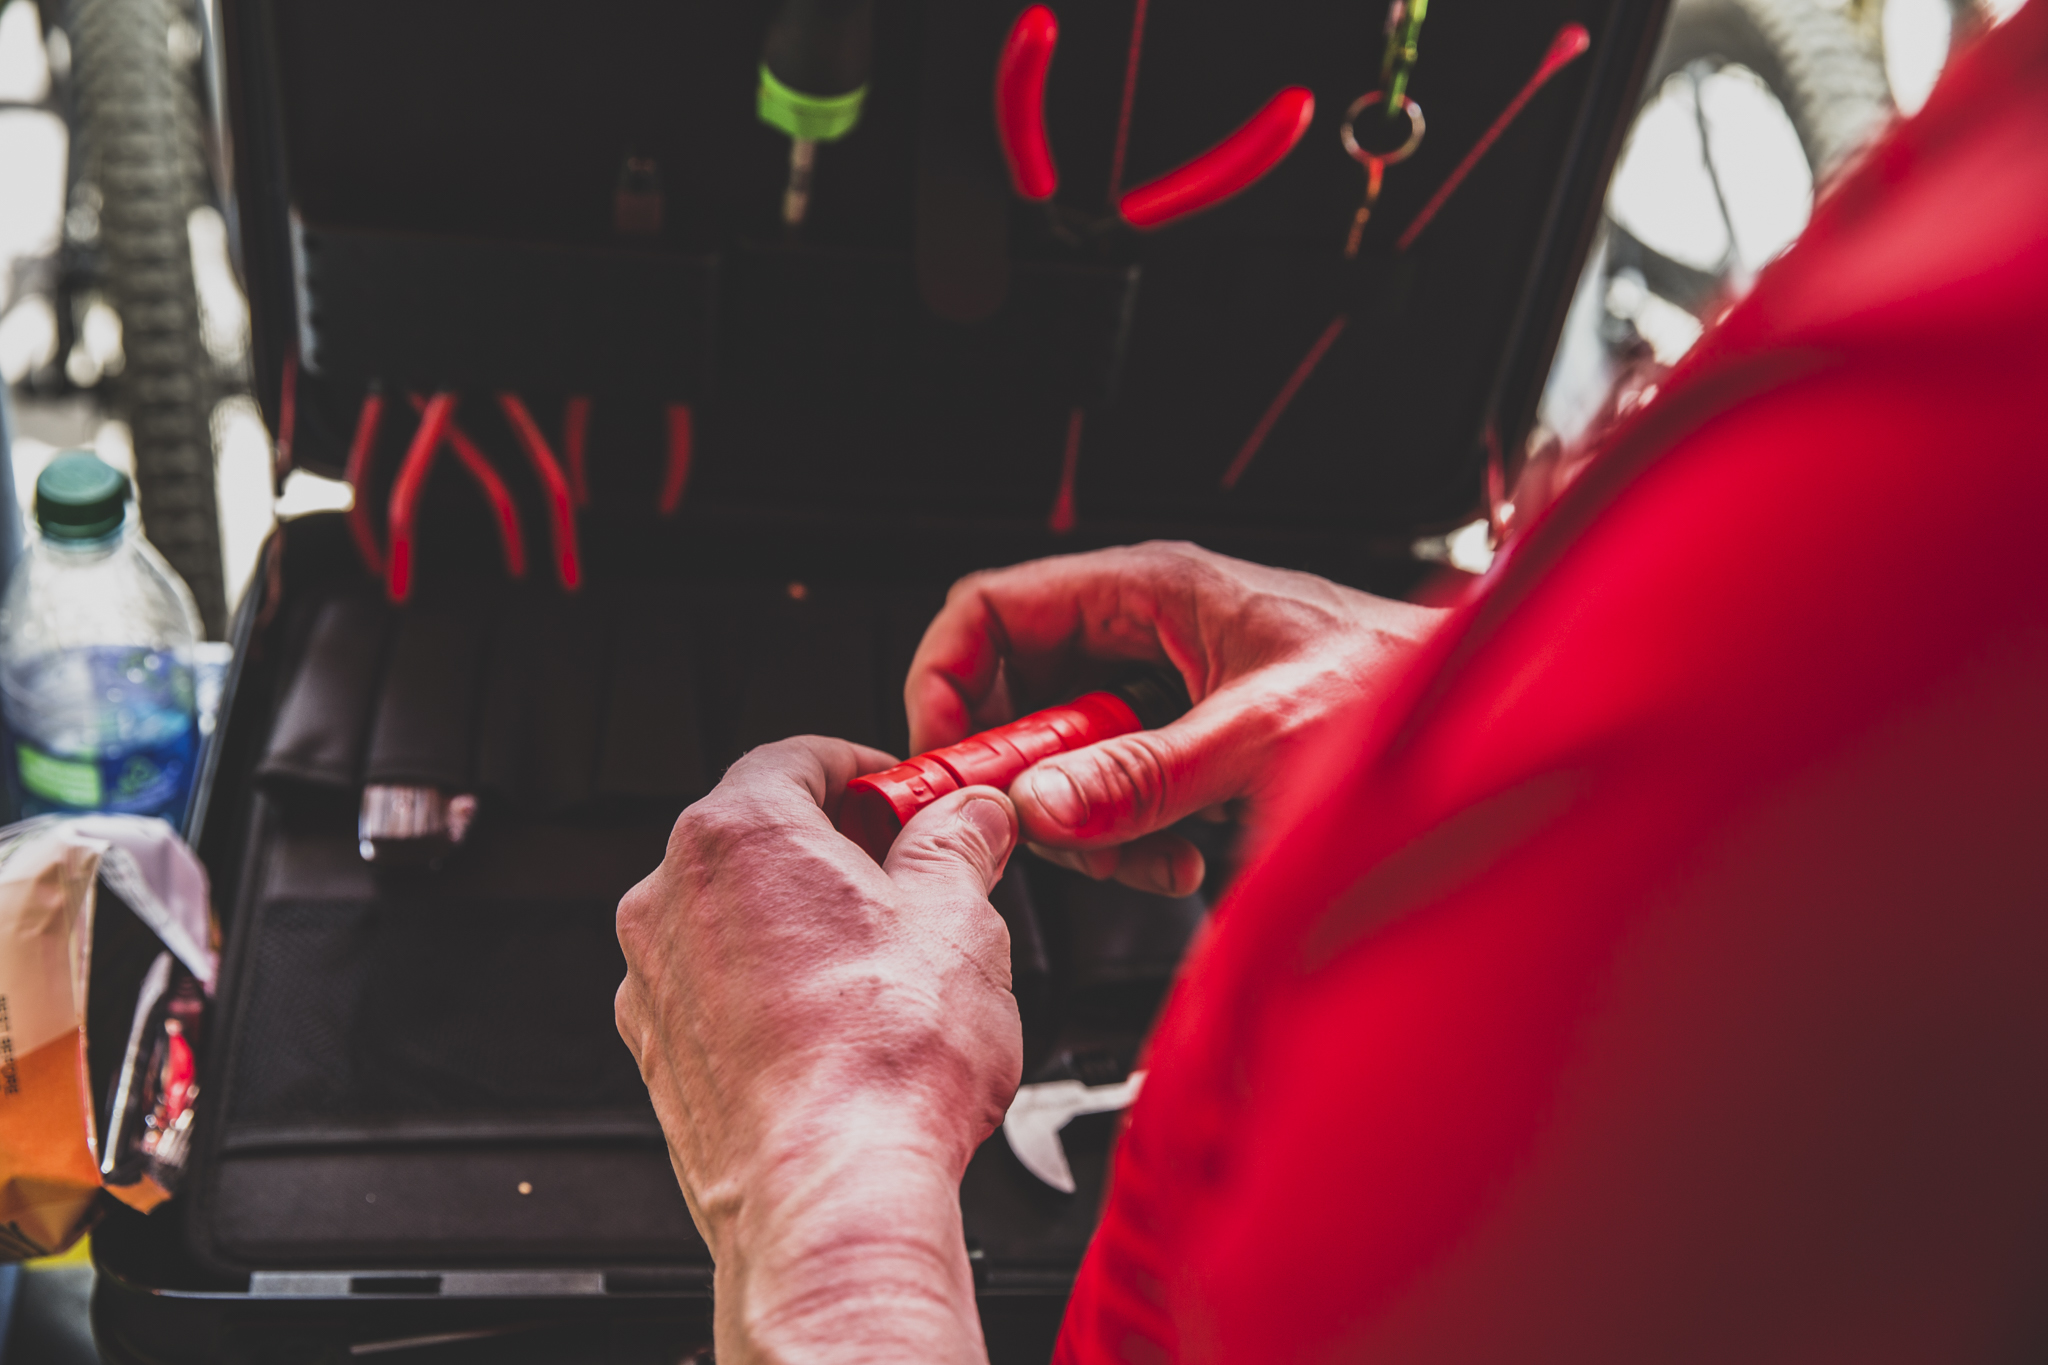
In SRAM speak, the fork’s volume reducers are called “Bottomless Tokens” and the Monarch’s are called “Bottomless Rings”. The point here was to really experiment with a wide range of options and feel just how much breadth is on offer. We spent more time than we normally would on unlikely setups and found that we learned quite a bit from doing so.
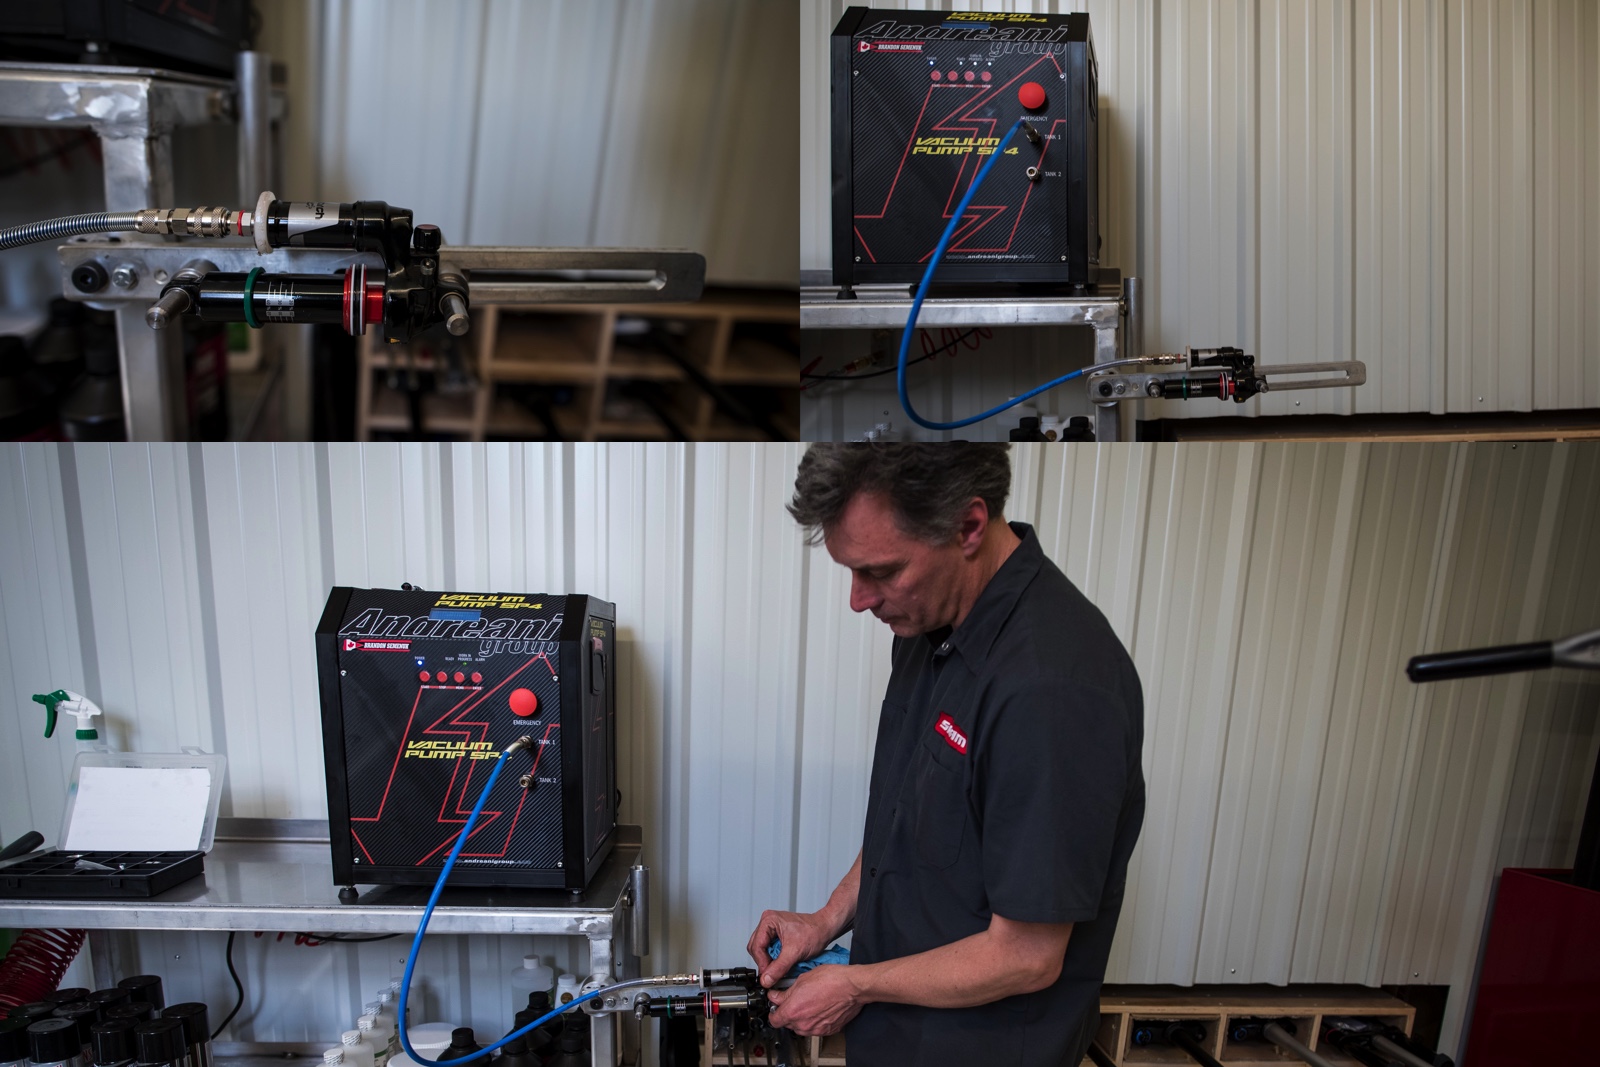
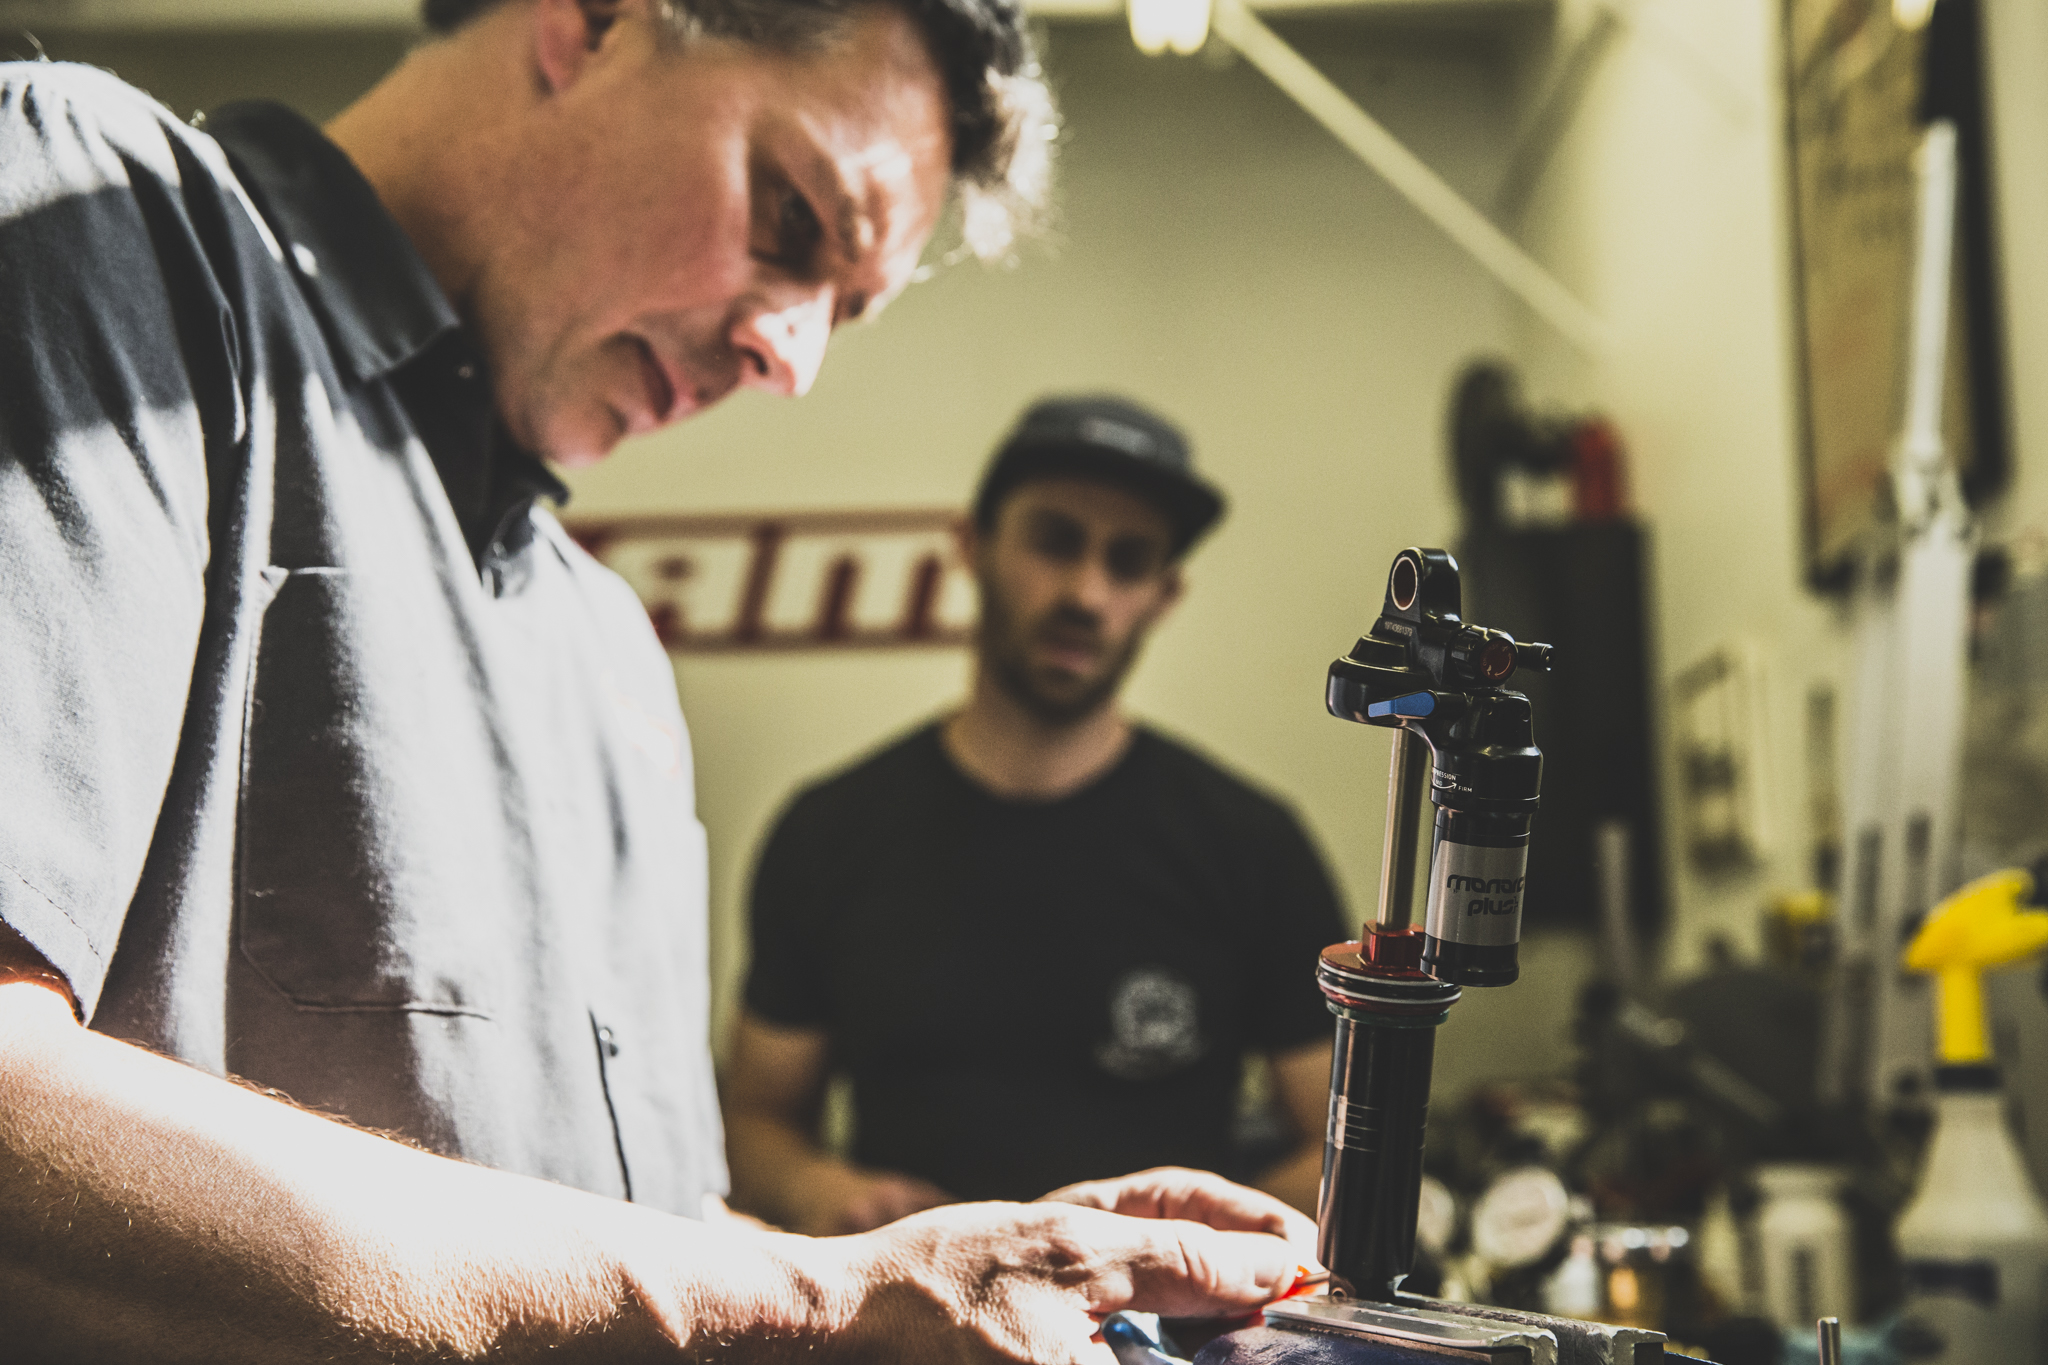
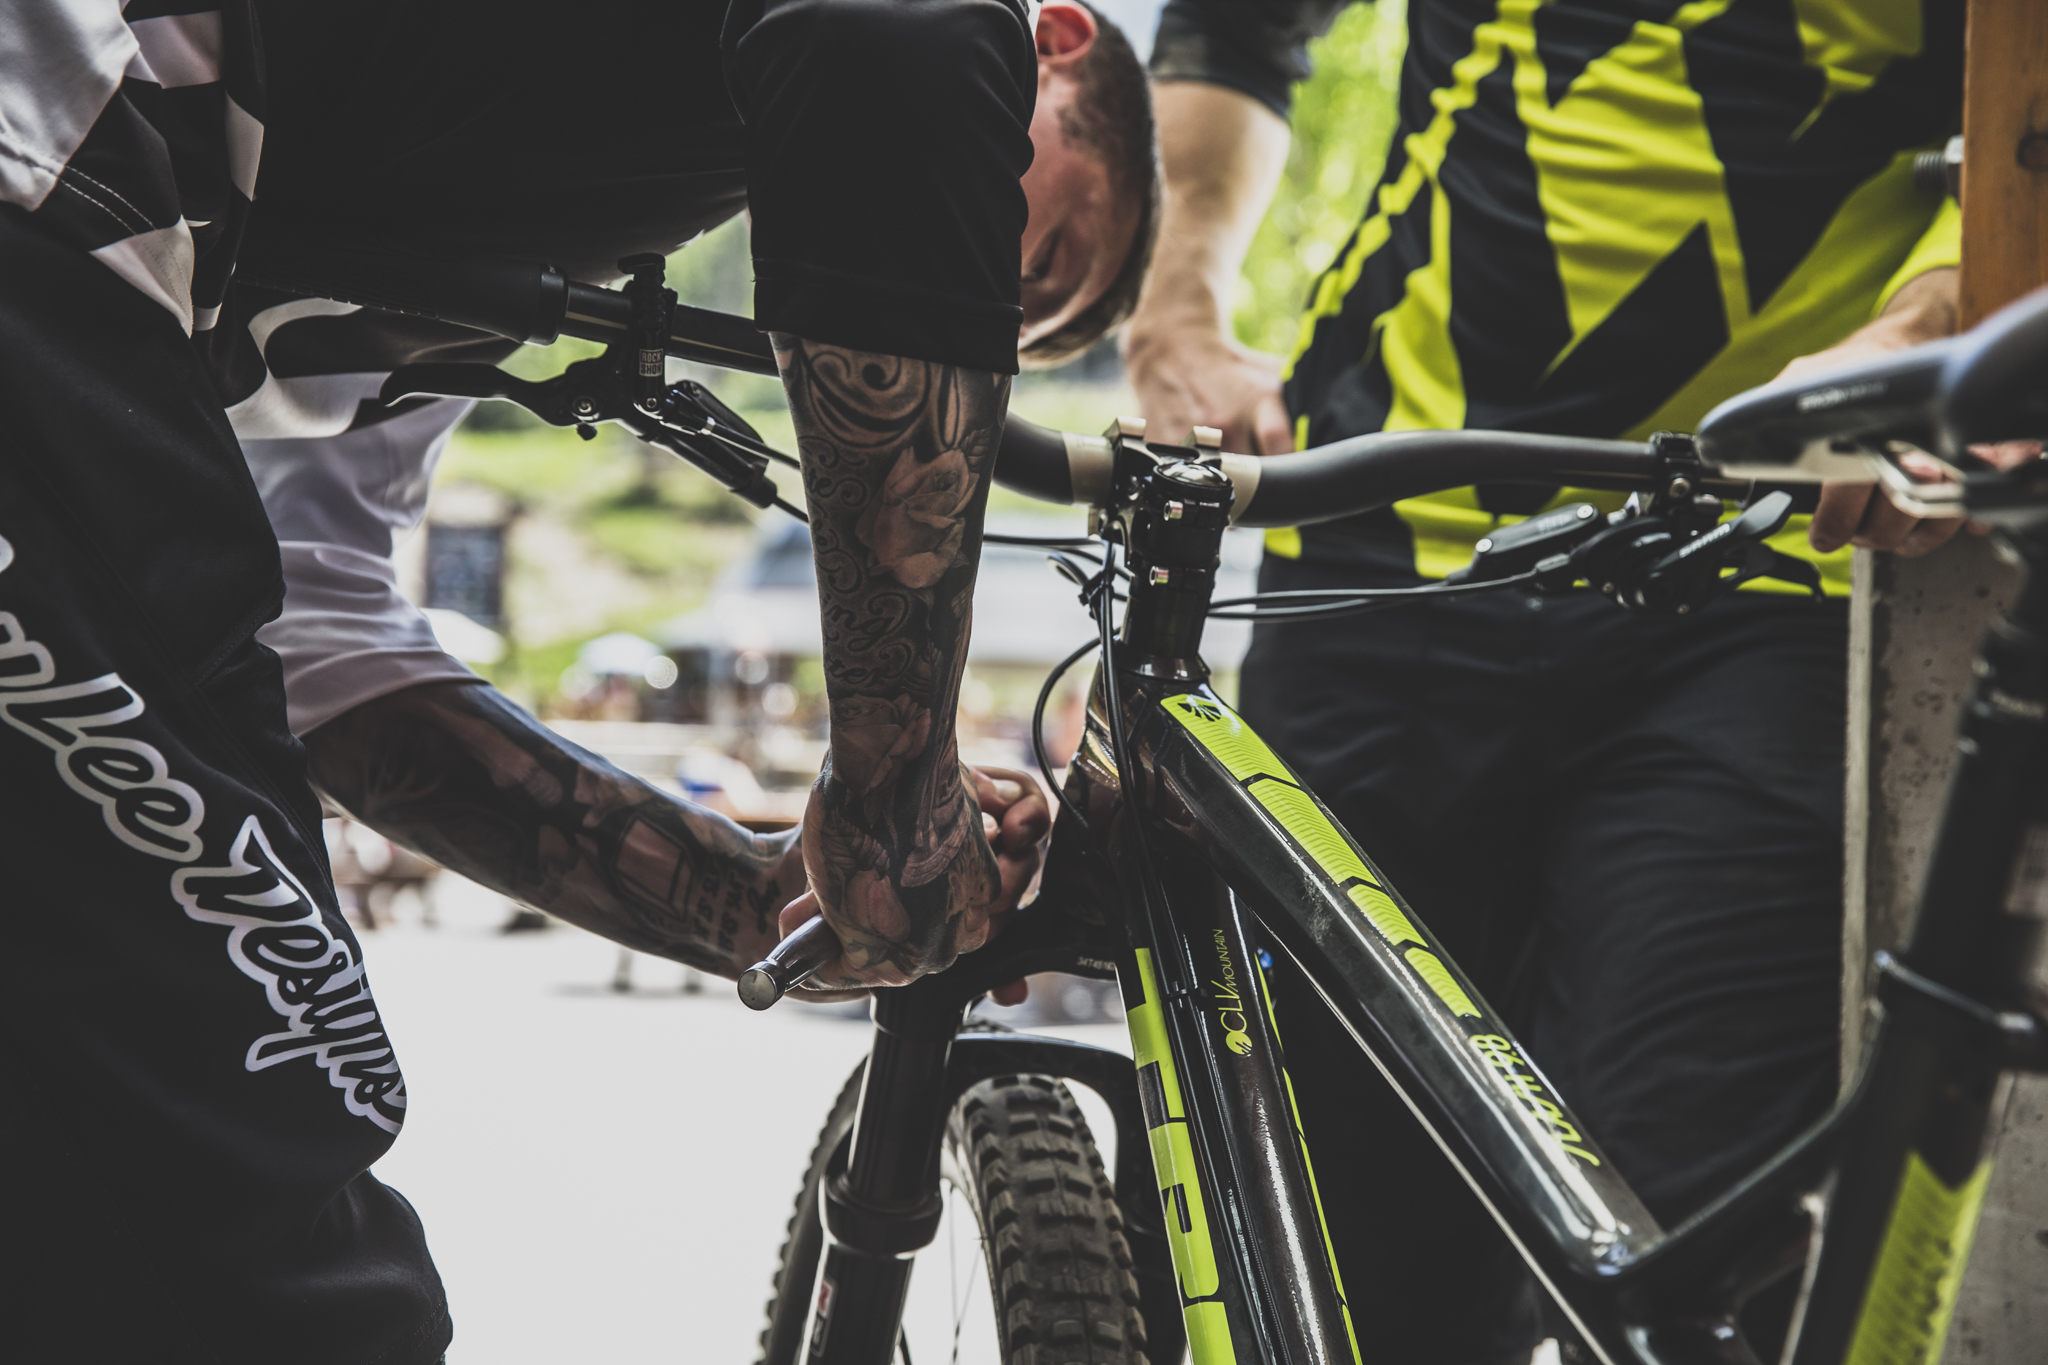
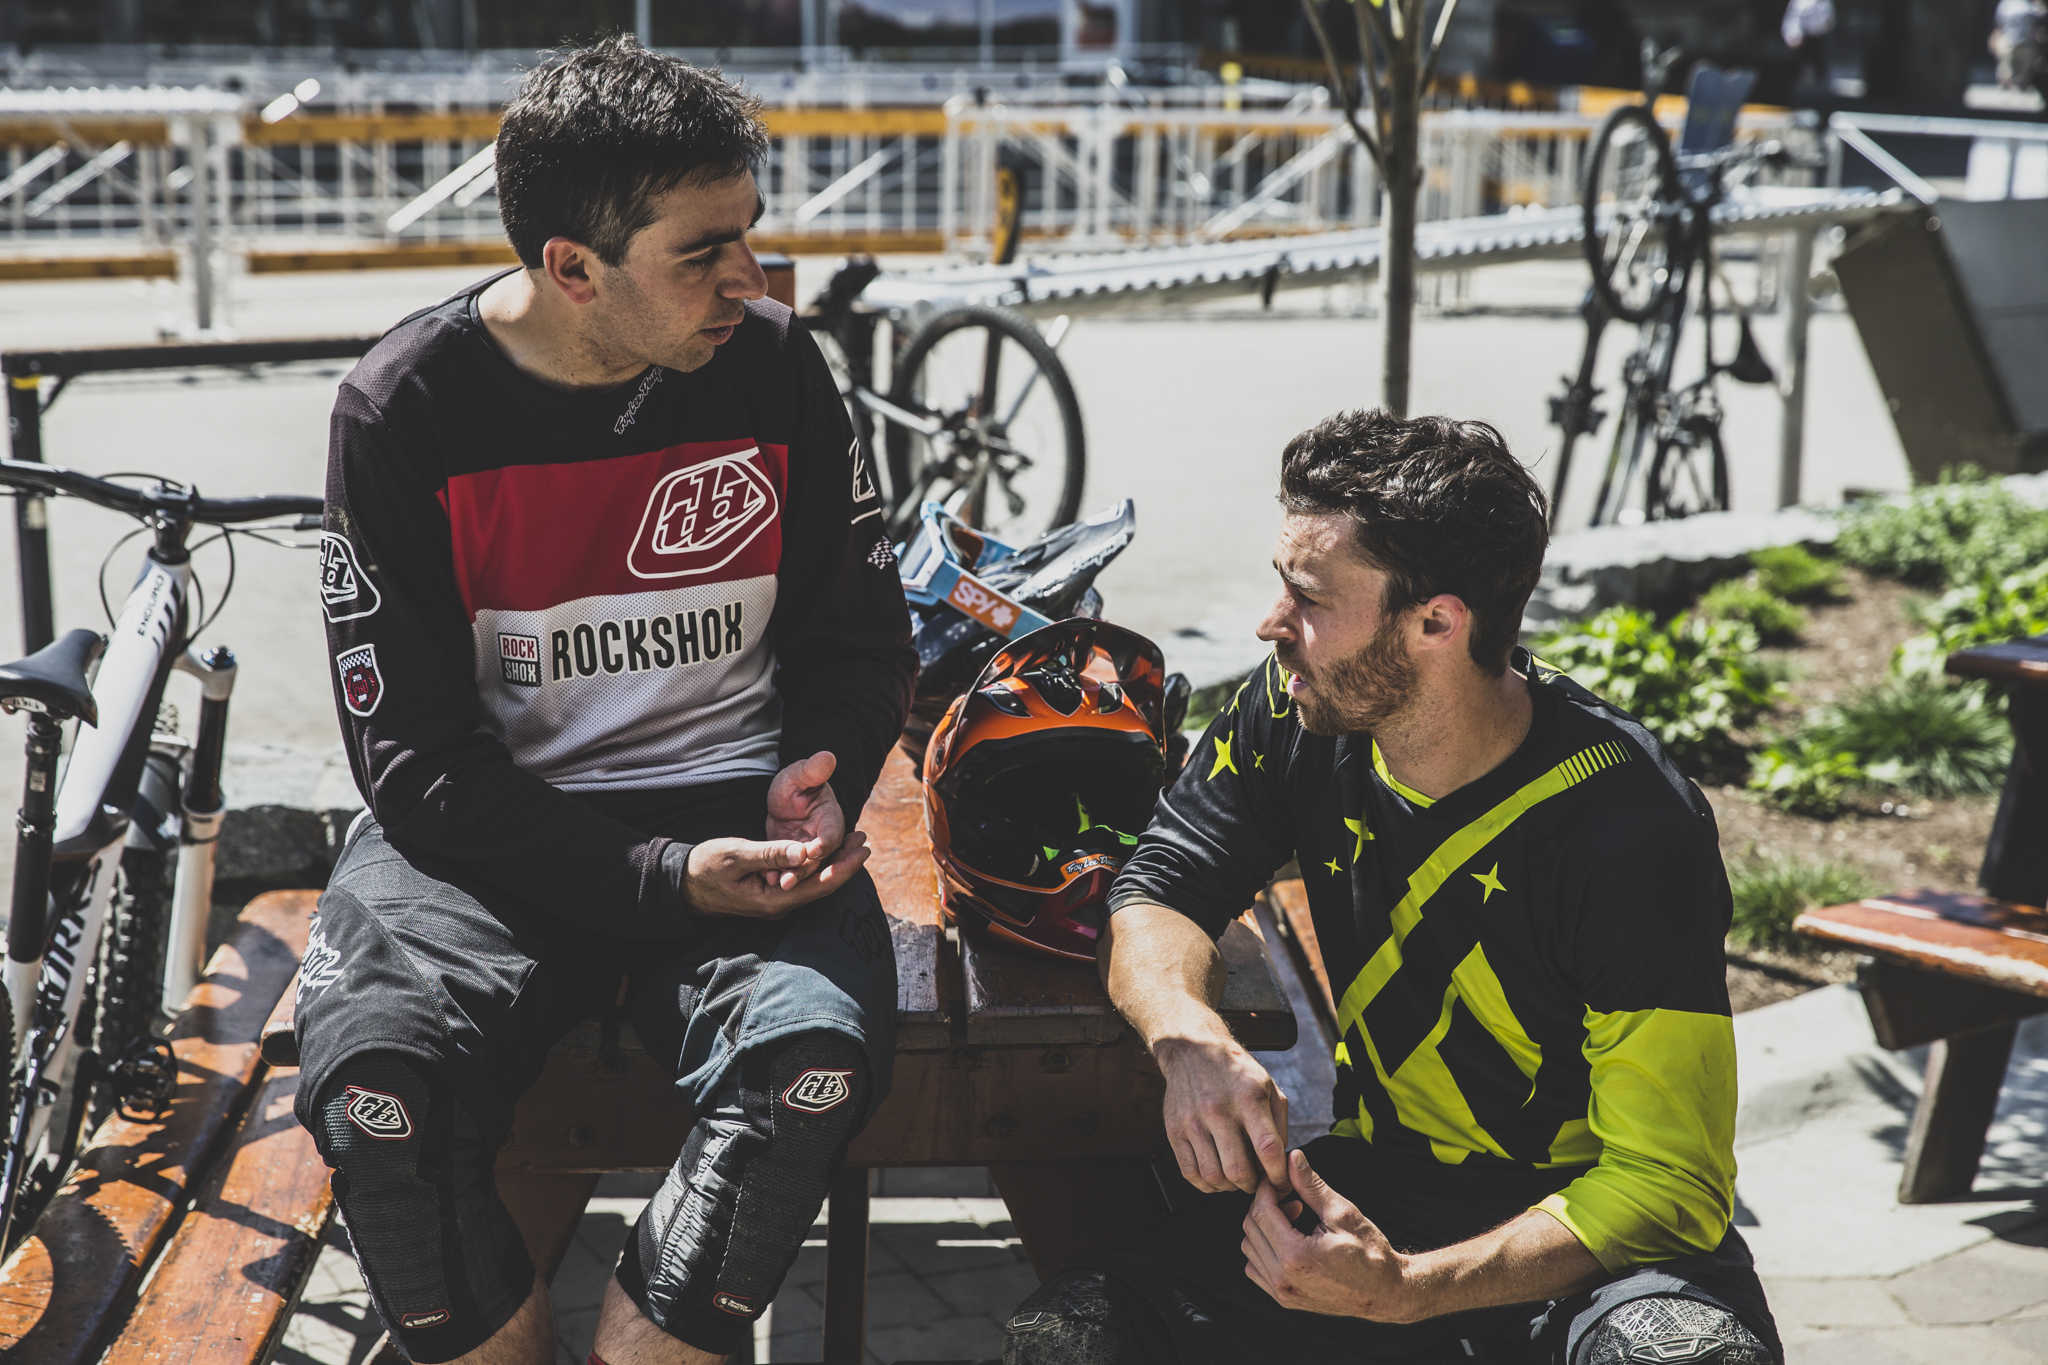
Sean Cruikshanks took the time to set up each of our bikes personally which was quite cool. If you haven’t heard of Sean, many people call him “The Wizard” and he’s earned that nickname over the years.
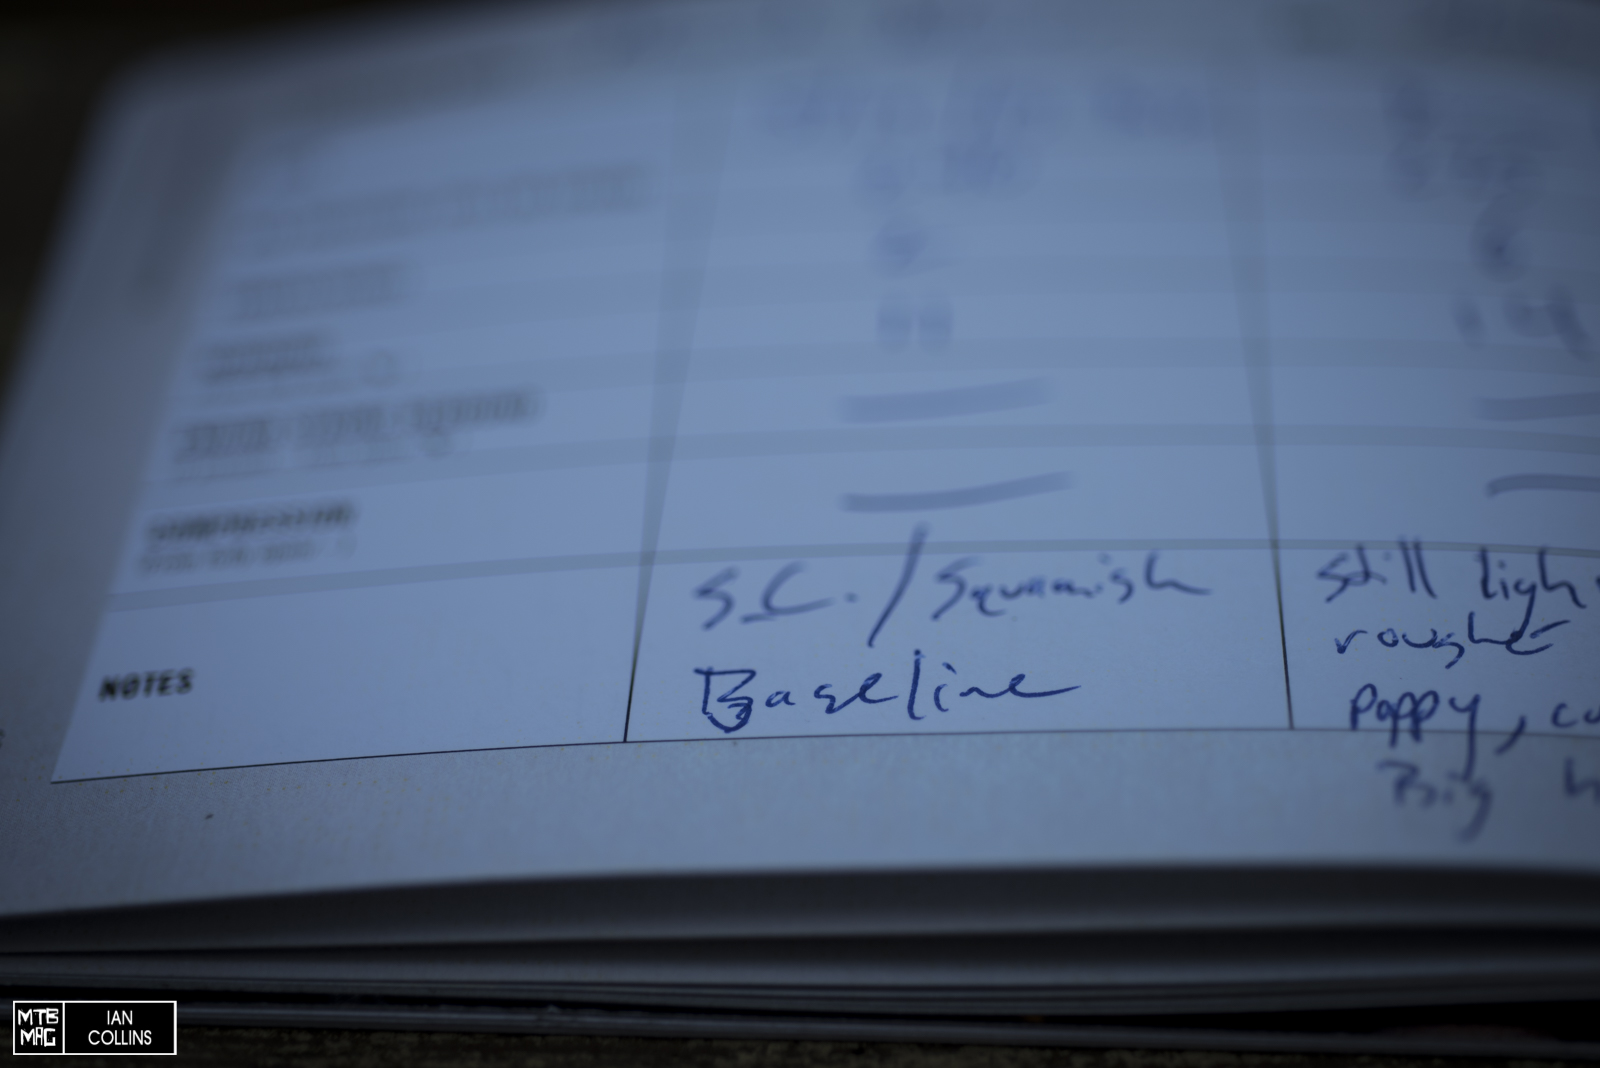
Our first day we established a baseline setup dialed and had a killer ride in Squamish on an incredible mix of terrain. Before we got out on the trails we sat down and talked tech with some of SRAM’s finest and also dialed our bikes in.
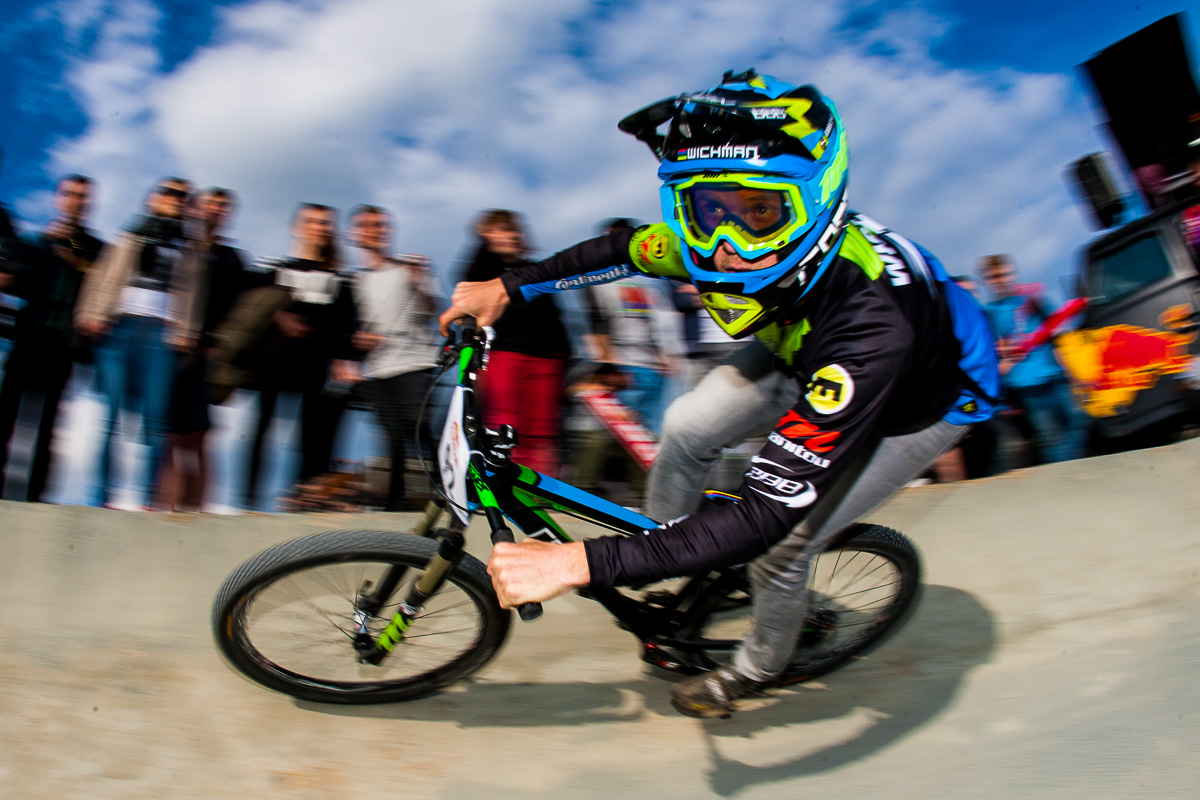
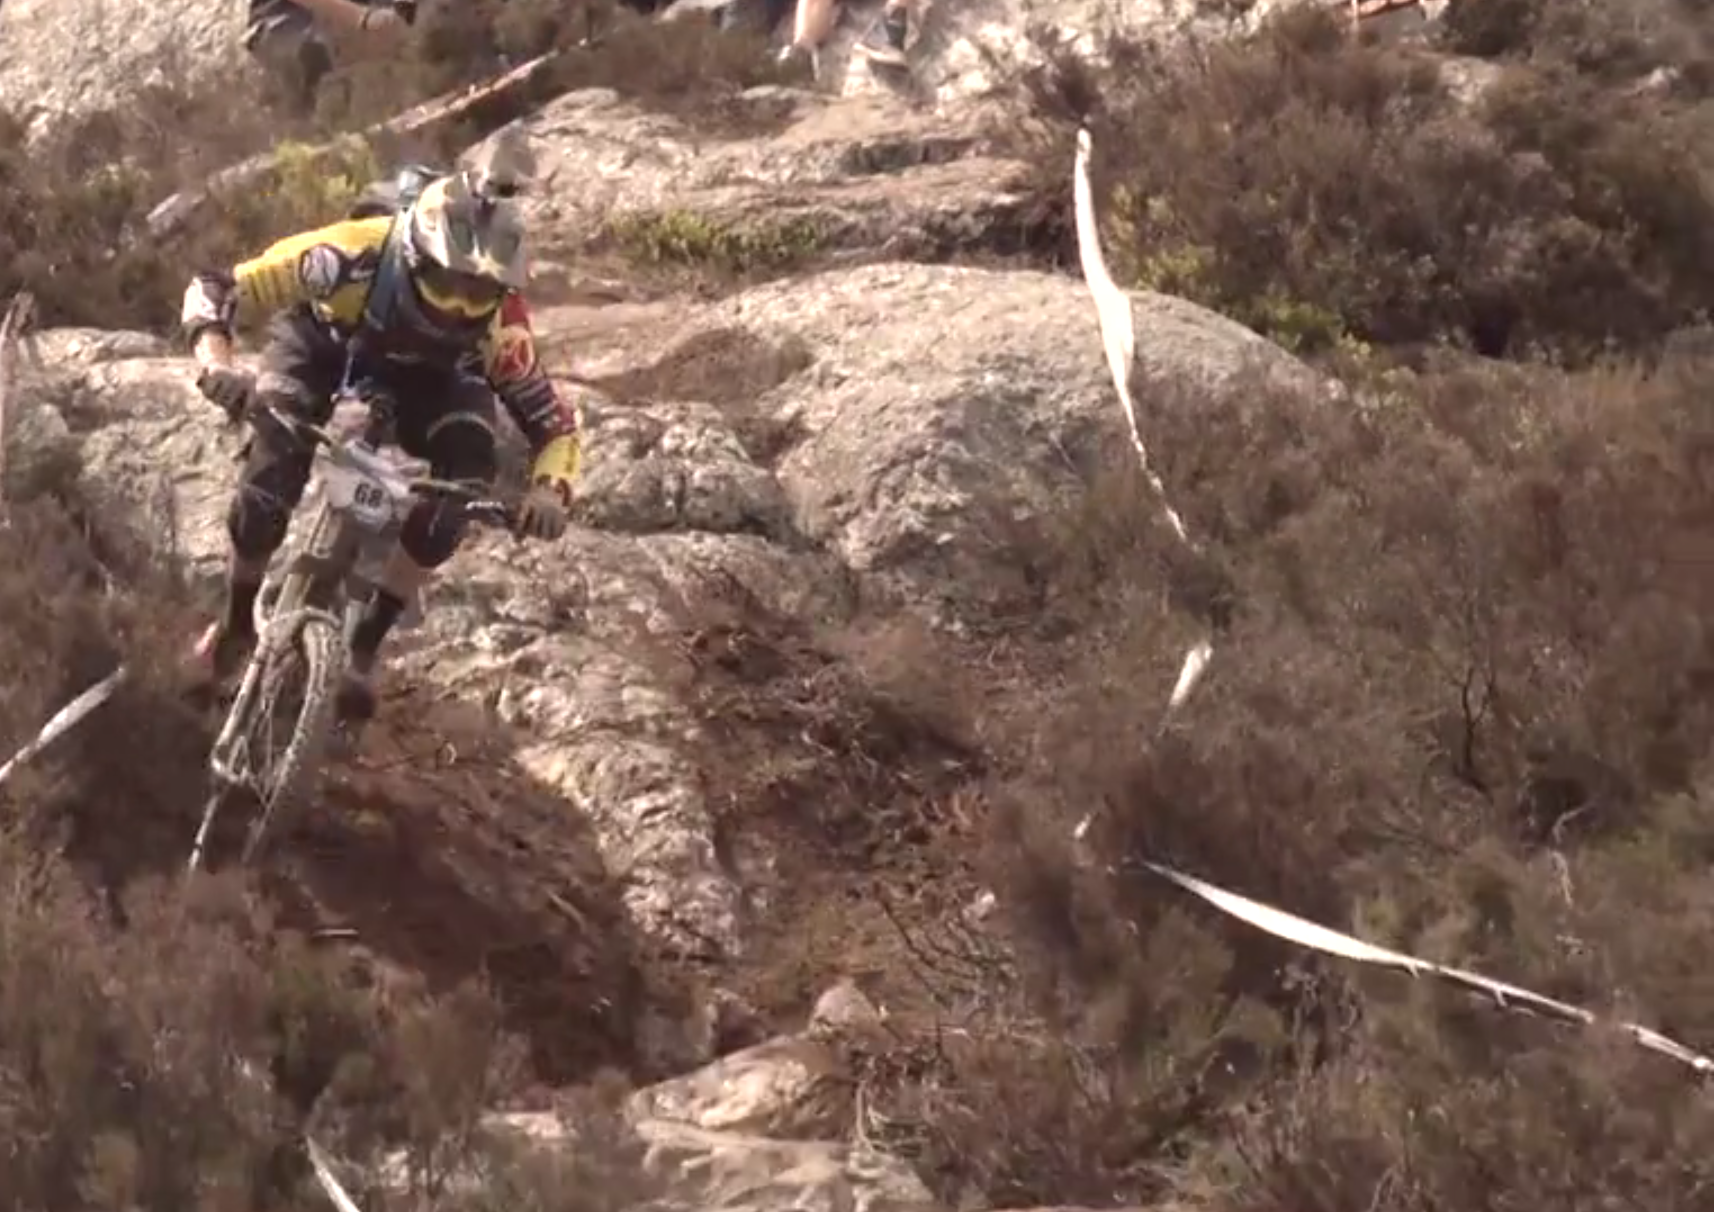
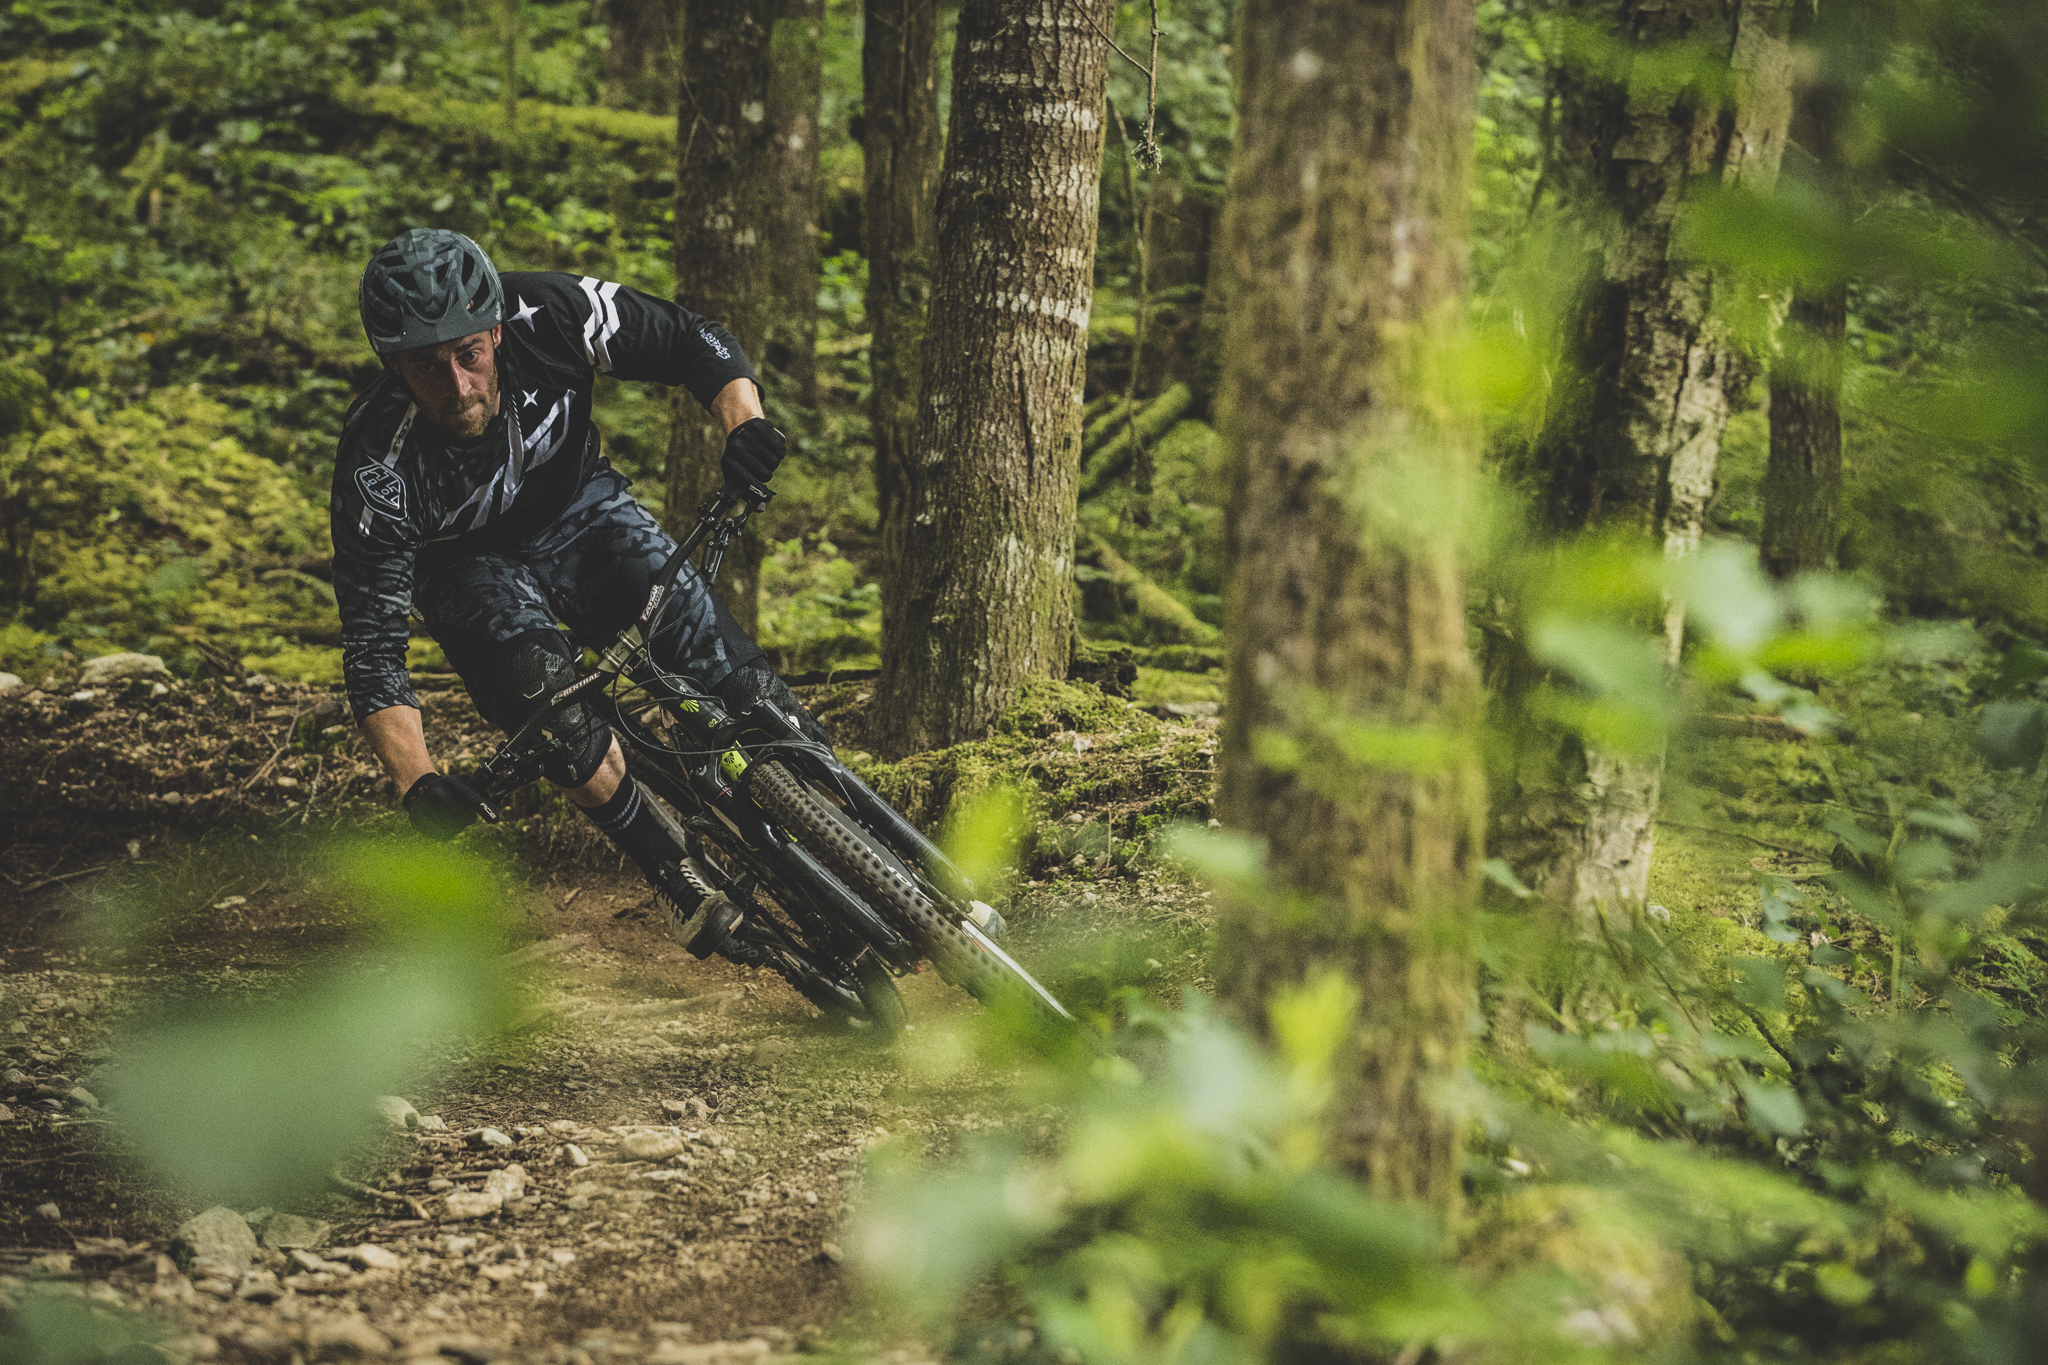
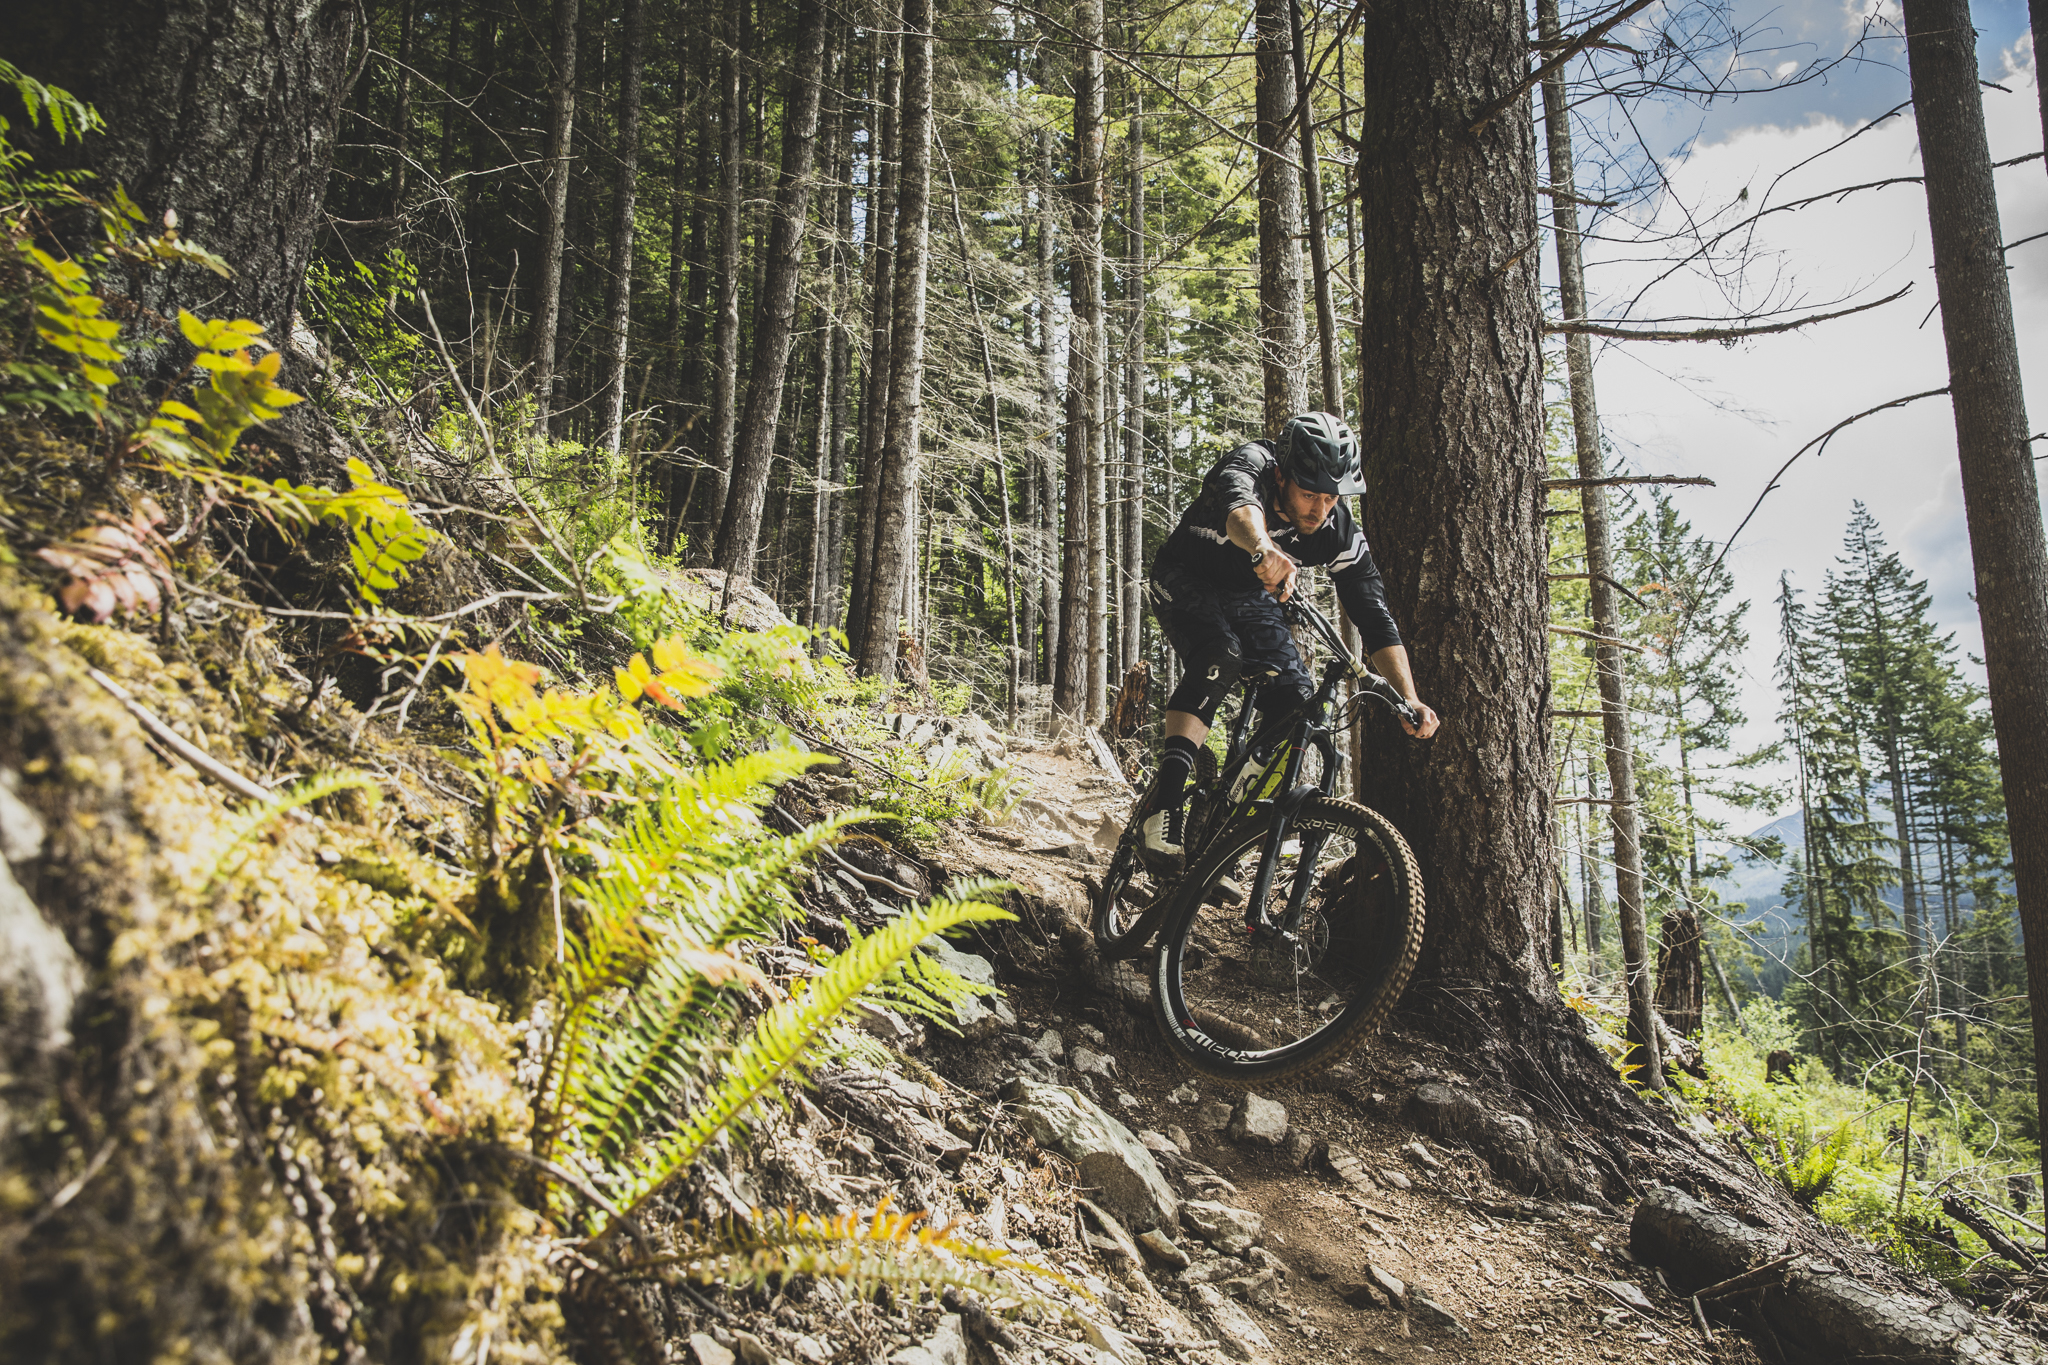
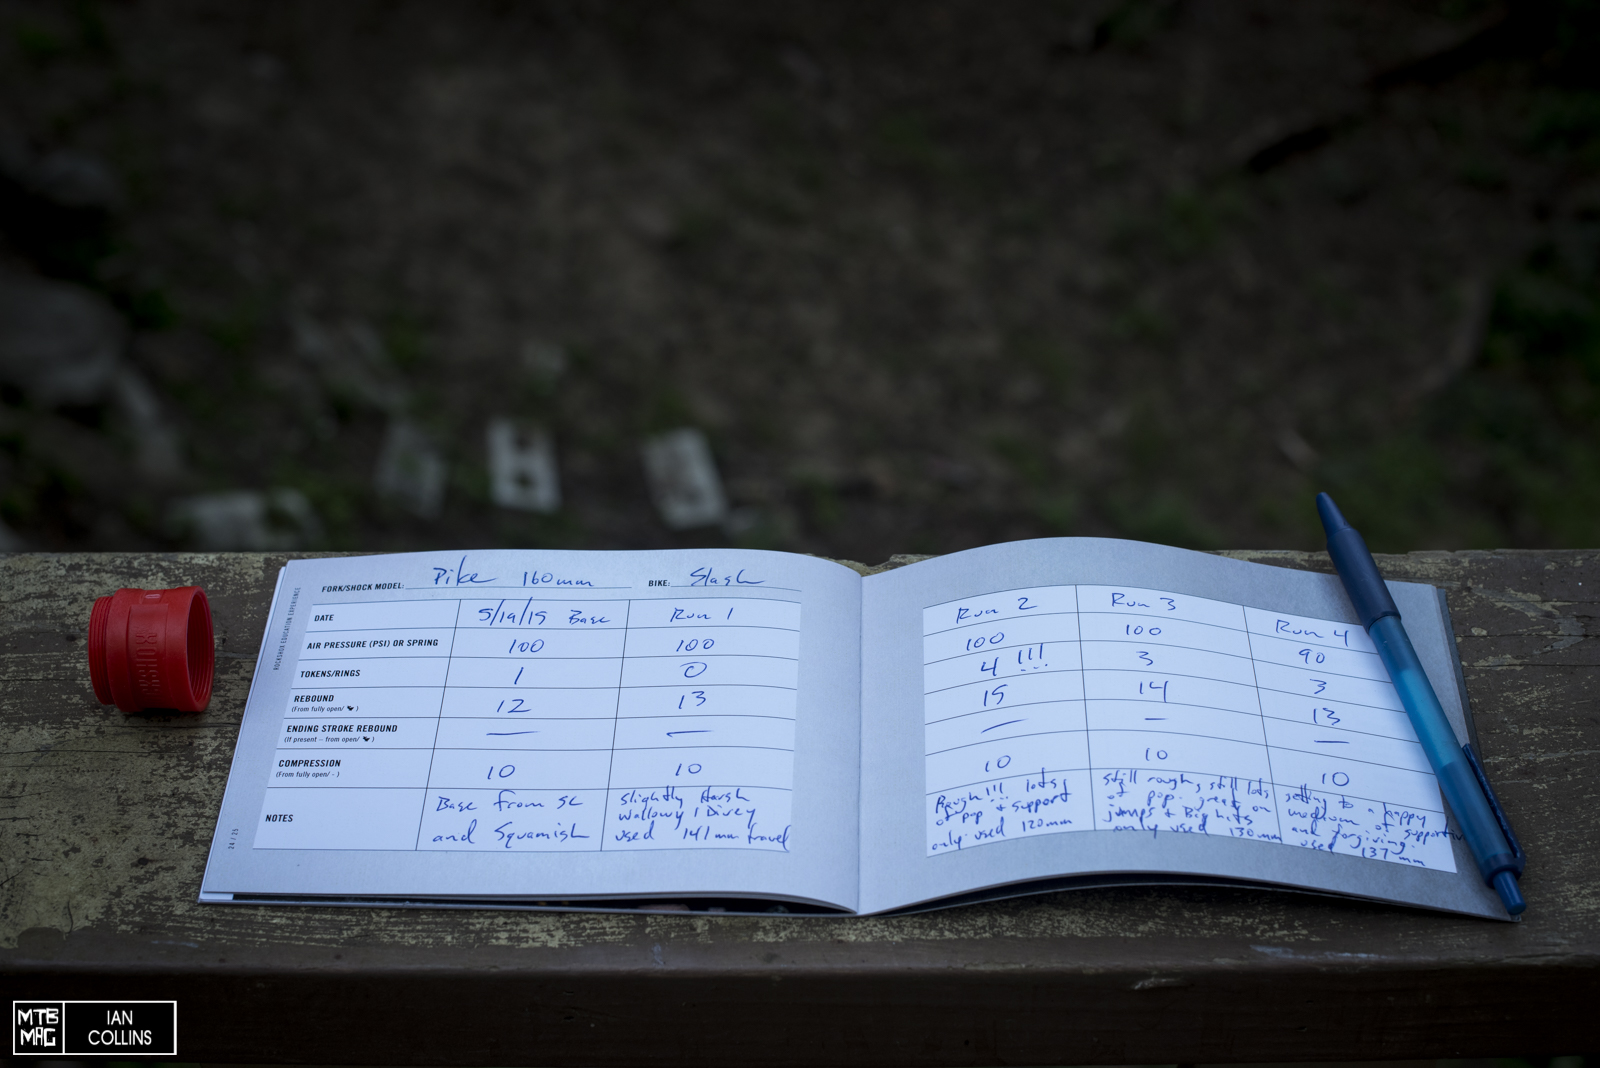
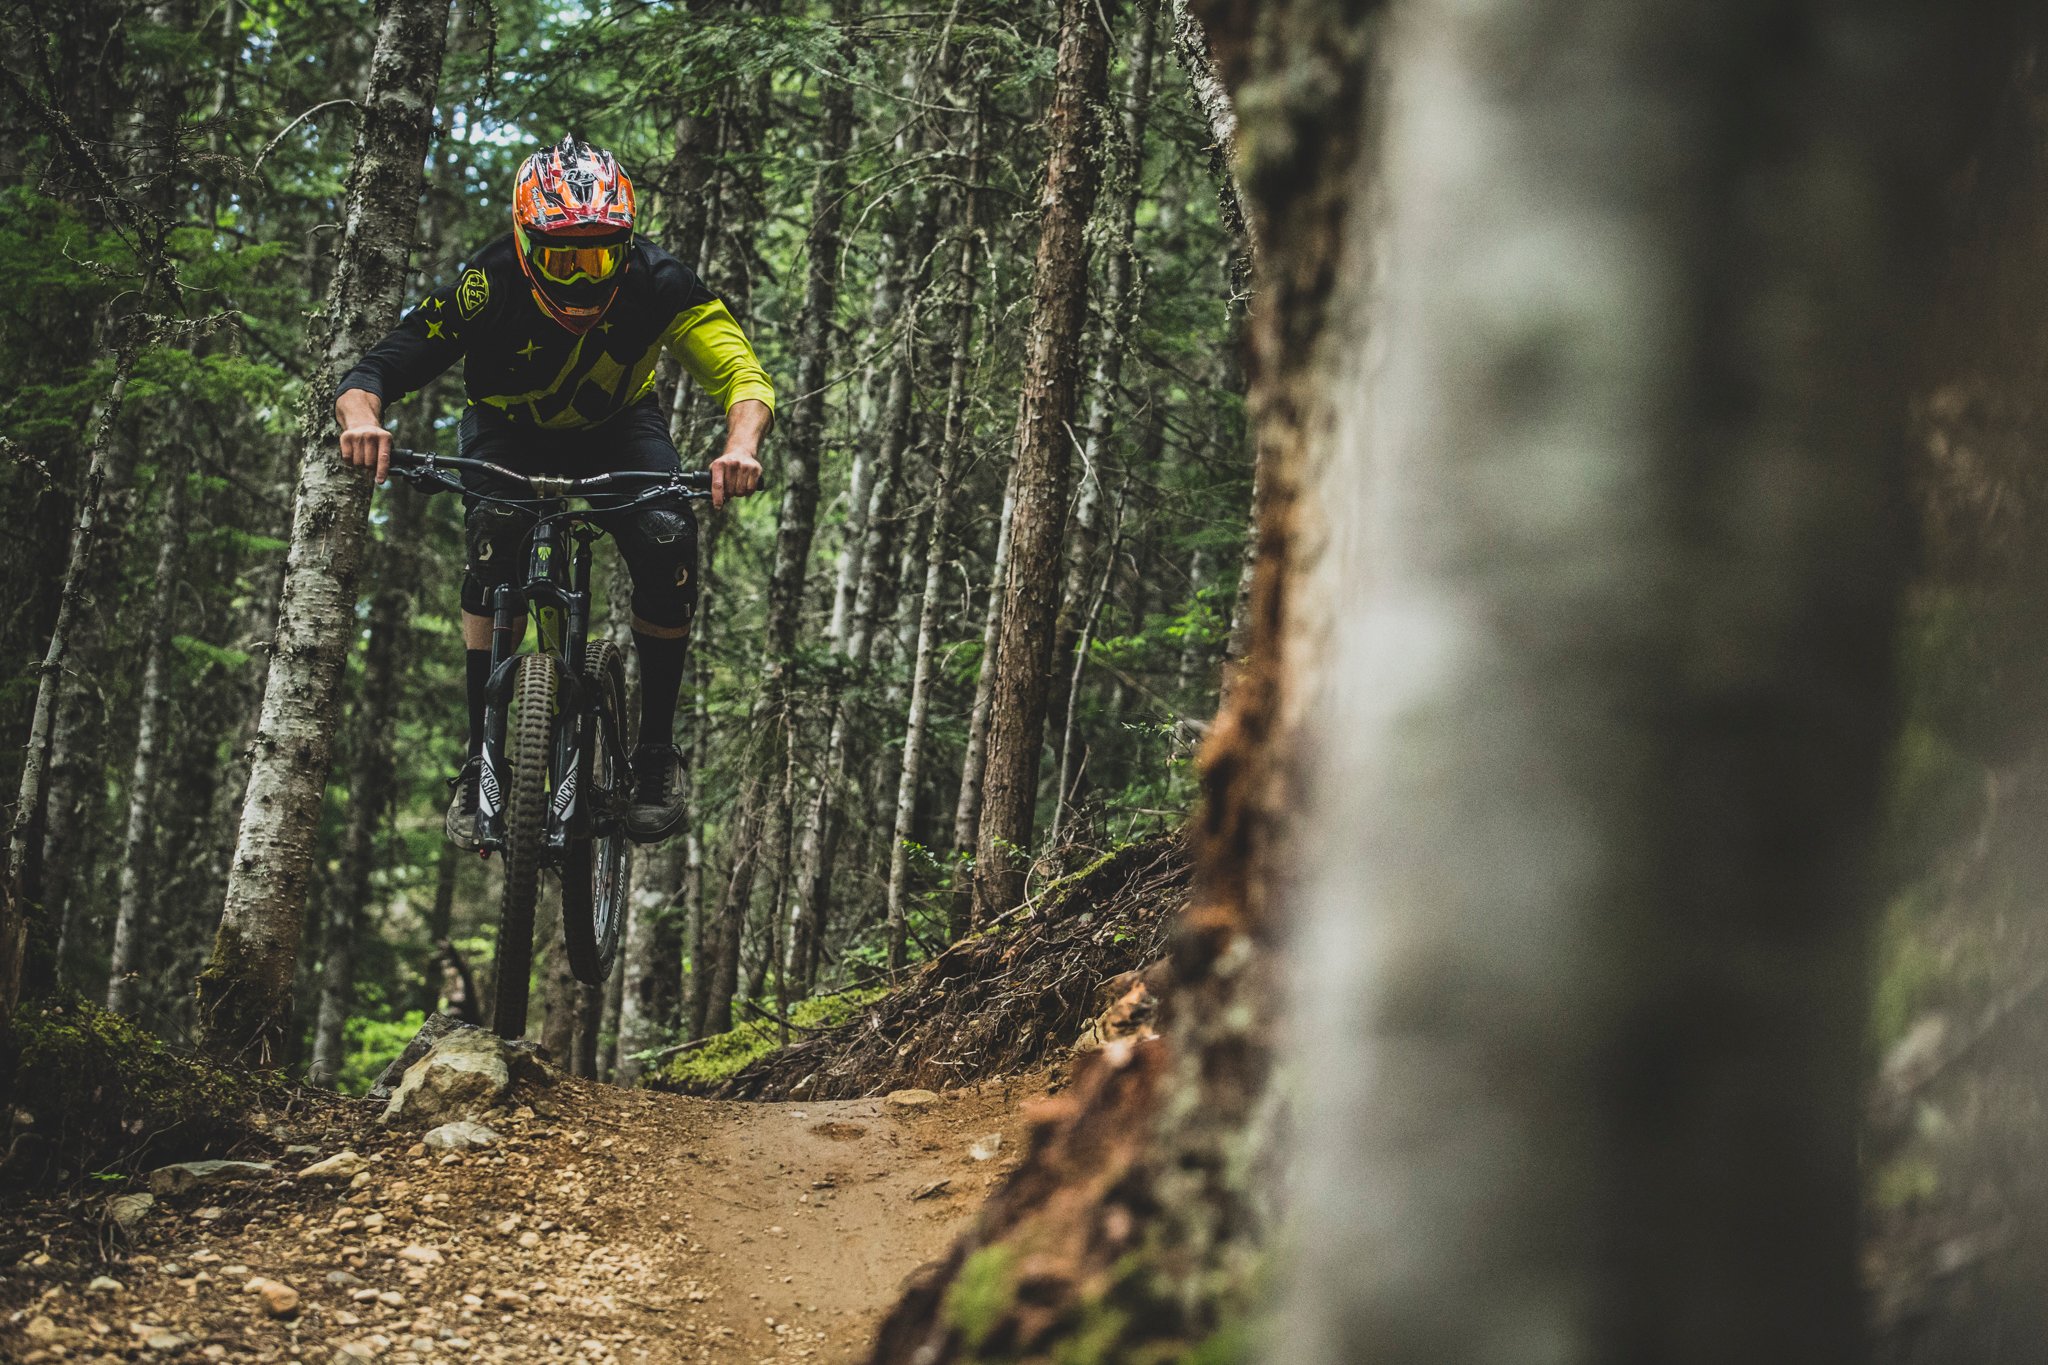
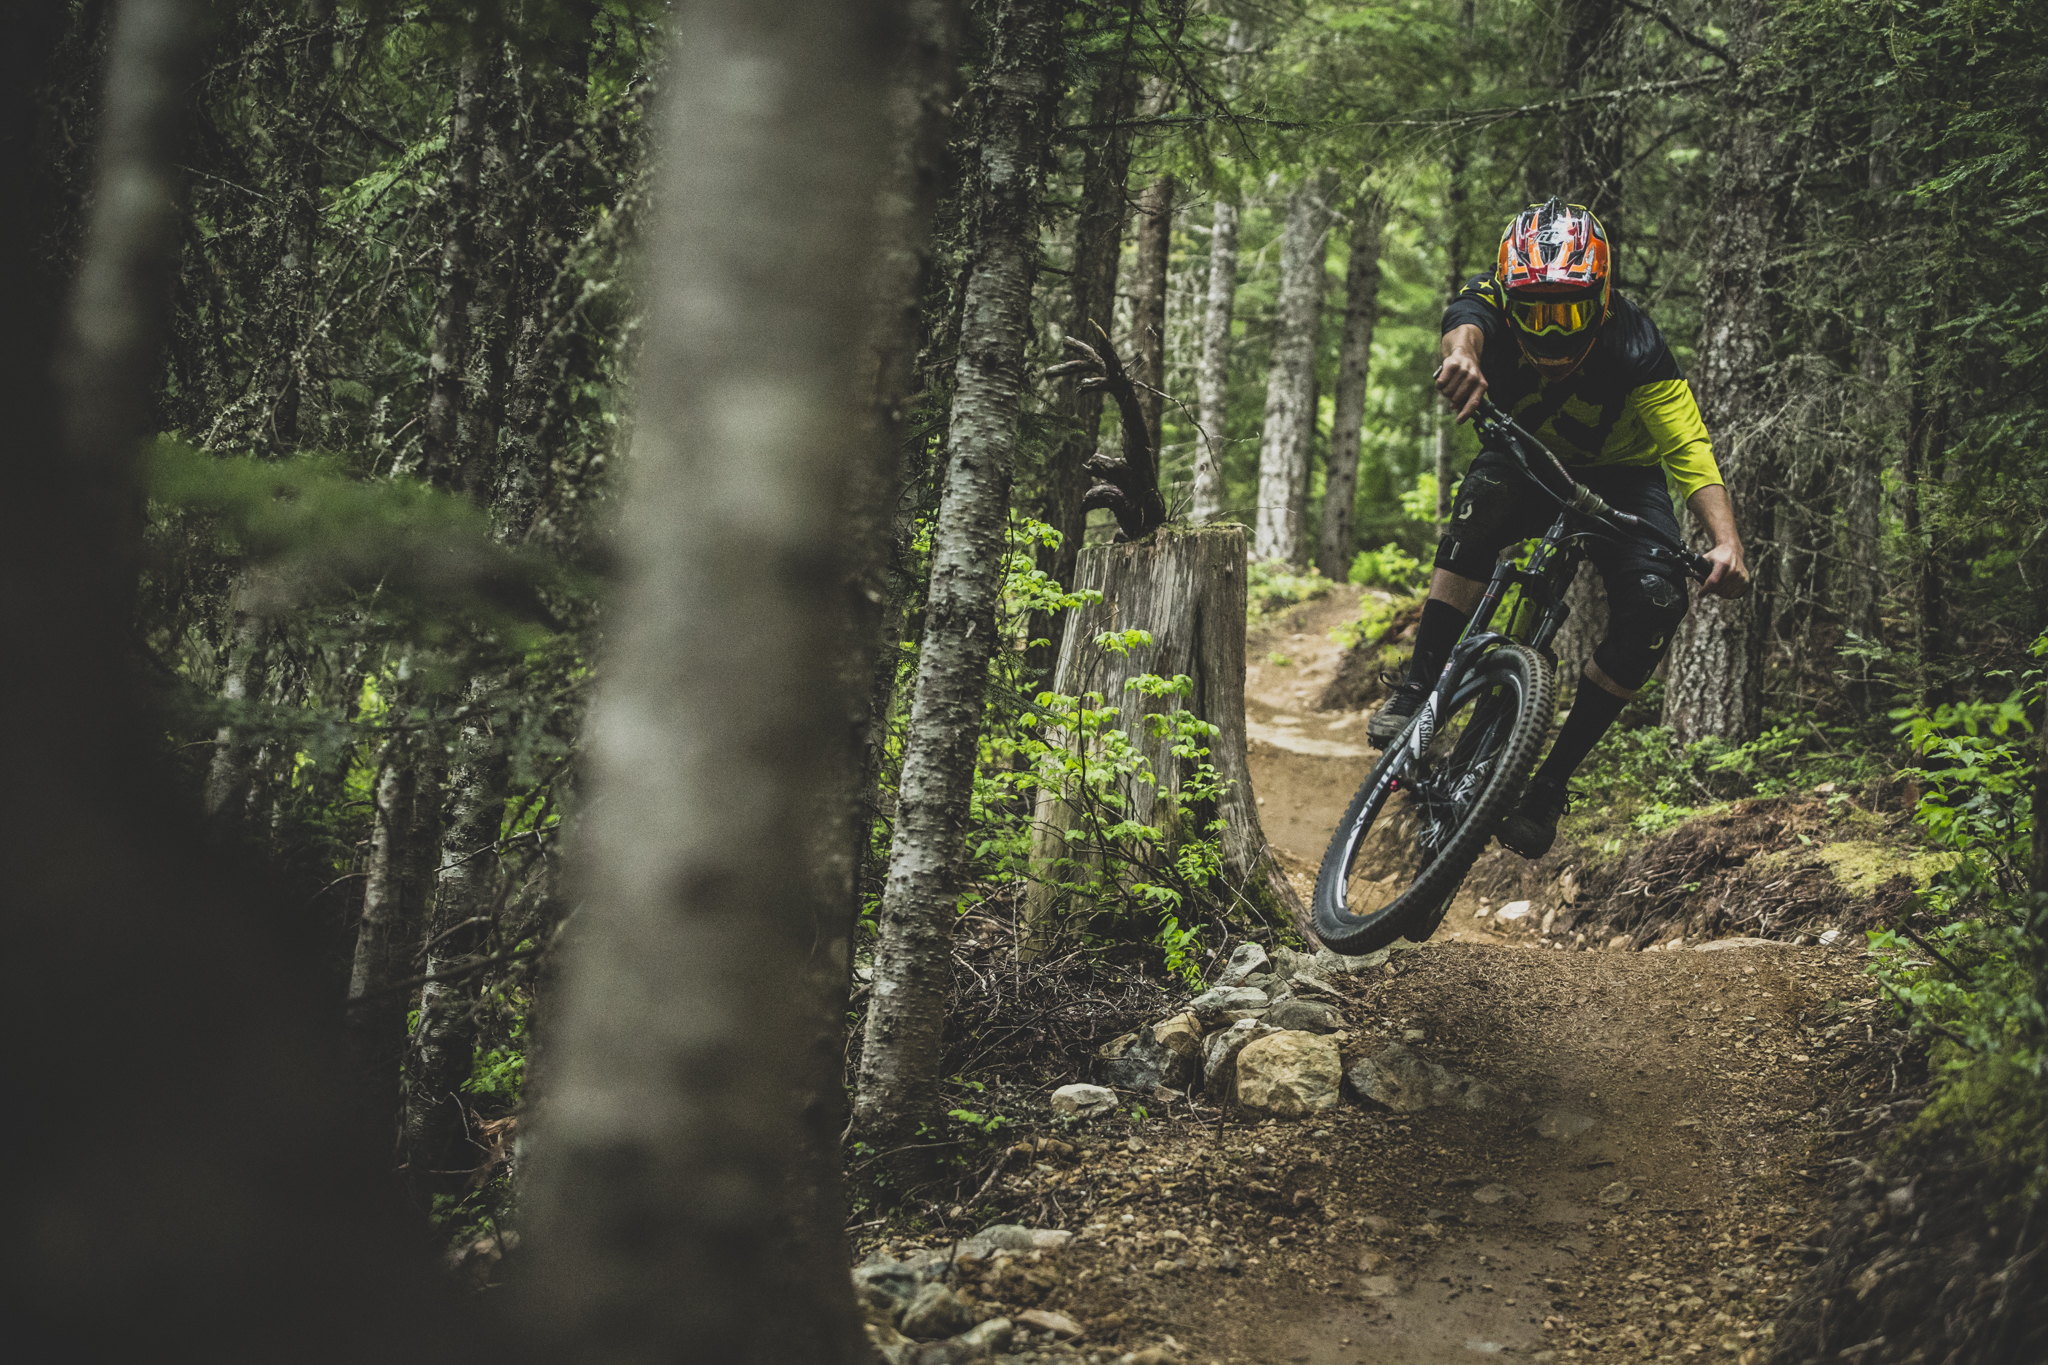
On the second day we headed to Whistler to do some back-to-back runs. That allowed for bracket testing in a controlled environment over a wide variety of terrain. Before we get into the process we’ll cover our starting setup and base tune. Our 180lb tester was riding a Trek Slash with 160mm rear travel via Monarch Debonair, 160mm front travel via Solo Air Pike.

Monarch settings
Air side – 28% sag at 240 PSI, 2 Bottomless Rings installed (out of a possible 8)
Damping side – Rebound 11 clicks from open.
Pike settings
Air side- 18% sag at 100 PSI, 1 Bottomless Tokens installed (out of a possible 4)
Damping side – Rebound 12 clicks from open, compression 10 clicks from open.
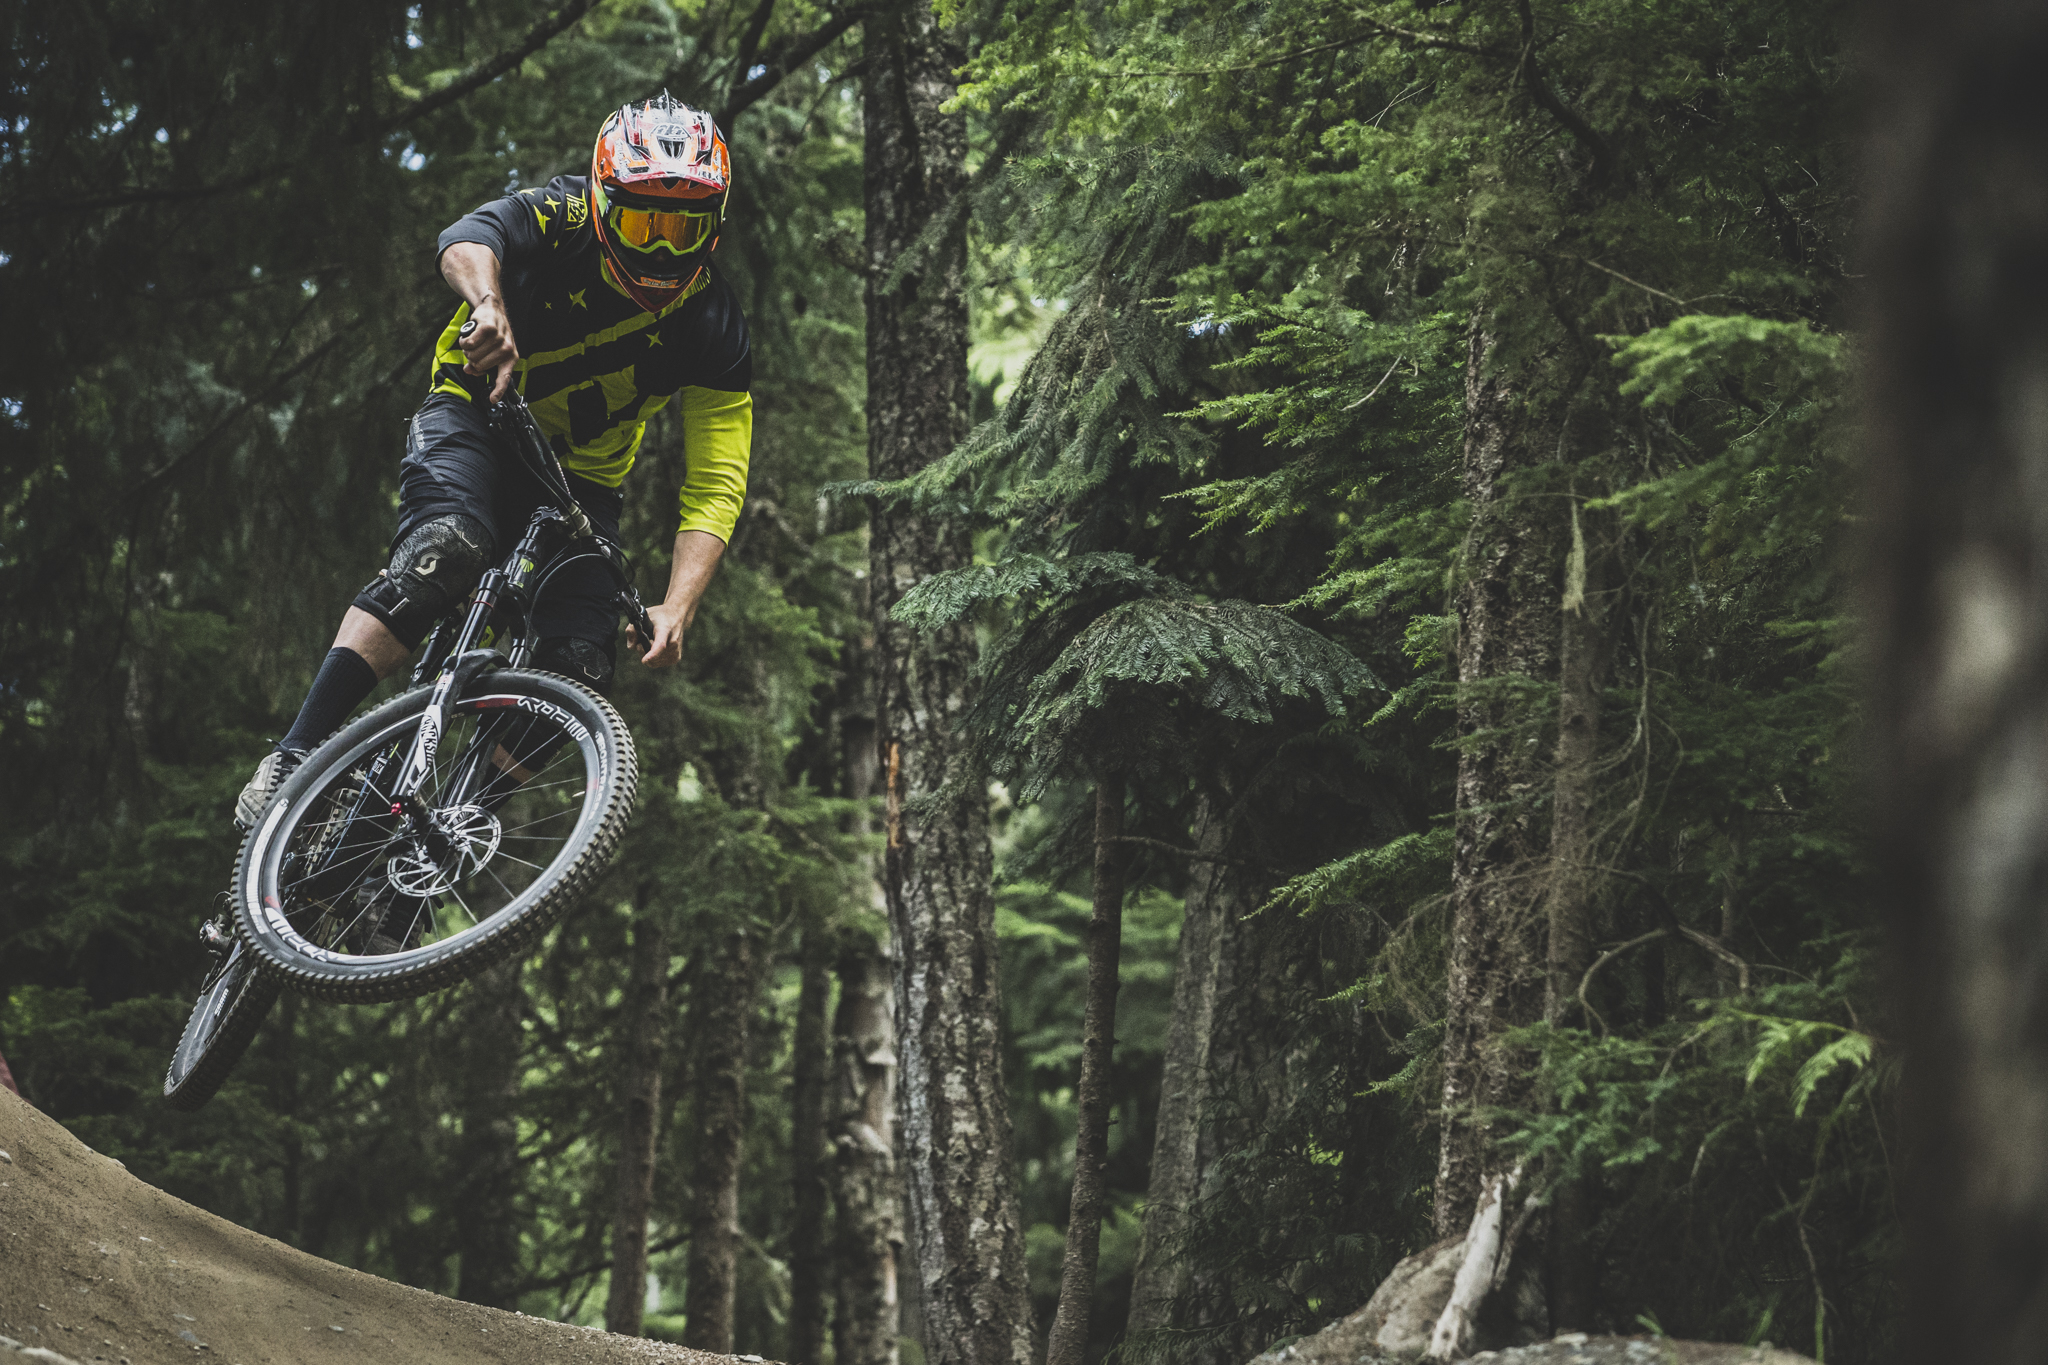
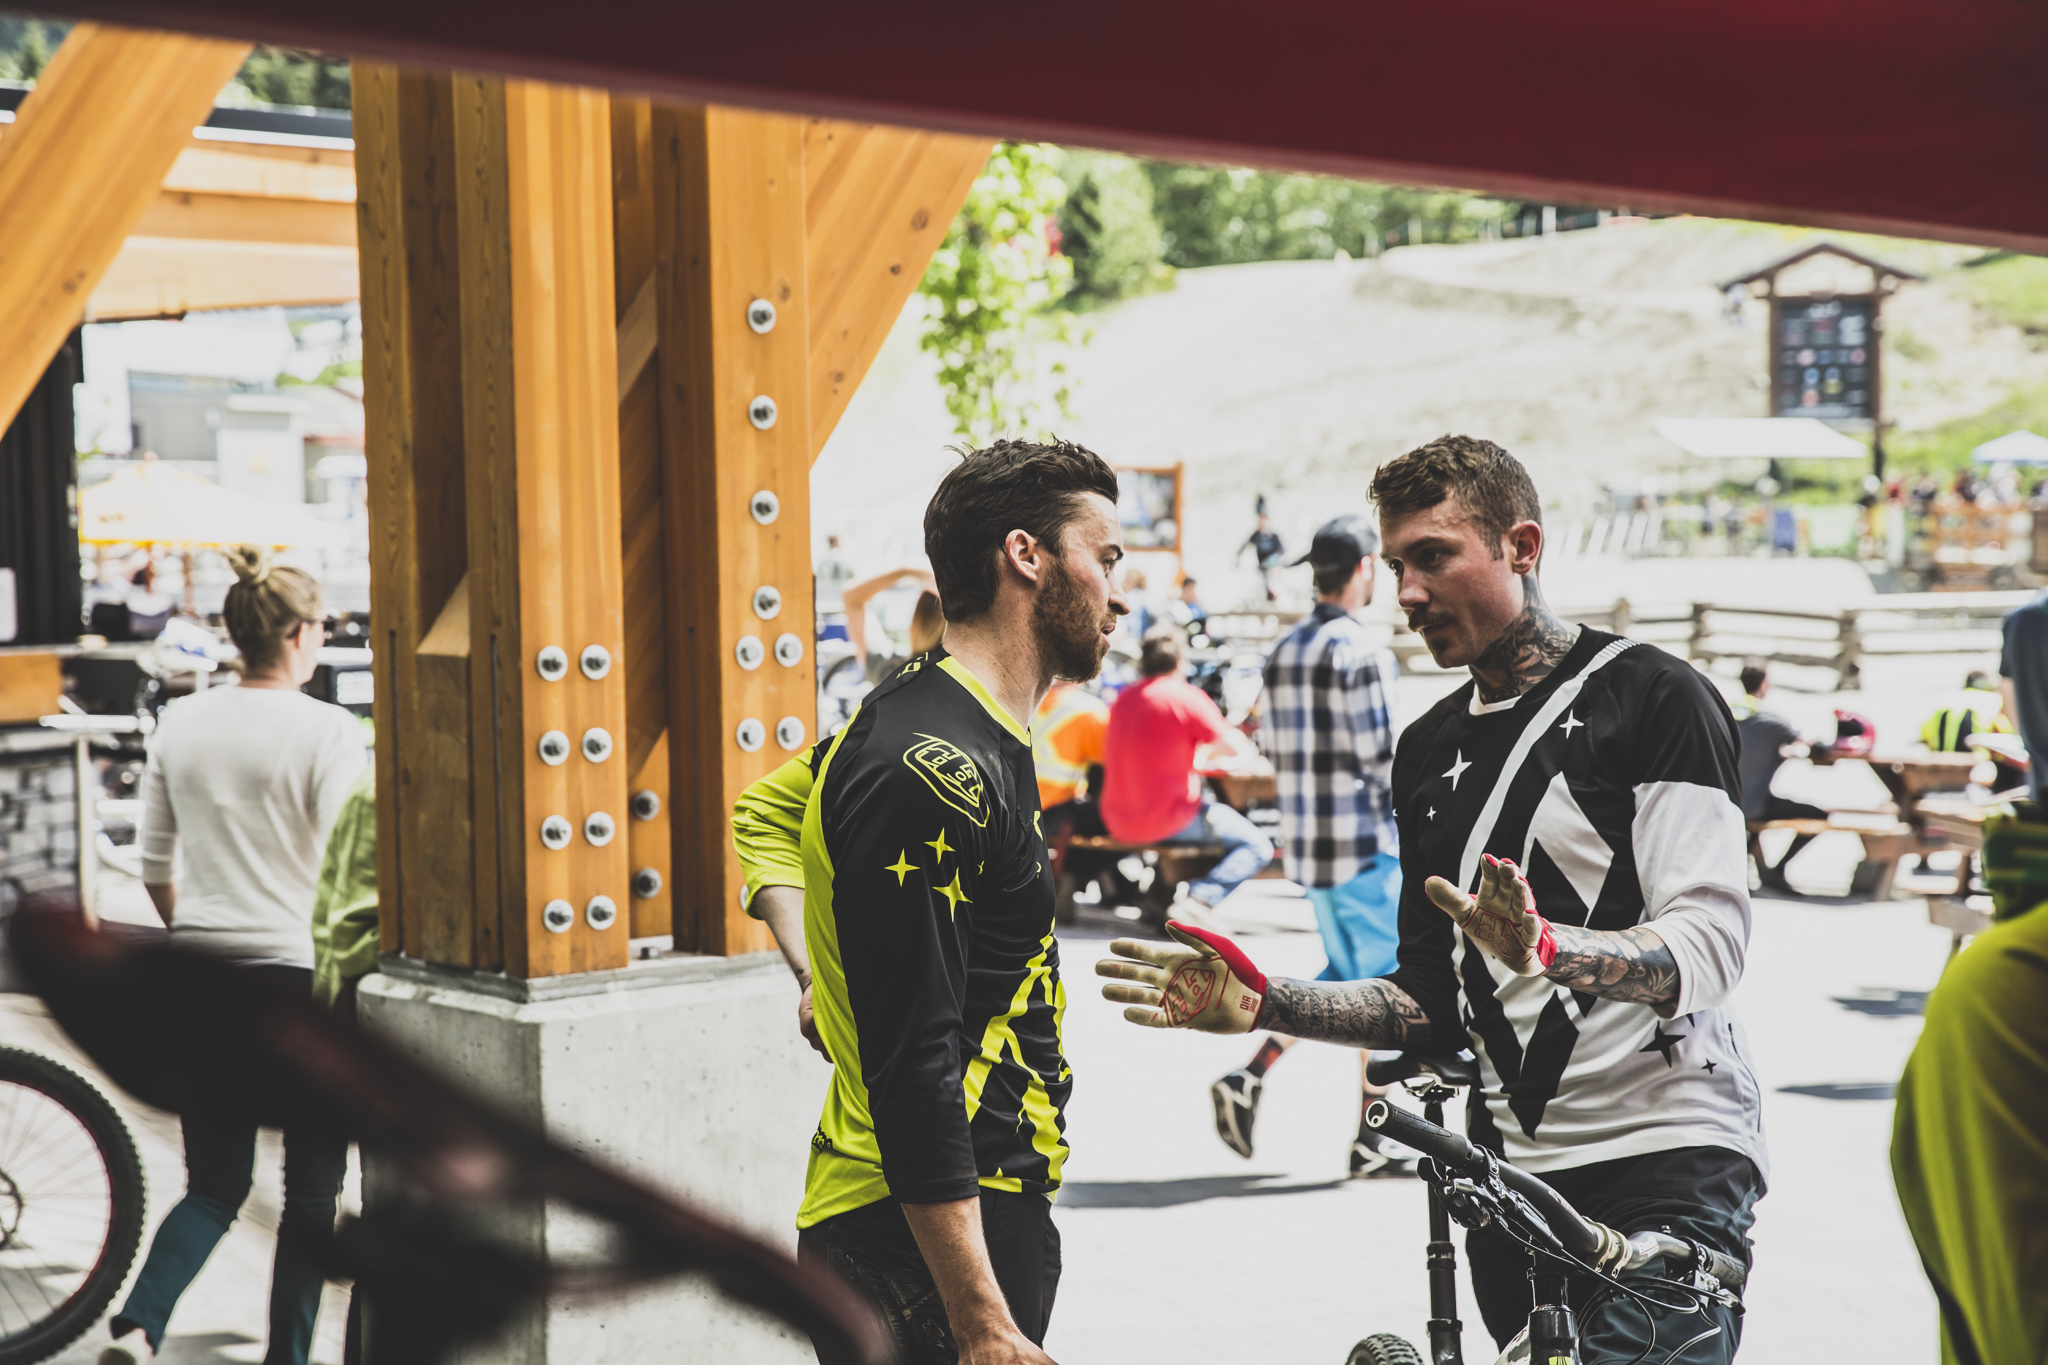
Things quickly got interesting. Ex world cup racer, current pinner and SRAM PR coordinator Duncan Riffle took charge. The first thing he had us do was pull all of our tokens out of our Pike so we could see how the fork behaved in its most linear setting with the same amount of pressure (100 psi). As expected, the fork moved quite a bit, but seemed to gobble up the mid sized hits nicely. Roots and small rocks vanished beneath us, but when we got into the flatter, punchier turns and flowy sections that require a bit more muscle and pop to find the flow, the fork felt a bit wallowy. This could be the answer for the steep and deep and the nastiest of conditions where finding every ounce of traction is critical.
The next part was a bit surprising, although it was expected that we’d incrementally work our way up in volume reduction, we went straight into using the maximum amount of volume reducers. Duncan and Wizard plopped 4 Bottomless Tokens into our Pikes and sent us off. The whole swap was much faster than even changing a tire. This next run would prove to a bit of a rude awakening.
Right when we dropped into the first rough bits our hands were rattled. However, upon finding our way onto some big lips, smooth punchy turns and sections that required pumping and body english, we began to appreciate the support offered through the mid stroke and well into the end of the stroke. Our bike snapped out of turns and popped off of lips with minimal effort. Harsher landings were met with a nice ramp at the end of the stroke. Although this was a bit of an extreme setup that we’d never willingly throw onto our personal bike for a daily ride given our weight and riding style, but it was refreshing to give it a go and see where it could be beneficial to others.
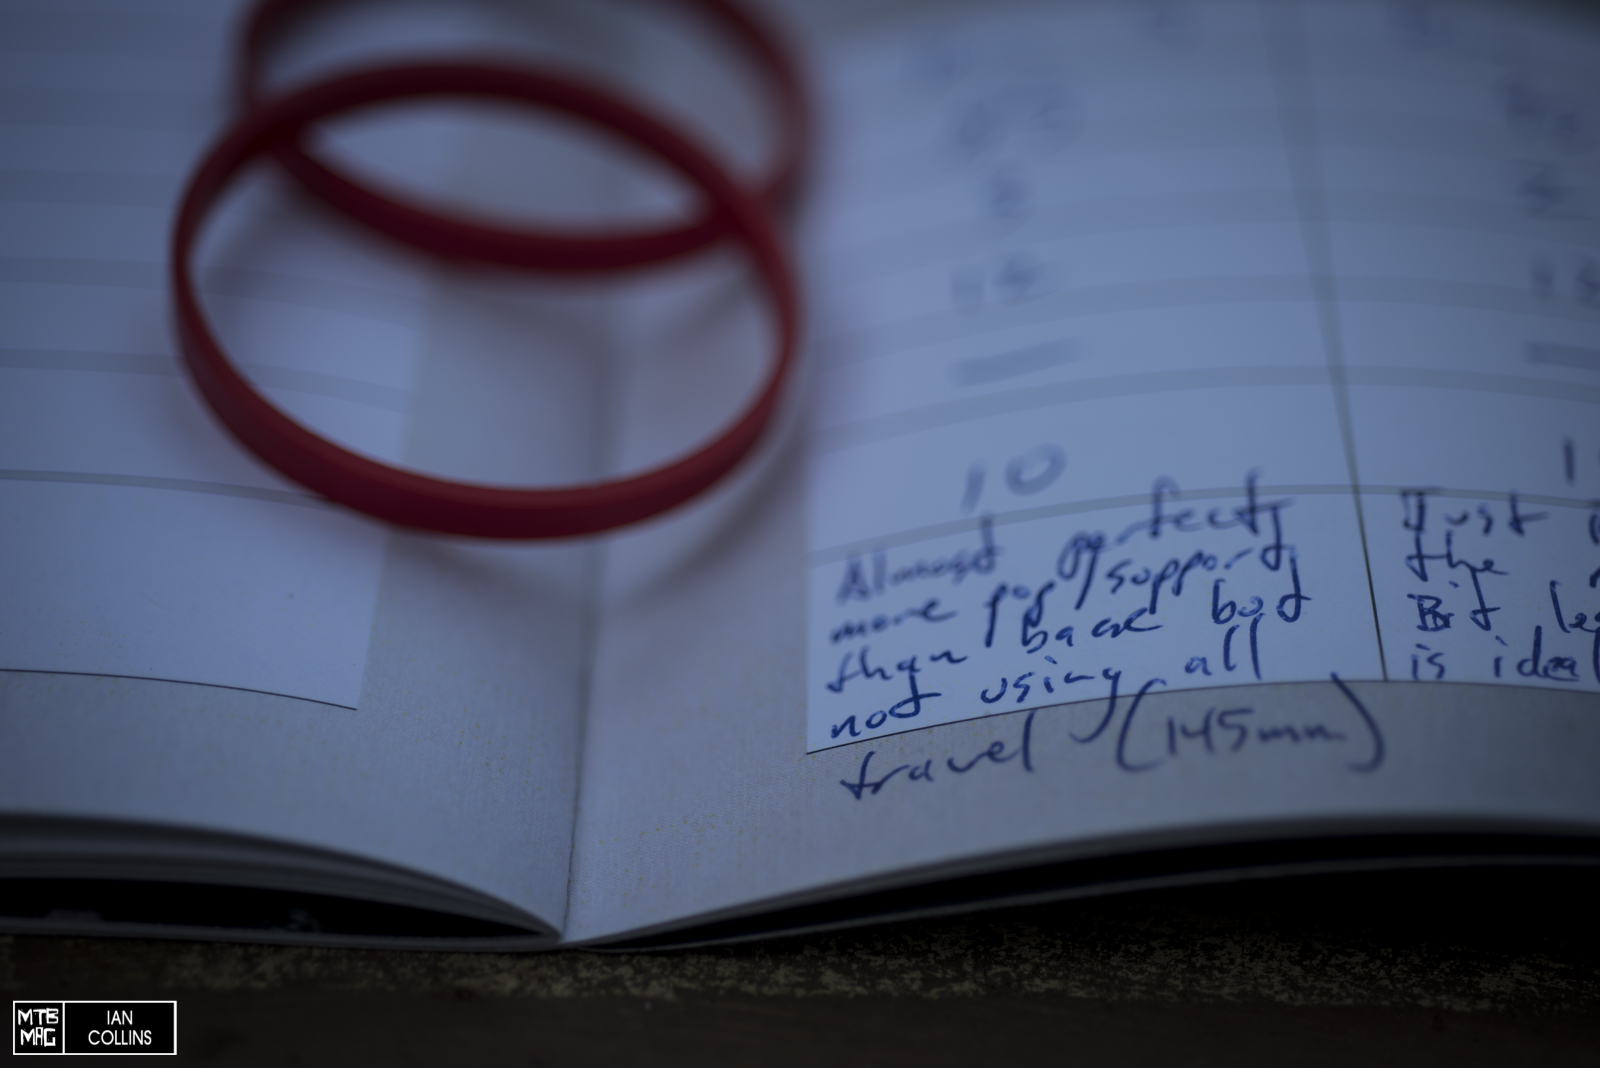
It should be noted that each time we added a token, we were effectively firming up our spring while also changing the rate…Given that, we were adding 1-2 clicks of rebound each time we added a token to keep the bike in control. Now it was time to work our way down incrementally and find our new base setting. We were a bit surprised at how much it deviated from our initial setting that we hastily settled into shortly after our arrival. Run after run and we eventually ended up with the settings below in our Pike.
2 Bottomless Tokens, 85 PSI, rebound 13 from open, compression 10 from open. Quite a stark contrast from our original setup.
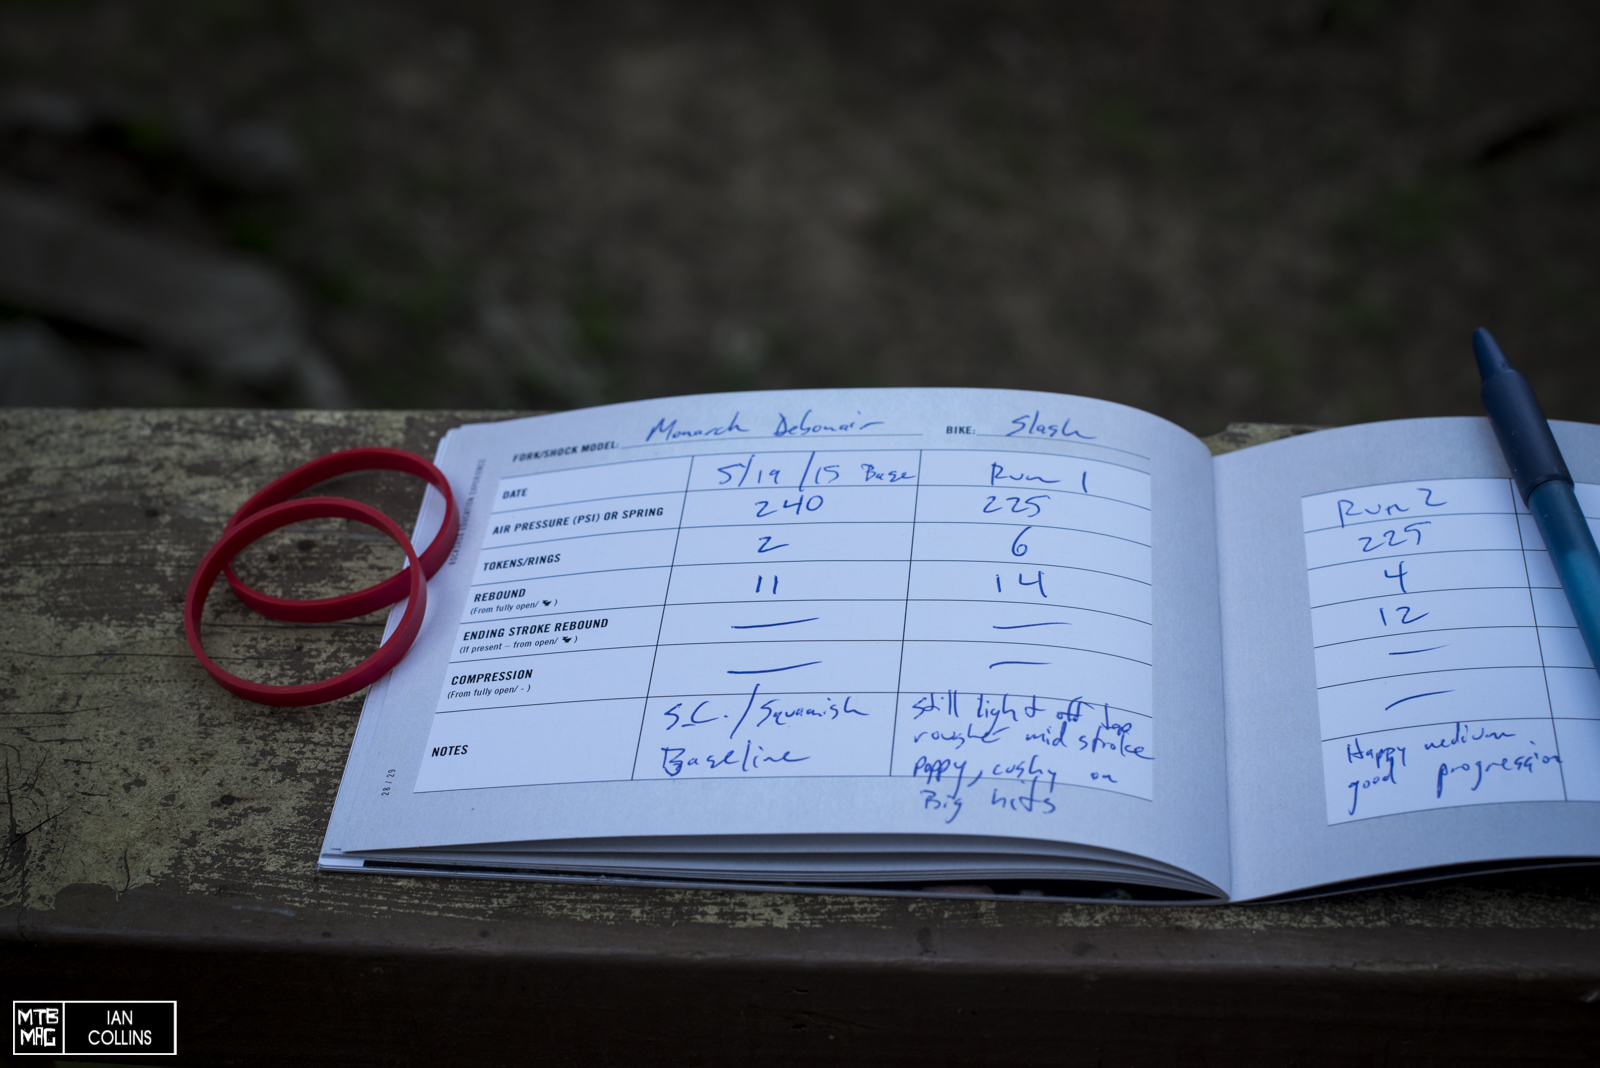
Up next it was time to hone in on our rear shock. We’d already had a good 7-8 runs clocked in, so as expected Duncan and Wizard pulled our shocks off and stuffed them chock full of volume reducers. With 6 Bottomless rings in the Trek Slash, it didn’t seem to have a massive difference in parking lot feel. It should be noted that we ended up adding a click of rebound to get the same feel that it had with only 2 rings. We also lowered the air pressure to 225 PSI to achieve our base 28% sag. Off for a run.
Straight away, we fully expected the rear end of our Slash to pack up a bit in the rough small to mid sized stuff. While that wasn’t really the case, we did notice a bit more input so to speak. However, given that we had the maximum amount of volume reduction and we were expecting an overly harsh ride, we were pleasantly surprised to find that although it felt a bit less cushy, our bike still ate most of the trail chatter up with aplomb.
On the plus side we were floored by how little rider input was required boost off of lips and crack away at some snappy turns. The same thing that we experienced up front, only a bit more subtle. With 0-8 rings for an option and 0-4 tokens as an option, we would say that there is a 2:1 ring to token ratio. Changing 2 rings is about on par with changing one token. That leaves you with a bit more range for the rear than the front, but if you wanted to get creative(read : nit picky), you could always saw a token in half with a hack saw and use it to “split the middle”. We just might do that for the sake of experimentation once we get home to our local trails.
After a handful of runs we arrived upon the settings below in our Monarch.
4 Bottomless Rings, 230 PSI, and rebound 12 clicks from open. Not a huge difference from our original setup – but still, definitely a noticeably different ride.
The bottom line is that this camp was a nice exercise in proper testing and gave us the opportunity to really feel just how much usable range is built into RockShox suspension products. The same knowledge can span across to other products from competitors of theirs as well, but that level of tunability typically doesn’t span unilaterally across front and rear shocks quite as well with other competitors. Hats off to RockShox.
Huge thanks to Adrian Marcoux for the photos!
[ad12]