[ad3]
Specialized sent us a package a few months back with a floor pump and a tubeless tire setter for testing. While we do have an air compressor, we definitely don’t travel with it, so the Air Blast certainly did peak our interests. At $55 and about the size of a standard floor pump (only shorter/wider) it has an appeal to those who don’t want to splurge on an air compressor, or simply don’t have room…

Details
- Removes the necessity for an air compressor when installing tubeless tires.
- Portable design blasts air into your tubeless tires for fast and easy set-up.
- Works with road, mountain, and 6Fattie tubeless tires.
- Inflate w/ a floor pump that has a pressure gauge, operating range of 100–140 PSI (7–9.5 BAR).
- Safety valve protects canister from over inflation.
- $ 55.00 (USD)
In Use
To start the process, you take any air pump and install the head onto the Air Blast’s schraeder valve at the top. You then flip the 90º switch at the side so that it’s parallel to the ground; this opens a valve so you can begin inflating the 1450CC chamber. The instructions are labelled on the outside of the pump should you want to double check and make sure that you aren’t blowing it (no pun).

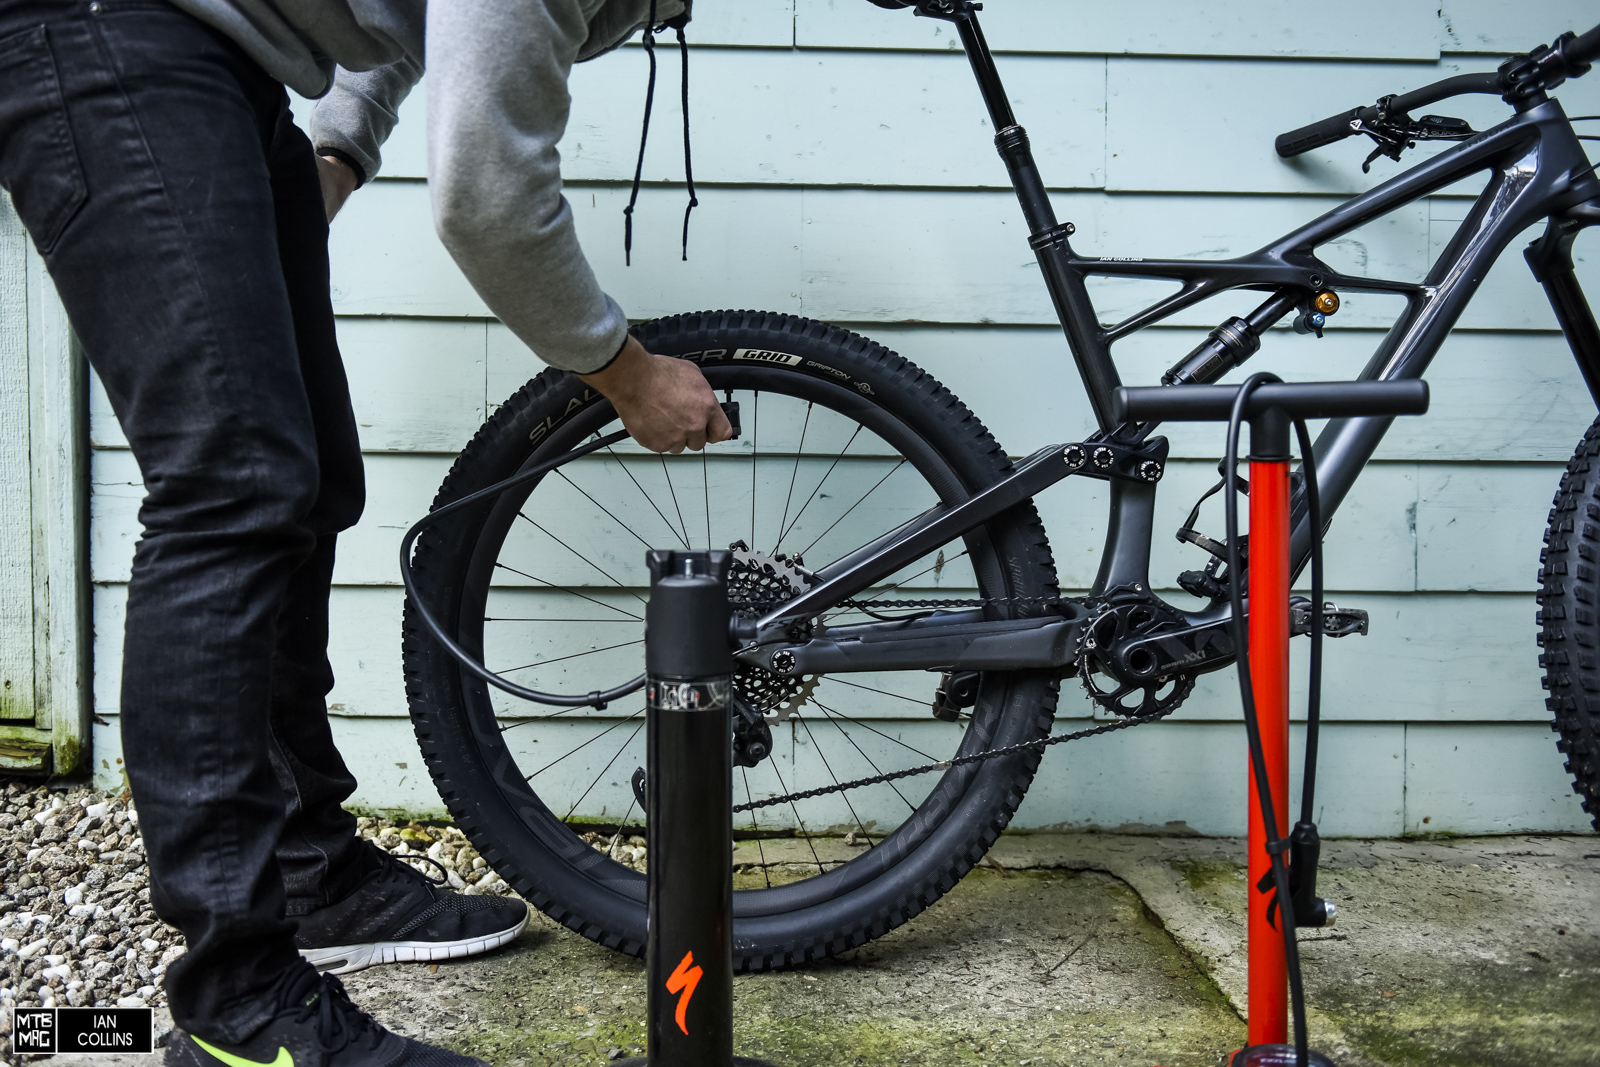
Once you inflate the Air Blast to around 140 PSI, its ready to be used. For safety’s sake there is a blowoff valve that prevents overinflation. Anyhow, next you simply disconnect the pump hose, double check that the lever is still parallel to the ground, then connect the air blaster to your wheel’s valve using the presta/schraeder head. When it comes to inflating tubeless tires that are too stubborn for a standard floor pump, we have a couple of tips:
- Two important, initial steps are making sure the valve is installed/seated correctly and threaded on snug. Fresh rim tape that seals well is also critical.
- Try to prevent fluid from getting on the valve, on the tire bead or all over the inside of the rim. Install one bead fully, then install the other 4/5ths of the way, leaving a small opening (opposite the valve) to pour your sealant in through. Then, carefully seal the rest of the bead without allowing the sealant to slosh around.
- Now pull the beads away from the shallower drop center of the rim and slowly work them up toward the sides. This gives them a tighter fit and will prevent air from escaping. It will also prevent having a blowout during the inflation process. *All of the above is done more easily with the wheel uninstalled from the bike.

Next, once the hose is connected you can flip the switch perpendicular to the ground to allow the air to start flowing into the tire. The flow is metered within the tank/hose to prevent a violent blowout, but it’s close to on par with the initial power of an air compressor (which is adjustable by the way). The full can in most instances should be enough to get the tire seated and partially inflated. You can leave your pump connected and finish inflating though there, or you can disconnect the Air Blast and finish the job solely with the pump. Either method works just fine.

So far, we’ve inflated tires up to 2.6″ without any problem and we’re quite sure that this little unit can handle more. Speaking of handle, we love the ergonomic handle (shown above)…
Overall
If you’re on the road or if you don’t want to buy and store an air compressor, the Specialized Air Blast is a great time/money/space saver. It’s relatively cheap and gets the job done. With that in mind, there still is the simple fact that there are some poorly compatible tire bead/rim hook combinations that act like divorced parents. The best thing you can do for sealing up difficult setups is by setting them up correctly BEFORE you try to inflate them. For that, we refer you back to our 1,2,3 steps above and bid you good luck.