[ad3]
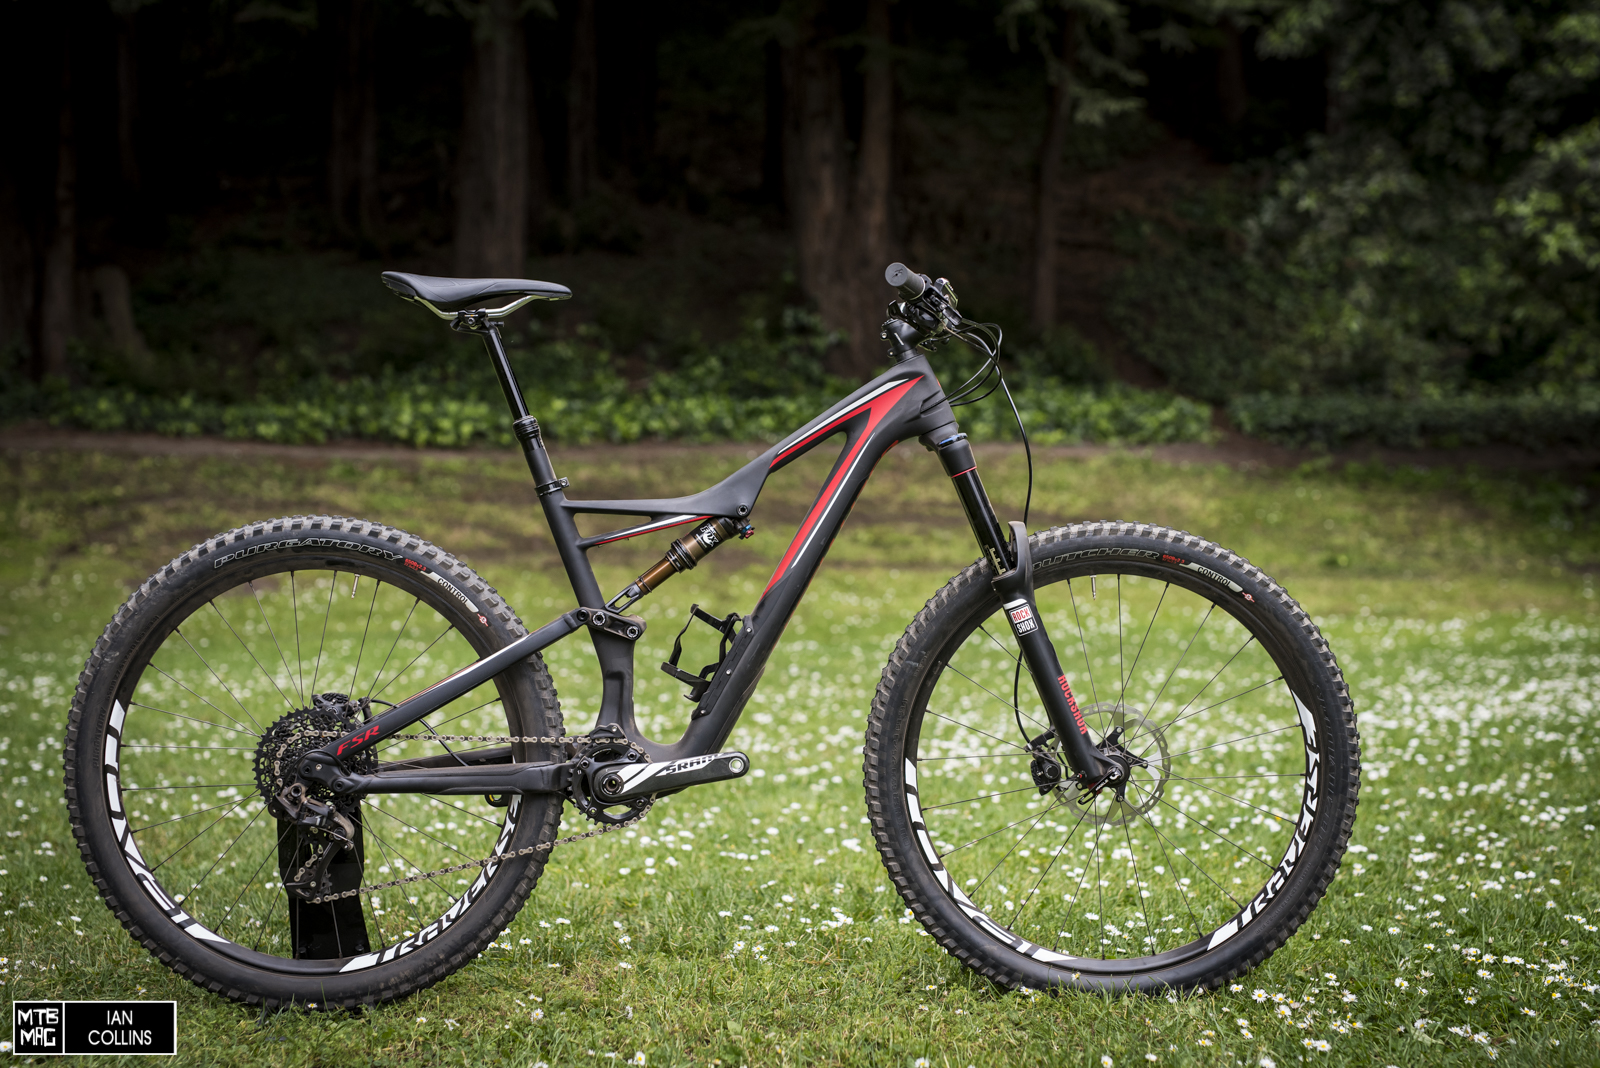
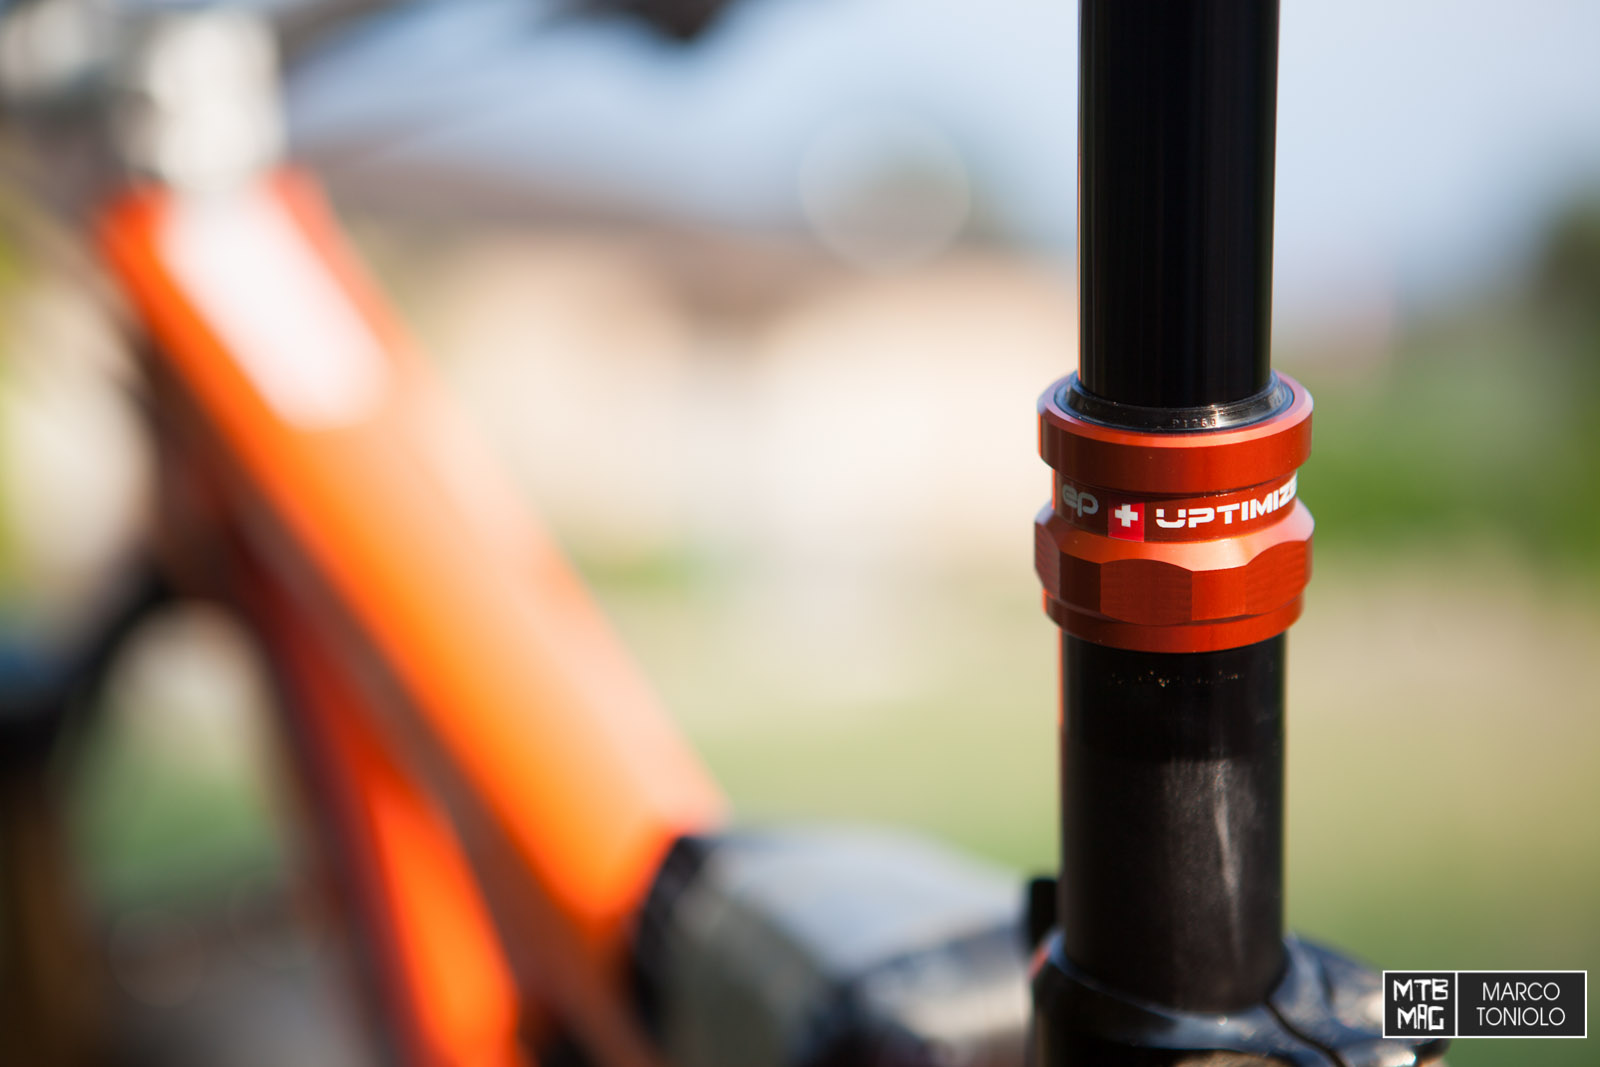
One of the components we liked most on our long time tests has been the Uptimizer, an adjustable seatpost made by Swiss company Yep Components: infinite travel, hydraulic / pneumatic system with mechanical actuation via a gear cable connecting the post to the joystick style remote on the handlebar. It has proved to be very robust and extremely reliable, and with very limited lateral play compared to the competitors.
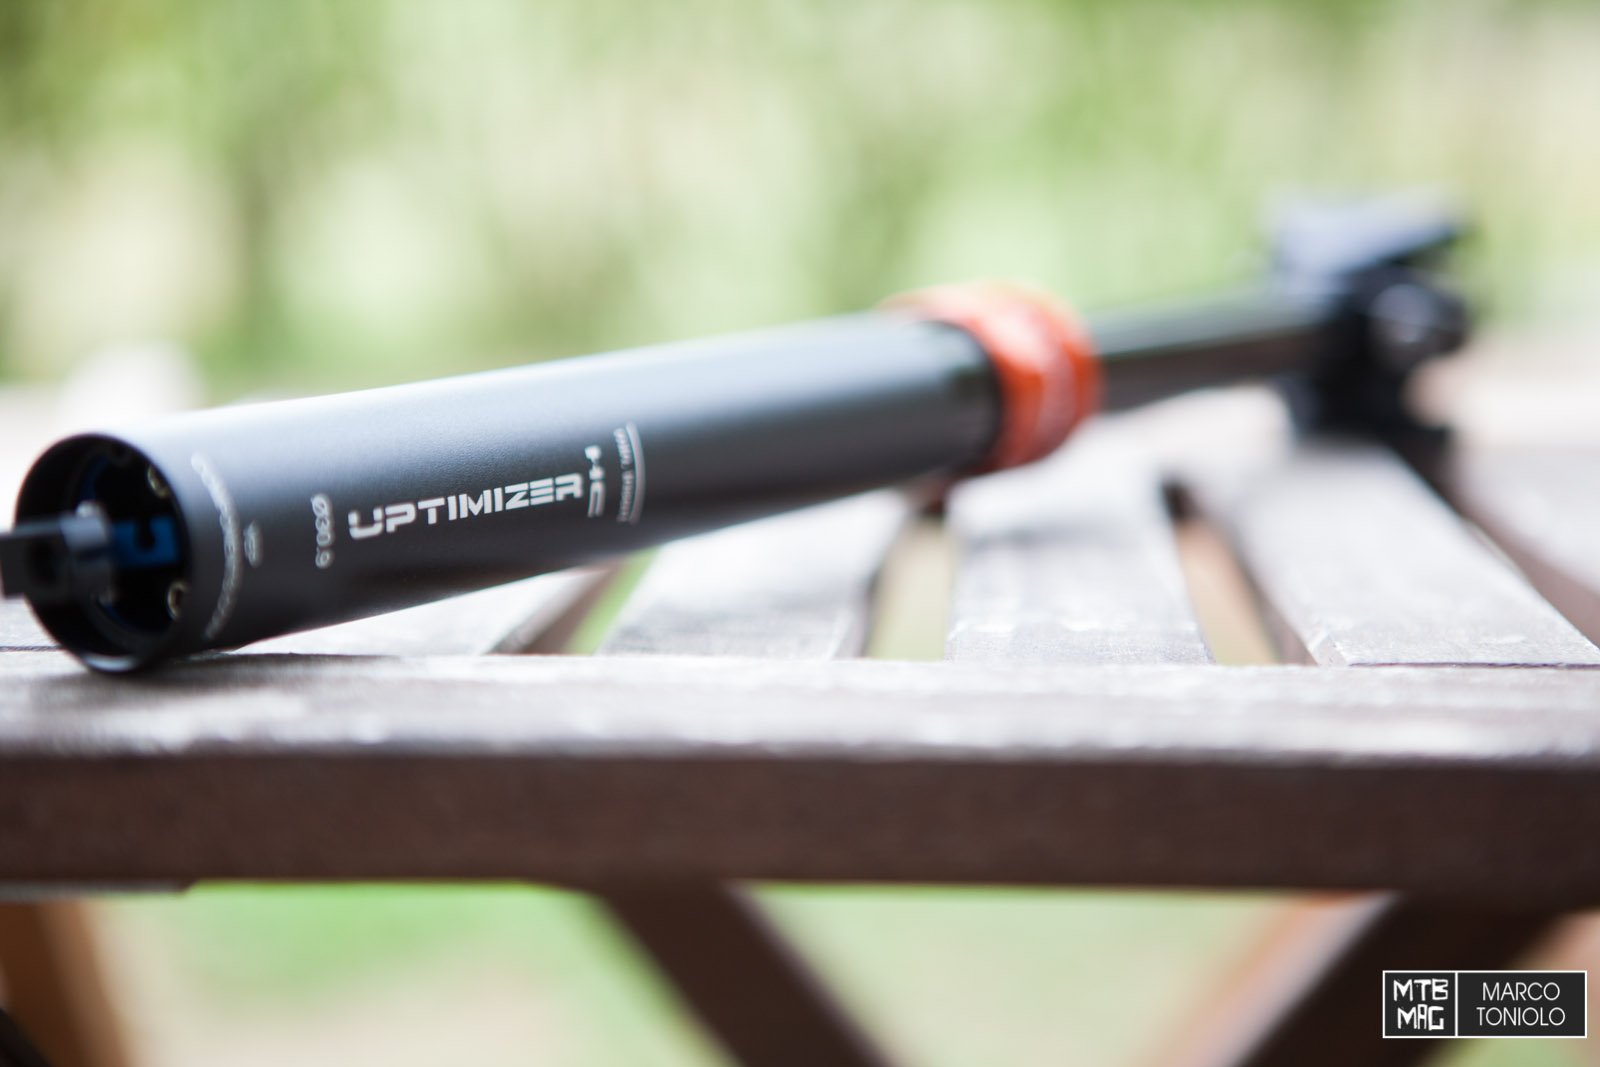
Yesterday Andrea from Yep Components sent us their new 2015 model. We called it 2.0 but officially it kept the same name as before also if the deep revision has concerned most areas of the product.
Among them:
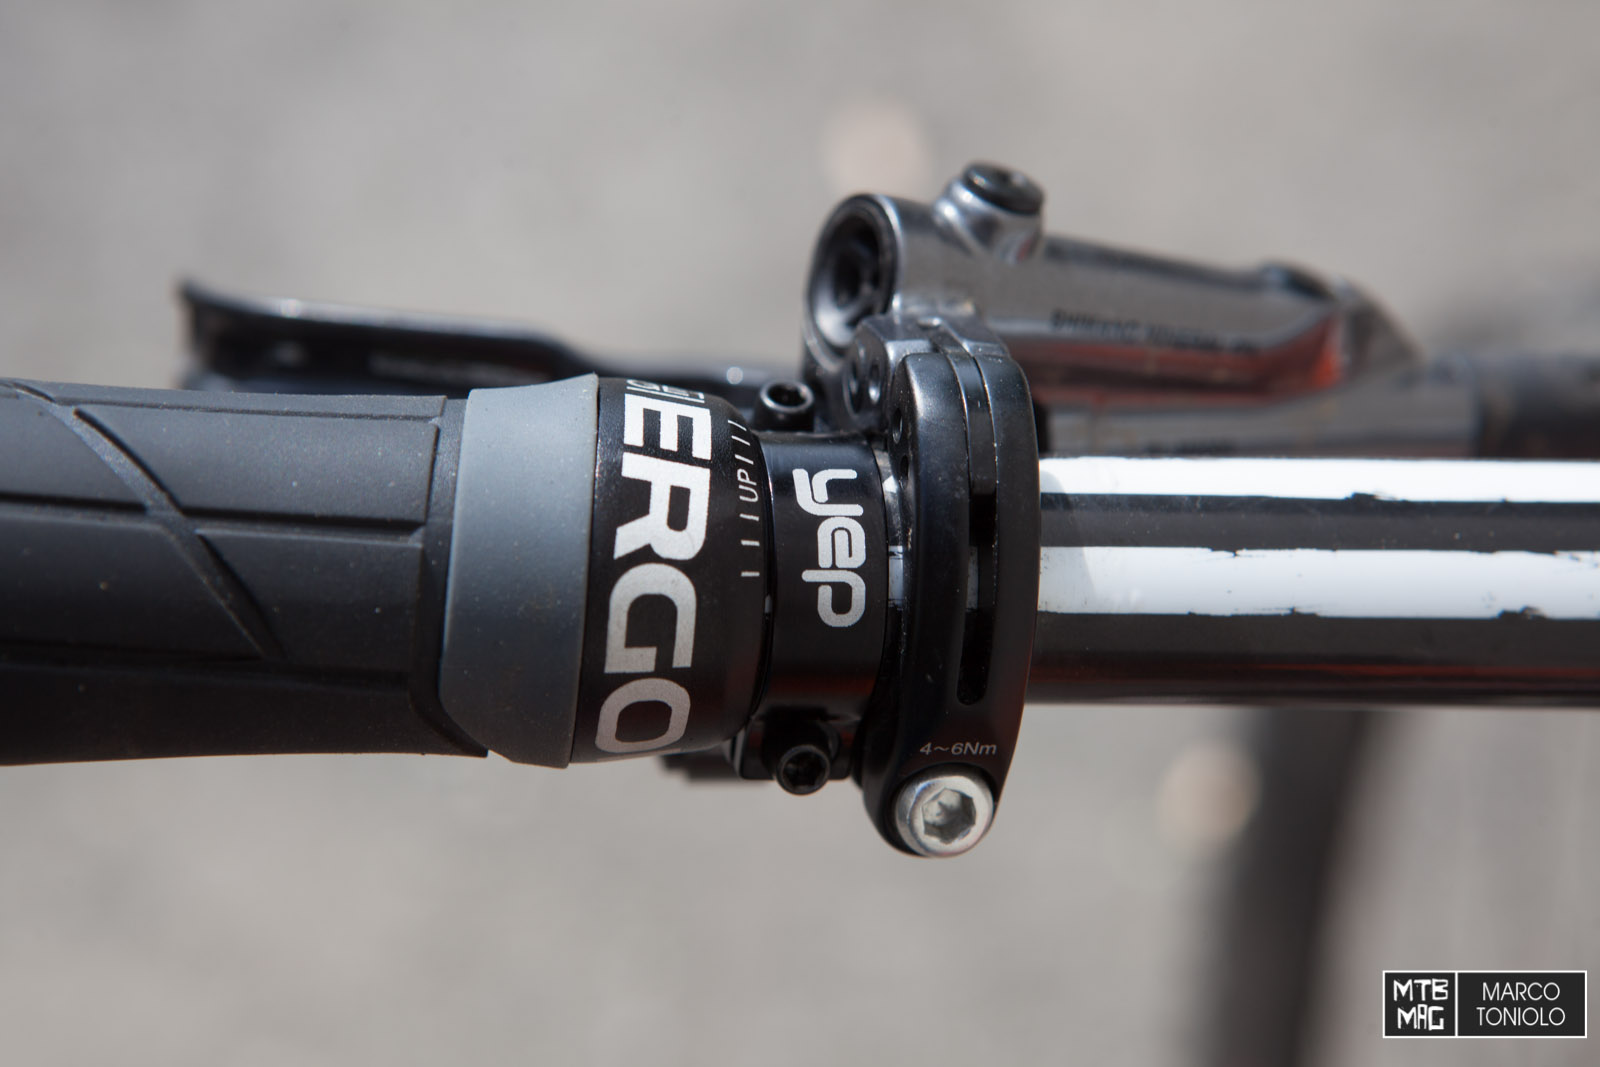
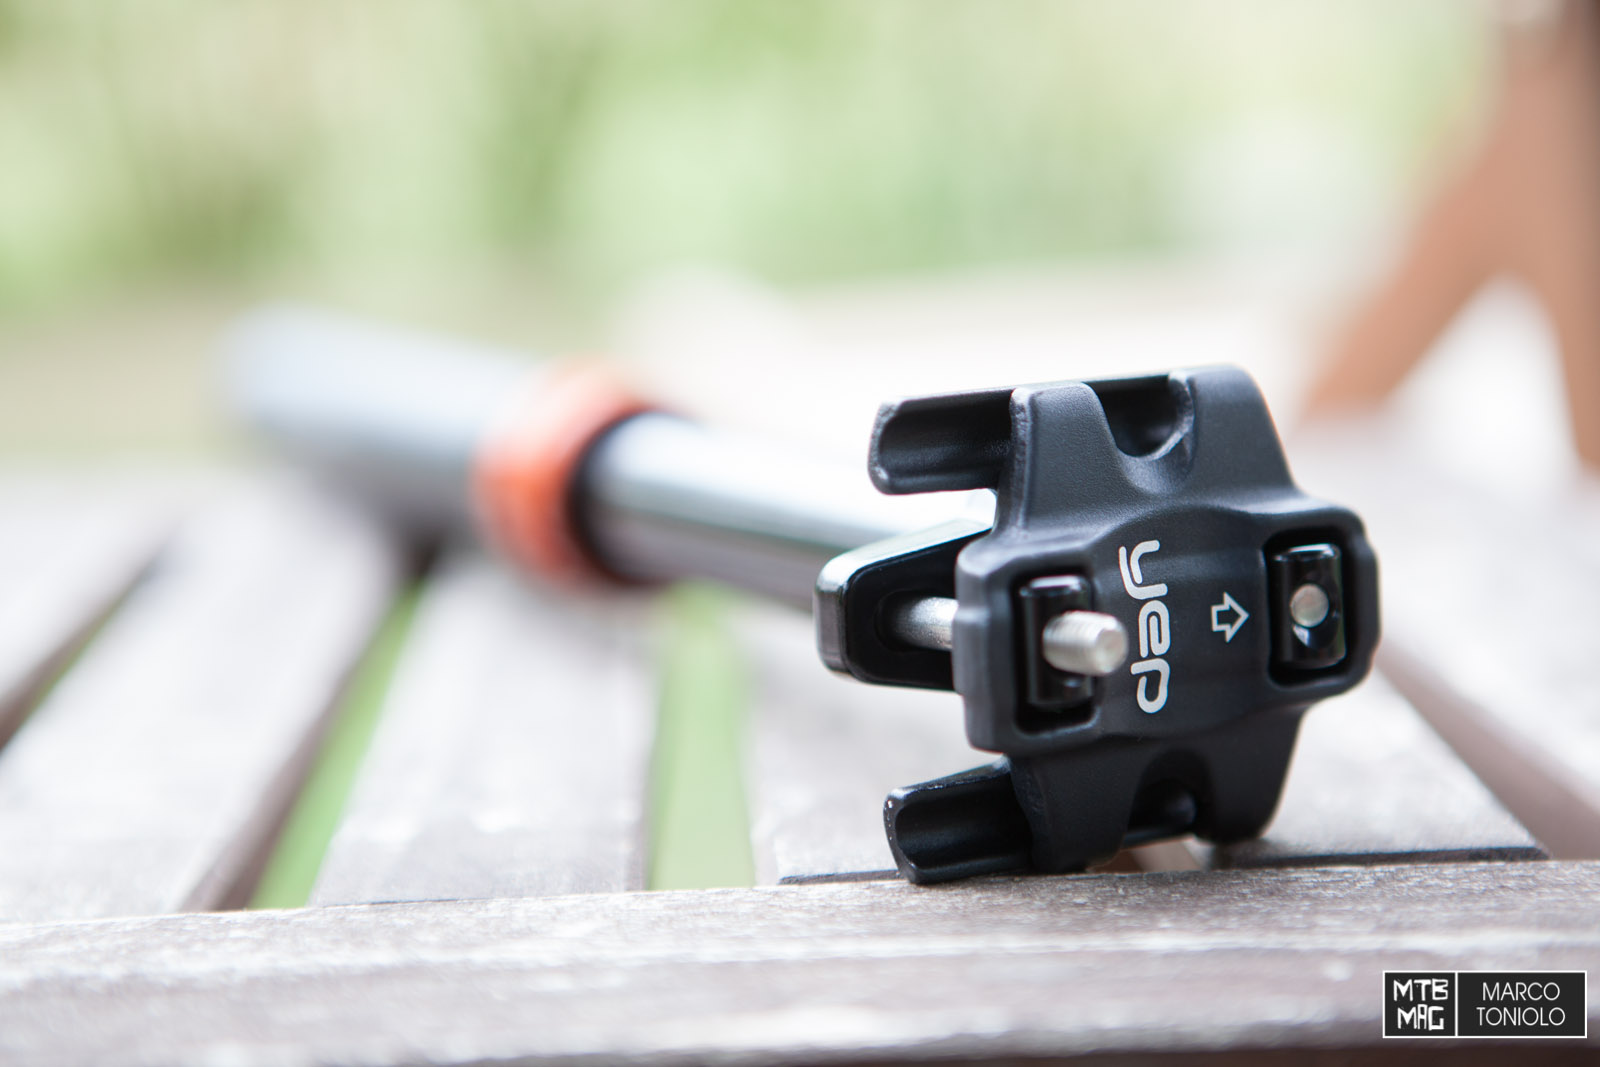
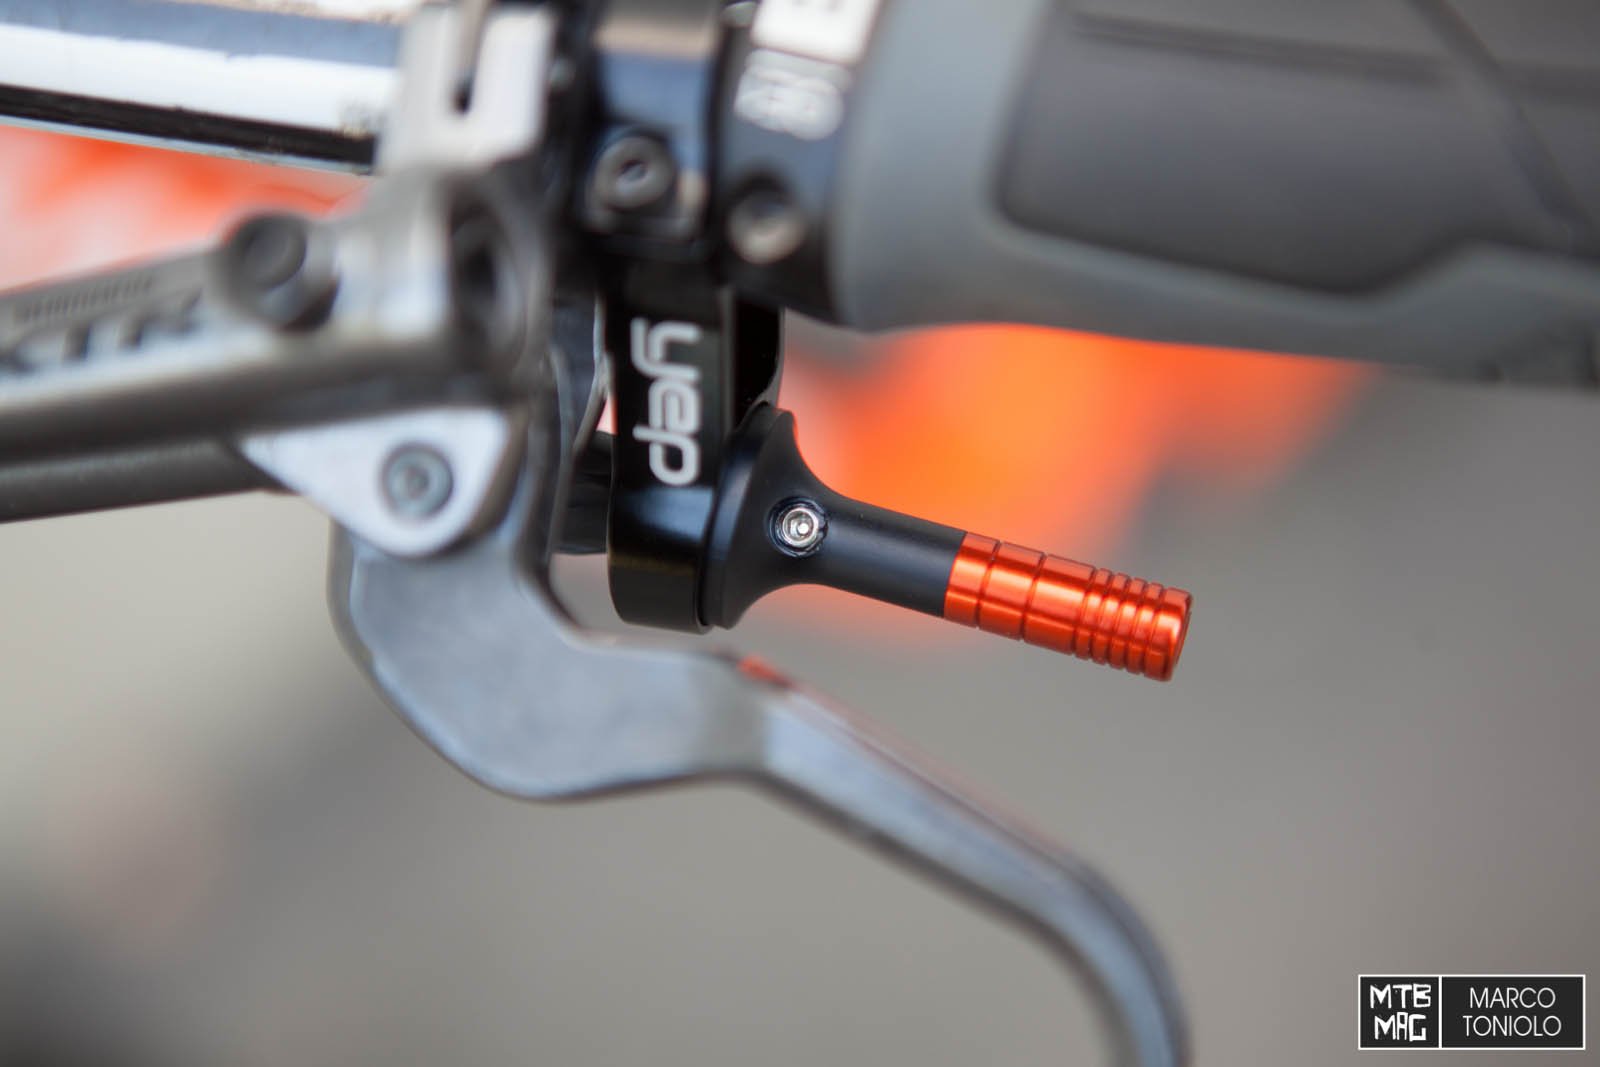
– revised remote with 2 clamps to avoid rotation on the handlebar.
– New seat clamps with cylindrical nuts: it’s now unnecessary to unscrew completely the bolts to mount the saddle, except for some oversized carbon rails.
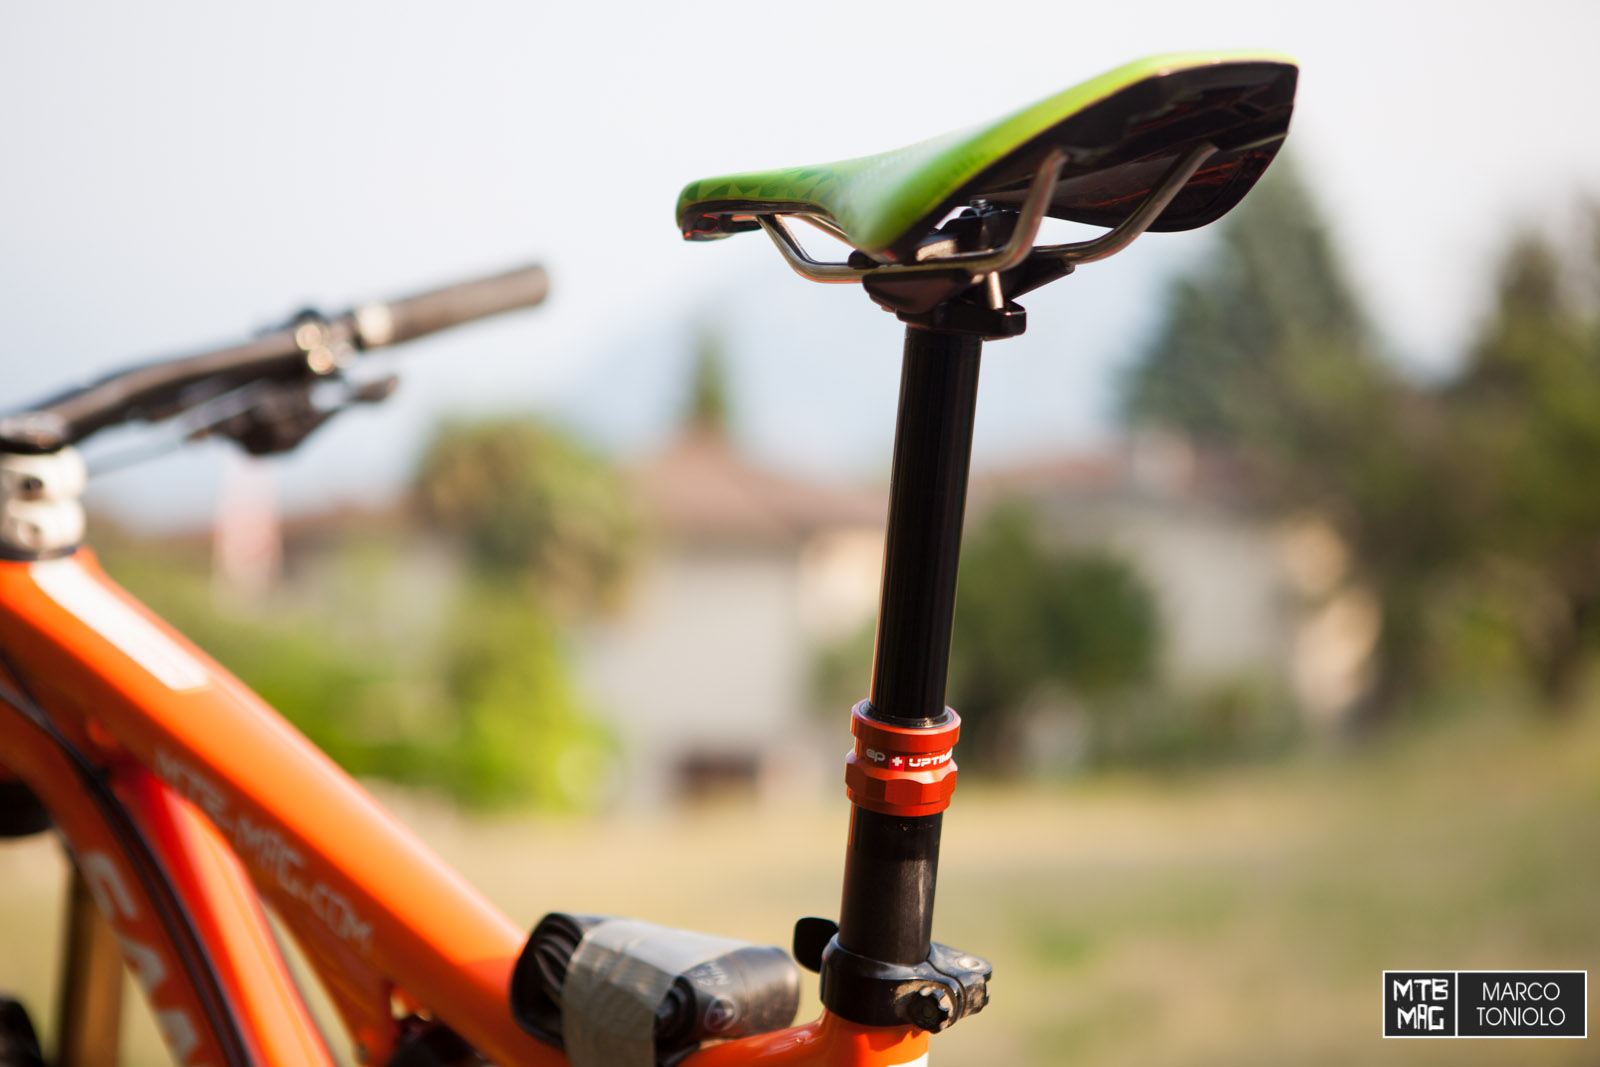
– New forged head , lower and lighter: it allows more tilt adjustment.
– Revised valve and oil circuit to increase the already nice smooth action and progression of the system.
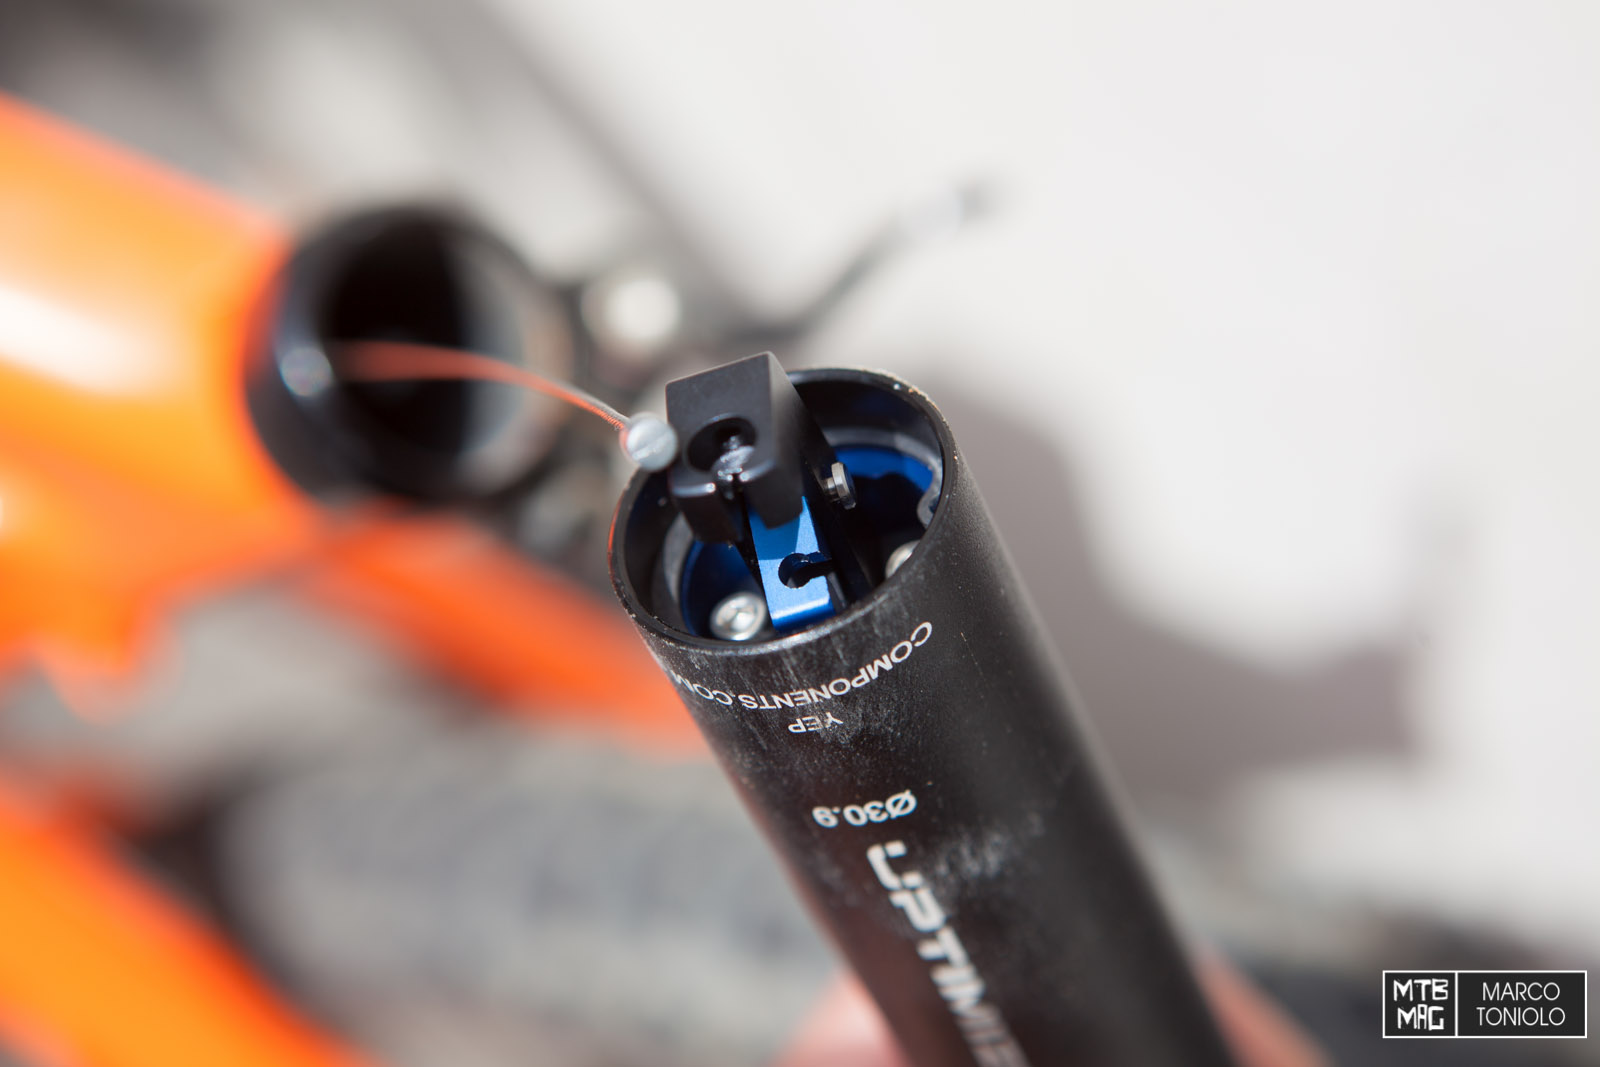
– Complete redesigned HC actuation system (internal cable routing): the cable housing stays now put and the cable nipple is connected to a small rocker arm who is acting on a cam through a stainless steel micro bearing, a net and clean solution to keep a good feeling on the remote.
– Travel choice is now 155 – 125mm and the new 100 mm, especially made for girls and small frames.
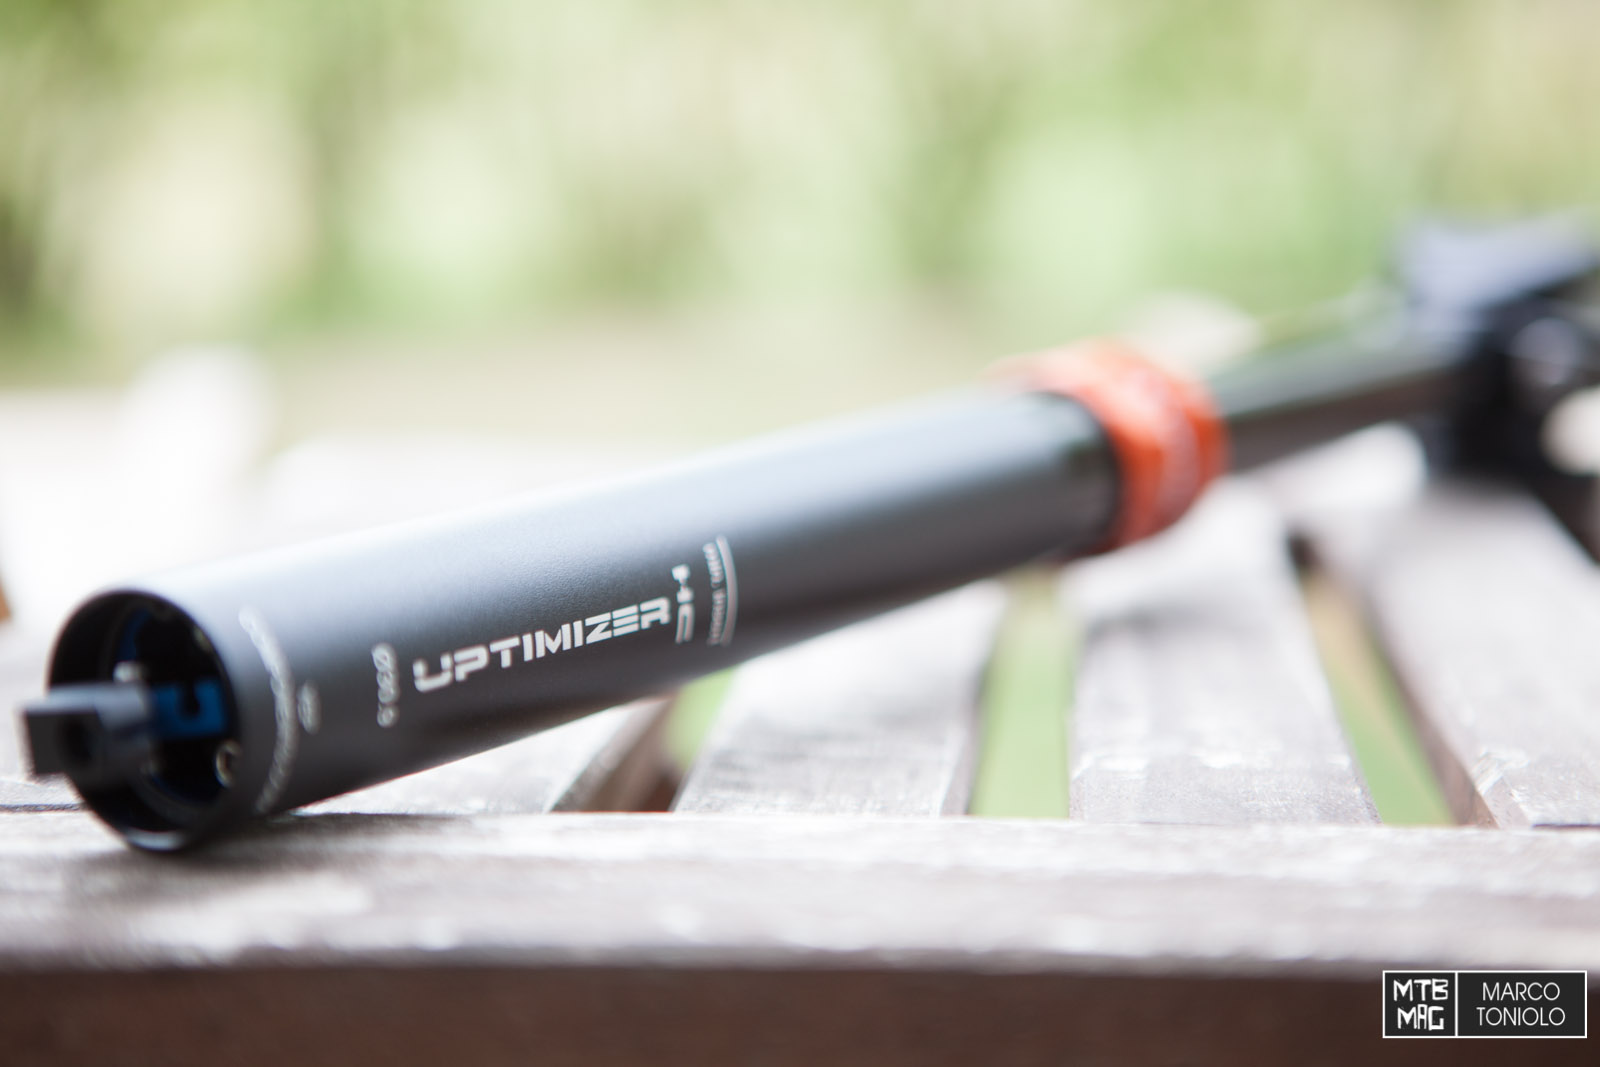
– All tubes are now in black. The orange parts in the photos are also available in many different colors.
Prices (for online purchases from the Yep Components website only )
ST: €360
HC: €380 .
It’s quite easy to install the Uptimizer HC. It took me 15 minutes to do that on our Santa Cruz 5010 test bike. Read on to learn how to do that.
In the Yep box you’ll find the seatpost, the cable housing, a 1.1ss cable with cable ends, the remote and the high pressure pump adapter necessary to eventually adjust air pressure of the system (not in the photo).
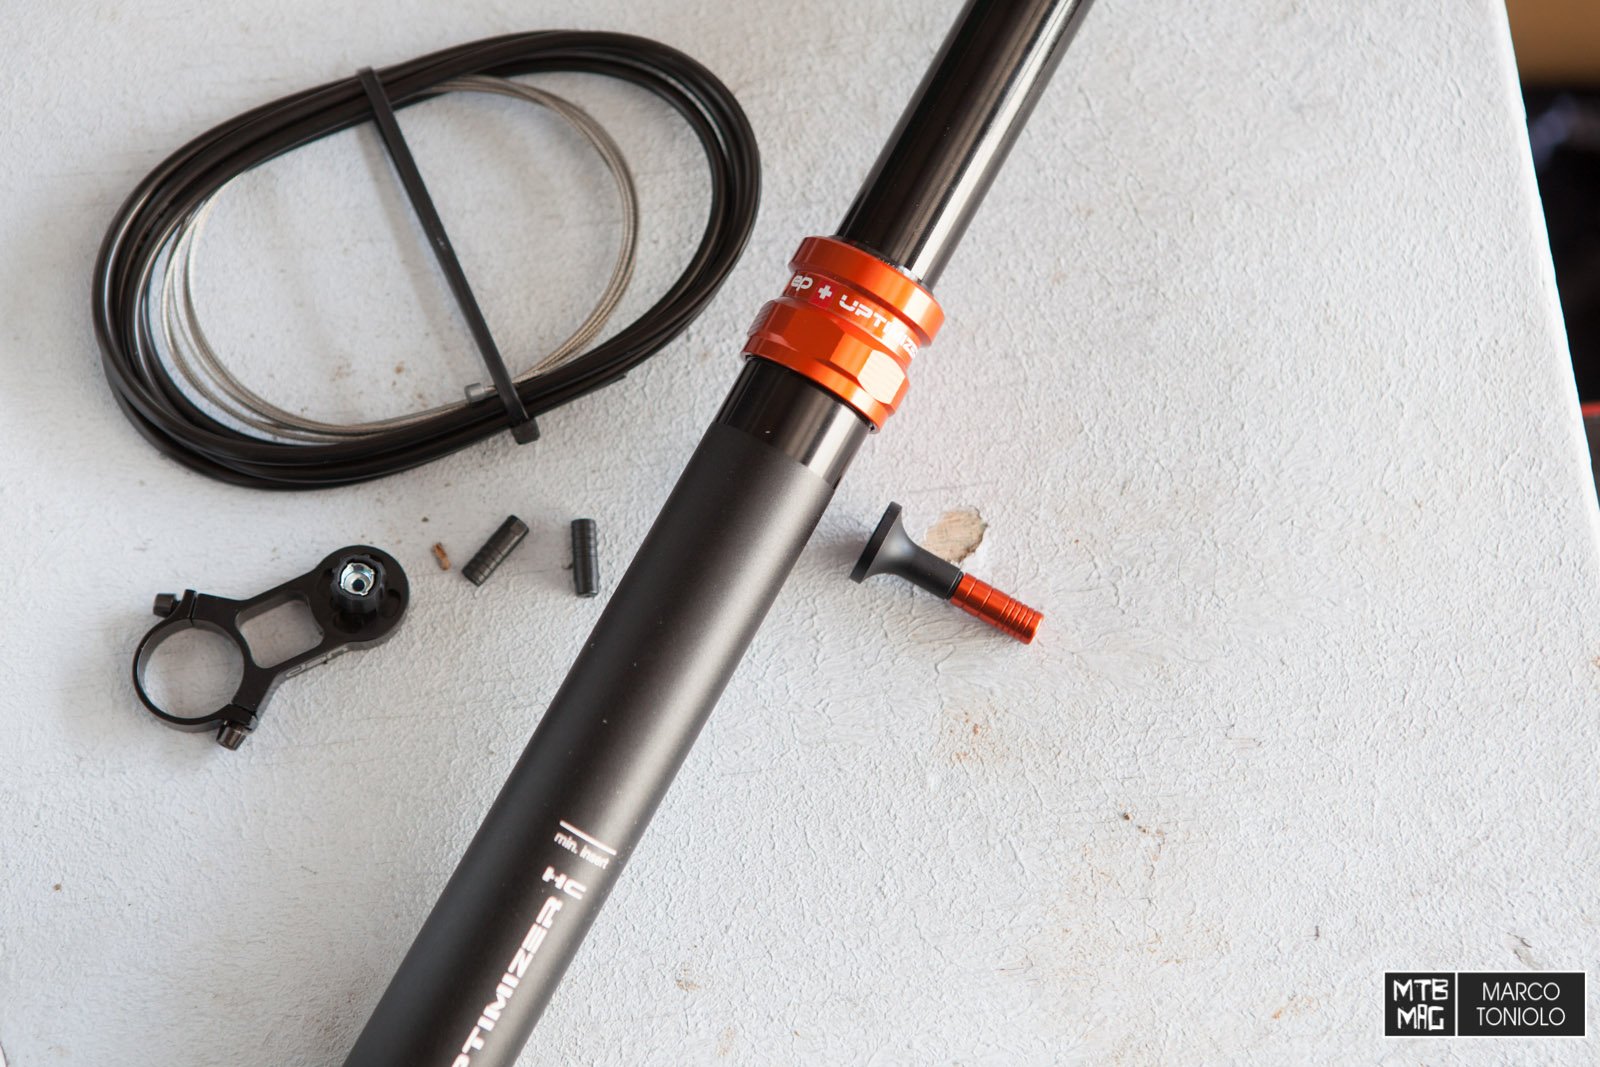
1. Insert the cable housing though the internal routing of the frame.

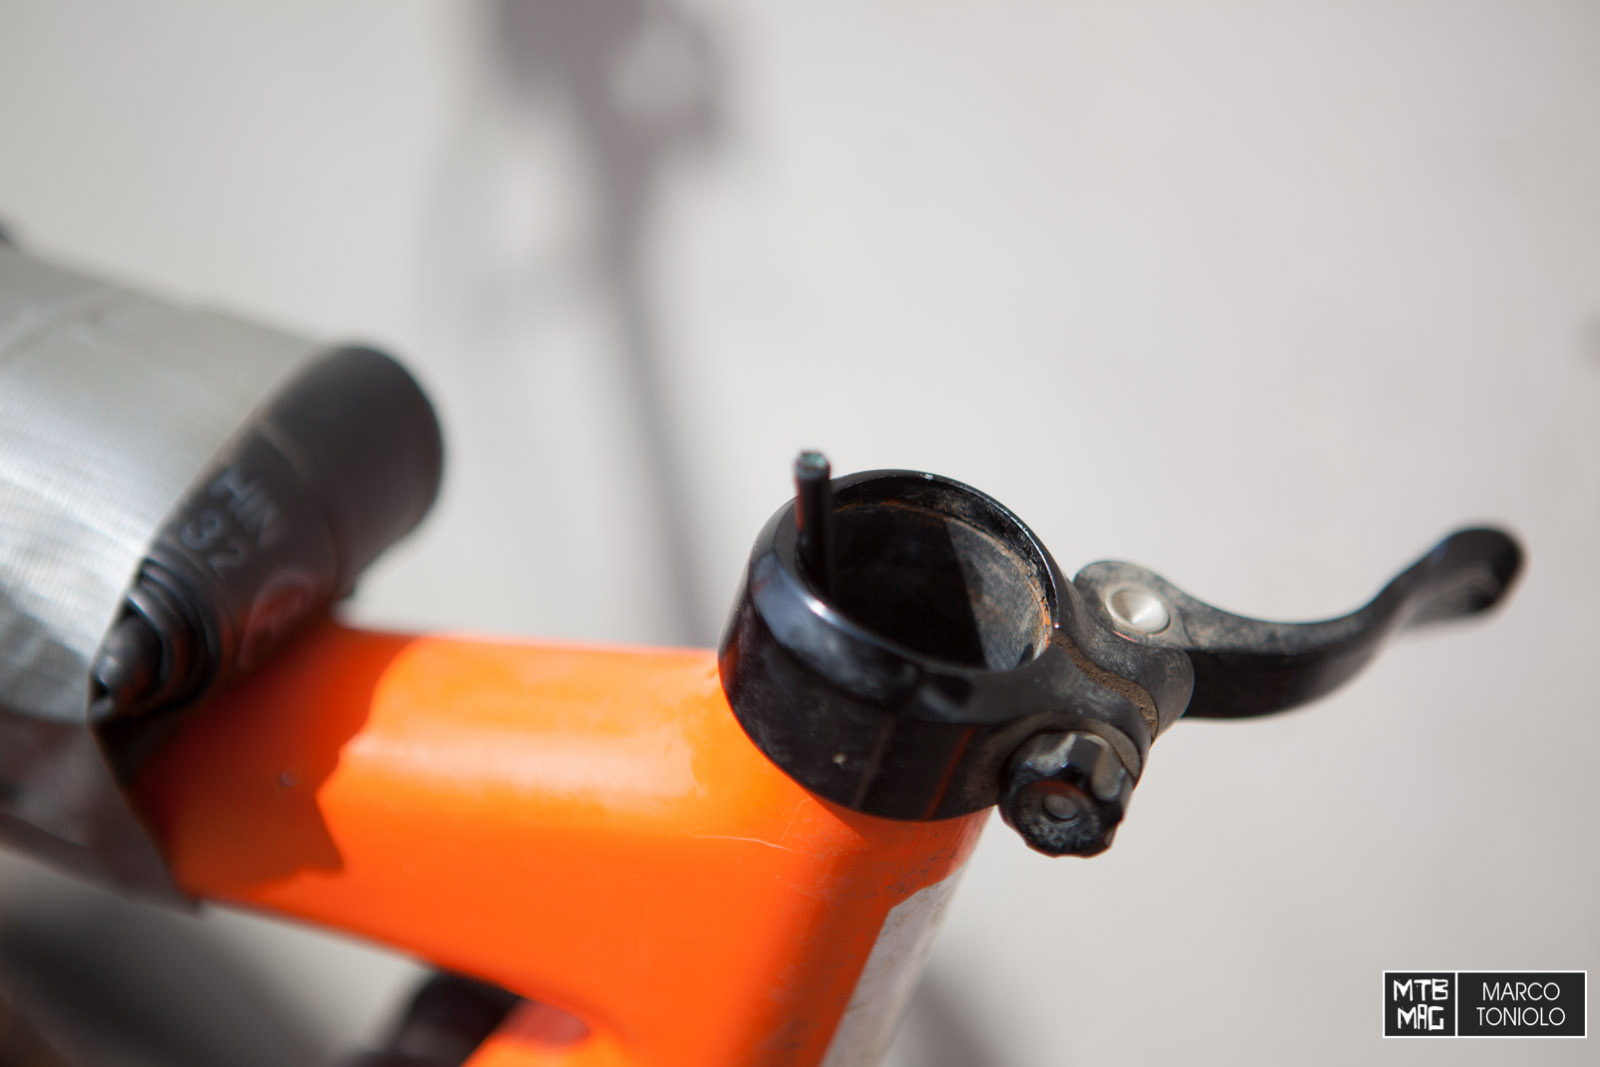
2. Connect the cable housing to the actuation at the bottom of the post fixing with a small M3 socket screw, set the correct height an cut the excess.
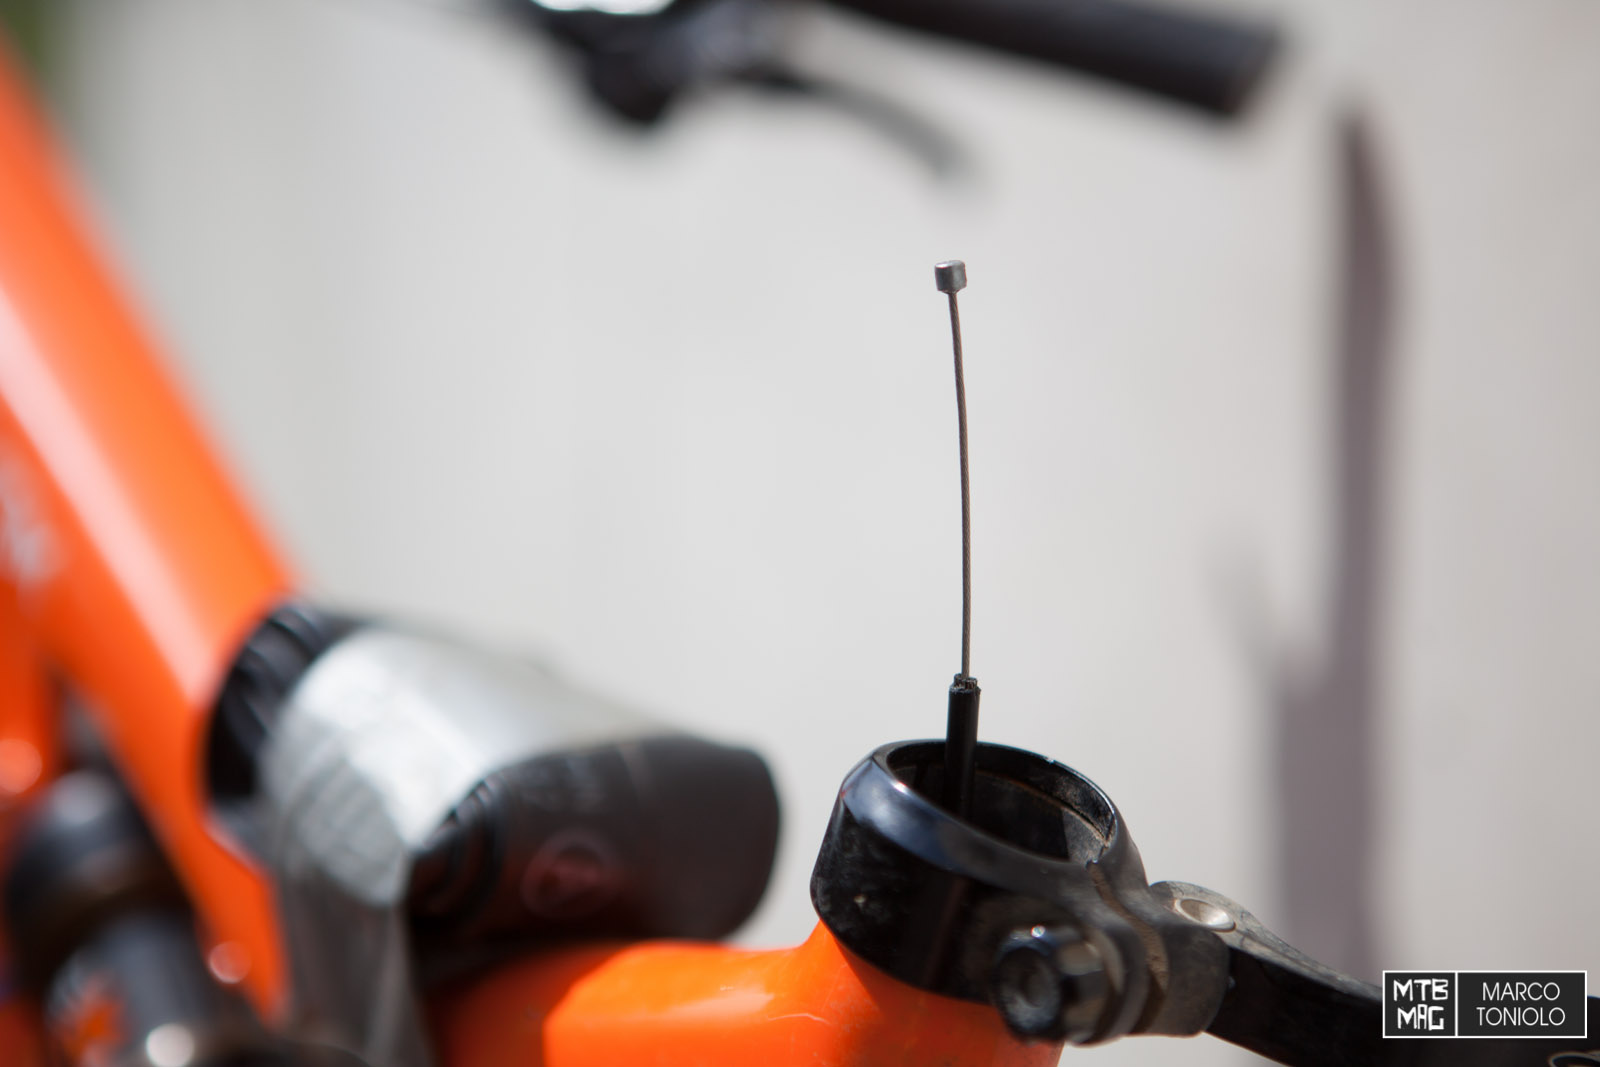
3. Insert the stainless steel 1.1 gear cable leaving the cable nipple exit on the seat tube side.
4. Connect the cable nipple to the blue rocker lever and place it in the housing slot.
5. Insert the post in the seat tube and torque it (not excessively).

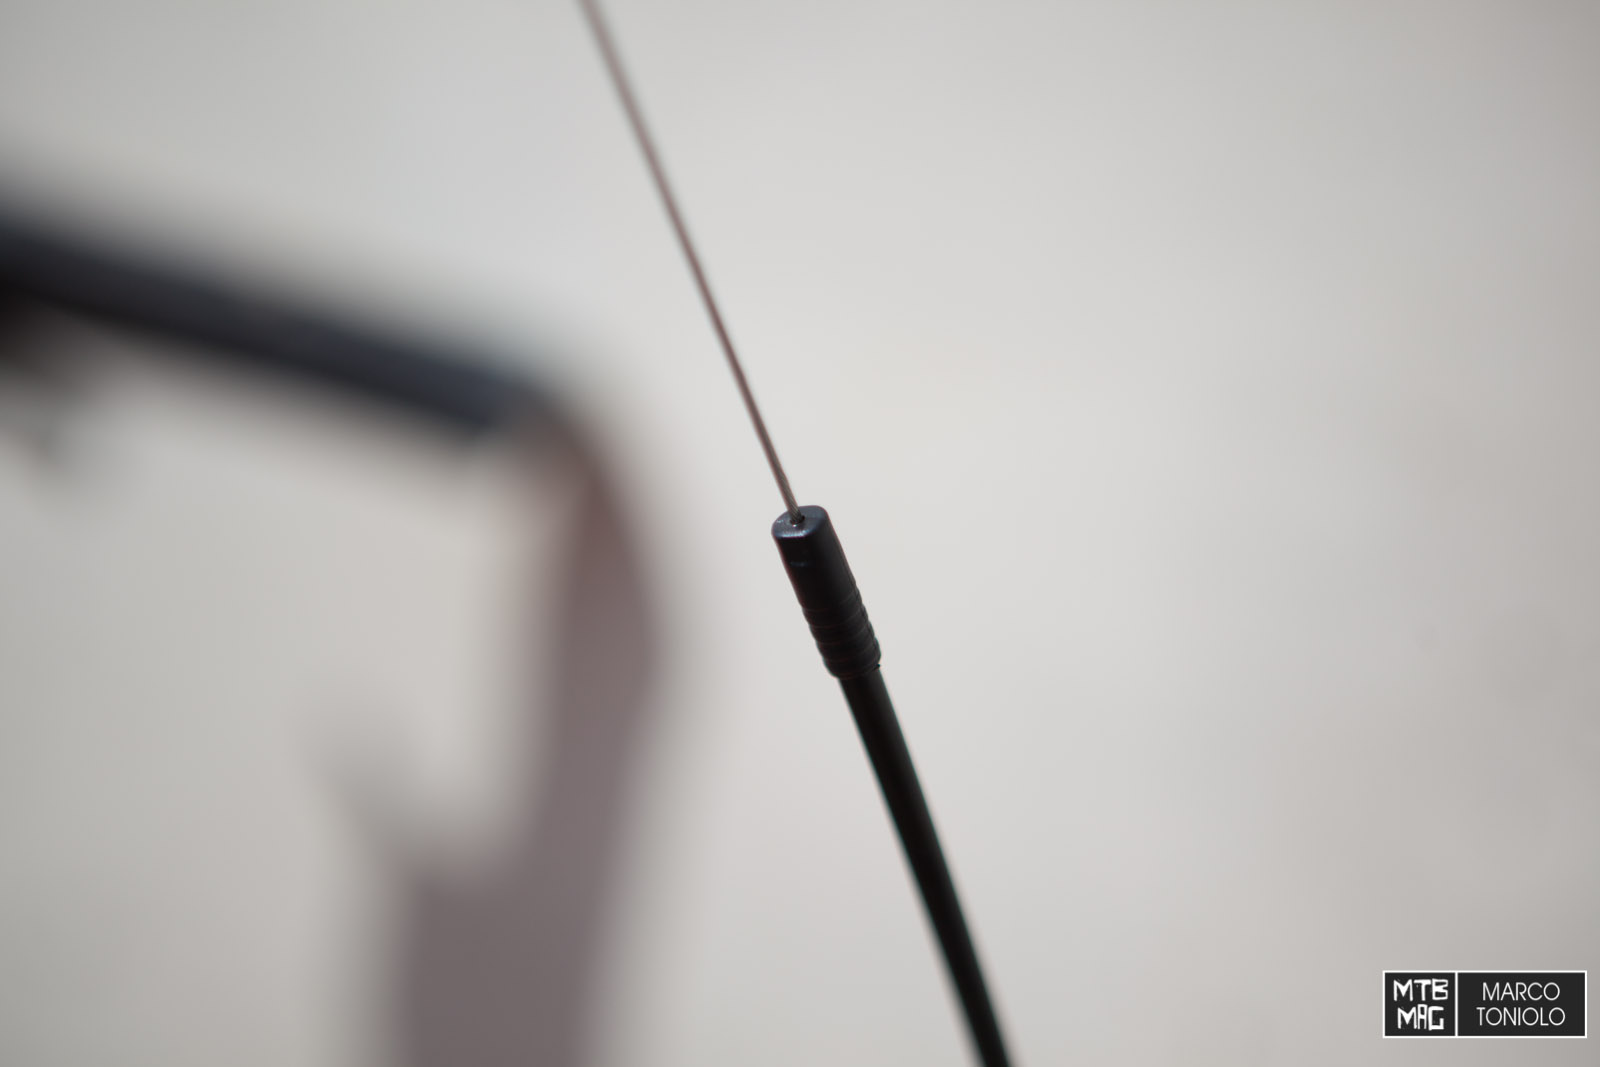
6. Insert the cable end on the other side of cable housing.
7. Install the remote and tighten it with the two M4 bolts.
8. Insert the cable trough the index adjuster.
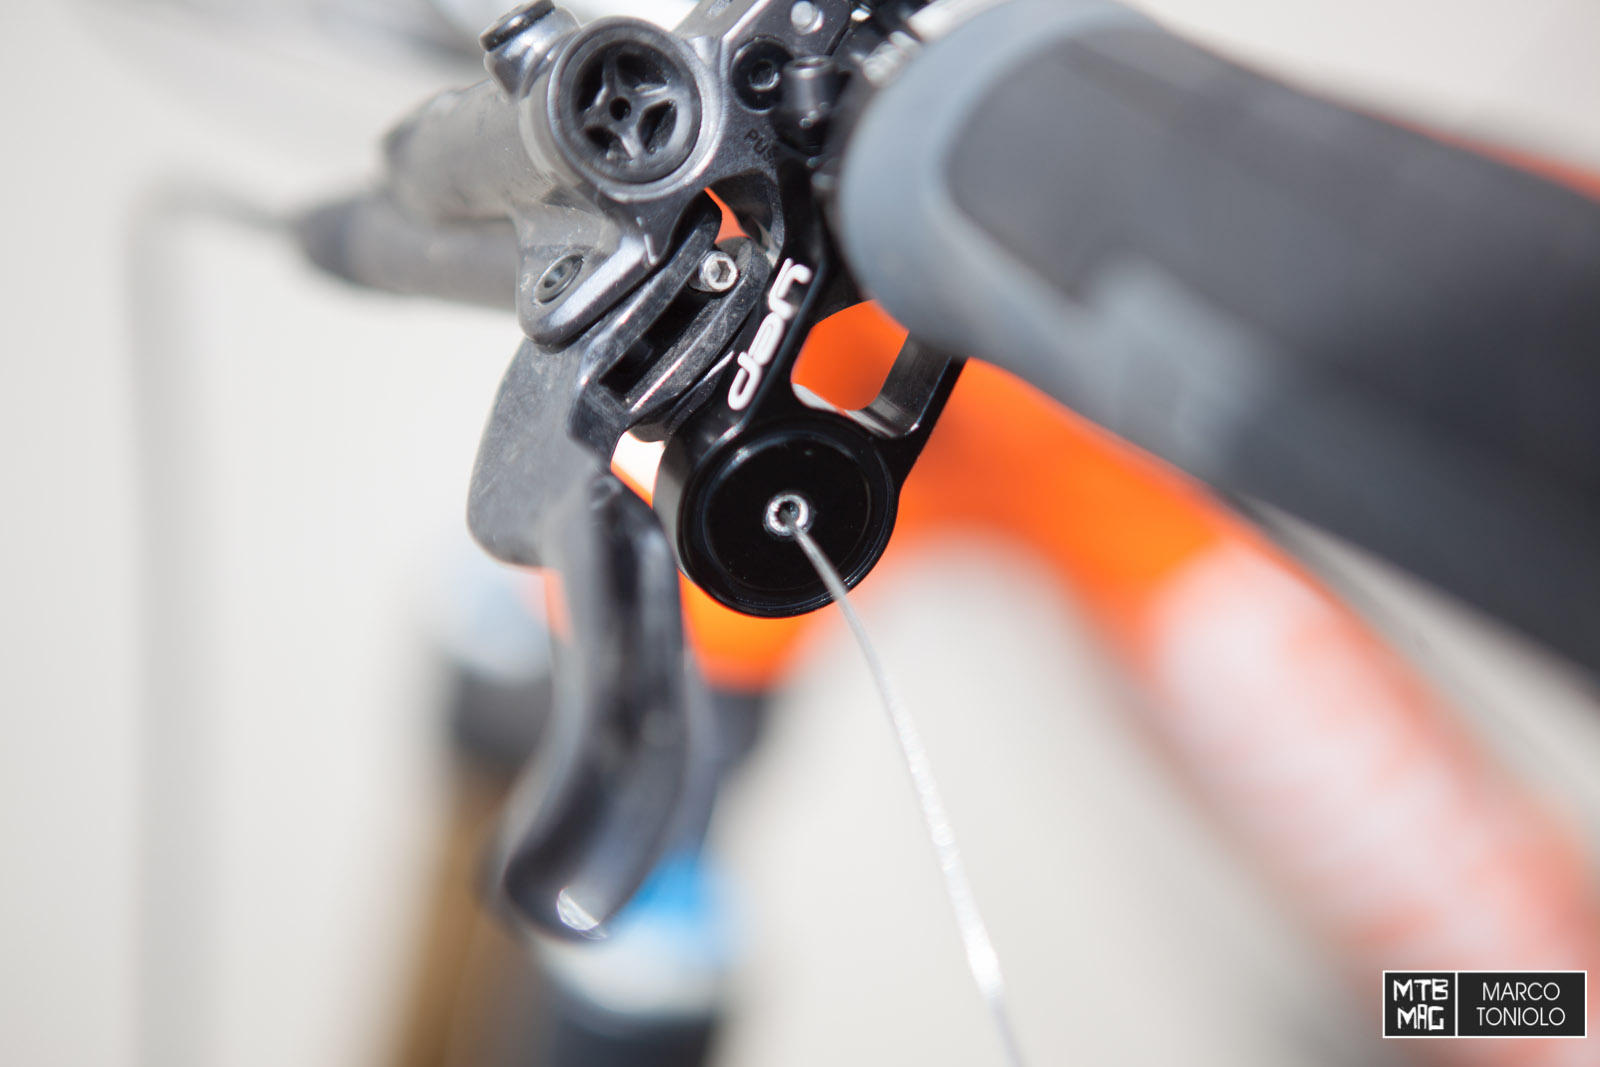
9. Insert the remote lever. Keep a bit of tension on the cable and secure it with the M4 screw.

10. You can leave a little play that will be fine tuned on the index adjuster later on.
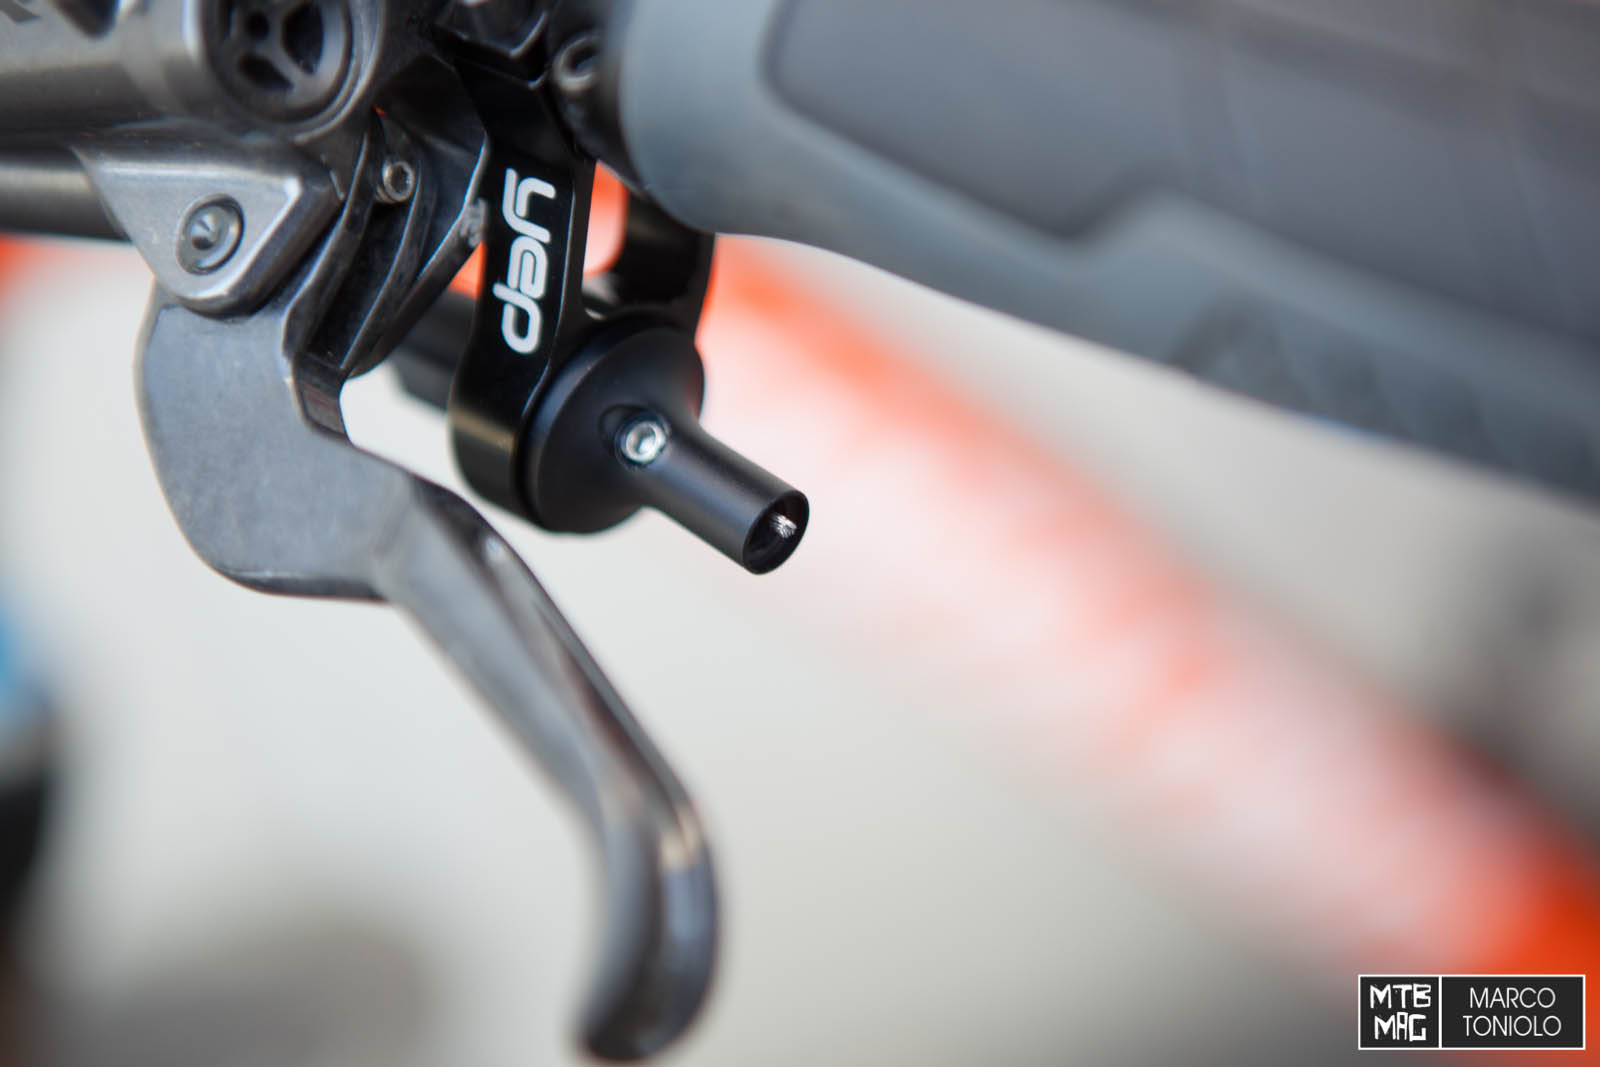
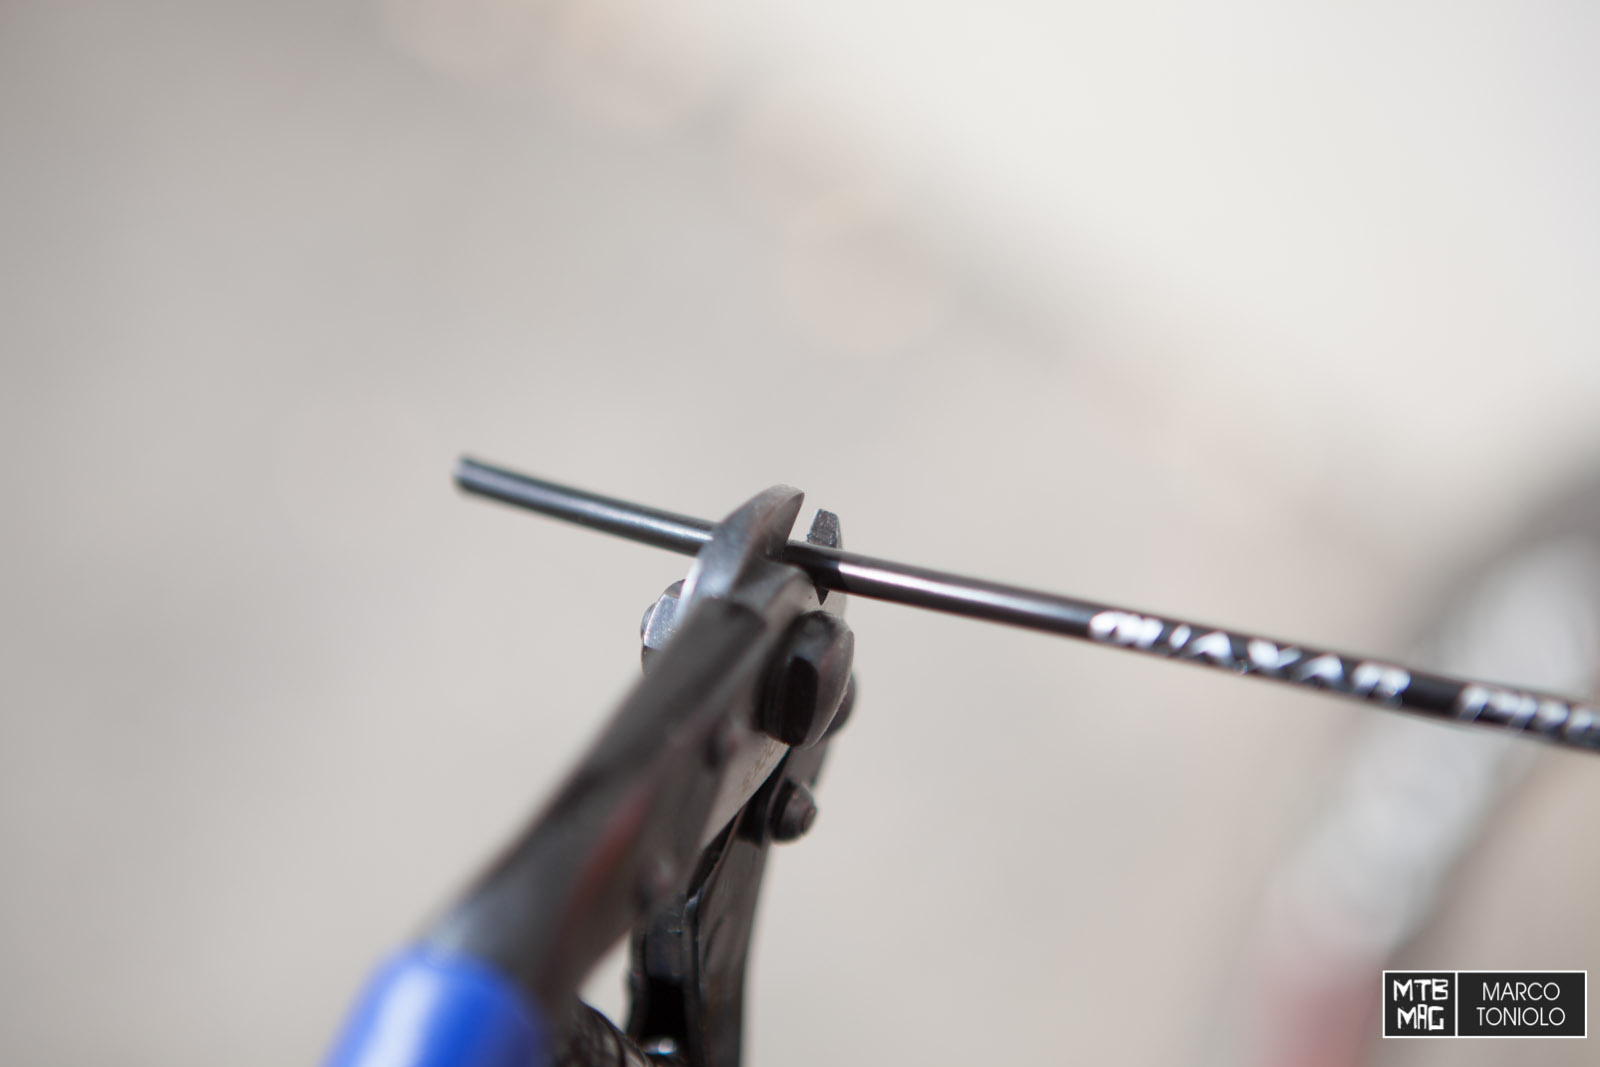
11. Cut the excess cable and screw in the lever extension.
12. Reduce the free play and fine tune the sensibility of the remote via the index adjuster.

That’s it!
[ad12]