[ad3]
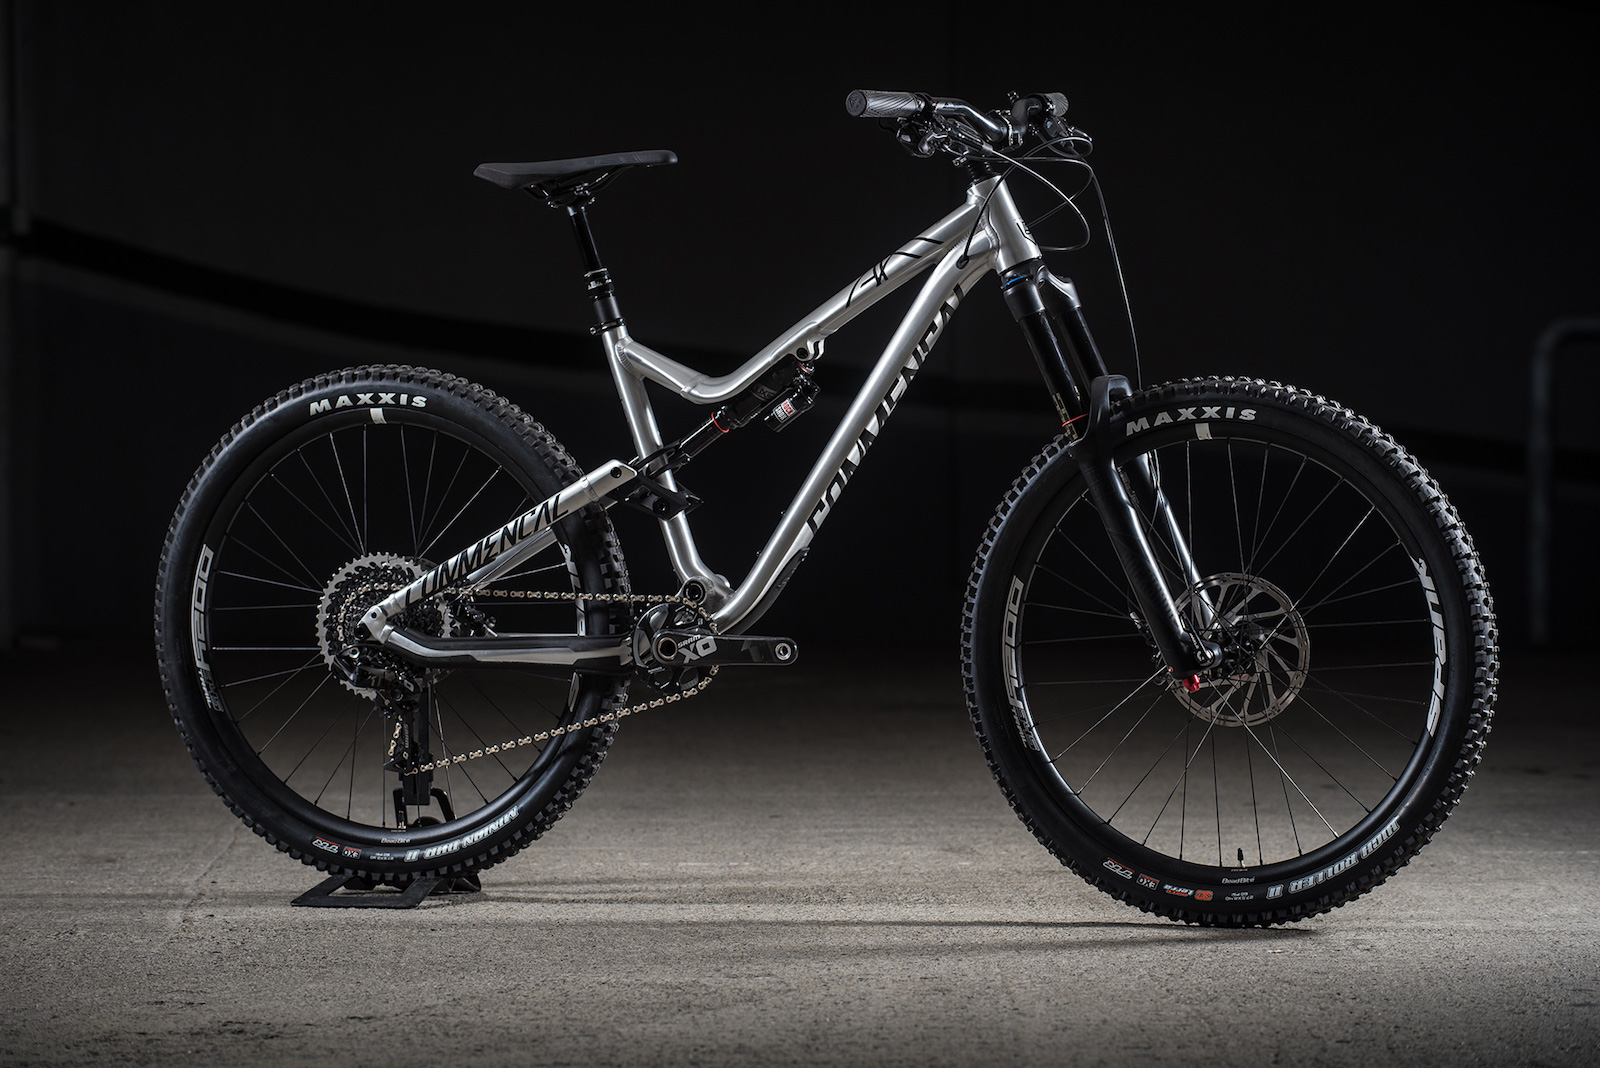
Shortly after we first rode the new Remedy in Squamish, we received one for a long term testing back in California. It didn’t take long until we wanted to tinker with the suspension and play around with various spring rates. However, since the Remedy uses the new Deluxe RT3 metric shock and a Dual Position Lyrik we had an initial, unfounded aversion to cracking the units open; mainly because we knew they worked a bit differently and used new types of volume reducers. We also wanted to spend some time on the bike as it arrives to consumers, bare bones stock. Once we got past that phase, we strolled down to the bike shop to get some volume reducers to play with. To provide more background, you can check out this link to see how air sprung suspension units can take advantage of said volume reducers in helping to fine tune your spring curve to achieve the most desirable attributes on the trail.
Anyhow, Here’s a quick outline of how to dabble and adjust spring rates on two of the new RockShox bits.

Deluxe RT3
Starting with the new Deluxe rear shock, there’s more to the picture than a simple call for standardized, larger sizing. The list goes on in terms of updates inside of the shock but the important part for now is that the rubber band style “bottomless rings” don’t apply…the new rear shocks now utilize a hard plastic puck that clicks onto the shock shaft at the top, or bottom of the shock depending on how it’s oriented. Another interesting caveat is that on some bikes – like the Remedy – you’ll be able to perform this task without having to even take the shock out of the bike. So, here’s how to install or remove them to fine tune your desired spring rate. 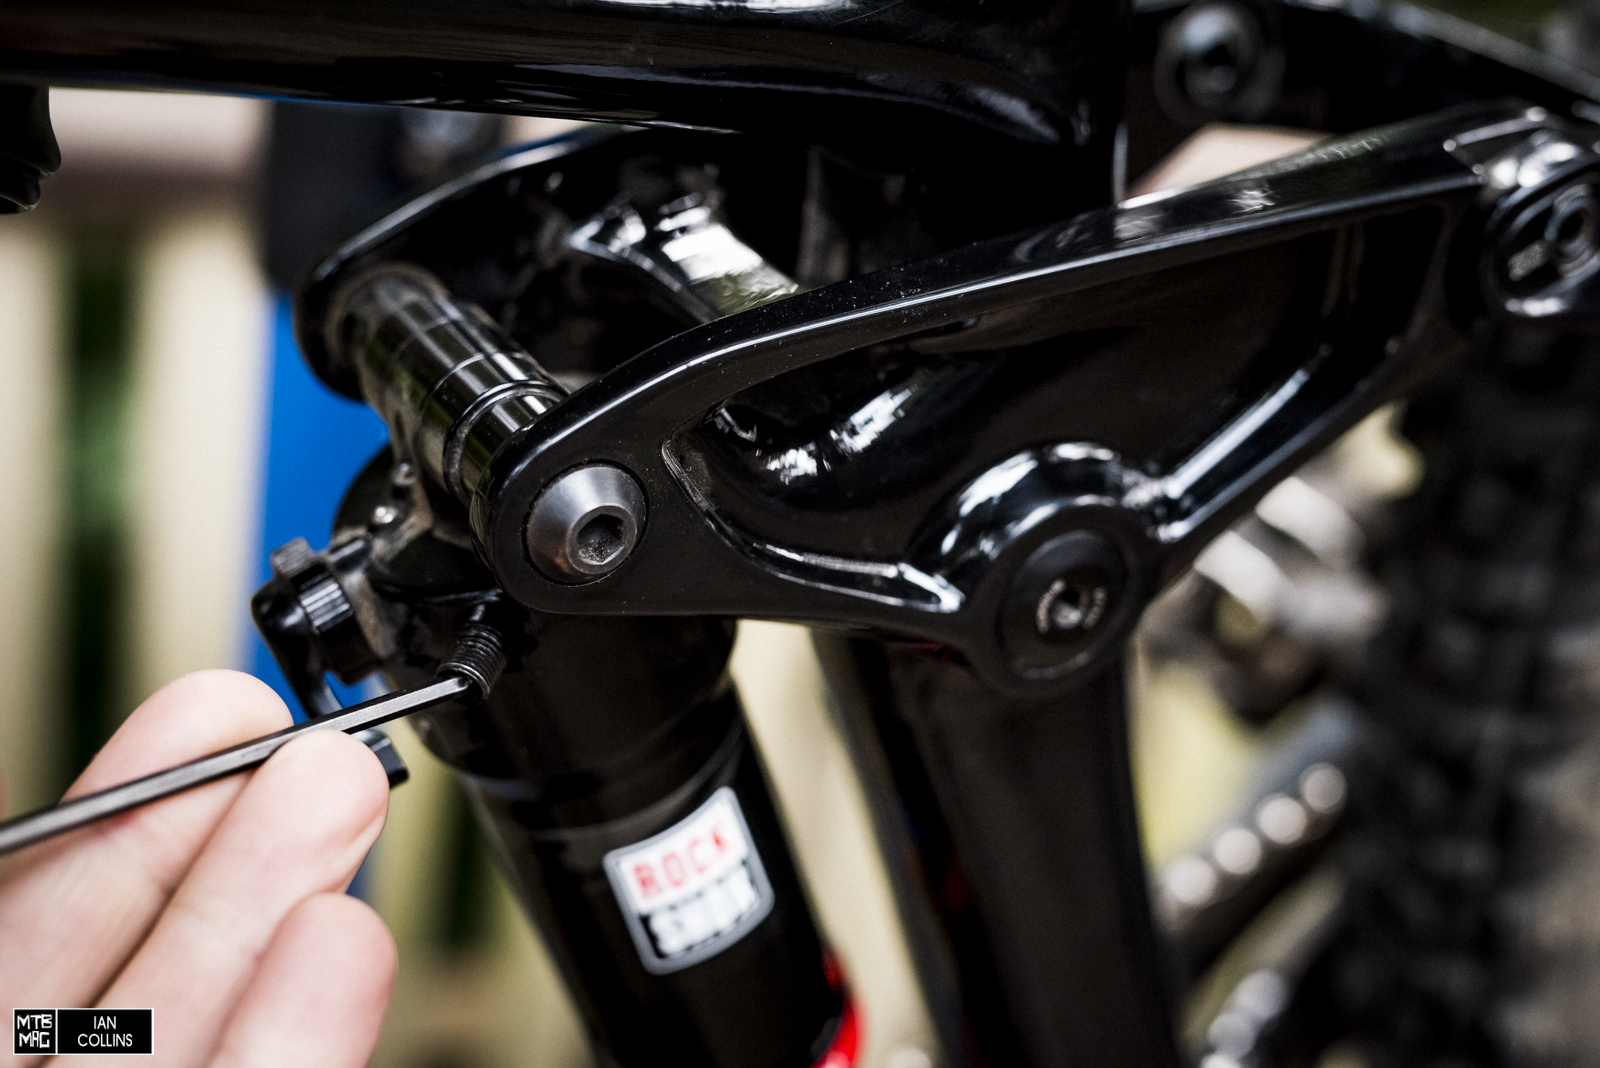 Start by taking the schraeder cap off, then using a small allen key, depress the valve to let all of the air out.
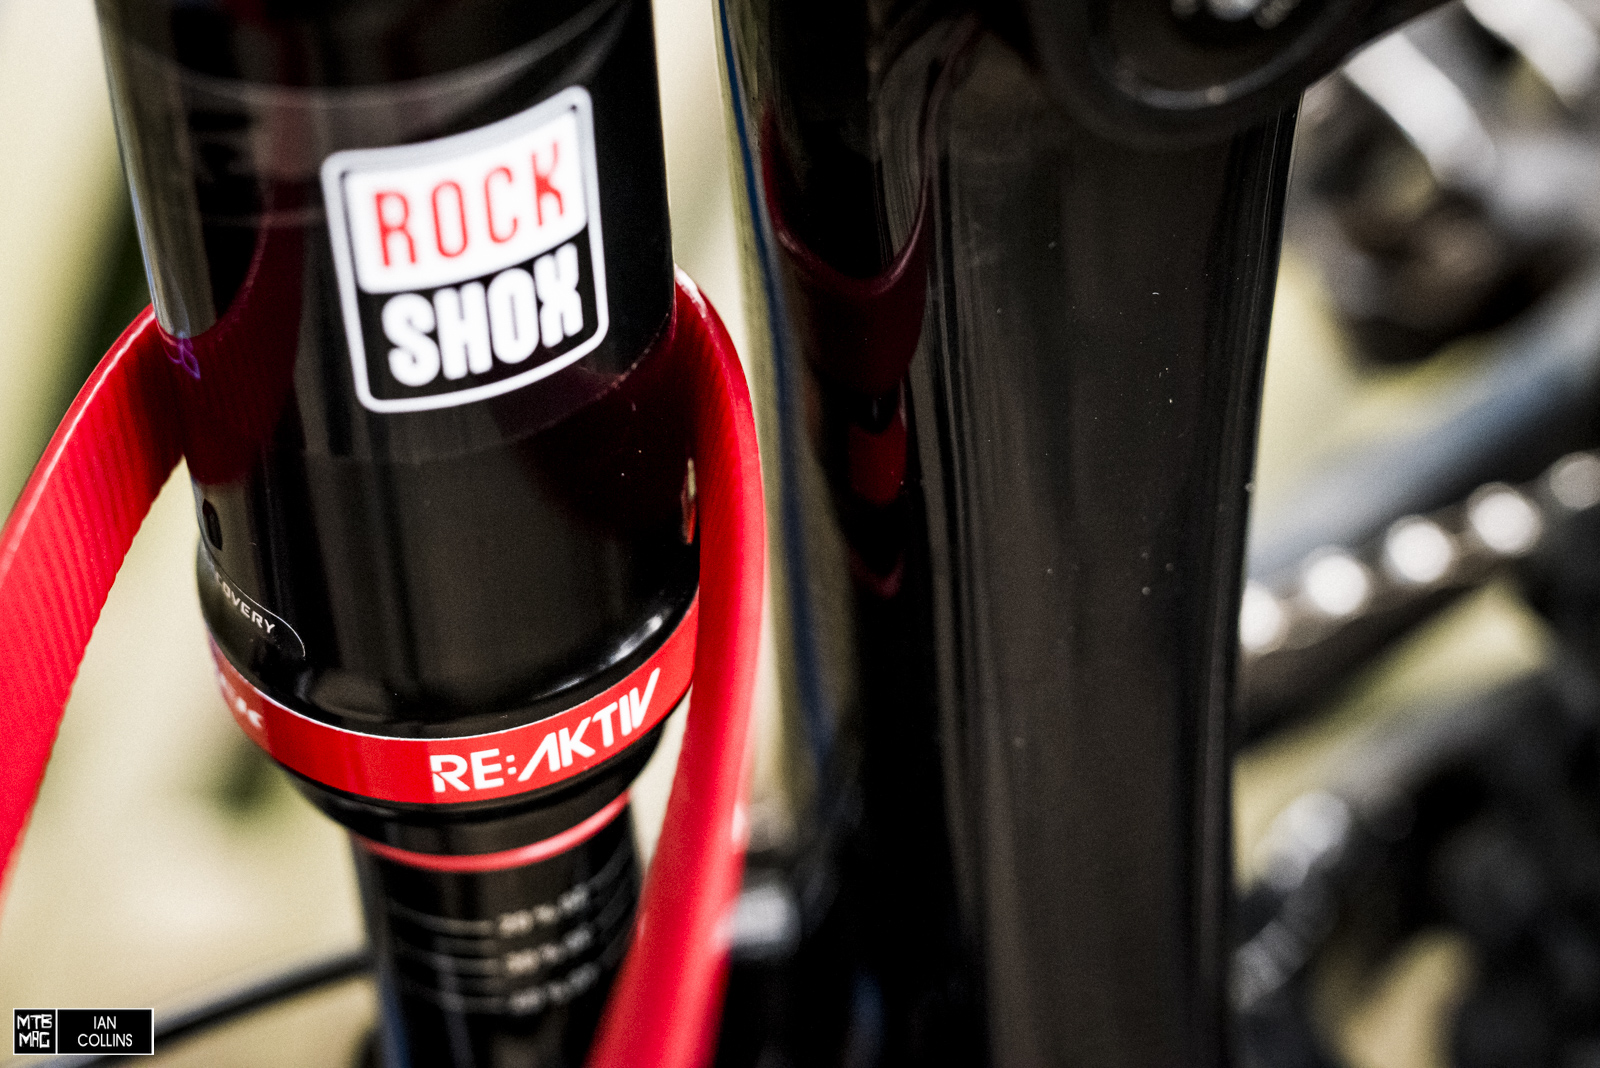 Next, you’ll need a strap wrench. They’re cheap and good to have around anyway, so don’t be lazy…just buy it. Get one like the wrench in the link, it has small grooves on the inside of the strap. Here’s why : if you look closely at the picture above, you’ll see a little raised nub on the air can (on the left, just above the “rapid recovery” sticker)…There is another nub 180º on the other side. Align the strap so it lays over those nubs so it gets some extra grip.
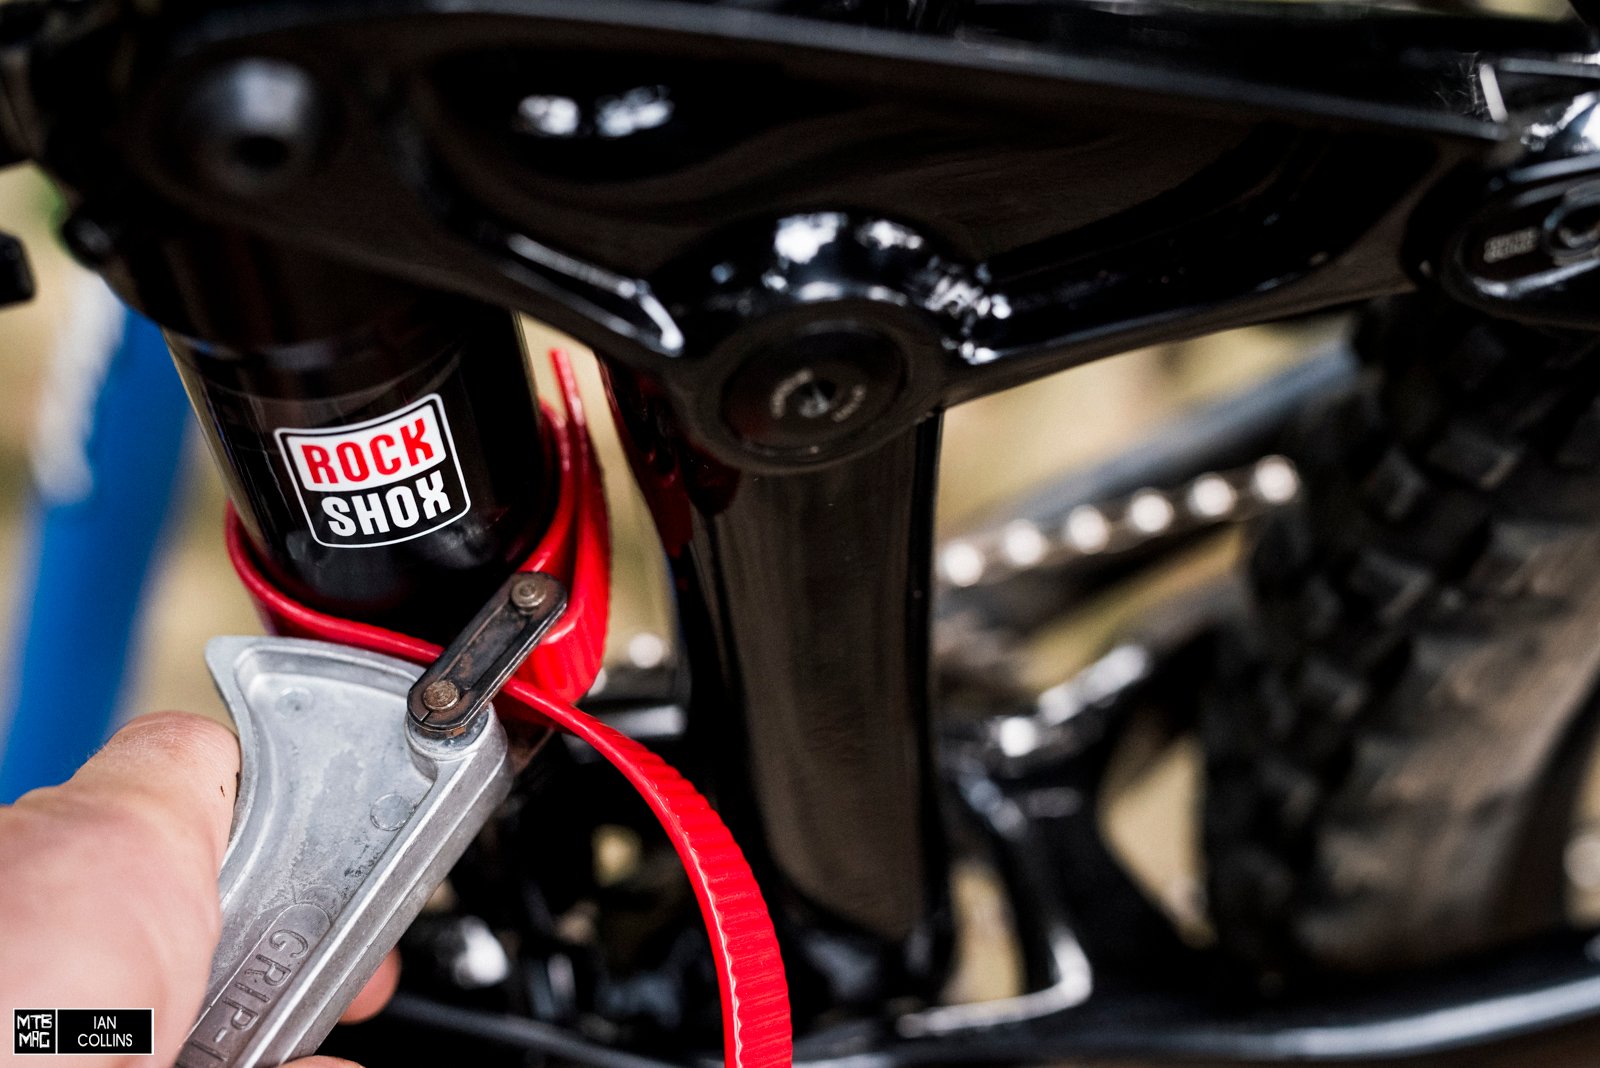 Next, snug the wrench down and lefty loosey the air can…you know deal. If the strap is slipping, you can temporarily put some gaffer tape or mastic tape on the air can for extra traction, but before resorting to that make sure the surfaces on the shock and the strap are clean and oil free. Isopropyl alcohol should do the trick.
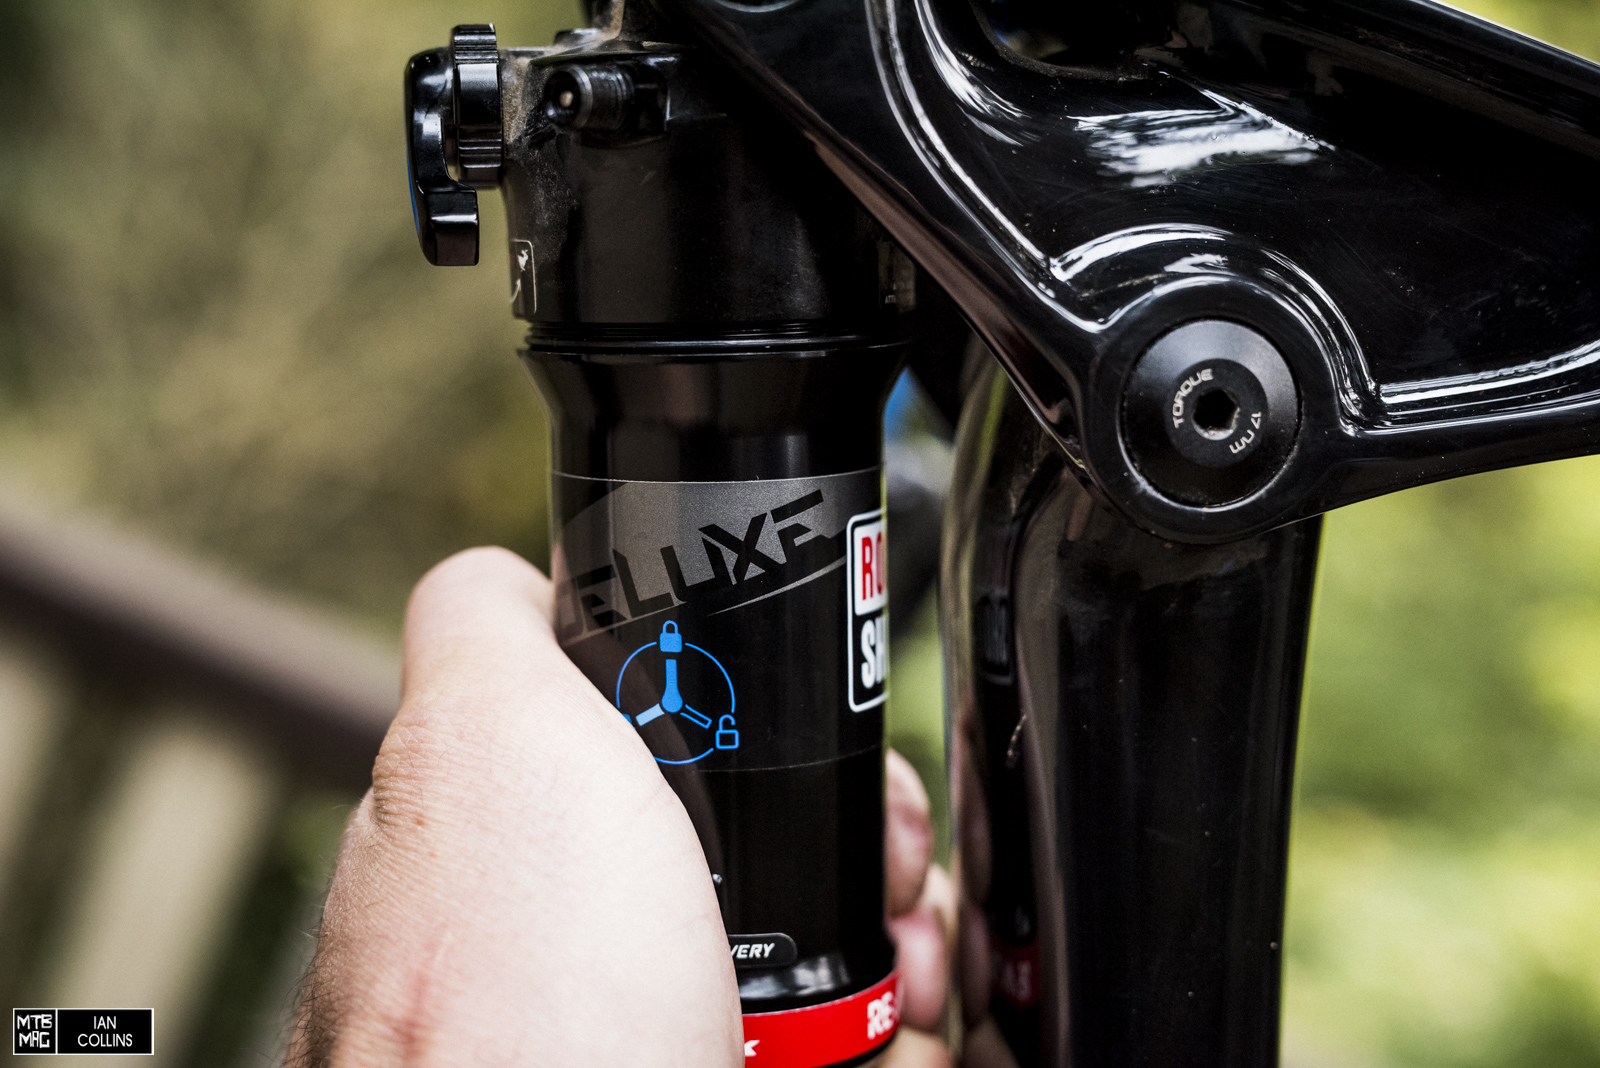 Unthread the air can until it can’t be unthreaded anymore. The remaining pressure in the shock is pulling a vacuum and holding it on. Give it a tug down and it will pop open, releasing the rest of the air.
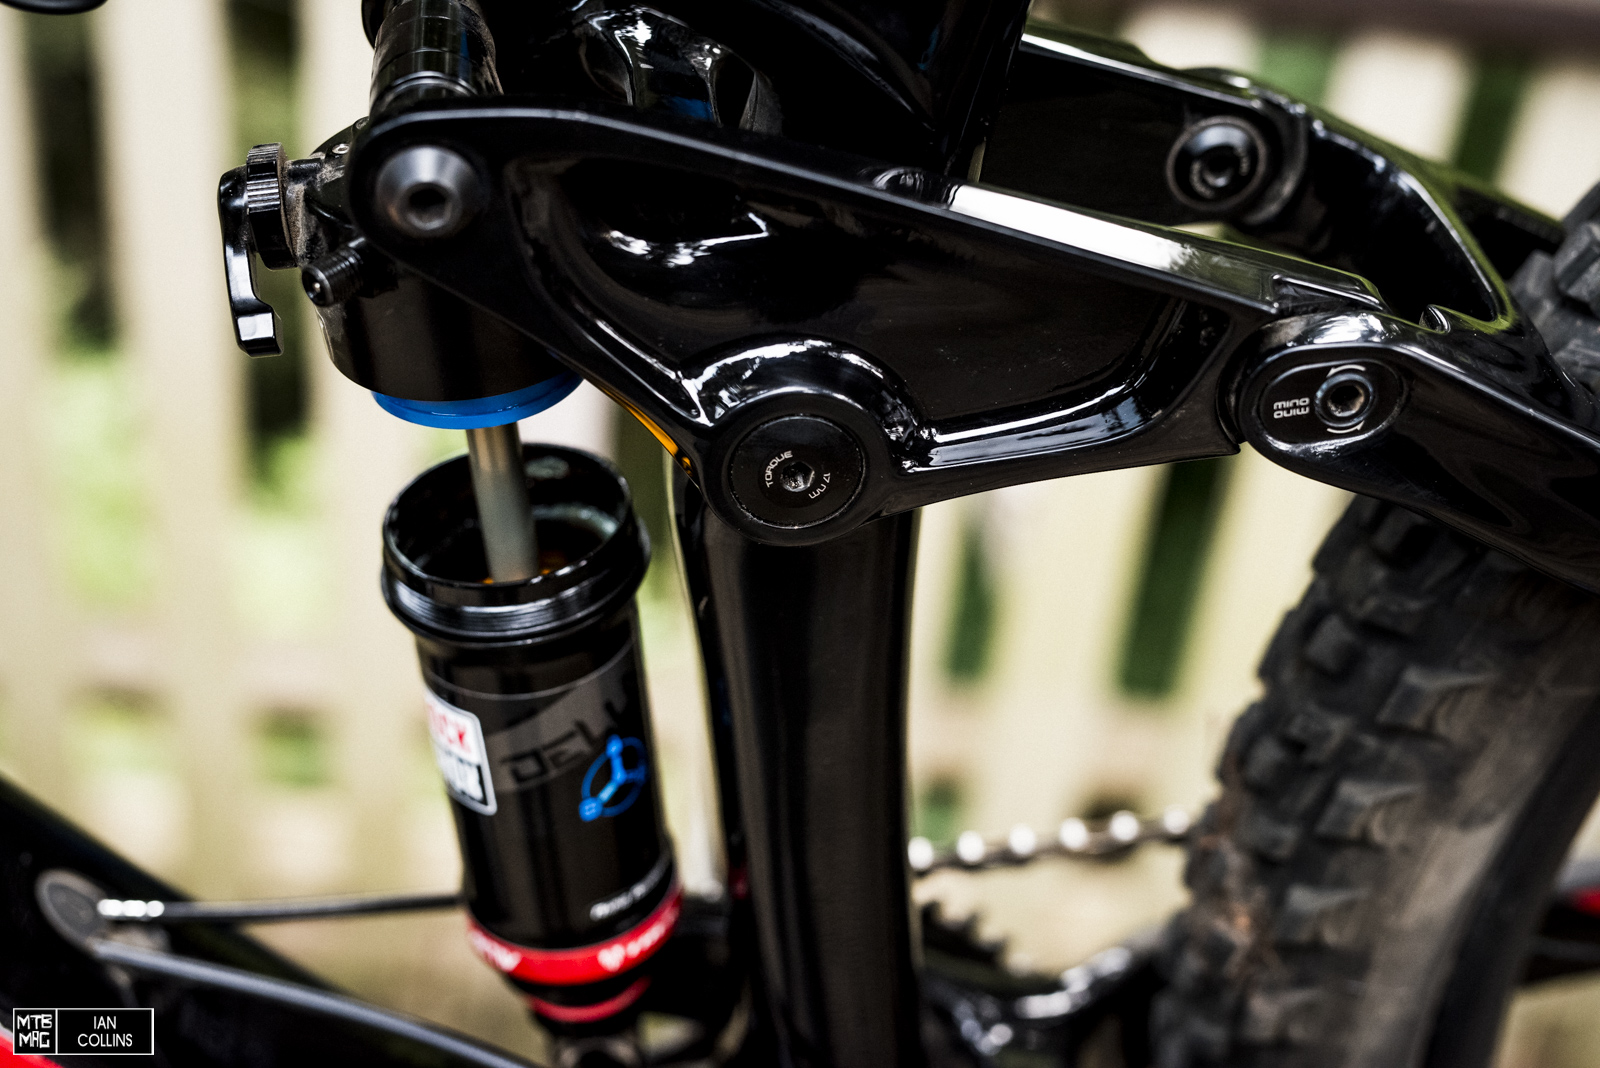 Slide the air can about 3/4ths of the way down to expose the shock shaft.
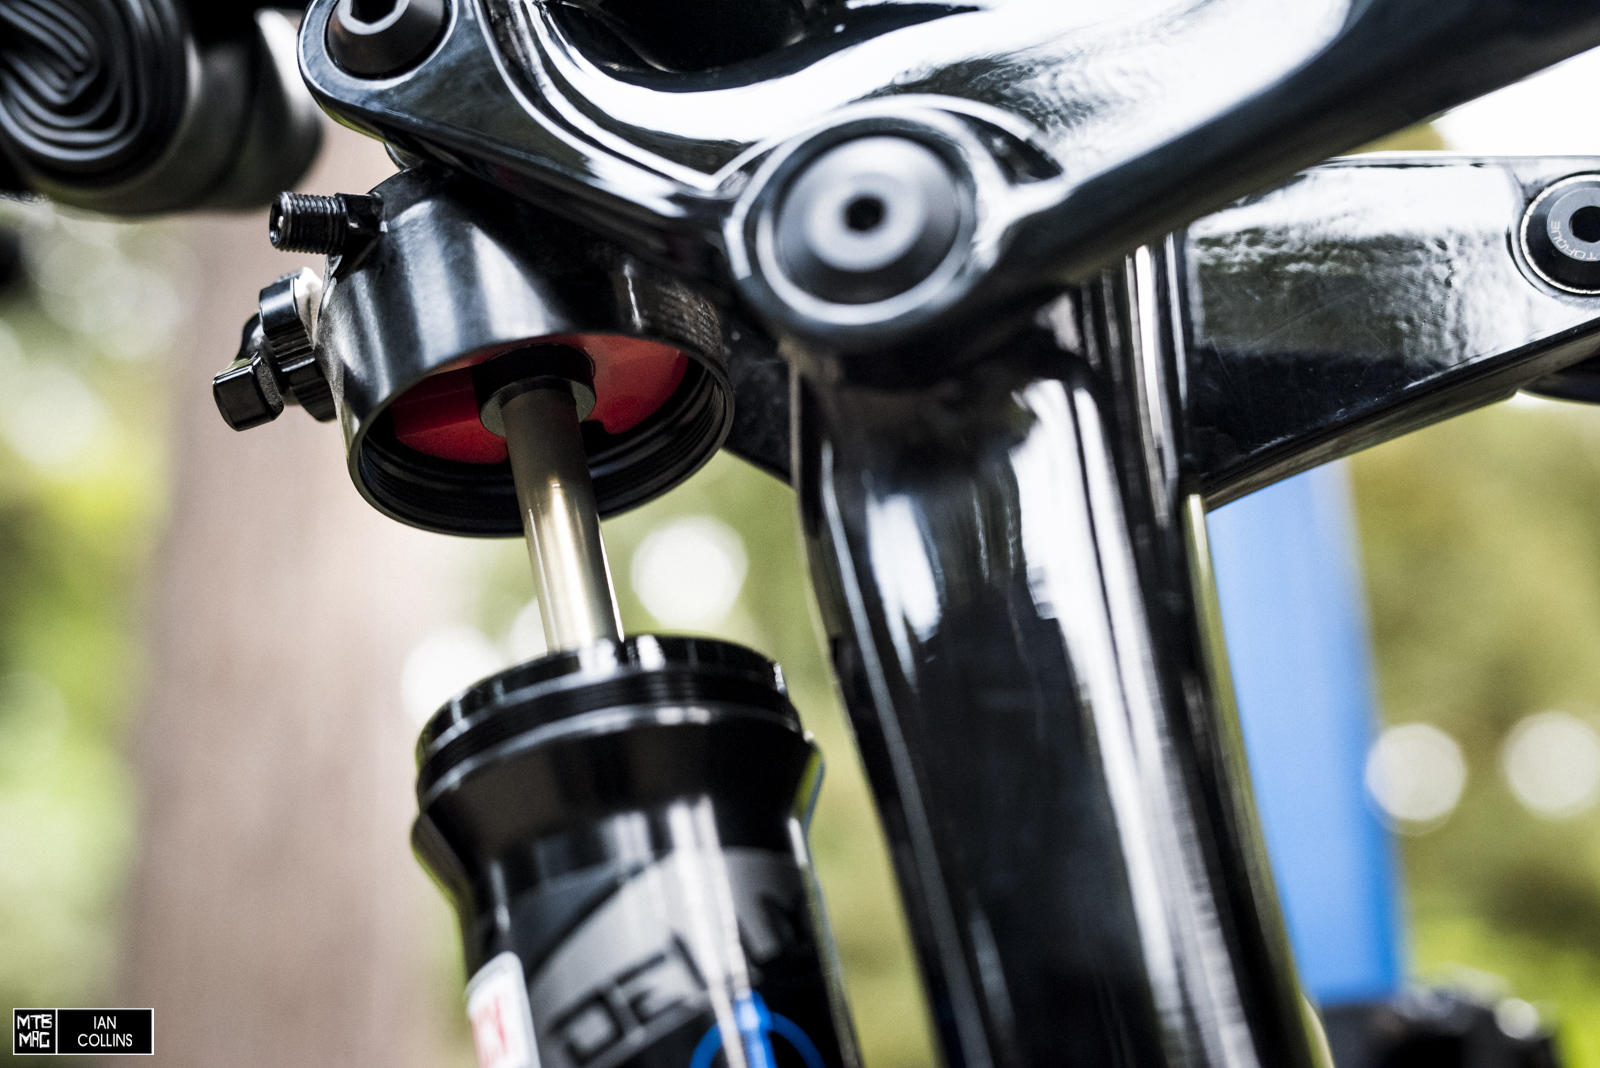 Look up! This is where the volume reducers clip into place. There is a black plastic sleeve around the gold shock shaft, the reducers clip onto that sleeve.
 We’ve been riding the Remedy with 2 spacers and we’ve loving it so far but we’re curious how it rides with 3 so we snap the third reducer into place. The reducers are asymmetrical so mind the orientation.
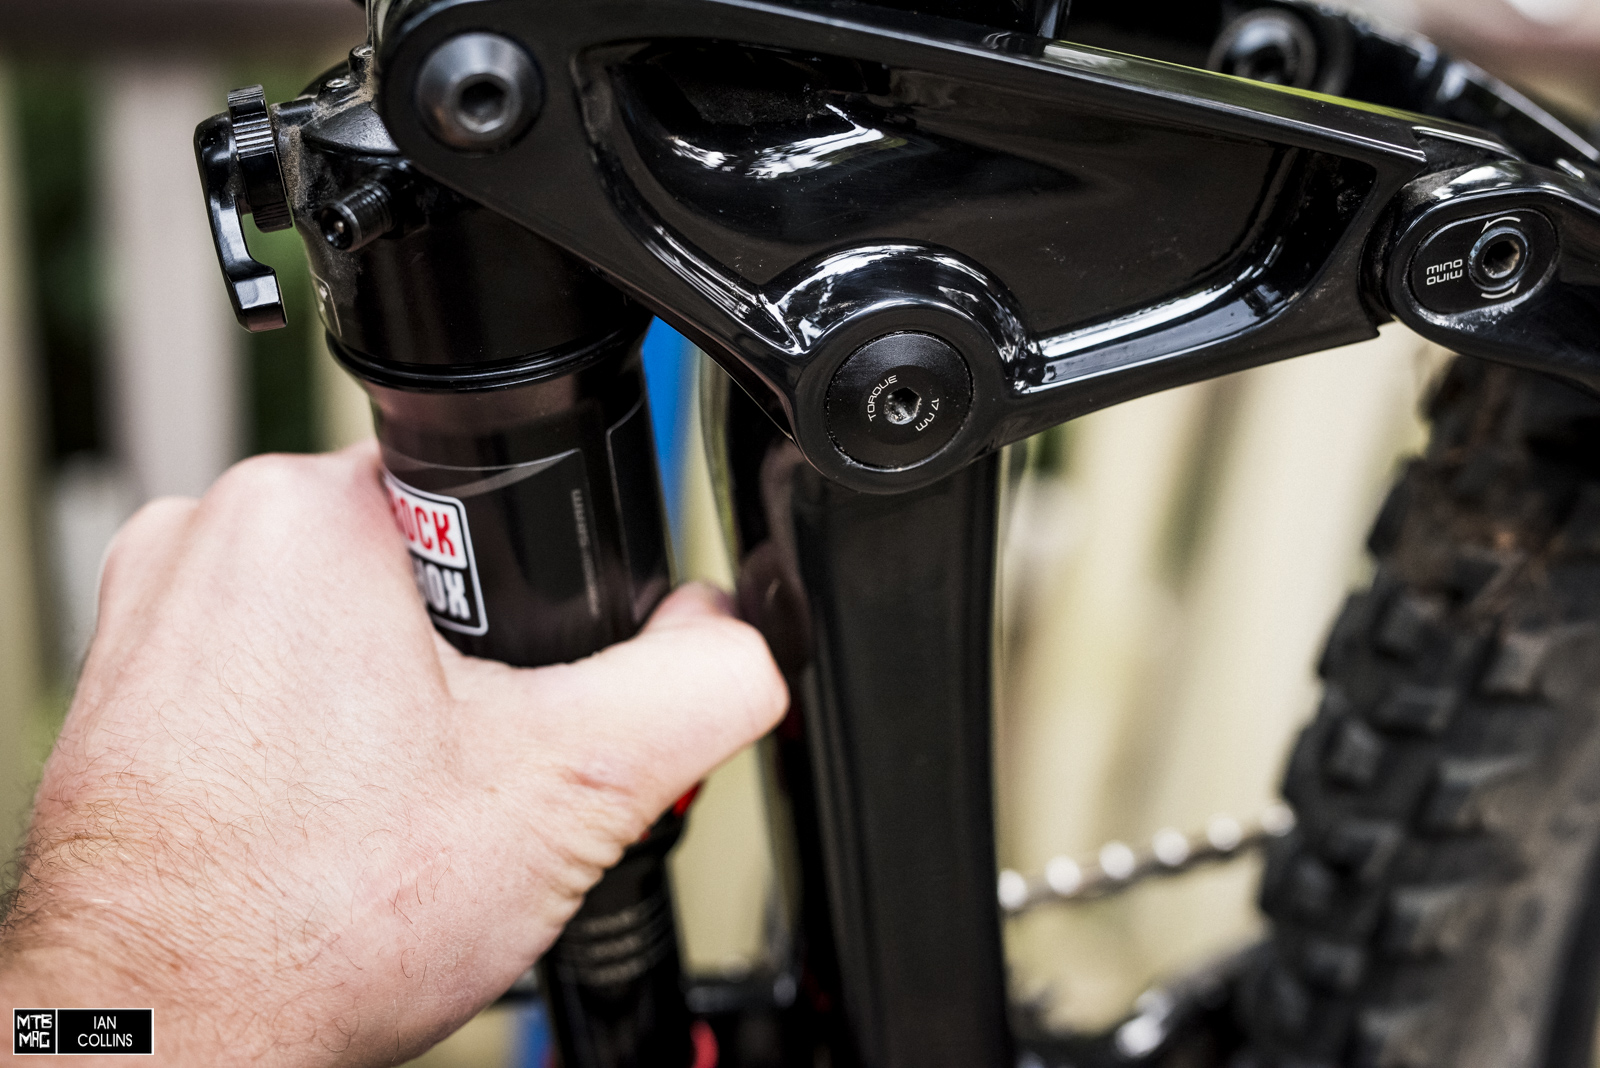 Slide the air can back on and thread it as far as you can by hand.
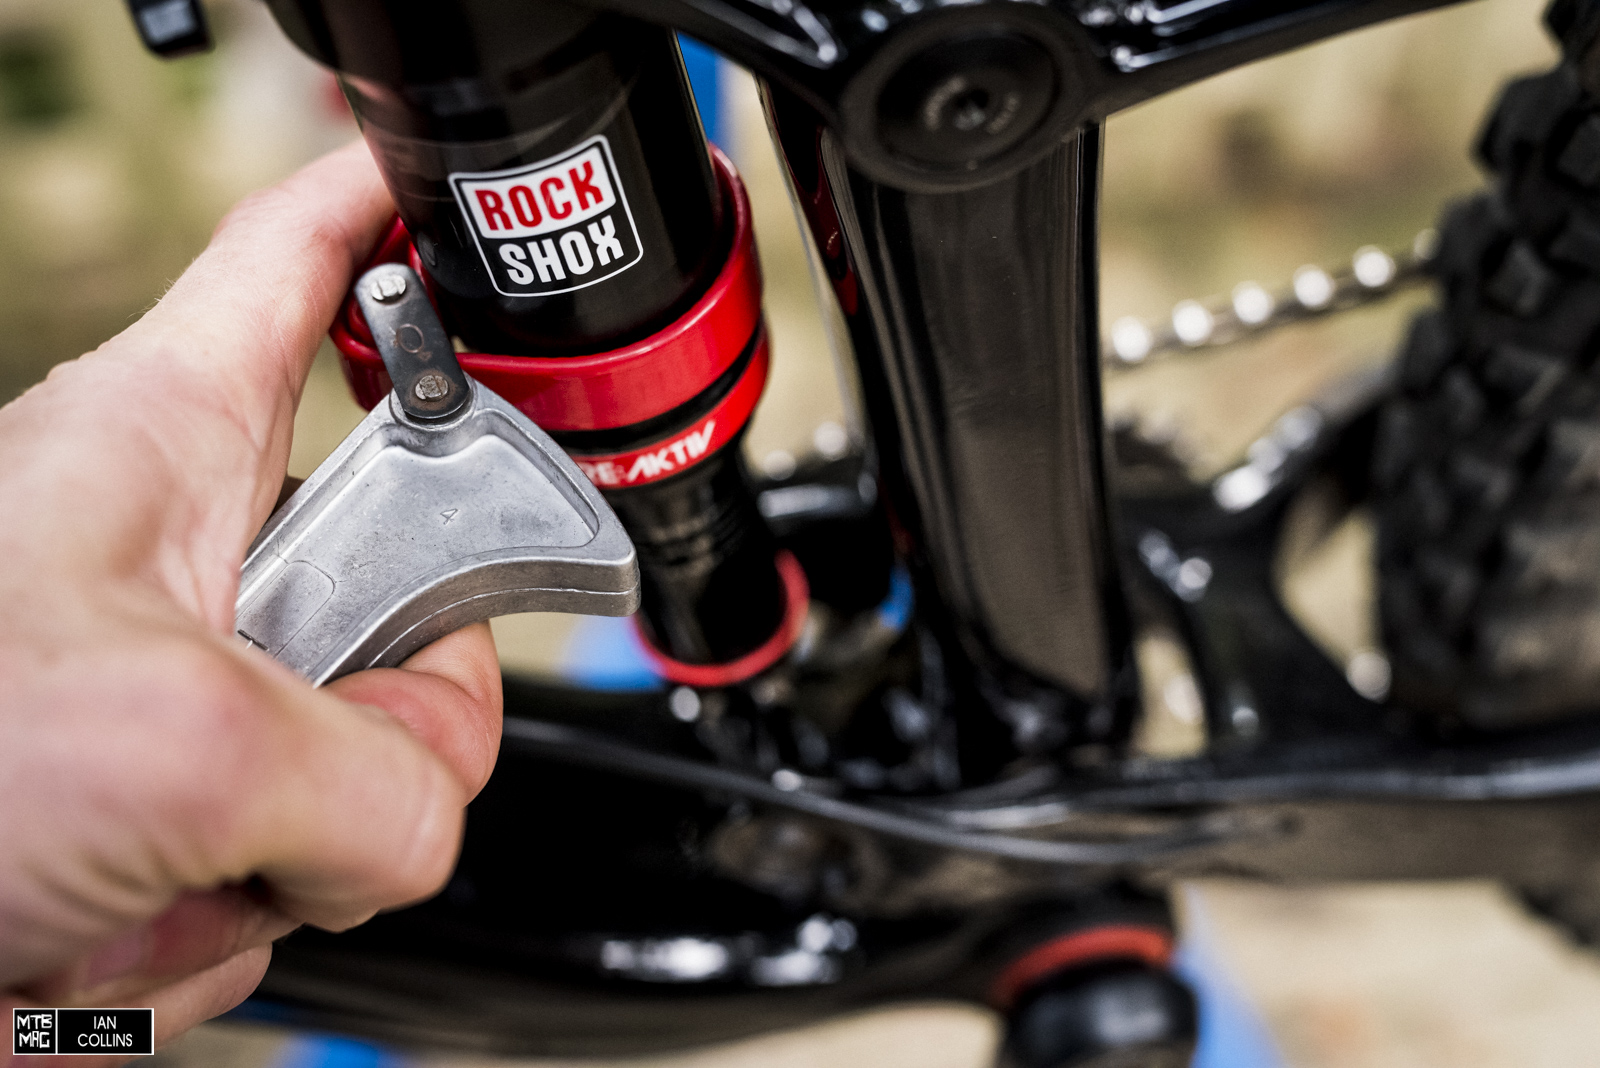 Pop the strap wrench back on, this time oriented in the other direction. Righty tighten it up and you’re good.
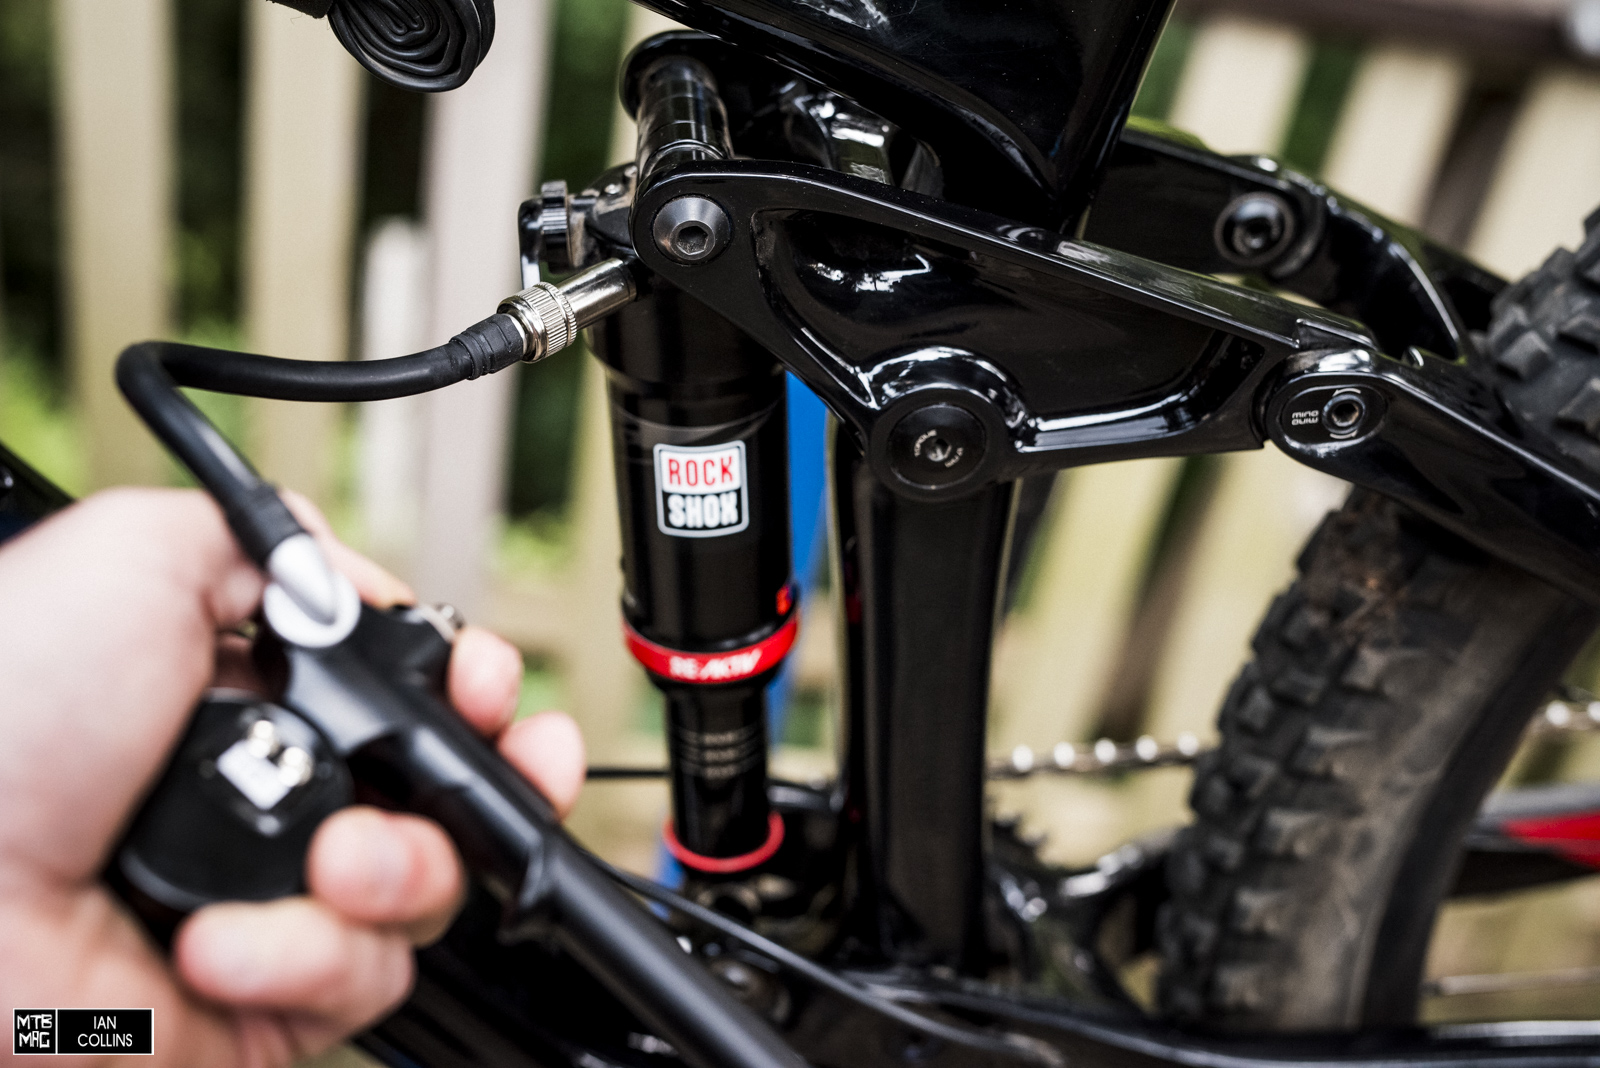 Inflate back up to your chosen pressure, then softly bounce on the bike until the positive and negative air chambers equalize. Before you do this, the rear shock will feel freakishly firm but don’t fret, that’s normal.
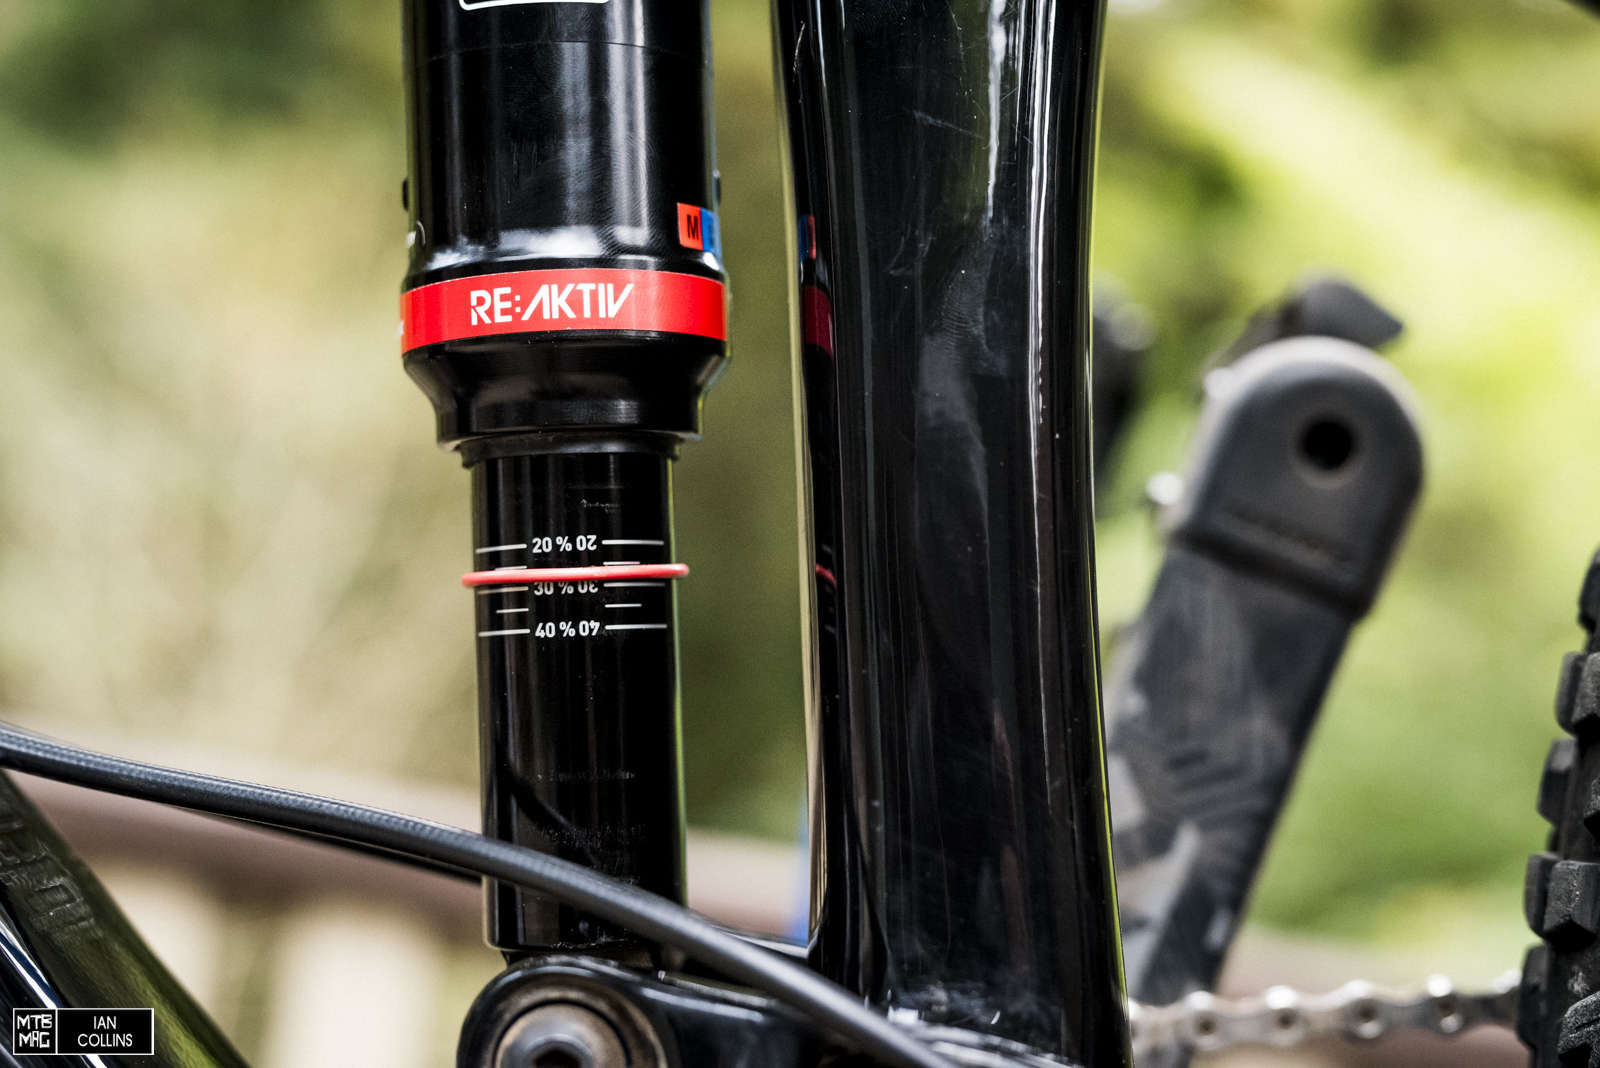 Once the shock feels like it’s adjusted and balanced, set the sag to your preferred amount and call it a day.
Dual Position Lyrik
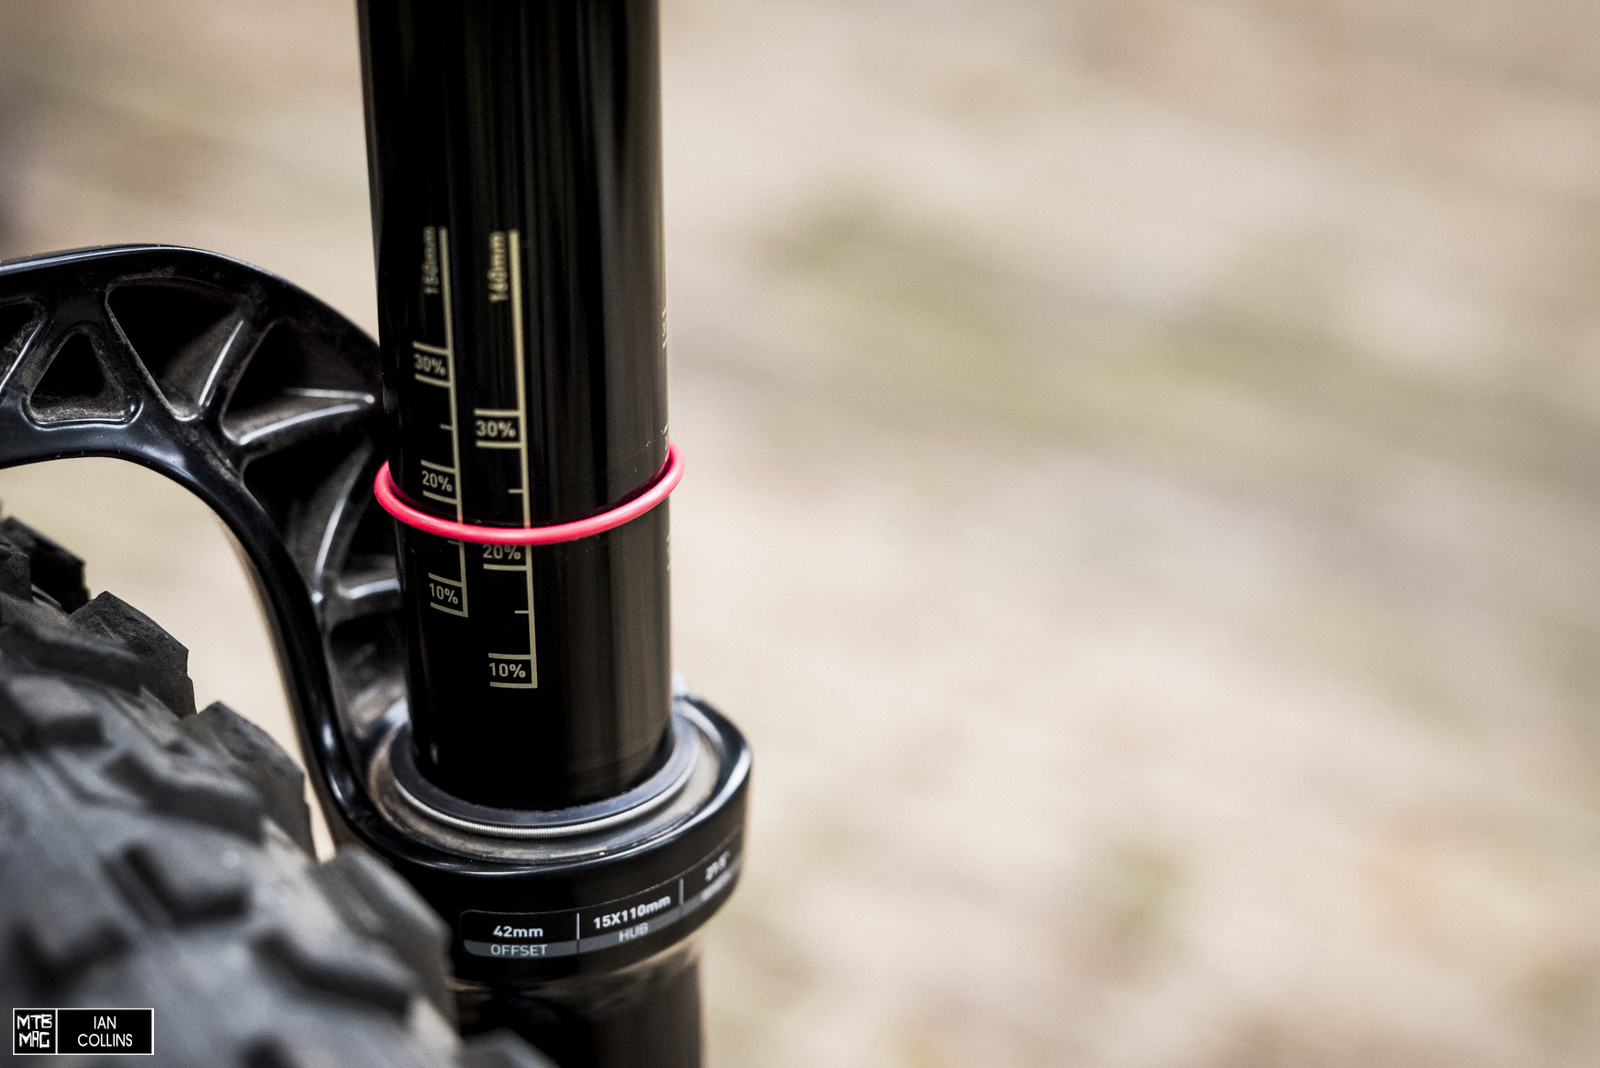
New for 2016, adjustable travel models of the Lyrik can take advantage of volume reducers, or “Bottomless Tokens” in RockShox speak. A very important note is that the Dual Position Lyrik uses a completely different reducer than the Solo Air Lyrik.
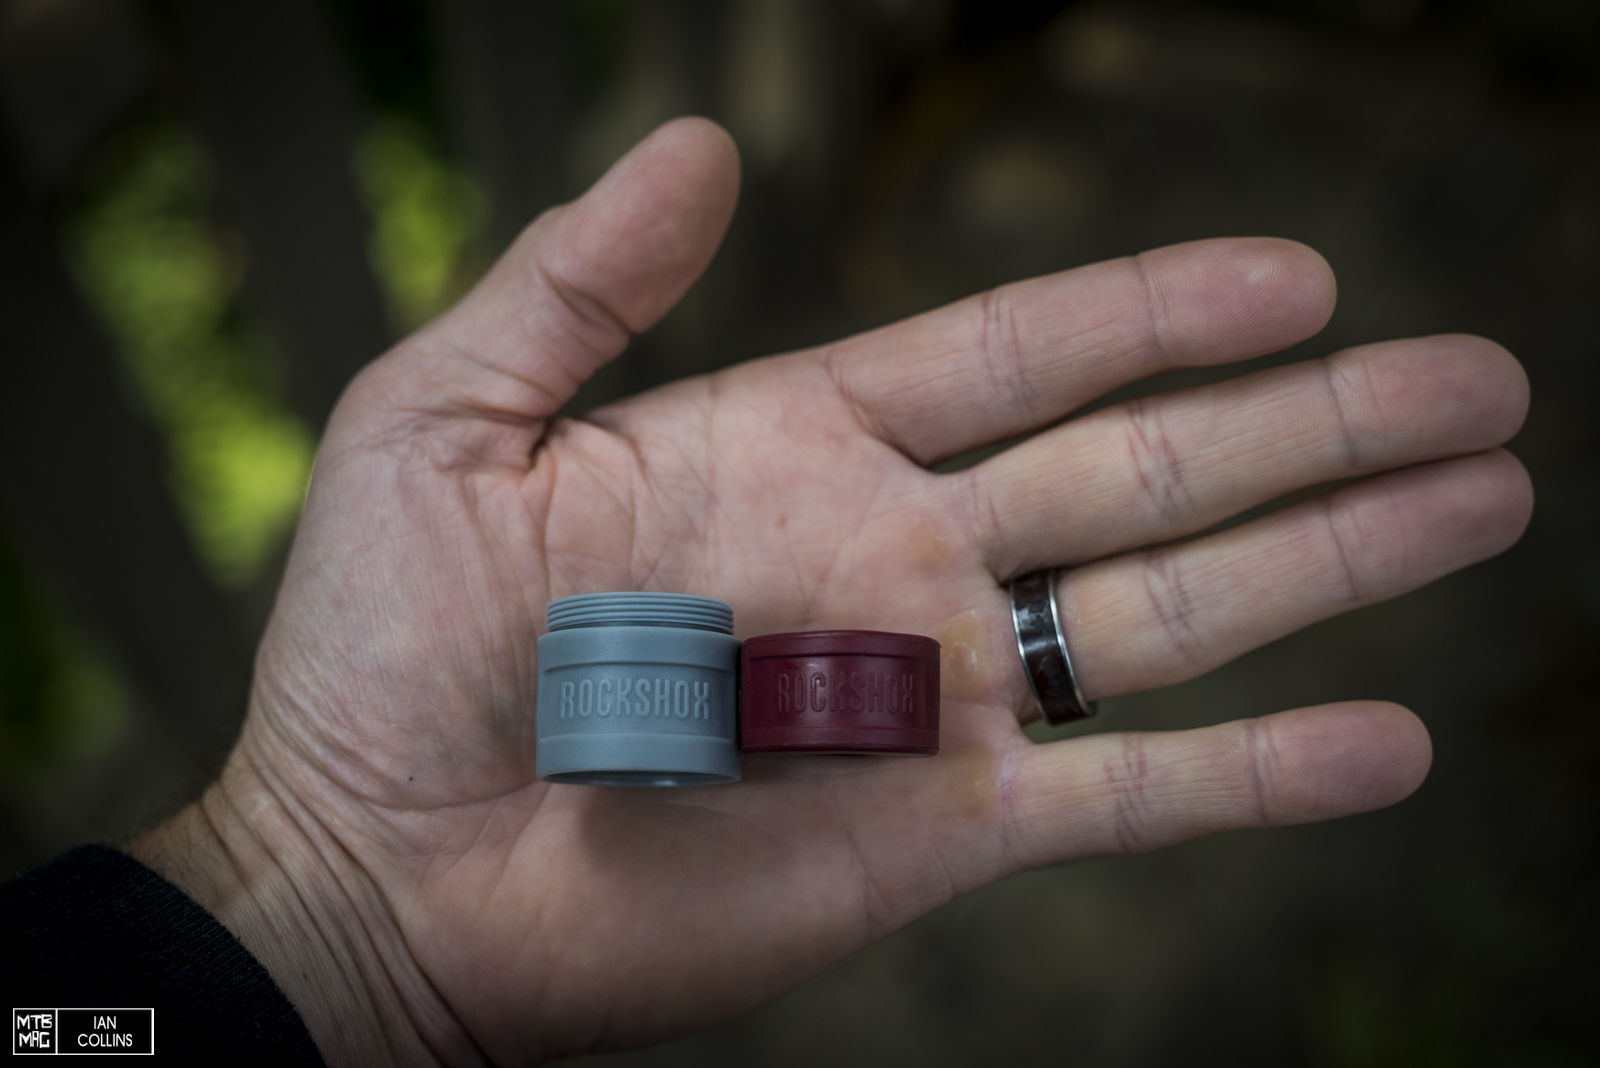
Right : Travel Adjust Bottomless Token
With SoloAir units, the token threads under the air cap via an 8mm allen key and they also thread right into one another. With Dual Position units, the token slides onto a shaft inside the air spring. It’s slightly more complicated to add or remove them, but not by much. All in all it’s about a 10 minute job; here’s how it’s done.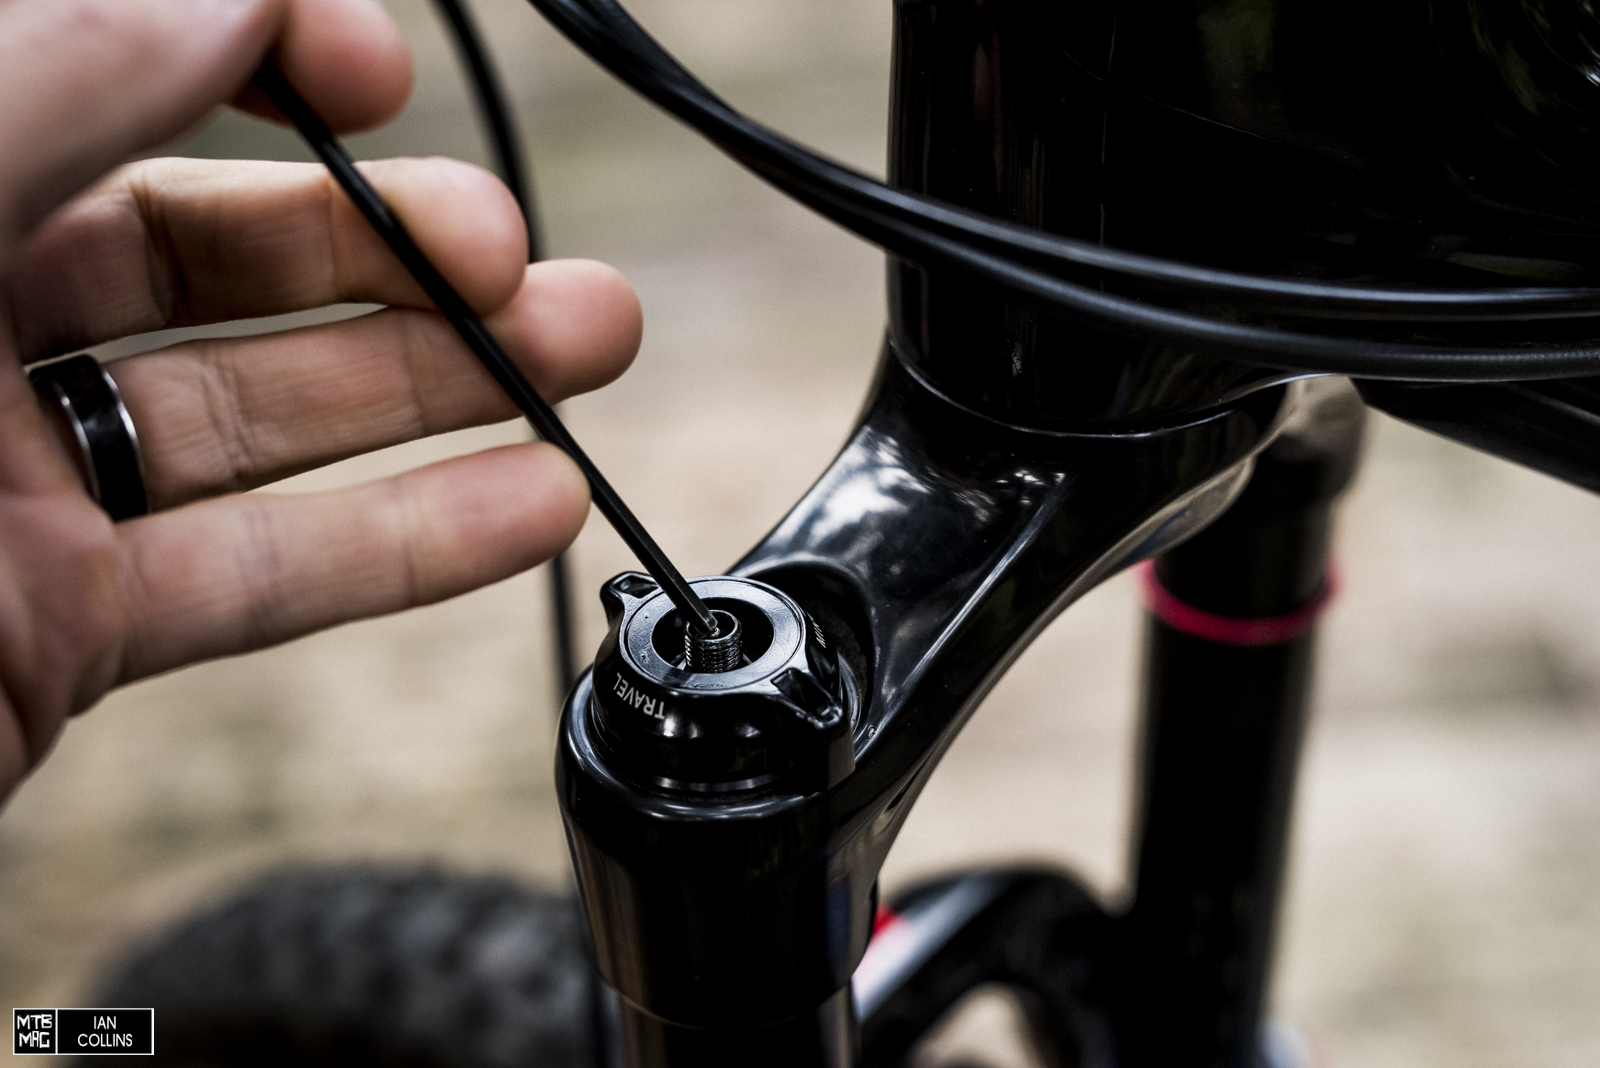 Just like the rear shock, we’ll start by taking the air cap off but first, using a small allen key, depress the valve to let all of the air out.
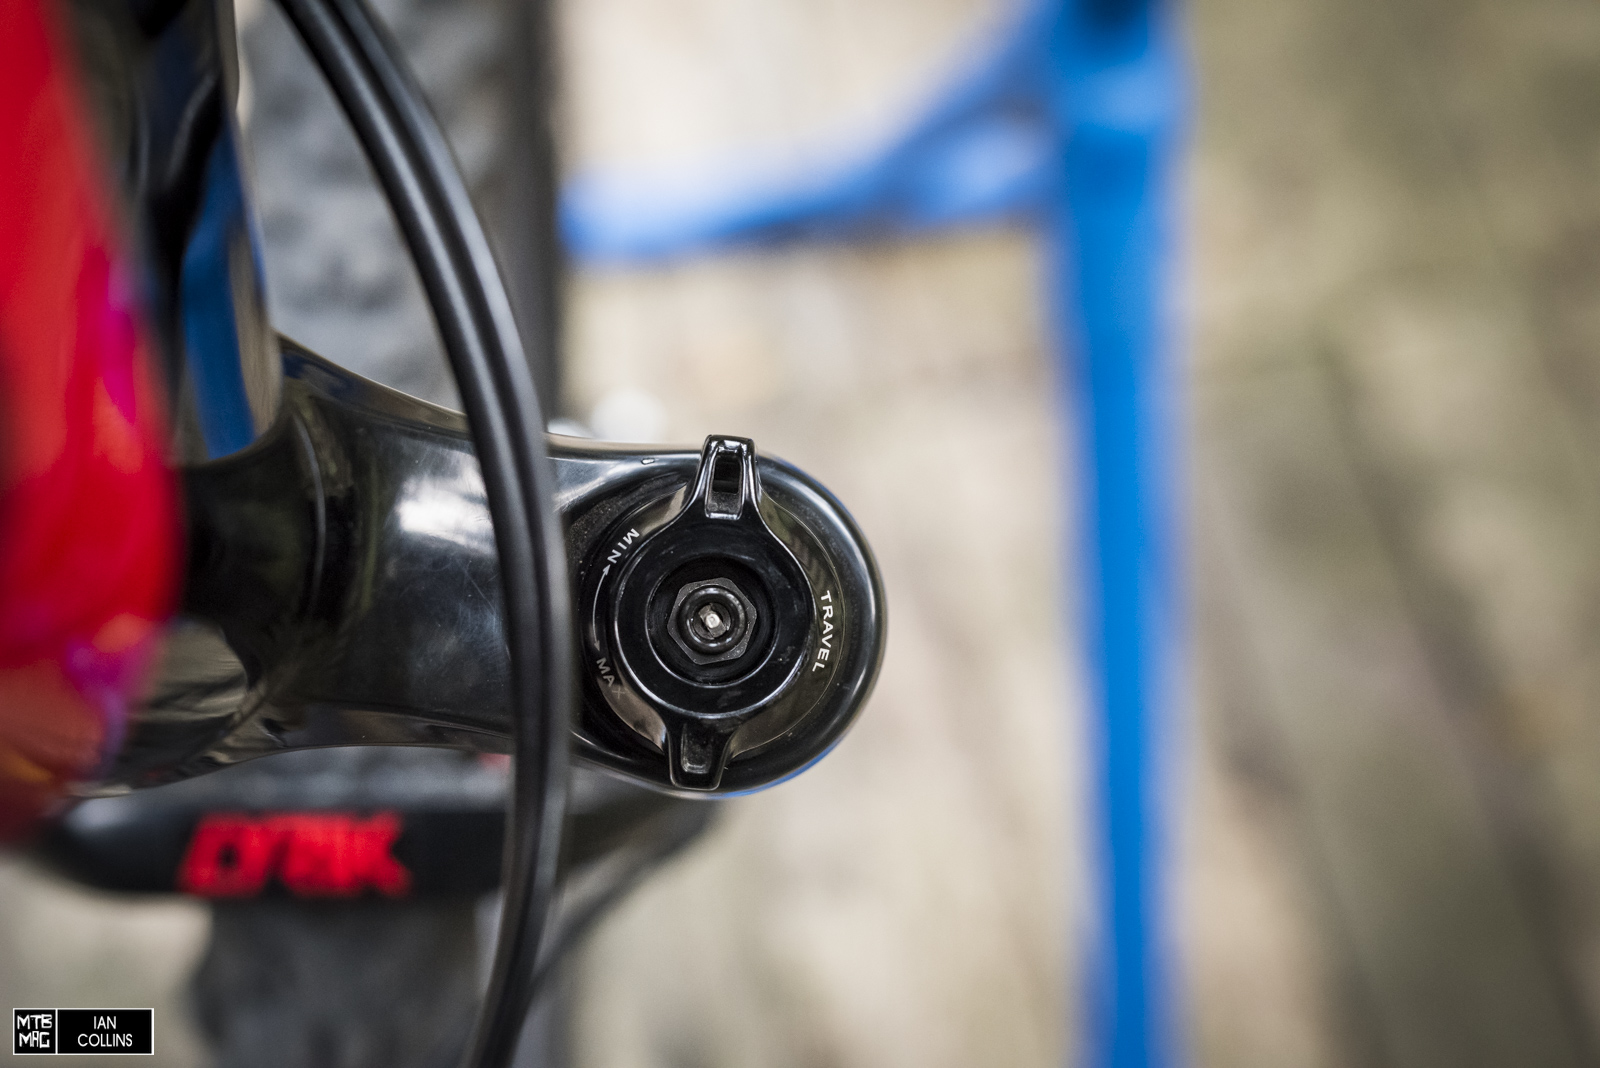 Next, locate the 10mm nut, this holds the travel adjust lever in place.
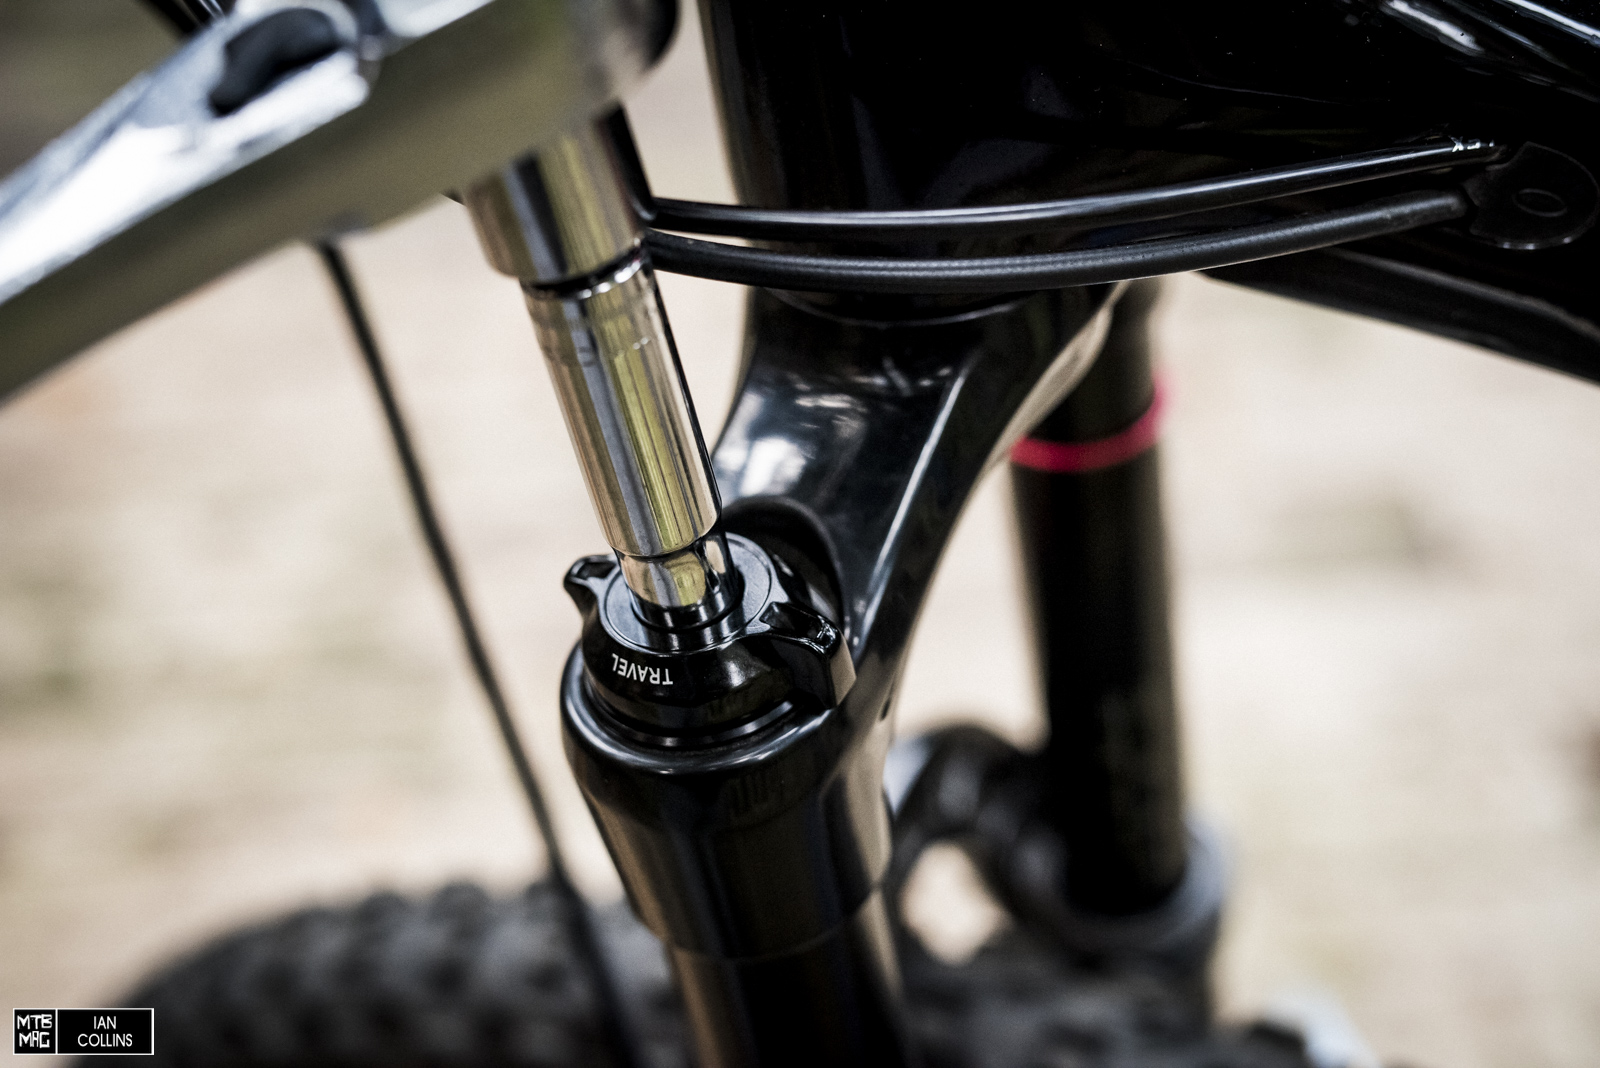 Using a 10mm socket, lefty loosey the nut until it pops off and you can remove the travel adjust lever. Place them both somewhere safe and clean.
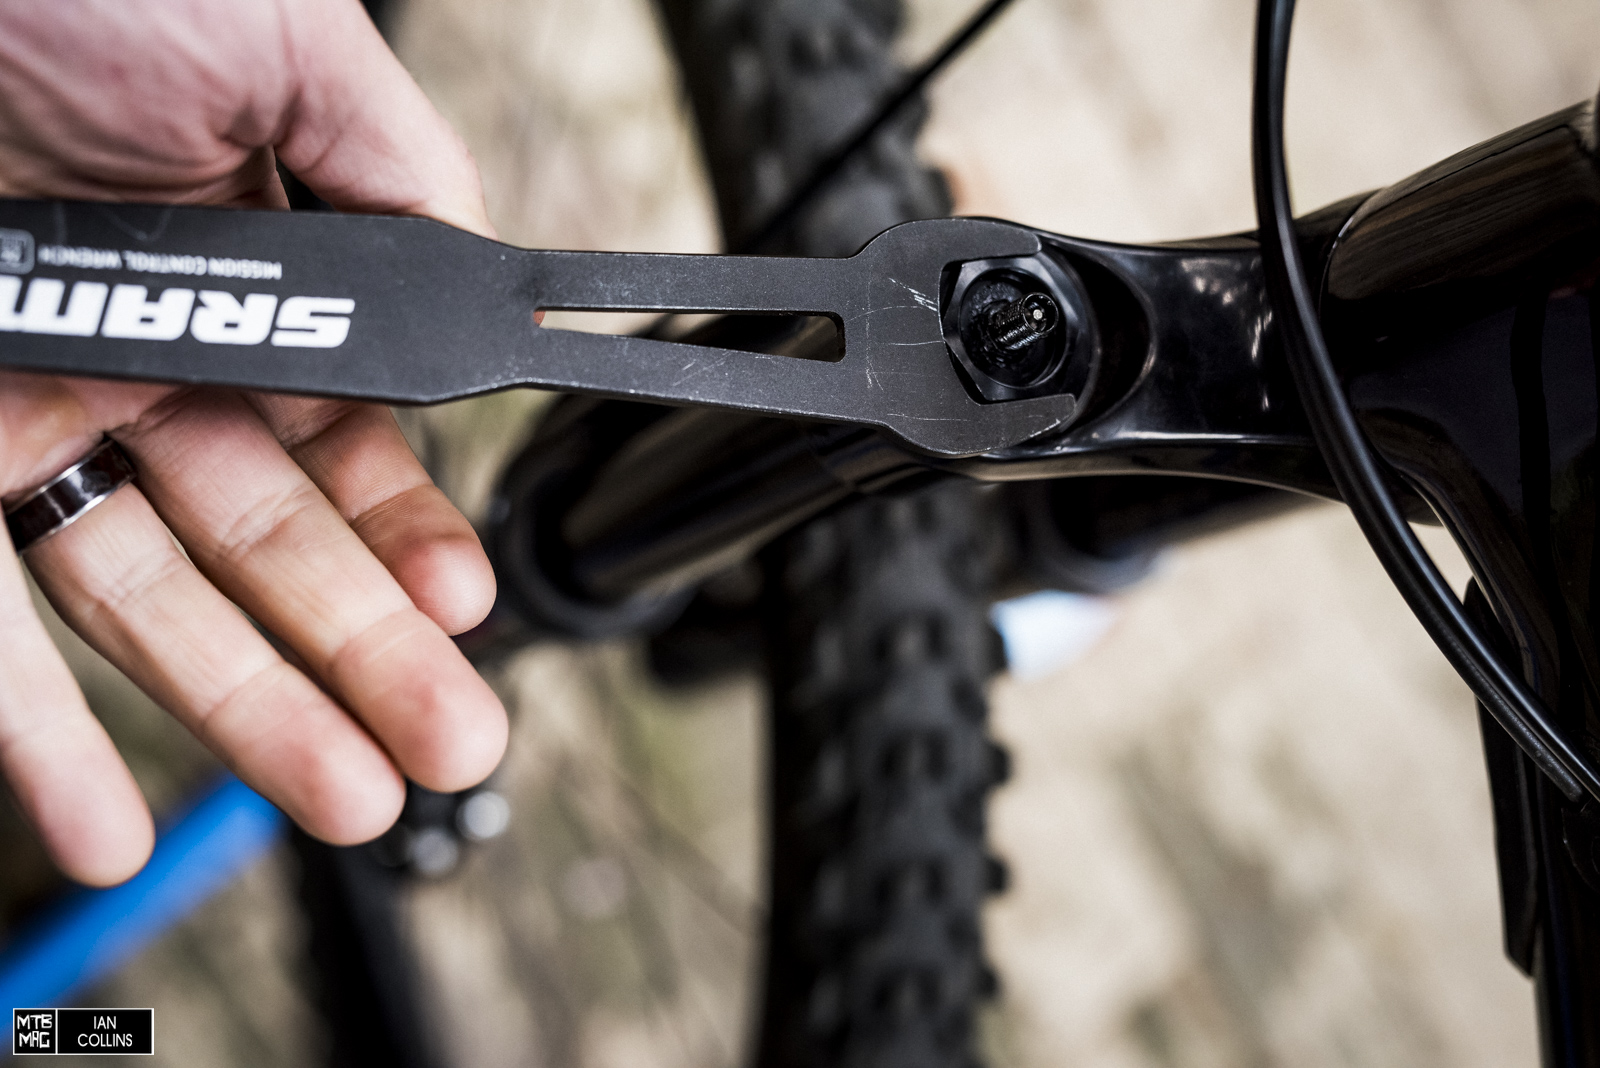 Using a 24mm socket (or this nifty SRAM wrench that we managed to come across) loosen the air valve/cap until there are no more threads to undo.
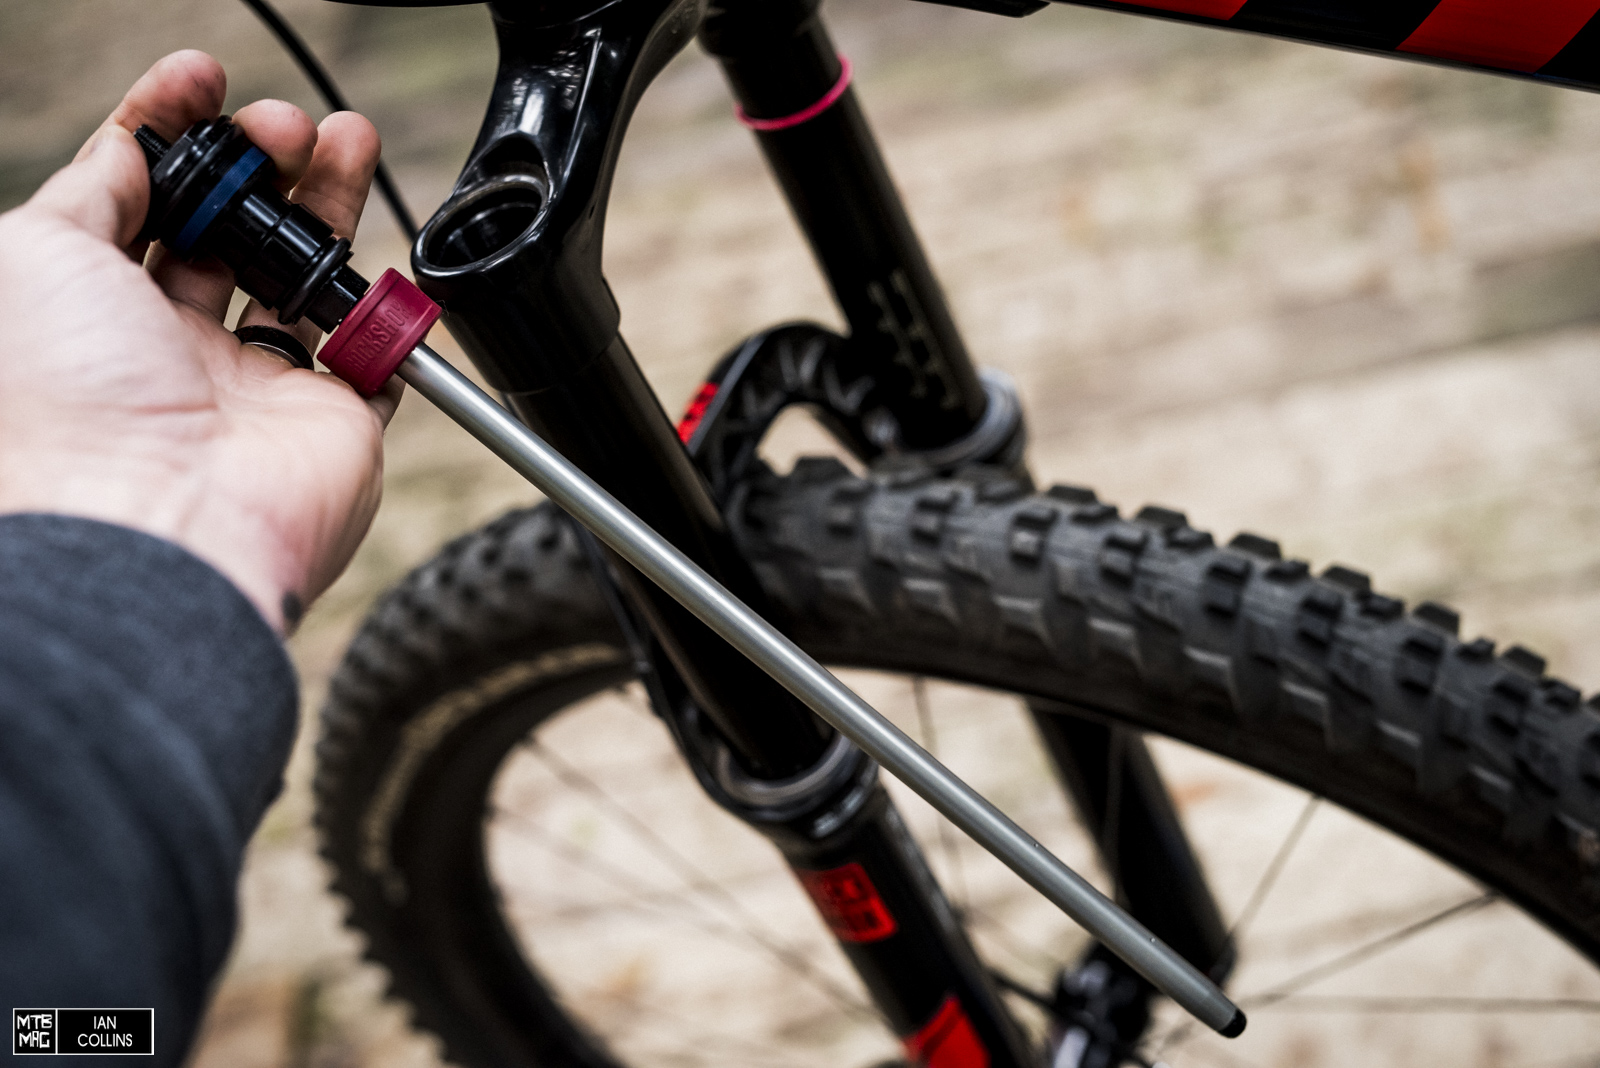 Next, carefully pull the valve and shaft out from the crown/stanchion. Most forks will ship with at least one token and it should be sitting at the top just below the cap.
 Slide the desired number of tokens onto the air shaft and carefully drop it back in. The shaft should have a very thin coat of grease on it. So long as you’re careful not to get it dirty, you shouldn’t have to worry about re-applying any.
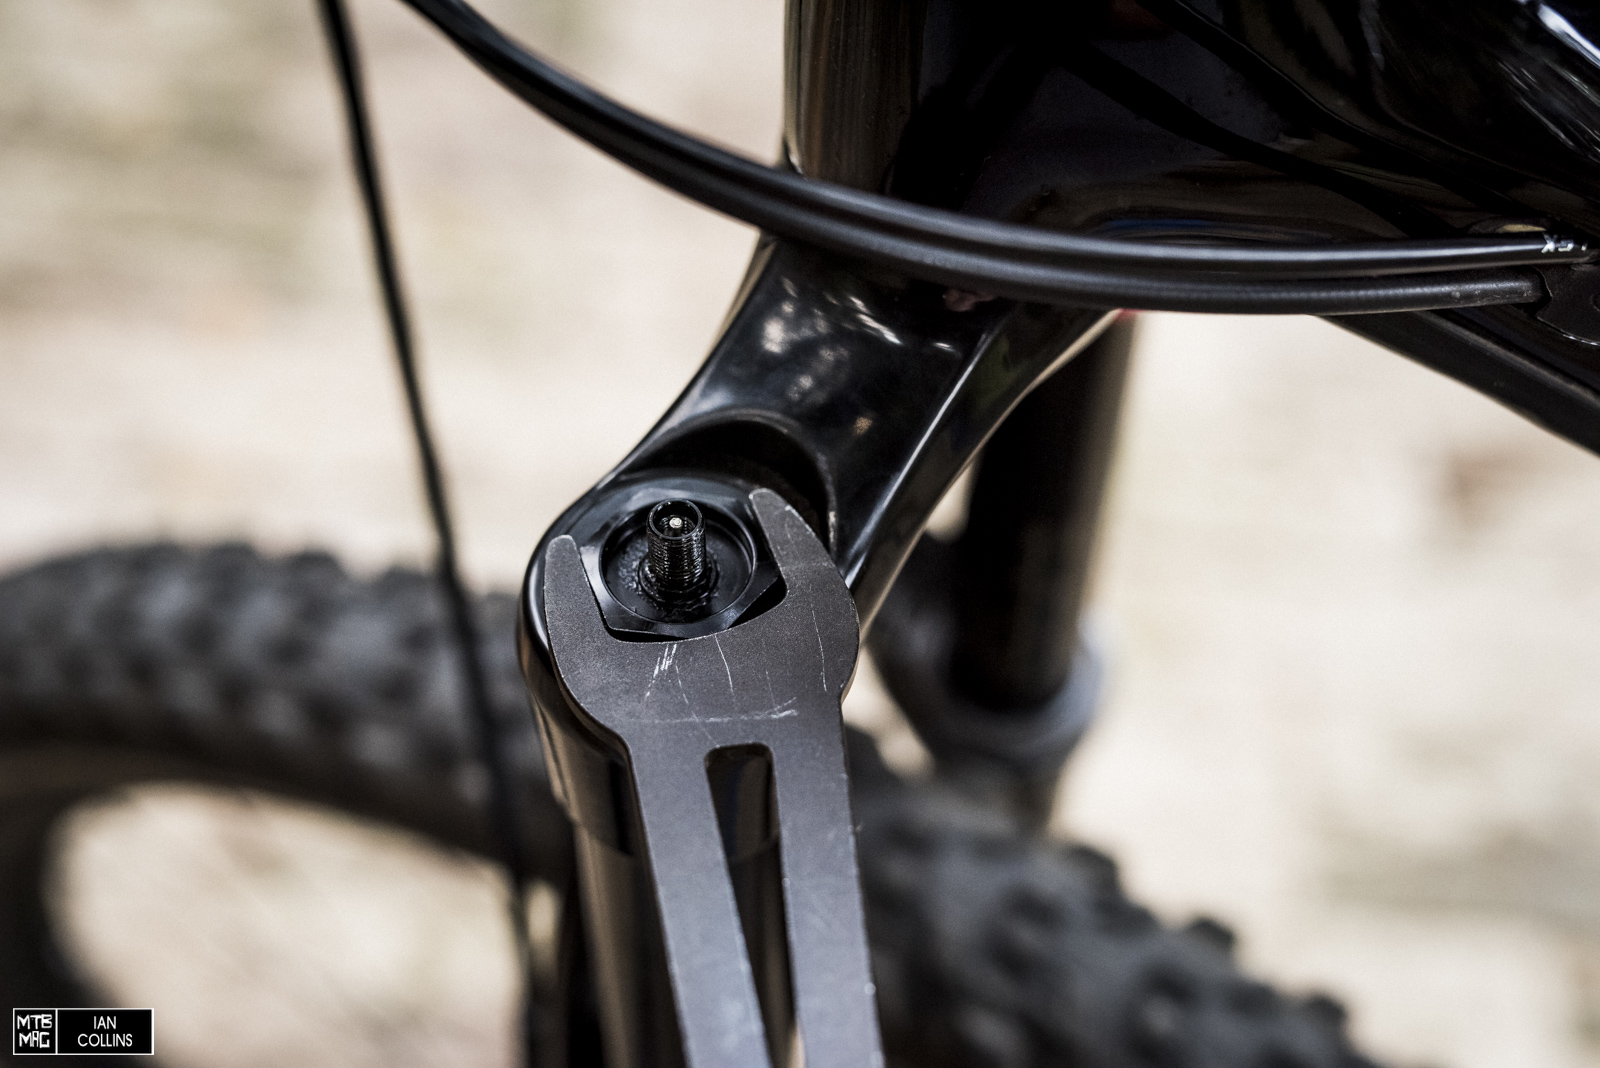 Using the 24mm socket or spanner, thread the air valve/cap back on.
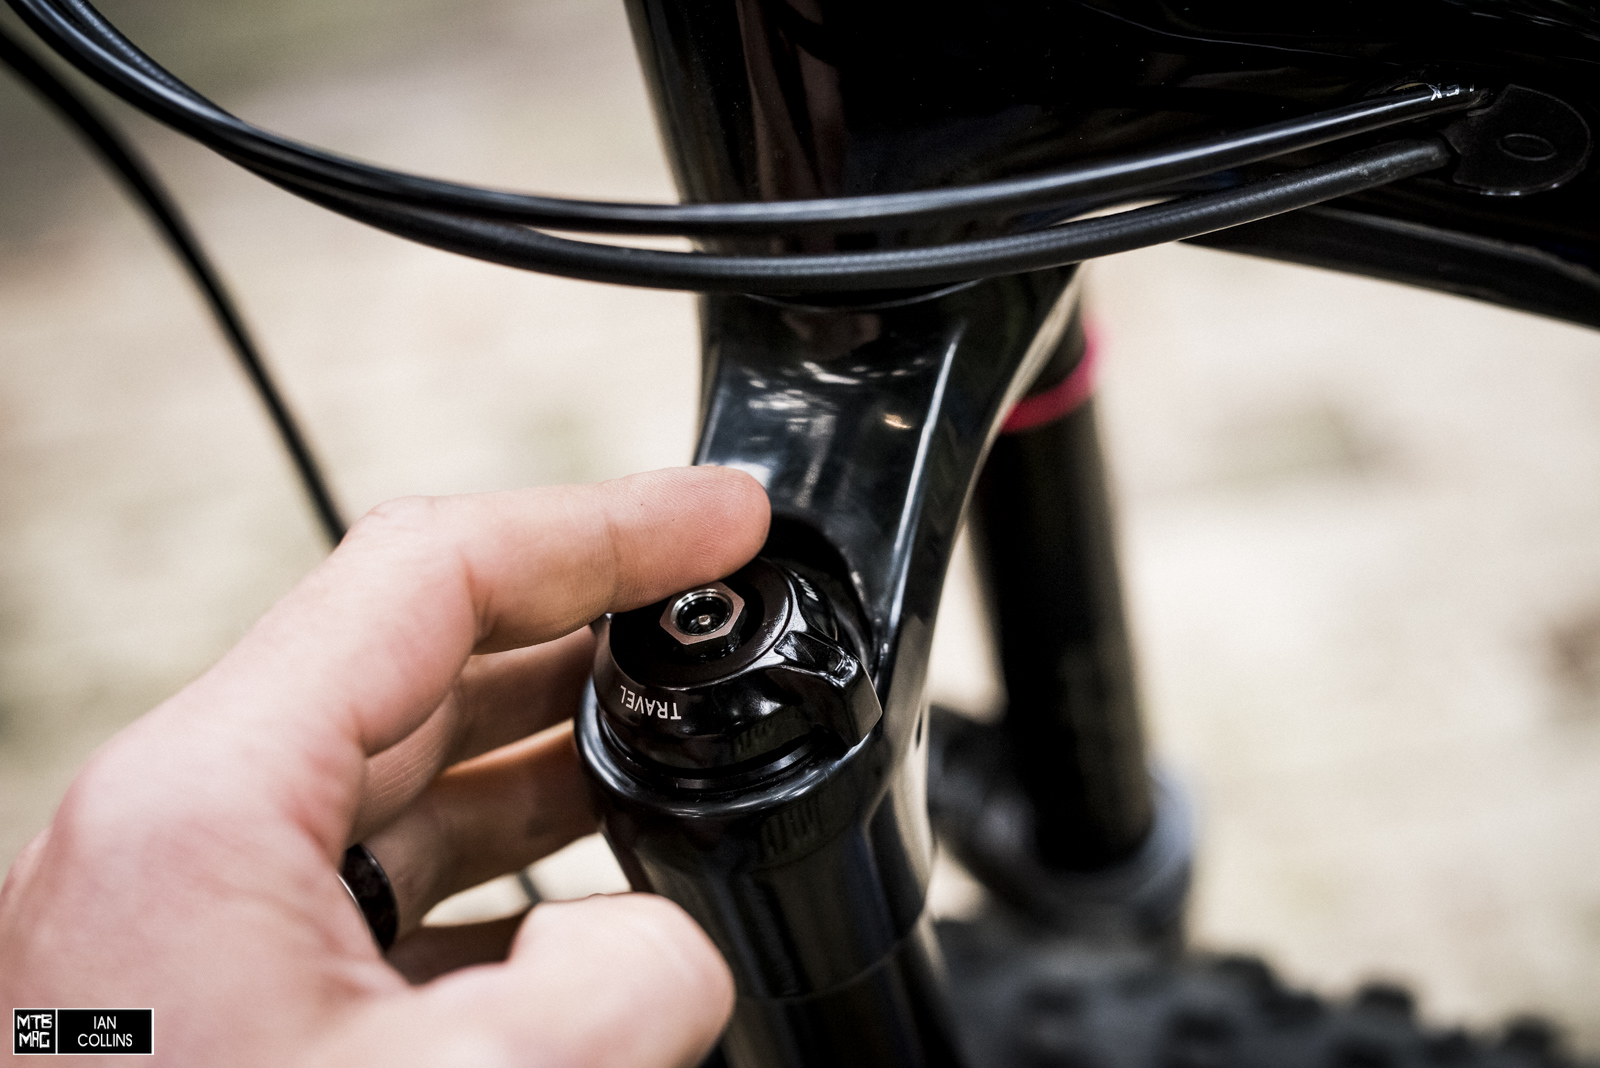 Minding the orientation of the Min/Max etching, place the travel adjust lever back on and hand thread a couple of turns on the 10mm nut.
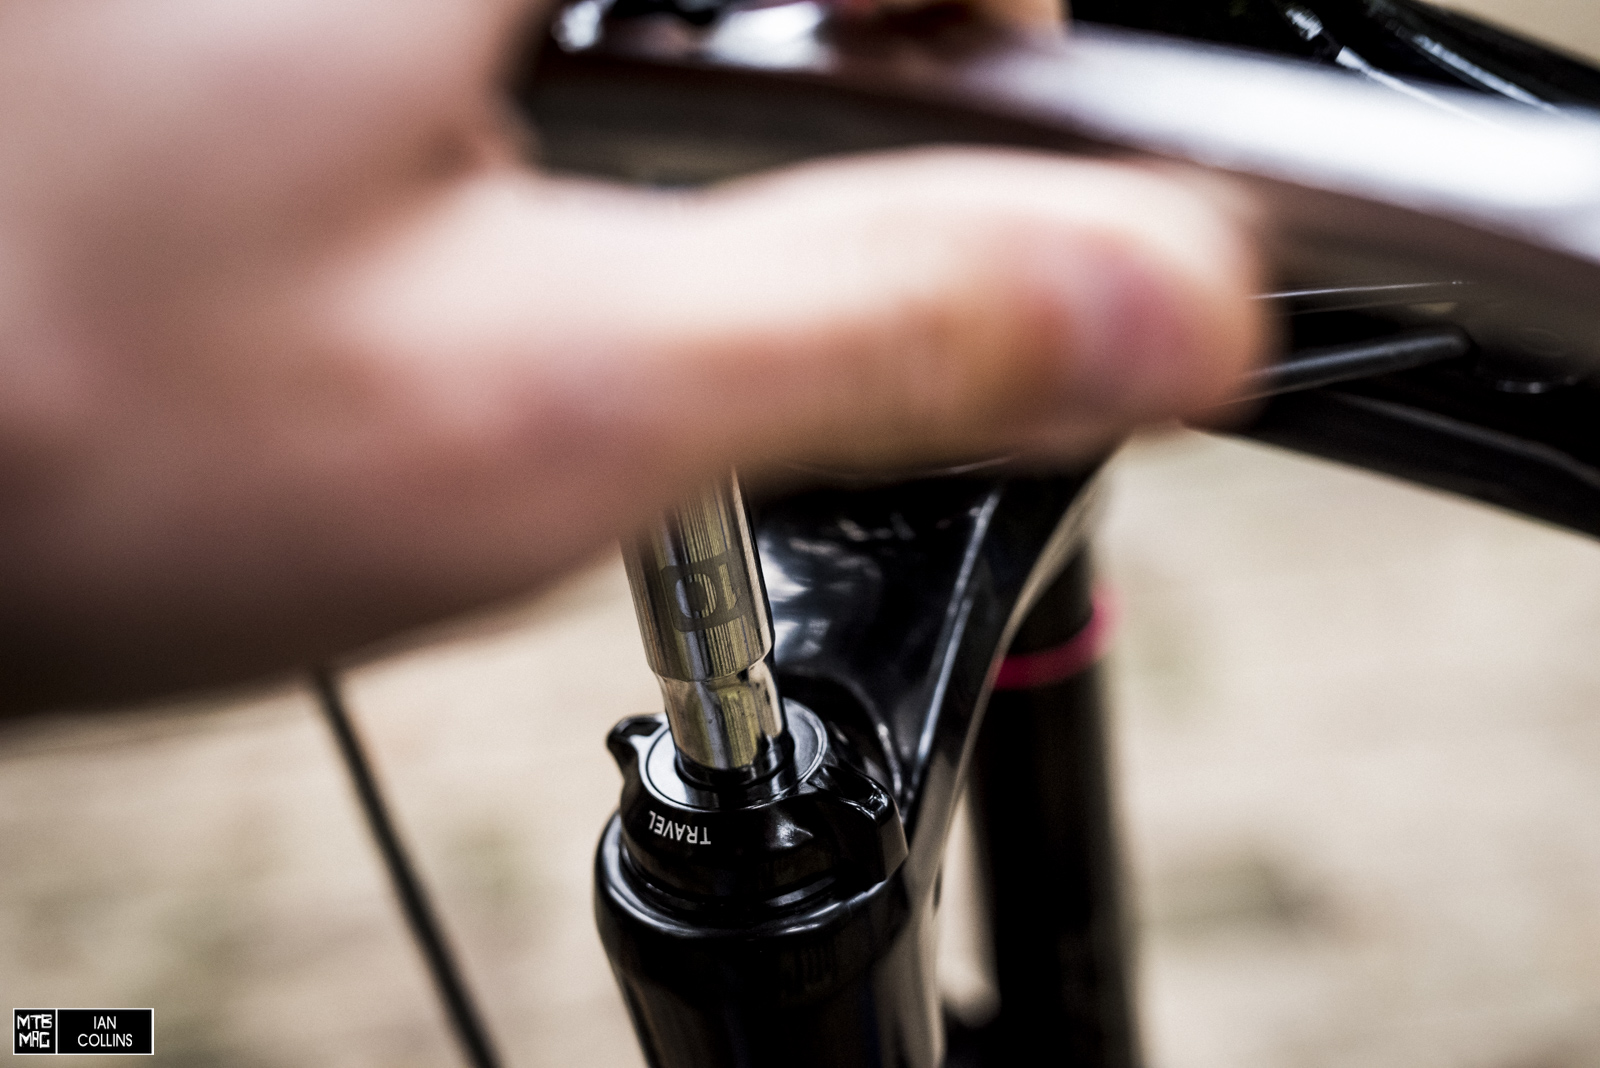 Snug it up gently(15-20 in/lbs) with a 10mm socket.
 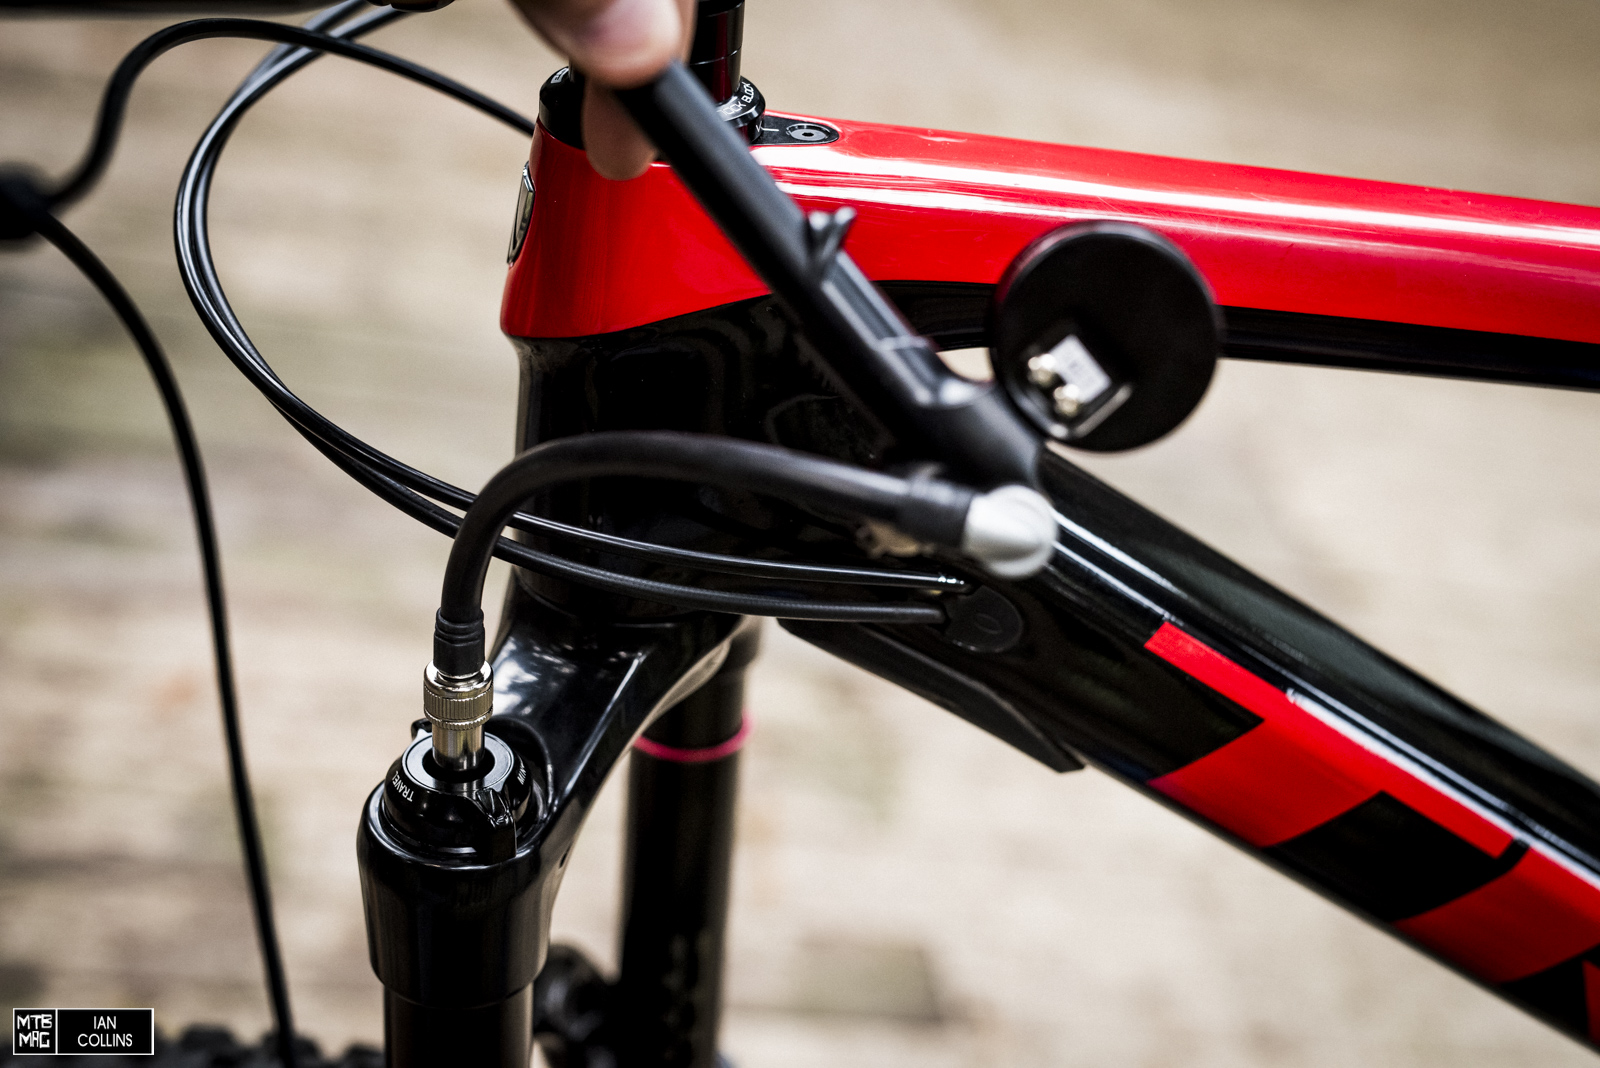 Re-Inflate to your desired pressure and bounce around to settle the fork in.
 Once the fork’s positive and negative air chambers are equalized, set your desired sag and go shred.
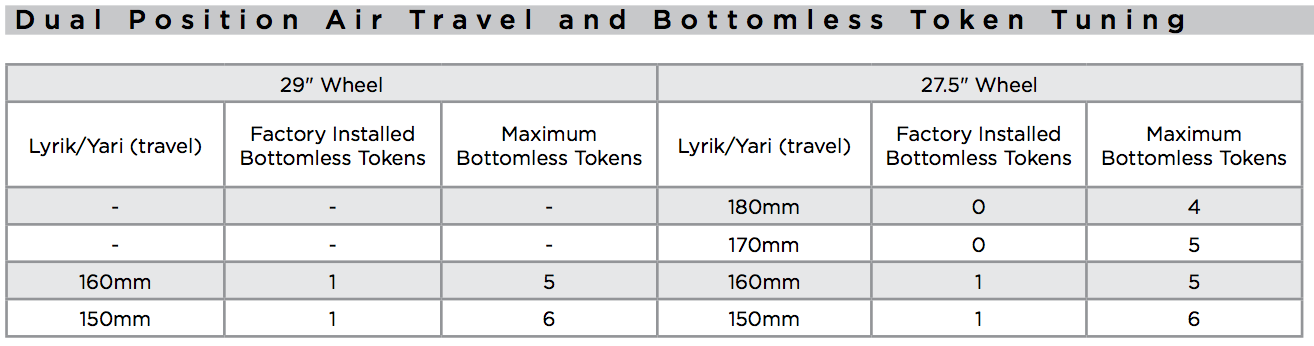
The number of volume reducers that are appropriate for Deluxe RT3 will vary according frame design, kinematics and shock dimensions. For reference on Bottomless Tokens in Dual Position Lyrik refer to the chart above.
For reference & details on more in depth services, here are some helpful links :
Deluxe RT3 Service Manual.
Lyrik service manual.